Exercise: Investigate metadata with system catalogs and system views
Important
You need your own Azure subscription to complete the exercises in this module. If you don't have an Azure subscription, you can set up a free trial account at Build in the cloud with an Azure free account.
Create the exercise environment
Deploy PostgreSQL server
Sign in to the Azure portal.
Select Create a resource.
In Search services and marketplace type PostgreSQL and select Azure Database for PostgreSQL Flexible Server.
Select Create.
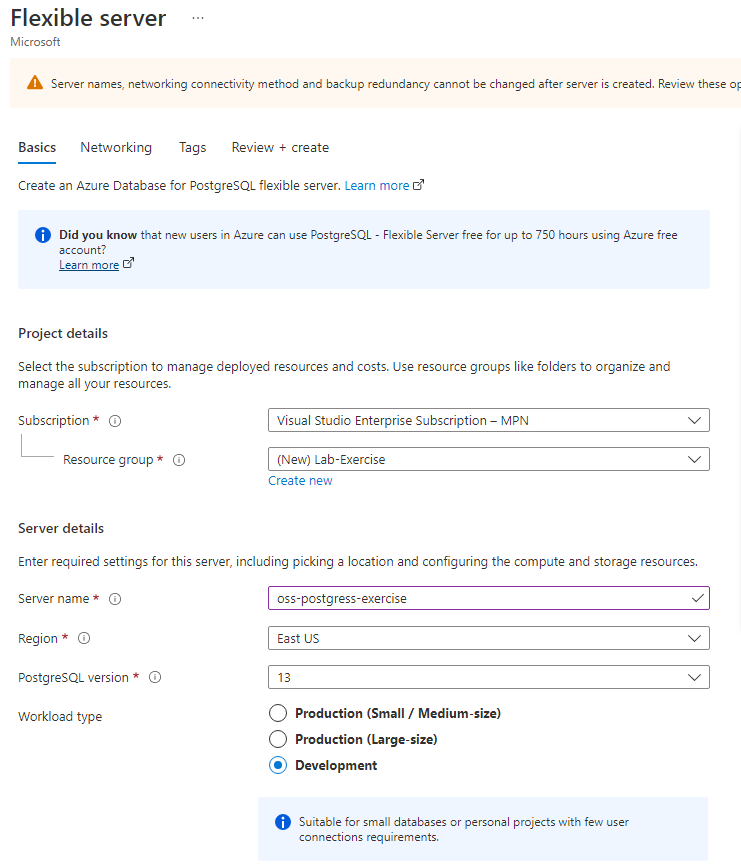
Select the relevant Subscription, Resource group, and Region for your environment.
Type a valid Server name.
In PostgreSQL version, select 13.
In Workload type, select Development.
In Admin username type demo.
In Password type Pa$$w0rd.
In Confirm password type Pa$$w0rd.
Select Next: Networking >.
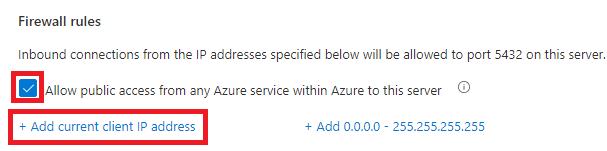
In Firewall rules, select Allow public access from any Azure service within Azure to this server.
Select Add current client IP address.
Select Review + create.
Select Create.
Wait until the deployment is complete.
Restore AdventureWorks database
Clone the PostgreSQL samples database repository at PostgreSQL Labs.
- For example, you could use the following code from a command prompt:
git clone https://github.com/MicrosoftLearning/mslearn-postgres c:\postgresql-samples-databasesDownload and install pgAdmin 4 from Download
Download and install Azure Data Studio from Download and install Azure Data Studio.
Start Azure Data Studio.
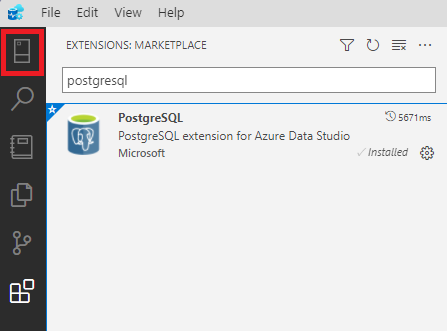
Select the View menu and select Extensions.
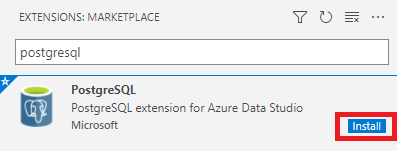
In Search Extensions in Marketplace, type PostgreSQL and select Install.
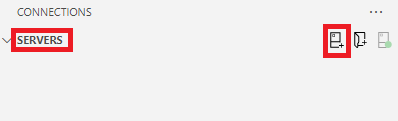
Select Connections.
Select Servers and select New connection.
In Connection type, select PostgreSQL.
In Server name, type the value that you specified when you deployed the server.
In User name, type demo.
In Password, type Pa$$w0rd.
Select Remember password.
Start pgAdmin and enter the password that you specified during installation.
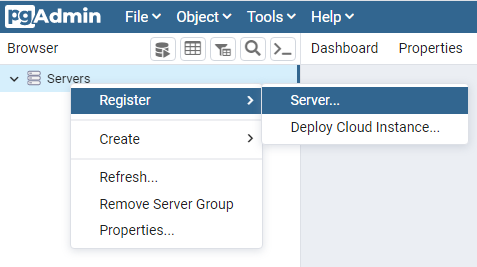
Right-click Servers, select Register, and select Server.
In Name, type PostgreSQL Exercise 8 and select the Connection tab.
In Host name/address, type the value that you specified when you deployed the server.
In Username, type demo.
In Password, type Pa$$w0rd.
Select Save password.
Select Save.
Expand PostgreSQL Exercise, right-click Databases, select Create, and select Database.
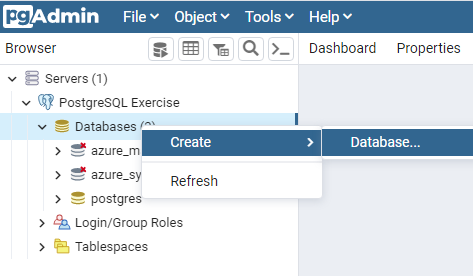
In Database, type adventureworks and select Save.
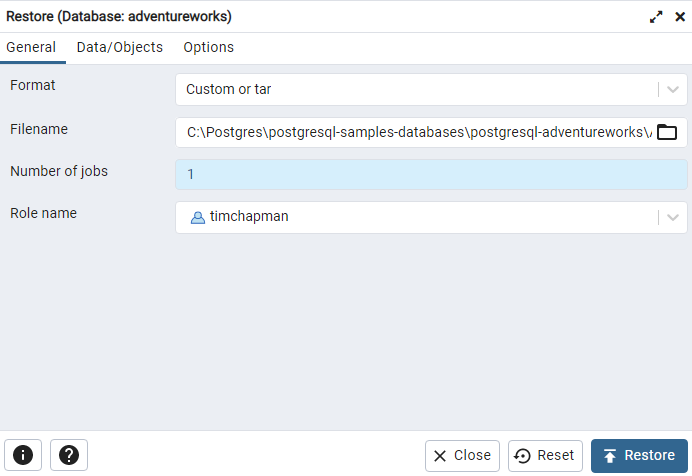
Right-click adventureworks and select Restore.
In Filename, type the path that you specified in the git clone statement plus \AdventureWorksPG.gz.
In Number of jobs, type 1.
In Role name, select demo.
Select Restore.
Wait until the restore process completes.
You can disregard any errors that occur because those objects aren't required for these modules.
Task 1: View metadata in the Azure portal
Navigate to the Azure portal and sign in.
Select All resources.
Select the Azure Database for PostgreSQL flexible server that you created for this exercise.
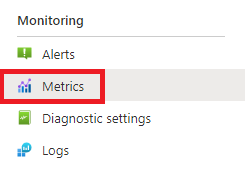
In Monitoring, select Metrics.
Select Metric and select CPU percent.
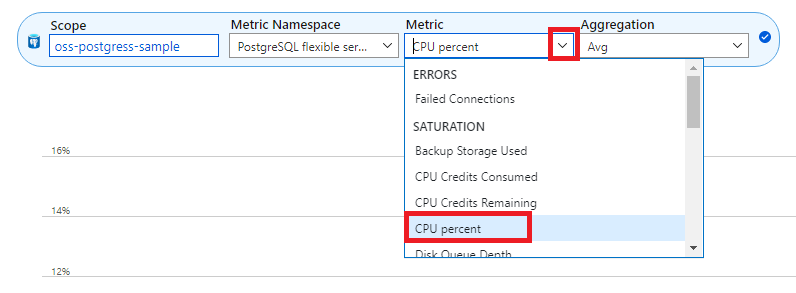
Take note that you can view various metrics about your databases.

Task 2: View data in system catalog tables
Switch to Azure Data Studio.
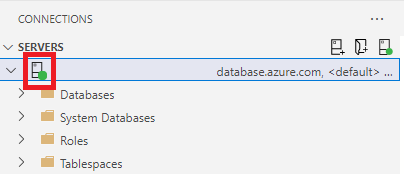
In SERVERS, select your PostgreSQL server and wait until a connection is made and a green circle is displayed on the server.
Right-click the server and select New Query.
Type the following SQL and select Run:
SELECT datname, xact_commit, xact_rollback FROM pg_stat_database;Take note that you can view commits and rollbacks for each database.
Task 3: View a complex metadata query using a system view
- Right-click the server and select New Query.
- Type the following SQL and select Run:
SELECT * FROM pg_catalog.pg_stats; - Take note that you can view a large amount of statistics information.
- By using system views, you can reduce the complexity of the SQL that you need to write. The previous query would need the following code if you weren't using the pg_stats view:
SELECT n.nspname AS schemaname,
c.relname AS tablename,
a.attname,
s.stainherit AS inherited,
s.stanullfrac AS null_frac,
s.stawidth AS avg_width,
s.stadistinct AS n_distinct,
    CASE
        WHEN s.stakind1 = 1 THEN s.stavalues1
        WHEN s.stakind2 = 1 THEN s.stavalues2
        WHEN s.stakind3 = 1 THEN s.stavalues3
        WHEN s.stakind4 = 1 THEN s.stavalues4
        WHEN s.stakind5 = 1 THEN s.stavalues5
        ELSE NULL::anyarray
    END AS most_common_vals,
    CASE
        WHEN s.stakind1 = 1 THEN s.stanumbers1
        WHEN s.stakind2 = 1 THEN s.stanumbers2
        WHEN s.stakind3 = 1 THEN s.stanumbers3
        WHEN s.stakind4 = 1 THEN s.stanumbers4
        WHEN s.stakind5 = 1 THEN s.stanumbers5
        ELSE NULL::real[]
    END AS most_common_freqs,
    CASE
        WHEN s.stakind1 = 2 THEN s.stavalues1
        WHEN s.stakind2 = 2 THEN s.stavalues2
        WHEN s.stakind3 = 2 THEN s.stavalues3
        WHEN s.stakind4 = 2 THEN s.stavalues4
        WHEN s.stakind5 = 2 THEN s.stavalues5
        ELSE NULL::anyarray
    END AS histogram_bounds,
    CASE
        WHEN s.stakind1 = 3 THEN s.stanumbers1[1]
        WHEN s.stakind2 = 3 THEN s.stanumbers2[1]
        WHEN s.stakind3 = 3 THEN s.stanumbers3[1]
        WHEN s.stakind4 = 3 THEN s.stanumbers4[1]
        WHEN s.stakind5 = 3 THEN s.stanumbers5[1]
        ELSE NULL::real
    END AS correlation,
    CASE
        WHEN s.stakind1 = 4 THEN s.stavalues1
        WHEN s.stakind2 = 4 THEN s.stavalues2
        WHEN s.stakind3 = 4 THEN s.stavalues3
        WHEN s.stakind4 = 4 THEN s.stavalues4
        WHEN s.stakind5 = 4 THEN s.stavalues5
        ELSE NULL::anyarray
    END AS most_common_elems,
    CASE
        WHEN s.stakind1 = 4 THEN s.stanumbers1
        WHEN s.stakind2 = 4 THEN s.stanumbers2
        WHEN s.stakind3 = 4 THEN s.stanumbers3
        WHEN s.stakind4 = 4 THEN s.stanumbers4
        WHEN s.stakind5 = 4 THEN s.stanumbers5
        ELSE NULL::real[]
    END AS most_common_elem_freqs,
    CASE
        WHEN s.stakind1 = 5 THEN s.stanumbers1
        WHEN s.stakind2 = 5 THEN s.stanumbers2
        WHEN s.stakind3 = 5 THEN s.stanumbers3
        WHEN s.stakind4 = 5 THEN s.stanumbers4
        WHEN s.stakind5 = 5 THEN s.stanumbers5
        ELSE NULL::real[]
    END AS elem_count_histogram
FROM pg_statistic s
 JOIN pg_class c ON c.oid = s.starelid
 JOIN pg_attribute a ON c.oid = a.attrelid AND a.attnum = s.staattnum
 LEFT JOIN pg_namespace n ON n.oid = c.relnamespace
WHERE NOT a.attisdropped AND has_column_privilege(c.oid, a.attnum, 'select'::text) AND (c.relrowsecurity = false OR NOT row_security_active(c.oid));
Task 4: Delete the PostgreSQL server
When you've completed all of the tasks in the exercise, you can stop the PostgreSQL server.
In the Azure portal, select your PostgreSQL server and select Overview.
Select Stop.

