Manage your threat indicators
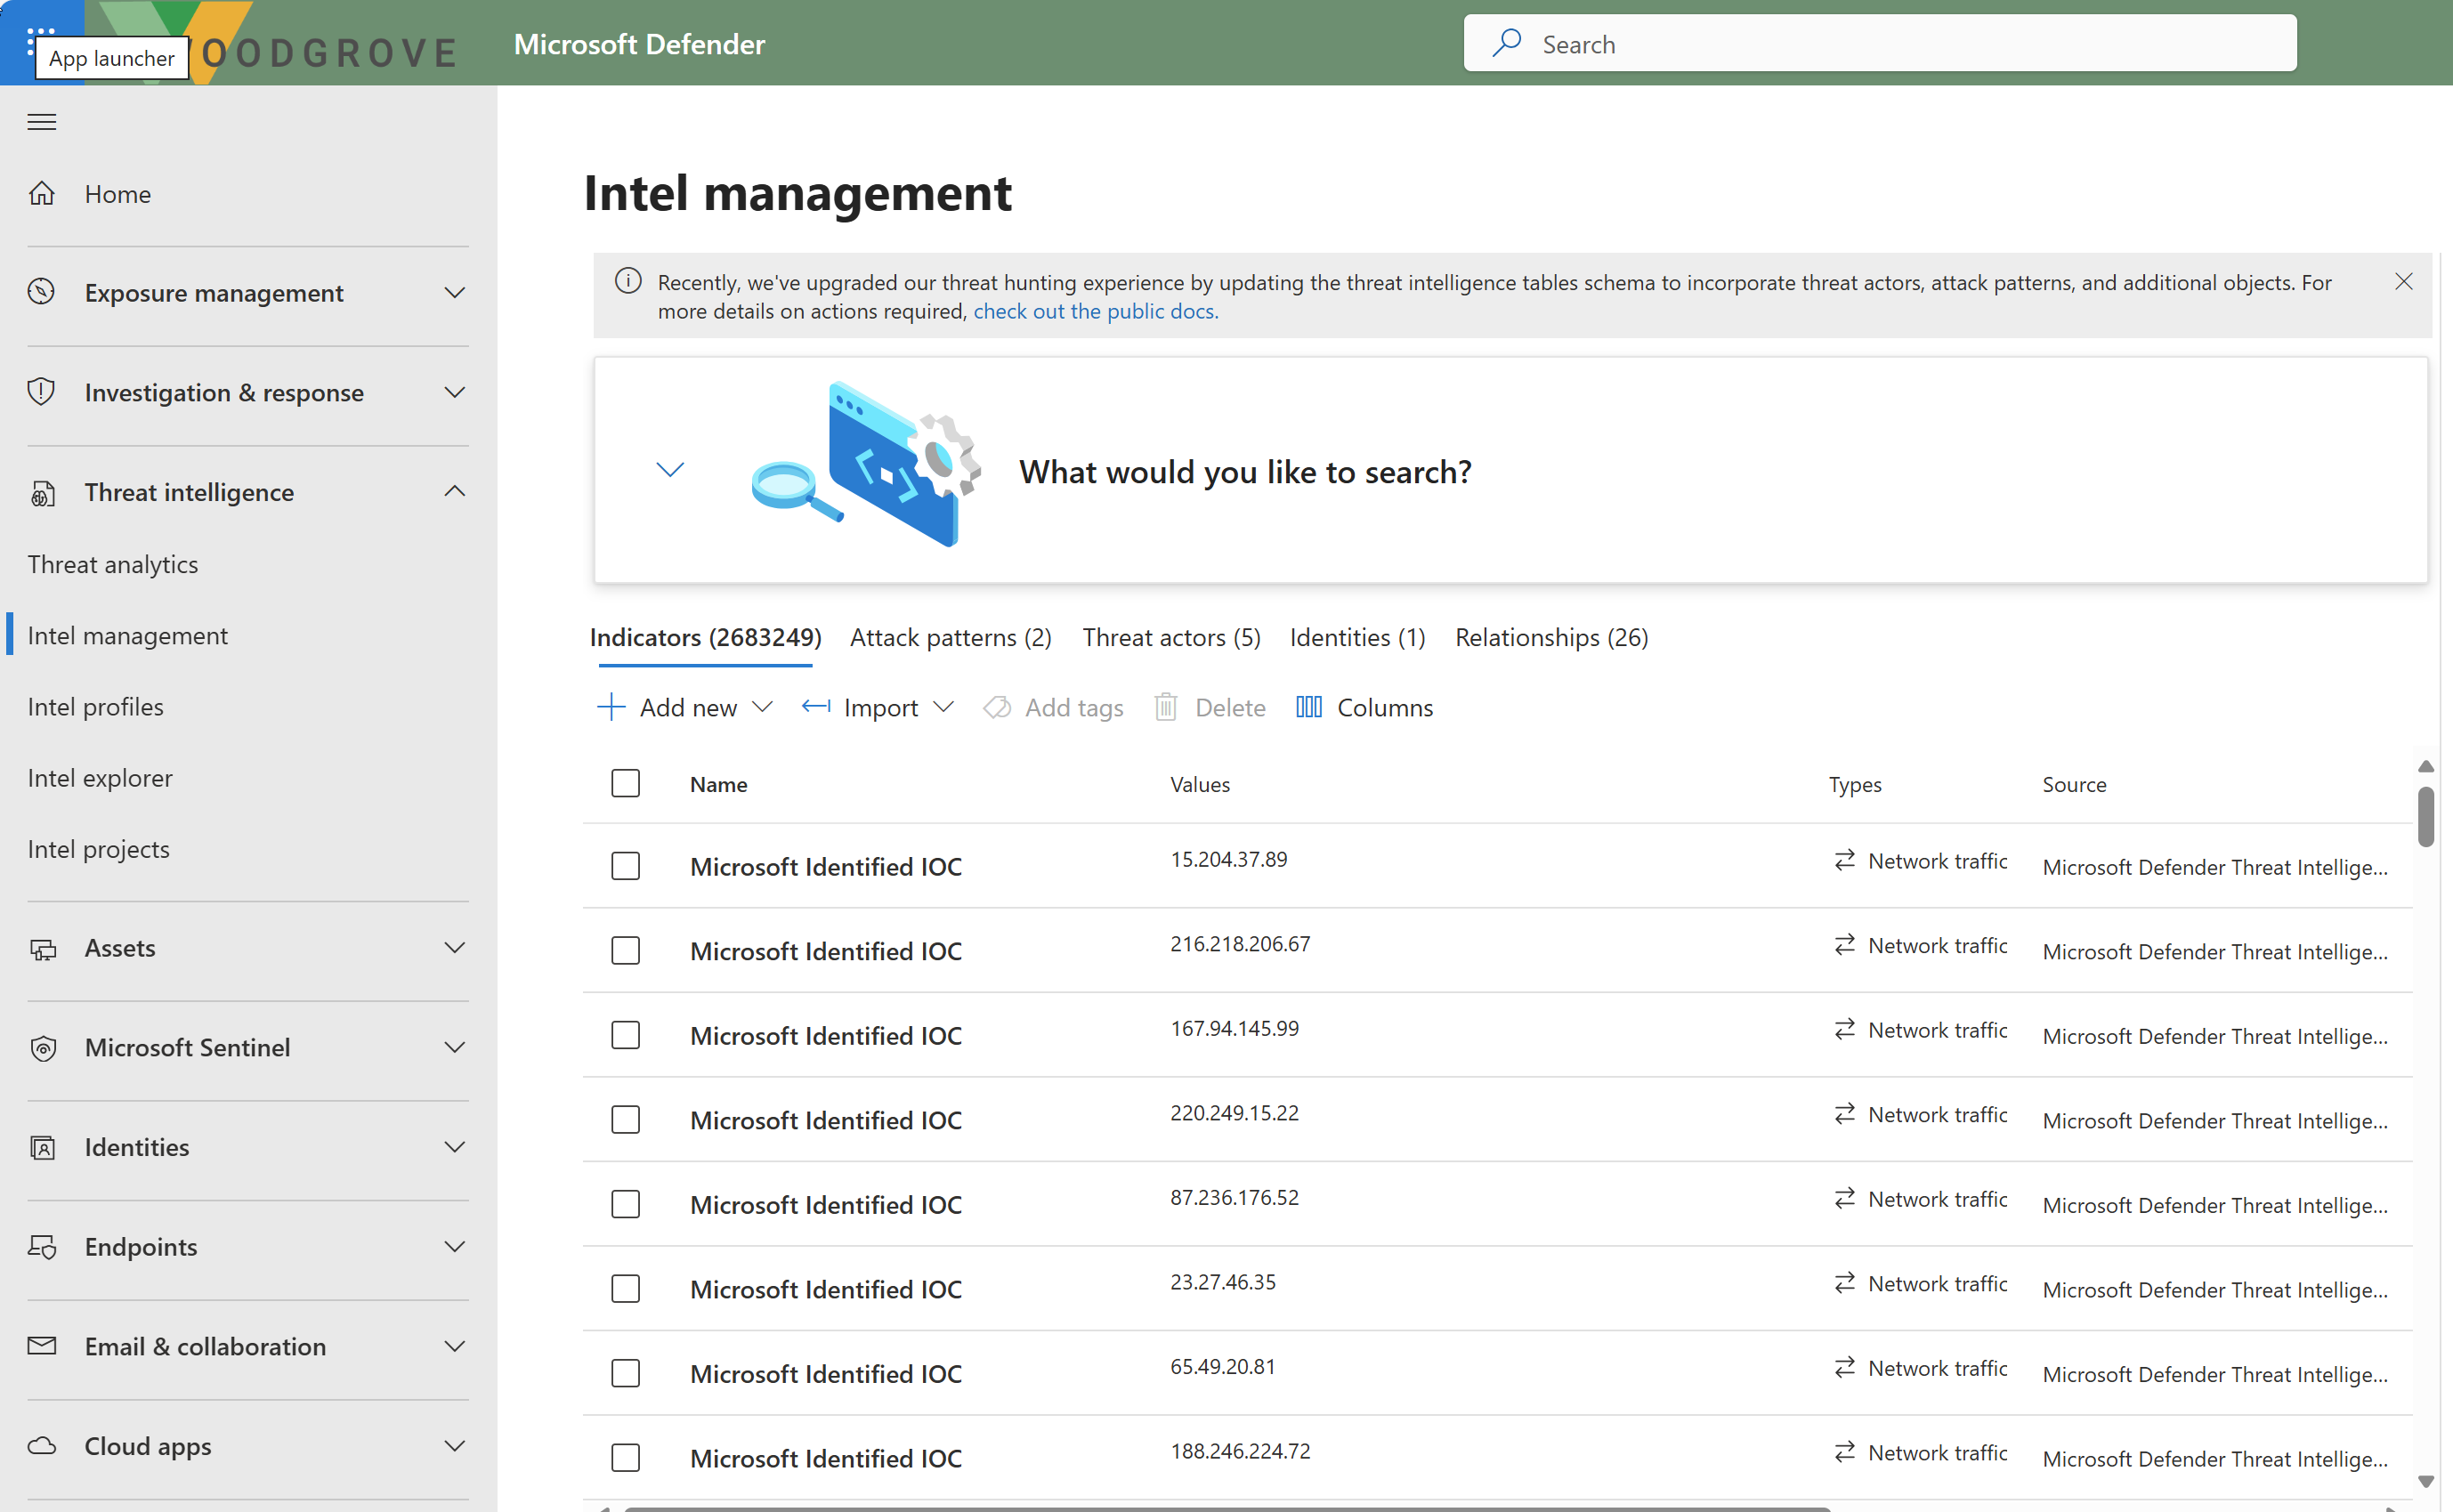
With the Threat Intelligence area, accessible from the Microsoft Sentinel menu, you can also view, sort, filter, and search your imported threat indicators without even writing a Logs query. This area also allows you to create threat indicators directly within the Microsoft Sentinel interface and perform everyday threat intelligence administrative tasks. These tasks include indicator tagging and creating new indicators related to security investigations. Let's look at two of the most common tasks, creating new threat indicators and tagging indicators for easy grouping and reference.
Open the Defender portal and navigate to Microsoft Sentinel.
From the Threat management section of the Microsoft Sentinel menu, select Threat intelligence.
If you see the This page has a new home message. Select the Open Intel management button.
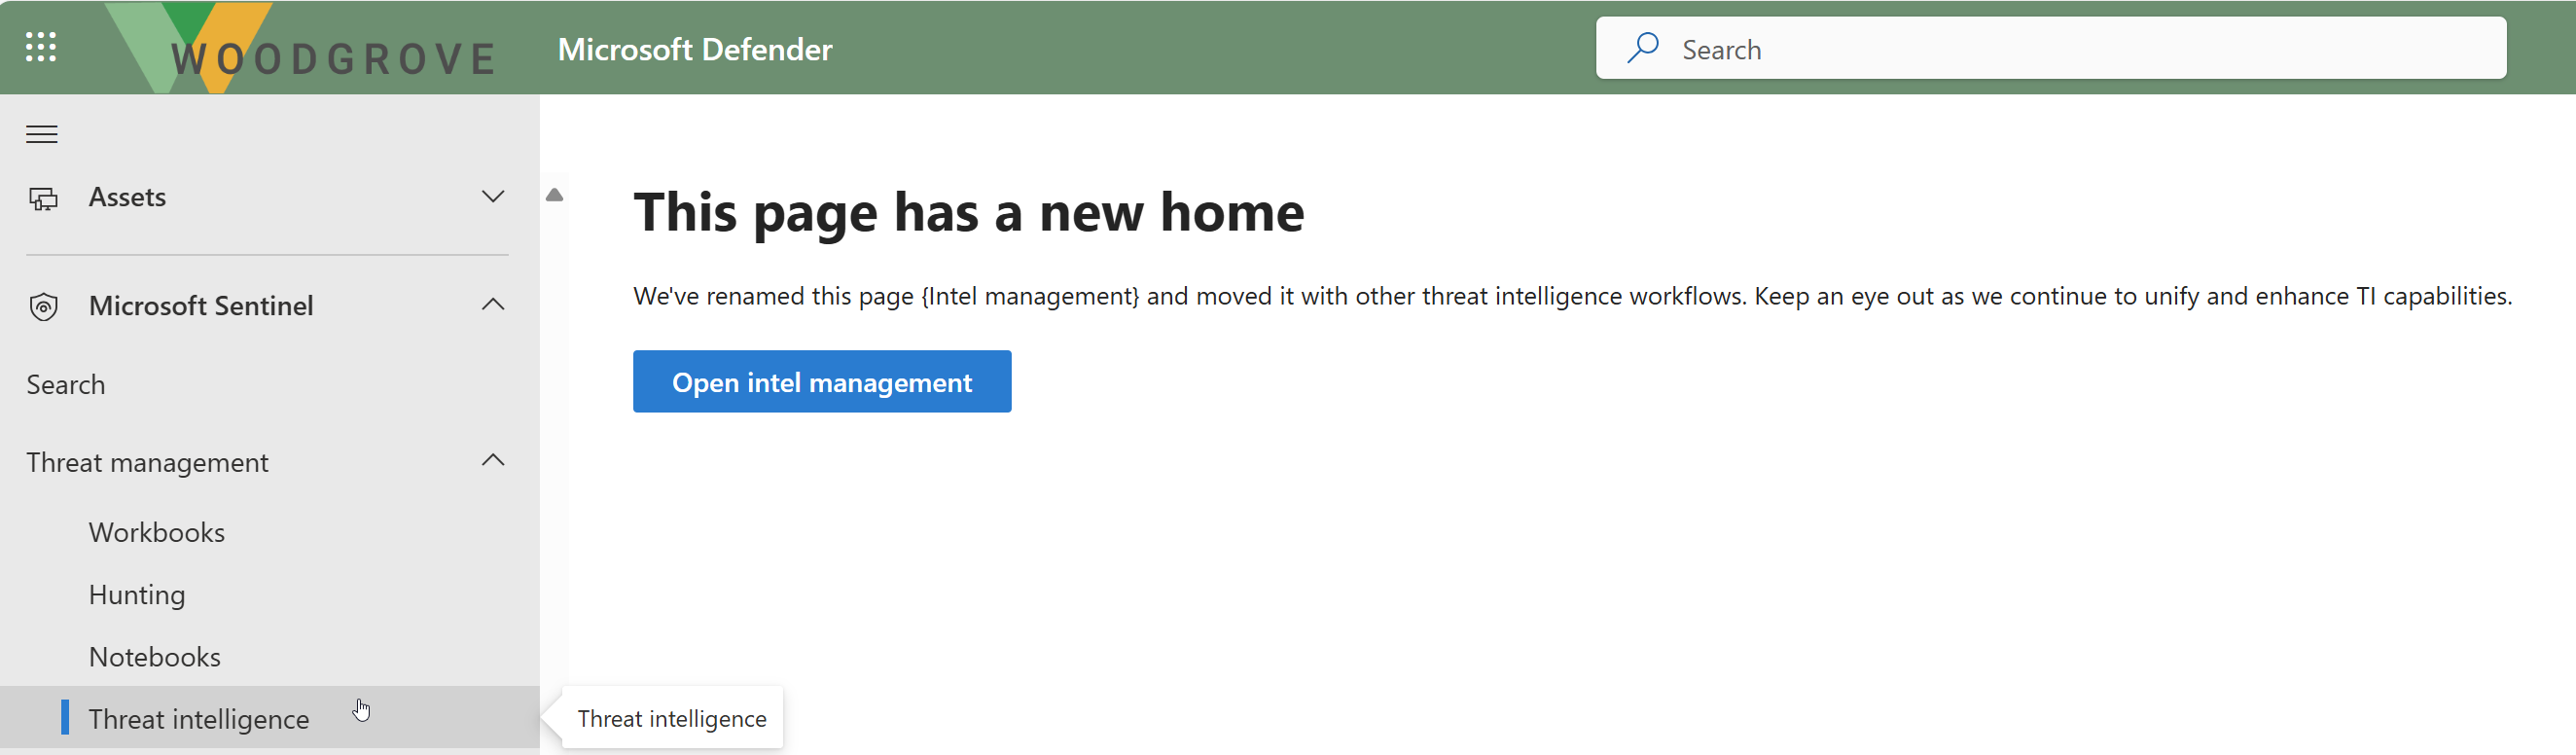
You're redirected to the Intel management page under the Threat Intelligence section of the Defender portal navigation menu.
Tip
As the Threat intelligence capabilities in Microsoft Sentinel are being consolidated into the Defender portals Threat intelligence section, you can go directly to Intel management from there.
On the Select the Add new button from the top menu of the page.
Choose the indicator type, then complete the required fields marked with a red asterisk (*) on the New indicator panel. Select Apply.
Tagging threat indicators is an easy way to group them to make them easier to find. Typically, you might apply a tag to indicators related to a particular incident or indicators representing threats from a known actor or a well-known attack campaign. You can tag threat indicators individually or multi-select indicators and tag them all at once. Since tagging is free-form, a recommended practice is to create standard naming conventions for threat indicator tags. You can apply multiple tags to each indicator.