Exercise - Write a test
Let's put that test-creation knowledge to use. Imagine that you're developing the calculator app mentioned at the beginning of this module. As part of development, you now need to set up your test project and write your first test.
In this exercise, you'll write a test in a few basic steps.
Set up product code to be tested
Your product code is a calculator app, so it supports addition, subtraction, multiplication, and division. You'll create the program as a console app.
Start a .NET console project called LearnMyCalculatorApp.
Add a new Calculator.cs file by using the following code.
namespace LearnMyCalculatorApp
{
    public class Calculator
    {
        public int Add(int x, int y)
        {
            return x + y;
        }

        public int Subtract(int x, int y)
        {
            return x - y;
        }

        public int Multiply(int x, int y)
        {
            return x * y;
        }

        public int Divide(int x, int y)
        {
            return x / y;
        }
    }
}
You can leave the Program.cs file unchanged for this minimal example.
Create a test project
As mentioned in the previous unit, the easiest way to add a test project for testing a specific method in your code is to right-click that method and select Create unit tests. However, for this exercise, let's manually set up test projects to better understand the relationship between tests and the code that's being tested.
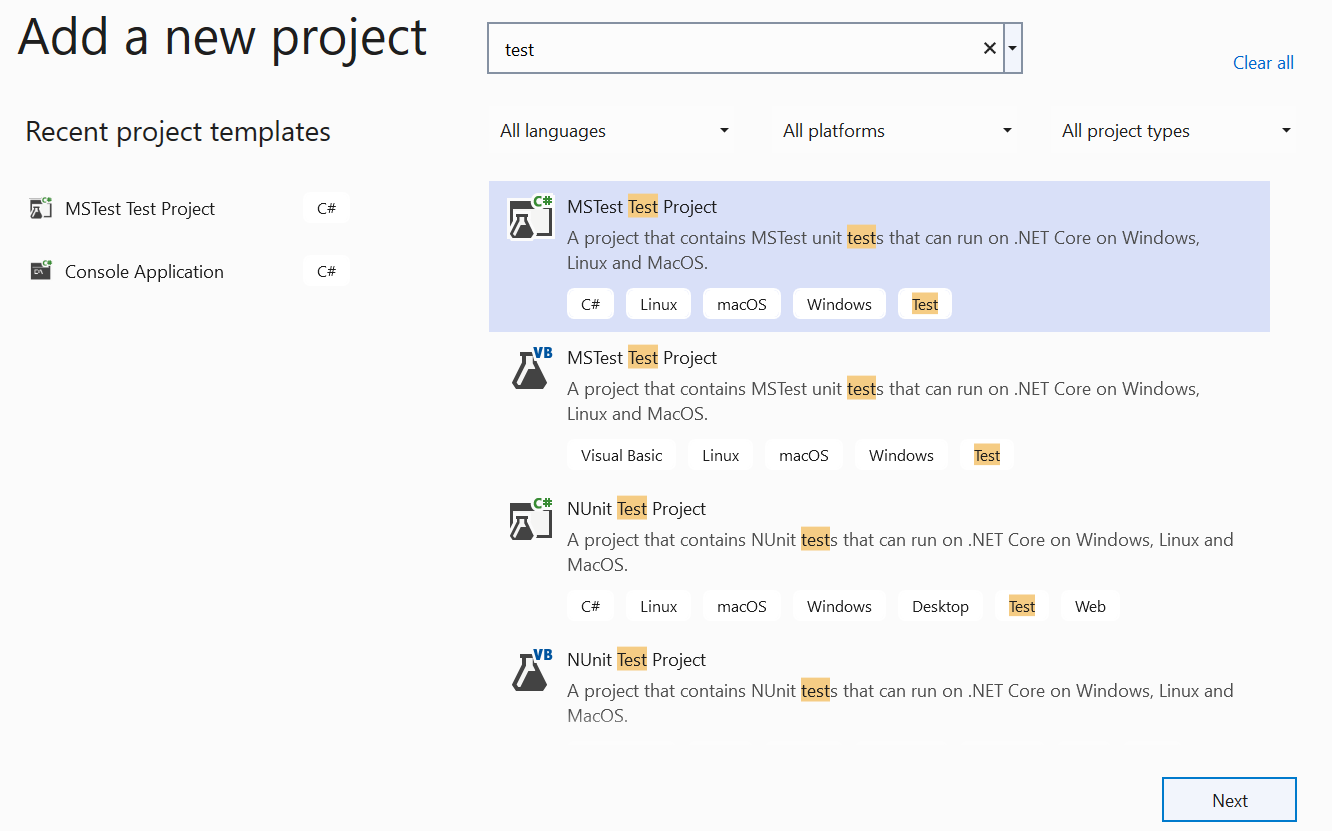
Right-click the solution and select Add project, to add a test project template and open Solution Explorer.
Select an MSTest project template from the Add a new project dialog. There are multiple popular test frameworks in .NET. MSTest is the built-in option for .NET produced by the .NET team.
Name the test project. Code bases use many naming conventions to indicate how the test suite is organized. Commonly, you might find names similar to
<MyAppProjectName>.Testsfor test projects.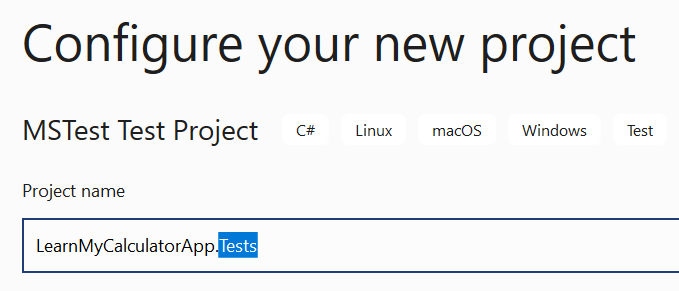
Make sure your test is targeting the same framework as the app that you want to test.

Add a reference to the product code from the test project
Now that you have a test project, it needs to reference the code that you want to test. With a reference, you can make calls to your app from within your tests.
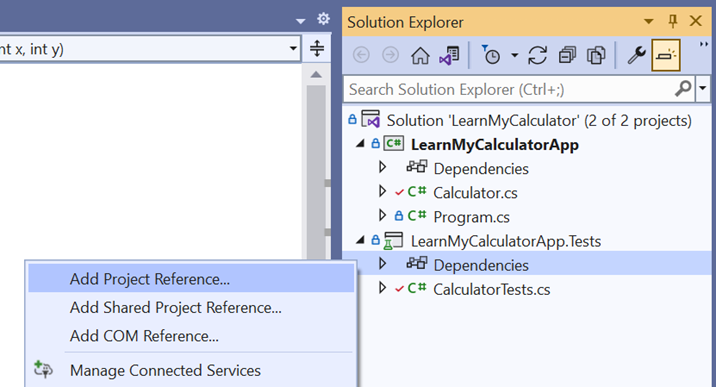
Right-click the test project in Solution Explorer and select Add Project Reference. Select the project that you want to test. In this case, select the console project you created that contains Calculator.cs.
Add an import statement to the top of your C# test files so that references to any types in your product code's namespaces are resolved.
using Microsoft.VisualStudio.TestTools.UnitTesting;
using LearnMyCalculatorApp;
Add assert statements
Now let's add an assert statement to instruct the test runner under what conditions the test should succeed. The templates come with a prewritten test. Let's add a test to check that the calculator type is not null after initialization.
Add an assert statement
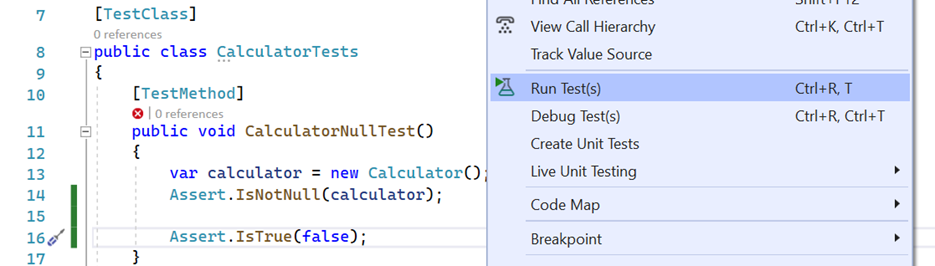
Assert.IsNotNull(), at the end of the method, to check if a type in your product code is null.[TestMethod] public void CalculatorNullTest() { var calculator = new Calculator(); Assert.IsNotNull(calculator); }Run your test by right-clicking and selecting Run Test(s). Your test should pass because the
calculatorvariable isn't null.Add an assert statement to the end of the method
CalculatorNullTestthat causes your test to fail. You can use the following example, which assertsIsTrueon a false Boolean.Assert.IsTrue(false); // Will fail the testConfirm that your test fails by running it again.
Congratulations! You've managed to successfully create and run a test on your product code. You're in a great position to keep adding tests and build a reliable product.