Create and edit views in Power Apps maker portal
Next, you'll learn to create a new view for a table and edit an existing view.
Create a view
To create a view for a table in the Power Apps maker portal, navigate to the table's list of views and follow these steps:
Select New view.

Provide a Name and Description for the view, choose whether you'd like AI help generating column suggestions, and then select Create.

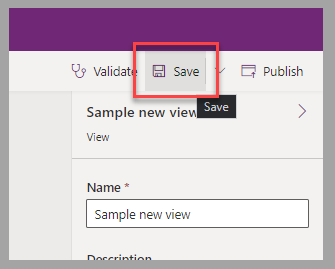
You're now in the view designer. The next unit explores the different features of this area more in depth. For now, select Save As to proceed.
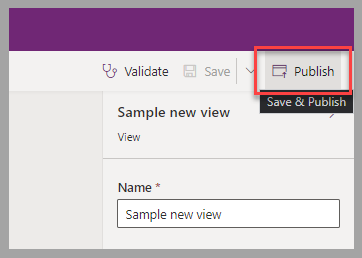
To make the view available to all other Power Apps users, select Save and Publish.


After you've closed the view designer, the newly created view will be added to the list of available table views.

Edit a view
To modify a view for a table in Power Apps maker portal, navigate to the table's view list and follow these steps:
Select the name of the view to edit.

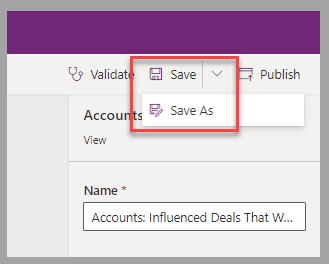
Make any changes to columns, change to Name if you'd like to save a new view, and then select Save As.
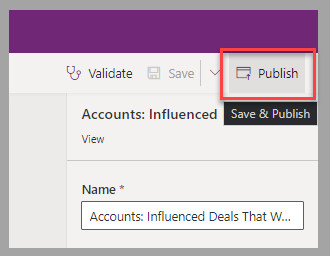
To make this new available to all other Power Apps users, select Save and Publish.

Next steps
Now that you've learned how to create and edit Dataverse table views, you'll learn how to add columns to an existing view, namely the Active Accounts view.