Exercise - List your accounts
In this exercise, you'll apply what you've learned to create a view of accounts that you manage. You'll sort the view to show the records in order from highest annual revenue to lowest.
Go to a Dataverse environment where you can modify the tables, such as dedicated training or development environment. Then, follow these steps:
Sign in to Power Apps portals.
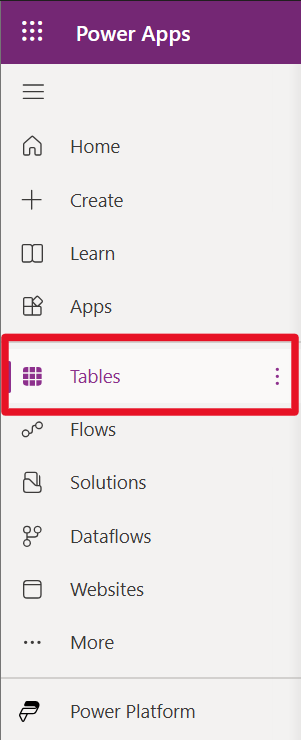
In the left pane, select Tables.
In the list of tables, select Account.

In the Account table, select Views.

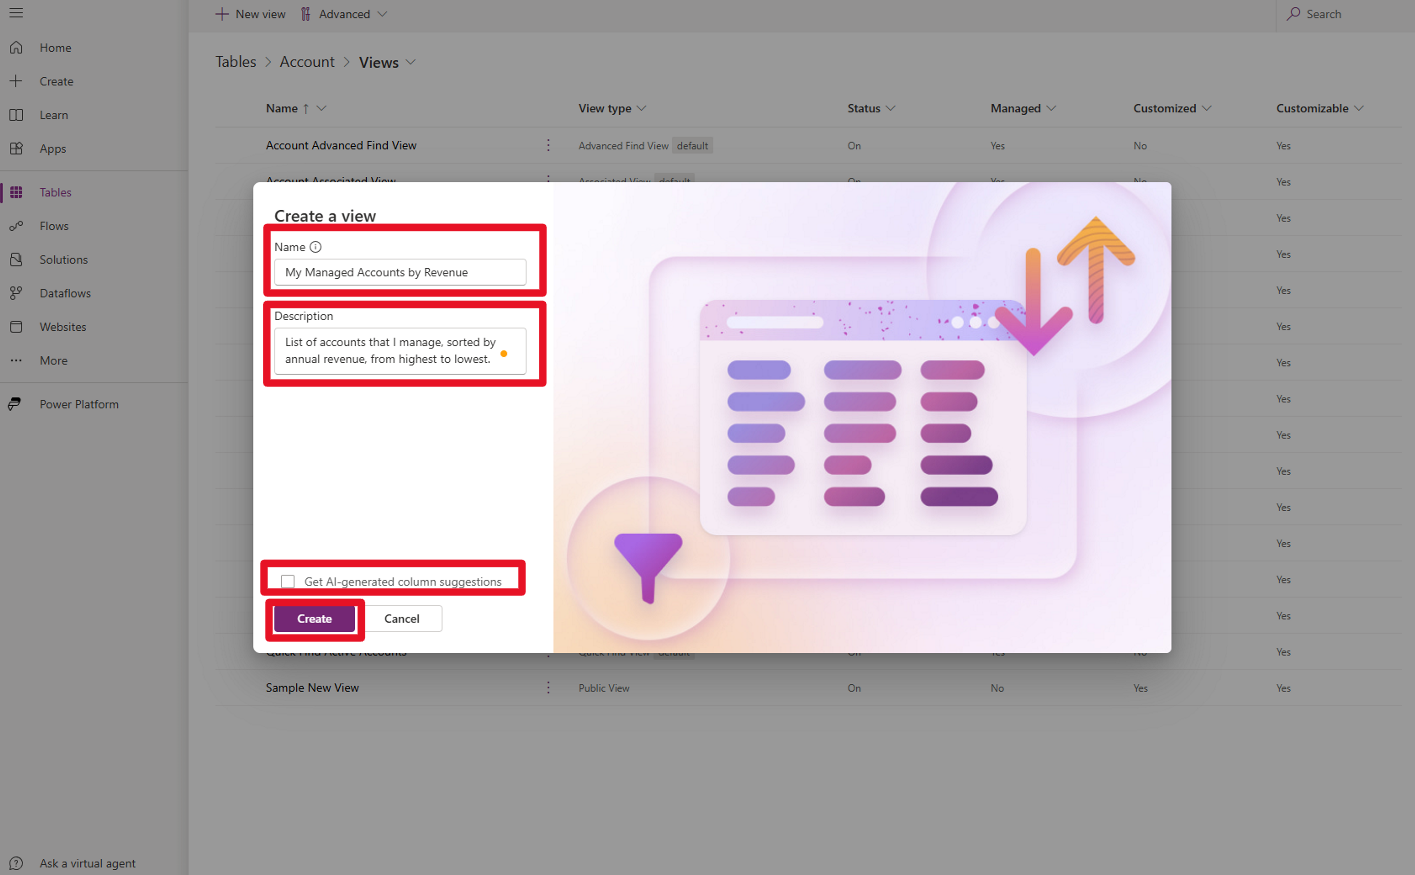
Select the New view option.

Define a Name and a Description for the new view, and decide whether you'd like AI help to generate column suggestions. Then select Create to proceed.
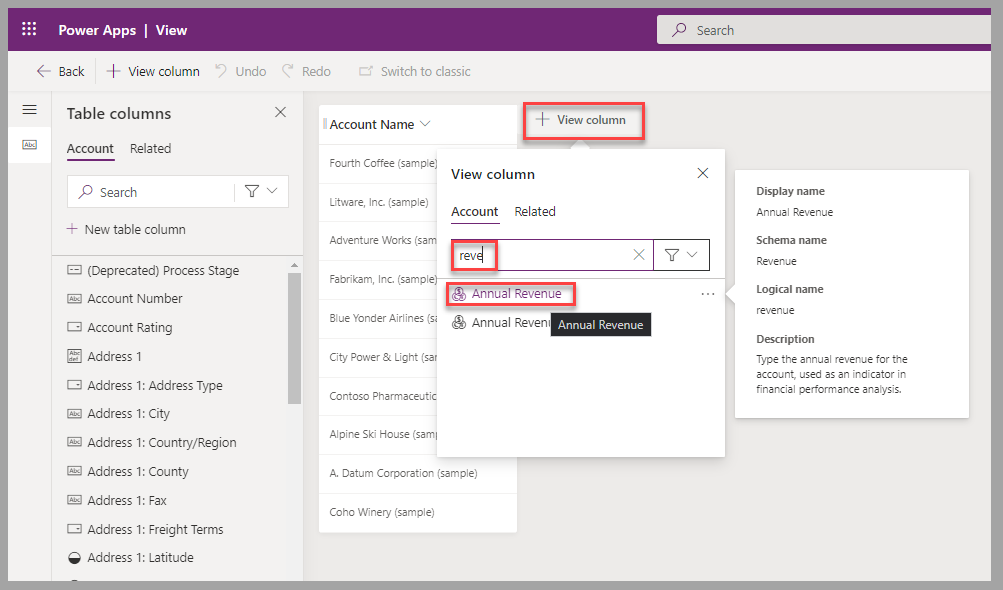
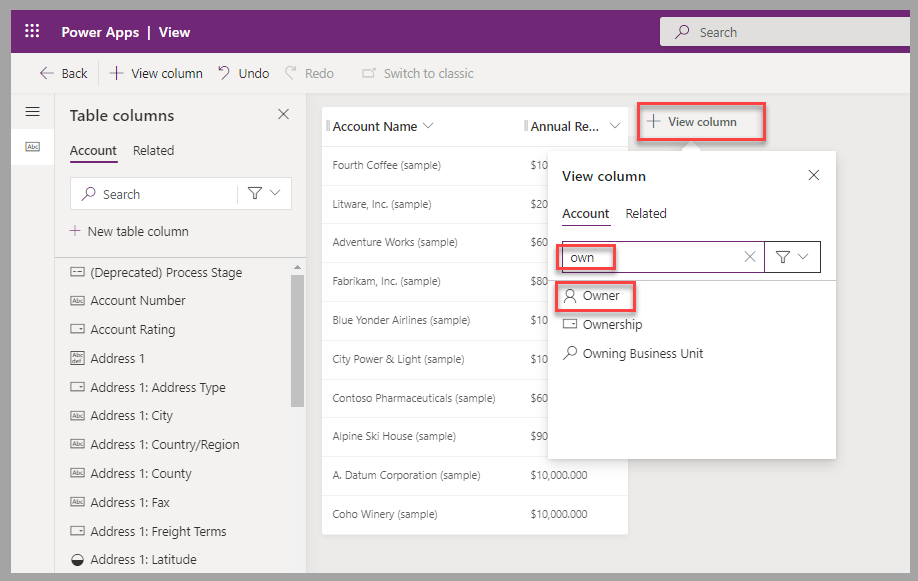
Add the Annual Revenue and Owner columns to the view by selecting View column and then finding and selecting the column names.
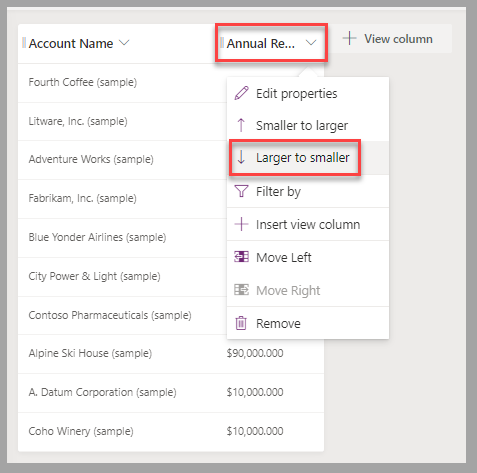
Set the sort order of the records to display by revenue, from highest to lowest. Select Annual Revenue and then select Larger to smaller.
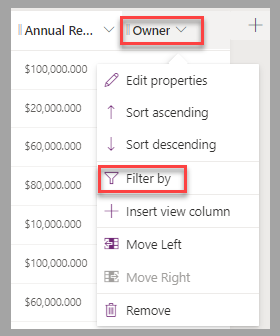
Filter the accounts to be displayed so that only the records that you manage are listed. Select the Owner column heading and then select Filter by.
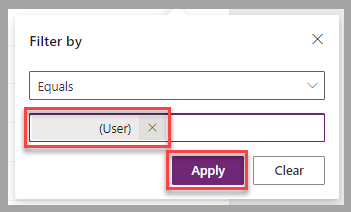
In the list of users, select your name and then select Apply.
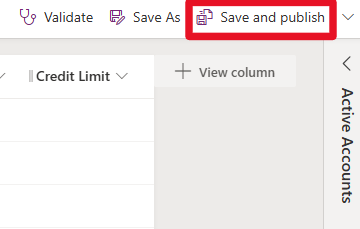
To apply changes and make them available to all Power Apps users, select Save and publish.


Exercise steps (video)
Watch the following video for a demonstration of the steps that you've completed for this exercise.
Next steps
You've now learned how to add filter and sort criteria to a Dataverse table view. Next, you'll test your knowledge of the concepts you learned in this module.