Azure batch pool resizing failure
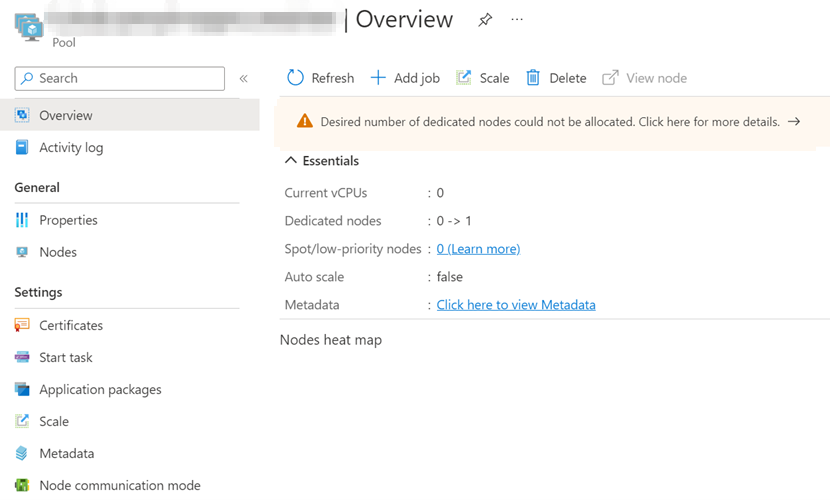
When you create a Batch pool, the operation succeeds. However, no nodes are provisioned, and you see a warning in the Overview pane of the created pool (see the following screenshot as an example). The warning indicates that the desired number of dedicated nodes could not be allocated. This article describes how to resolve such Azure batch pool resizing failures.
Scenario 1: Batch pool virtual network-related issue
Symptom for Scenario 1
After you access the warning, the following error message appears:
Code: AllocationFailed
Message:
Desired number of dedicated nodes could not be allocated
Values: Reason - Allocation failed as subnet has delegation to external resources.
Cause: Subnet has delegation to a service resource
This error occurs because the subnet that you're using has delegation to a service. This network property allows you to deploy dedicated Azure Services in the virtual network to communicate with the service resources privately through private IP addresses. However, this feature is still not supported by the Azure Batch Service.
Solution: Disable subnet delegation
To resolve this issue, disable the subnet delegation by using the Azure portal, PowerShell, Azure CLI, or Azure Resource Manager Template. Then you'll be able to allocate Batch nodes.
For more information, see Add or remove a subnet delegation in an Azure virtual network.
Scenario 2: Selected VM size doesn't support generation 2 image
Symptom for Scenario 2
After you access the warning, the following error message appears:
Code: AllocationFailed
Message:
Desired number of dedicated nodes could not be allocated
Values:
Provider Error Json - {
"error": {
"code": "BadRequest",
"message": "The selected VM size 'STANDARD_A1_V2' cannot boot Hypervisor Generation '2'. If this was a Create operation please check that the Hypervisor Generation of the Image matches the Hypervisor Generation of the selected VM Size. If this was an Update operation please select a Hypervisor Generation '2' VM Size."
}
}
Provider Error Json Truncated - False
Cause: Selected image and VM size aren't compatible
This error occurs because the selected image and VM size aren't compatible.
In this scenario, the selected image has Hypervisor Generation 2, while the selected VM size doesn't support Hypervisor Generation 2.
Some VM sizes only support generation 2 images. When you select an image with Hypervisor Generation 1 and a VM size supporting only Hypervisor Generation 2, a similar error occurs.
Solution 1: Select a VM size that matches the Hypervisor Generation of the VM image or vice versa
To resolve this issue, select a VM size that matches the Hypervisor Generation of the VM image or vice versa. Some VM sizes support both Hypervisor Generation 1 and 2. For more information, see Azure support for generation 2 VMs.
Solution 2: Create a custom image
If the image you want to use doesn't support the VM size that you plan to use, create and use a custom image of the VM that supports the Hypervisor Generation.
For more information, see Tutorial - Create custom VM images with the Azure CLI.
When you create the image definition, the image is created from generation 1 by default.
If you want to use generation 2, specify it by using the az sig image-definition create command, as shown in the following example:
az sig image-definition create --resource-group myGalleryRG --gallery-name myGallery --gallery-image-definition myImageDefinition --publisher myPublisher --offer myOffer --sku mySKU --os-type Linux --os-state specialized --hyper-v-generation V2
Scenario 3: Batch account quotas-related issue
Symptom for Scenario 3
After you access the warning, one of the following errors appears:
"AccountCoreQuotaReached"
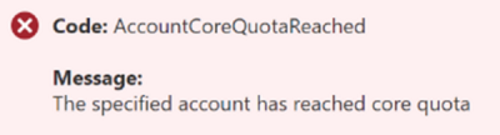
This error means the quota for total dedicated vCPUs is reached.
"AccountLowPriorityCoreQuotaReached"
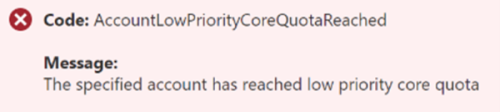
This error means the quota for dedicated vCPUs per VM Series is reached.
"AccountVMSeriesCoreQuotaReached"
This error means the quota for Spot/Low-priority vCPUs is reached.
Cause: Core quotas are insufficient
Azure Batch account is limited in the number of cores it can allocate across all pools. Batch stops allocating nodes once that quota has been reached.
Azure Batch has different core limits and quotas at different levels: Spot/low-priority vCPUs, Total dedicated vCPUs, and Dedicated vCPUs per VM Series. You can check your current core quotas via the Batch quota as shown below:

As mentioned in the warning in this screenshot, when allocating dedicated nodes, both the total dedicated vCPU quota and the dedicated vCPU per VM Series quotas are enforced.
For Spot/Low-priority nodes, Batch enforces only a total core quota for the Batch account without any distinction between different VM series.
If you created a Batch account with pool allocation mode set to user subscription, Batch VMs and other resources are created directly in your subscription when a pool is created or resized. The Azure Batch core quotas don't apply, and the quotas in your subscription for regional compute cores, per-series compute cores, and other resources are used and enforced. To learn more about these quotas, see Azure subscription and service limits, quotas, and constraints.
Solution: Request quota increase
Check the Batch account quotas in the Azure portal:
- Sign in to the Azure portal.
- Select or search for Batch accounts.
- On the Batch accounts page, select the Batch account that you want to review.
- On the Batch account's menu, under Settings, select Quotas.
- Review the quotas currently applied to the Batch account.
Based on the quota requirements, request a quota increase for your Batch account or your subscription by using the Azure portal or by using the Azure Quota REST API.
The type of quota increase depends on the pool allocation mode of your Batch account. To request a quota increase, you must include the VM series for which you would like to increase the quota. When the quota increase is applied, it's applied to all series of VMs.
When you create your request, you can select the following two quota types:
Select Per Batch account to request quota increases for a single Batch account. These quota increases can include dedicated and Spot cores and the number of jobs and pools. If you select this option, specify the Batch account to which this request applies. Then, select the quota(s) you'd like to update and provide the new limit you're requesting for each resource. The Spot quota is a single value across all VM series. If you need constrained SKUs, select Spot cores and include the VM families to request.
Select All accounts in this region to request quota increases that apply to all Batch accounts in a region. For example, use this option to increase the number of Batch accounts per region per subscription.
After you submit your support request, Azure support will contact you. Quota requests may be completed within a few minutes or up to two business days. Once the quota request is completed or fulfilled, the pool creation should be successful.
Scenario 4: Transient internal server error during Batch pool resizing
Symptom for Scenario 4
The Batch pool has been operating normally for some time. However, the resize operation unexpectedly failed with an internal server error, or the resize operation remained in the resizing state.
Here's the error message:
Code: AllocationFailed
Message:
Desired number of dedicated nodes could not be allocated
Values:
Reason - The server encountered an internal error.
Cause: Transient internal server issue
The Batch service may experience occasional glitches or regional infrastructure issues that can affect its performance.
Solution: Retry the resize operation, create a new pool, or use another region
To reduce the impact on your production, use the following methods:
- Retry your resize request after a few minutes.
- Create a new pool.
- Use the Batch service in another available region as a failover if the methods above aren't helpful.
Scenario 5: Insufficient capacity for the requested VM size in the current region
Symptom for Scenario 5
The Batch pool has been operating normally for some time. However, the resize operation failed with an insufficient capacity error, or the resize operation remained in the resizing state.
Here's the error message:
Code: AllocationFailed
Message:
Desired number of dedicated nodes could not be allocated
Values:
Reason - Deployment allocation failed due to insufficient capacity for the requested VM size in the region.
Cause: Infrastructure limitations
The Batch service may experience these issues due to some infrastructure limitations. It's not related to users' core quota.
Solution: Retry the resize operation, create a new pool with a different VM size, or use another region
To resolve this issue, try the following methods:
Retry the resize operation.
Resource availability can change as resources are constantly freed up in the cluster, region, or zone.
Change the VM size and create a new pool with a different VM size.
Use the Batch service in another available region.
Scenario 6: Azure Batch service permission issue
Symptom for Scenario 6
The following error message appears in the Overview pane of the pool:
Resize errors:
Desired number of dedicated nodes could not be allocated (Code: AllocationFailed)
Details:
- Azure Batch Service does not have the desired permissions to perform a pool operation. (Code: Reason)
Cause: Azure Batch service doesn't have permission to manage compute resources
This error only happens in user subscription pool allocation mode. In user subscription pool allocation mode, when a pool is created, the compute and VM-related resources for this pool are created directly in the Batch account subscription. As a result, the Azure Batch service needs the right permission (the Contributor or Owner role) to manage these compute and VM-related resources in a user's subscription.
Solution: Grant the right permissions for Microsoft Azure Batch
- In the Azure portal, search for and select subscriptions.
- On the Subscriptions page, select the subscription you want to use for the Batch account.
- Select Access control (IAM) from the left navigation.
- At the top of the Access control (IAM) page, select Add > Add role assignment.
- On the Add role assignment screen, under Assignment type, select Privileged administrator role, and then select Next.
- On the Role tab, select the Contributor or Owner role for the Batch account, and then select Next.
- On the Members tab, select Select members. On the Select members screen, search for and select Microsoft Azure Batch, and then select Select.
- Select the Review + assign tab, and then select assign.
For more information, see Allow Batch to access the subscription.
Scenario 7: Key vault permission issue
Symptom for Scenario 7
The following error message appears in the Overview pane of the pool:
Resize errors:
Desired number of dedicated nodes could not be allocated (Code: AllocationFailed)
Details:
- Allocation failed as Batch is not authorized to access the key vault. (Code: Reason)
Cause: Azure Batch service doesn't have permission to access the associated key vault
This error only happens in user subscription pool allocation mode. In user subscription pool allocation mode, Azure Batch needs to access the associated Azure key vault to manage secrets for pool resize operations.
Solution: Grant access to the key vault
In the Azure Batch portal, select Properties from the left navigation.
At the bottom of the page, find the name of the associated Azure Key Vault.
Search for and select the associated Azure Key Vault.
Select Access configuration under Settings from the left navigation.
Check the Permission model of your key vault.
If the key vault permission model is Azure role-based access control, follow these steps:
Select Access control (IAM) from the left navigation of the key vault page.
At the top of the Access control (IAM) page, select Add > Add role assignment.
On the Add role assignment screen, under the Role tab, under the Job function roles subtab, select the Key Vault Secrets Officer or Key Vault Administrator role for the Batch account, and then select Next.
On the Members tab, select Select members. On the Select members screen, search for and select Microsoft Azure Batch, and then select Select.
Select Review + create at the bottom to go to the Review + assign tab, and then select Review + create again.
For detailed steps, see Assign Azure roles by using the Azure portal.
If the key vault permission model is Vault access policy, follow these steps:
Select Access policies from the left navigation of the key vault page.
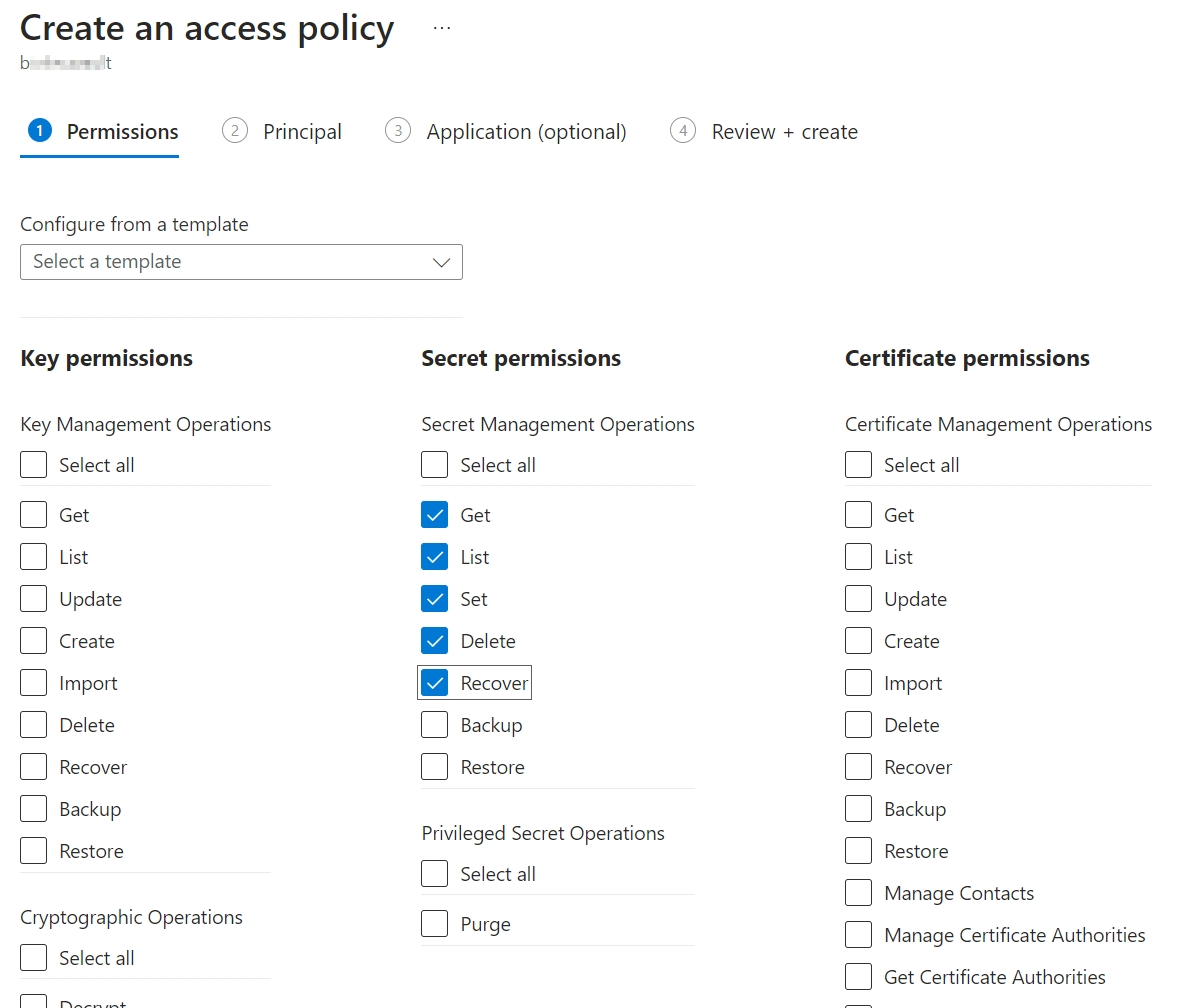
On the Access policies page, select Create.
On the Create an access policy screen, under Secret permissions, select a minimum of the Get, List, Set, and Delete permissions. For key vaults with soft-delete enabled, also select Recover.
Select Next.
On the Principal tab, search for and select Microsoft Azure Batch.
Select the Review + create tab, and then select Create.
For more information, see Grant access to the key vault manually.
Contact us for help
If you have questions or need help, create a support request, or ask Azure community support. You can also submit product feedback to Azure feedback community.
Feedback
Coming soon: Throughout 2024 we will be phasing out GitHub Issues as the feedback mechanism for content and replacing it with a new feedback system. For more information see: https://aka.ms/ContentUserFeedback.
Submit and view feedback for