Note
Access to this page requires authorization. You can try signing in or changing directories.
Access to this page requires authorization. You can try changing directories.
This article provides a few resolutions for the issue where the chat widget doesn't load on the portal in Omnichannel for Customer Service.
Symptoms
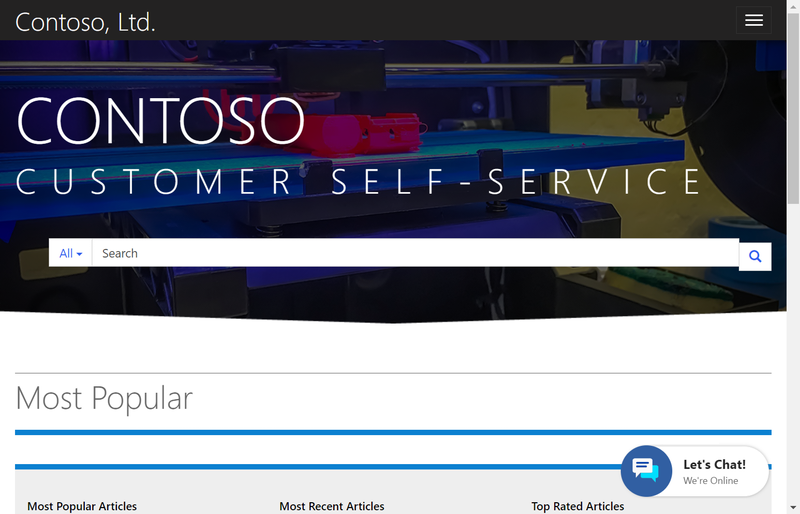
The chat widget doesn't load on the portal.
Cause
There are multiple reasons why this issue may happen, depending on your configuration. There are five ways to try to resolve the issue.
Resolution 1: Location option
The Location option for the chat widget might be configured incorrectly.
Delete the location in Widget location, and then recreate it.
To delete and add Widget location for the chat widget, follow these steps:
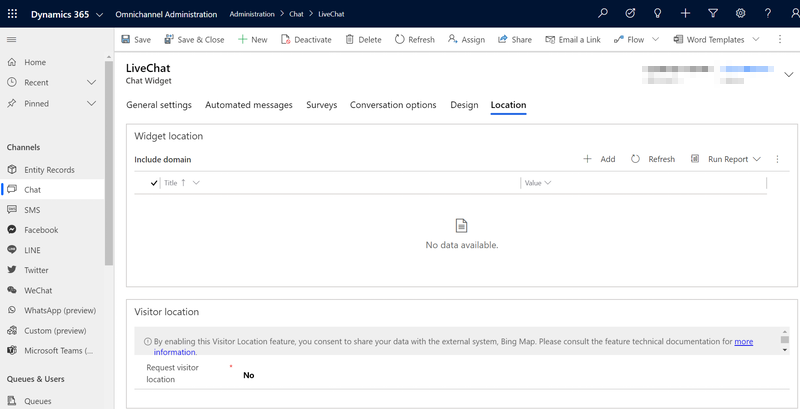
Sign in to the Omnichannel Administration app.
Go to Administration > Chat.
Select a chat widget from the list.
Select the Location tab.
Select a record in the Widget Location section, and then select Delete.
Select Save.
Select Add in the Widget Location section to add a record. The quick create pane of the chat widget location appears.
Specify the following details.
Field Value Title Type the title of record. Value The website domain where the chat widget must be displayed. The domain format shouldn't include the protocol ( httporhttps). For example, the website ishttps://contoso.microsoftcrmportals.com. Now, the value iscontoso.microsoftcrmportals.com.Select Save to save the record.
Go to the website and check whether the chat widget loads.
Note
The chat widget requires session storage and local storage to be functional in your browser. Make sure you have cookies enabled in your browser so these services can work properly.
Resolution 2: Remove location
Alternatively, try removing the chat widget location.
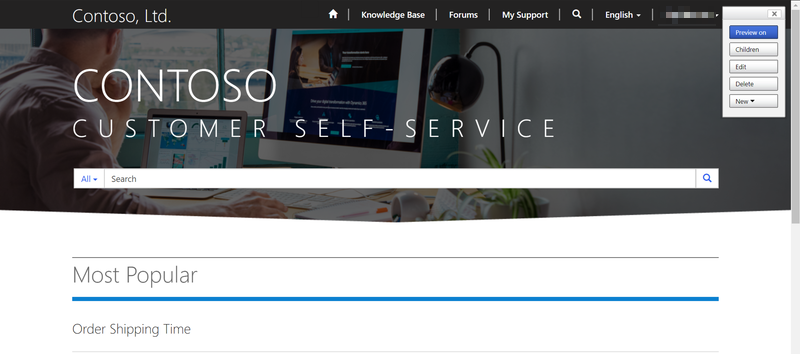
Resolution 3: Clear portal cache
Clear the portal cache by taking the following steps:
Go to your portal and sign in as a portal administrator.
Add the following text to the end of your portal URL:
/_services/about
For example:
https://contoso.powerappsportals.com/_services/aboutSelect Clear cache.
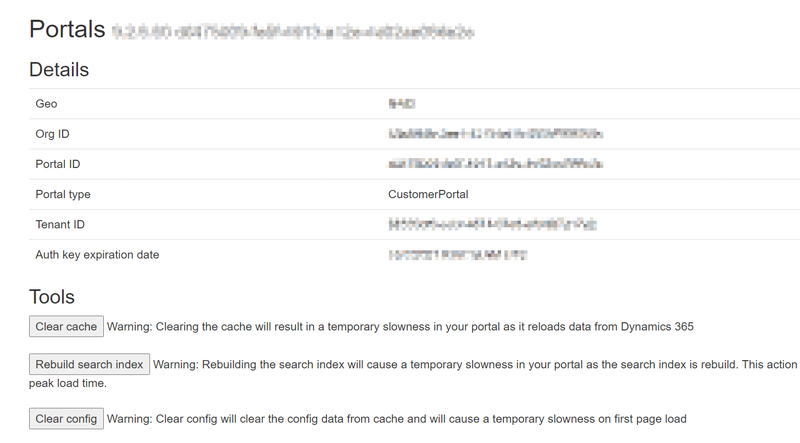
Reload the portal.
Also, make sure that your web browser allows third-party cookies.
Resolution 4: Sync portal configurations
To sync portal configurations, take the following steps:
Go to Power Apps.
Find and select your portal, and then select Edit.
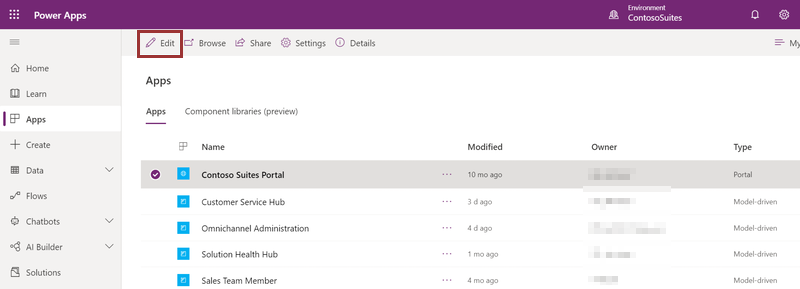
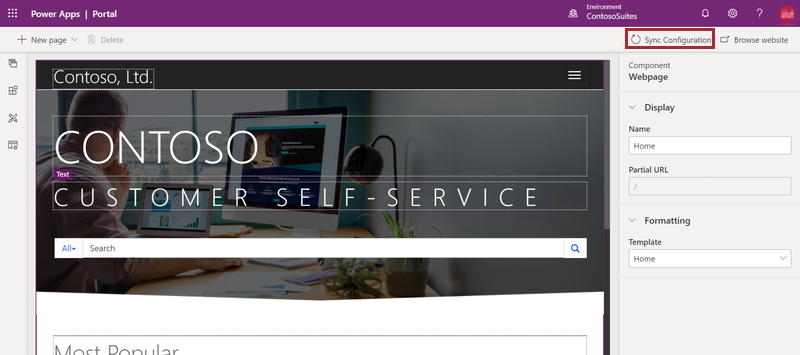
Select Sync Configuration.
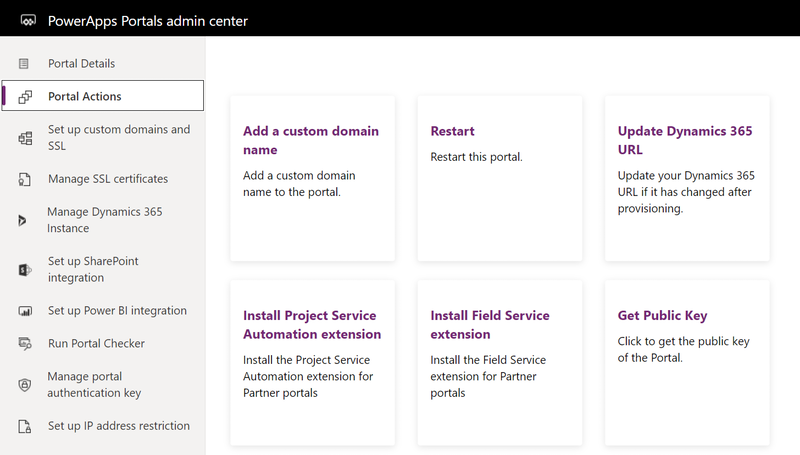
Resolution 5: Restart portal
Restart the portal by taking the following steps:
Go to Power Apps.
Select your portal, and then under Advanced options, select Settings > Administration.
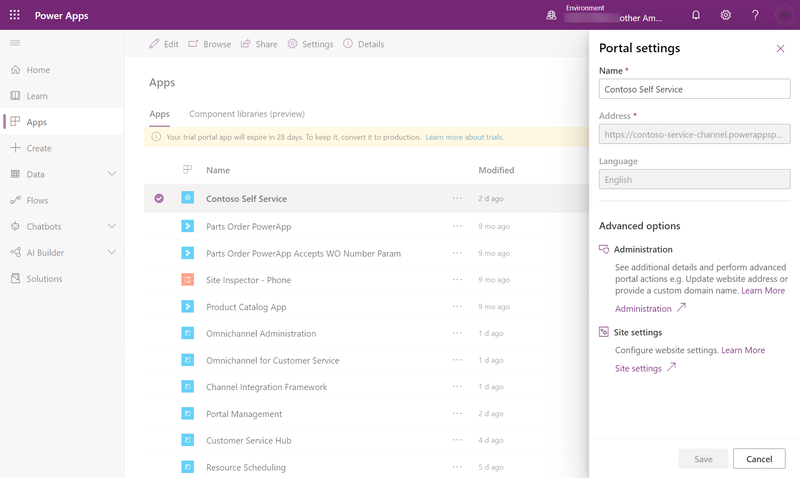
Select Restart.