Note
Access to this page requires authorization. You can try signing in or changing directories.
Access to this page requires authorization. You can try changing directories.
This tutorial shows you how to create a C++ "Hello World" program that uses the
fmt library with MSBuild, vcpkg, and Visual Studio. You'll install
dependencies, configure the project, build, and run a simple application.
Prerequisites
- Visual Studio with C++ development workload
- Git
- Windows 7 or newer
1 - Set up vcpkg
Clone the repository
The first step is to clone the vcpkg repository from GitHub. The repository contains scripts to acquire the vcpkg executable and a registry of curated open-source libraries maintained by the vcpkg community. To do this, run:
git clone https://github.com/microsoft/vcpkg.gitThe vcpkg curated registry is a set of over 2,000 open-source libraries. These libraries have been validated by vcpkg's continuous integration pipelines to work together. While the vcpkg repository does not contain the source code for these libraries, it holds recipes and metadata to build and install them in your system.
Run the bootstrap script
Now that you have cloned the vcpkg repository, navigate to the
vcpkgdirectory and execute the bootstrap script:cd vcpkg && bootstrap-vcpkg.batcd vcpkg; .\bootstrap-vcpkg.batcd vcpkg && ./bootstrap-vcpkg.shThe bootstrap script performs prerequisite checks and downloads the vcpkg executable.
That's it! vcpkg is set up and ready to use.
Integrate with Visual Studio MSBuild
The next step is to enable user-wide vcpkg integration, this makes MSBuild aware of vcpkg's installation path.
Run
.\vcpkg.exe integrate installThis outputs:
All MSBuild C++ projects can now #include any installed libraries. Linking will be handled automatically. Installing new libraries will make them instantly available.
2 - Set up the Visual Studio project
Create the Visual Studio project
Create a new project in Visual Studio using the "Console Application" template
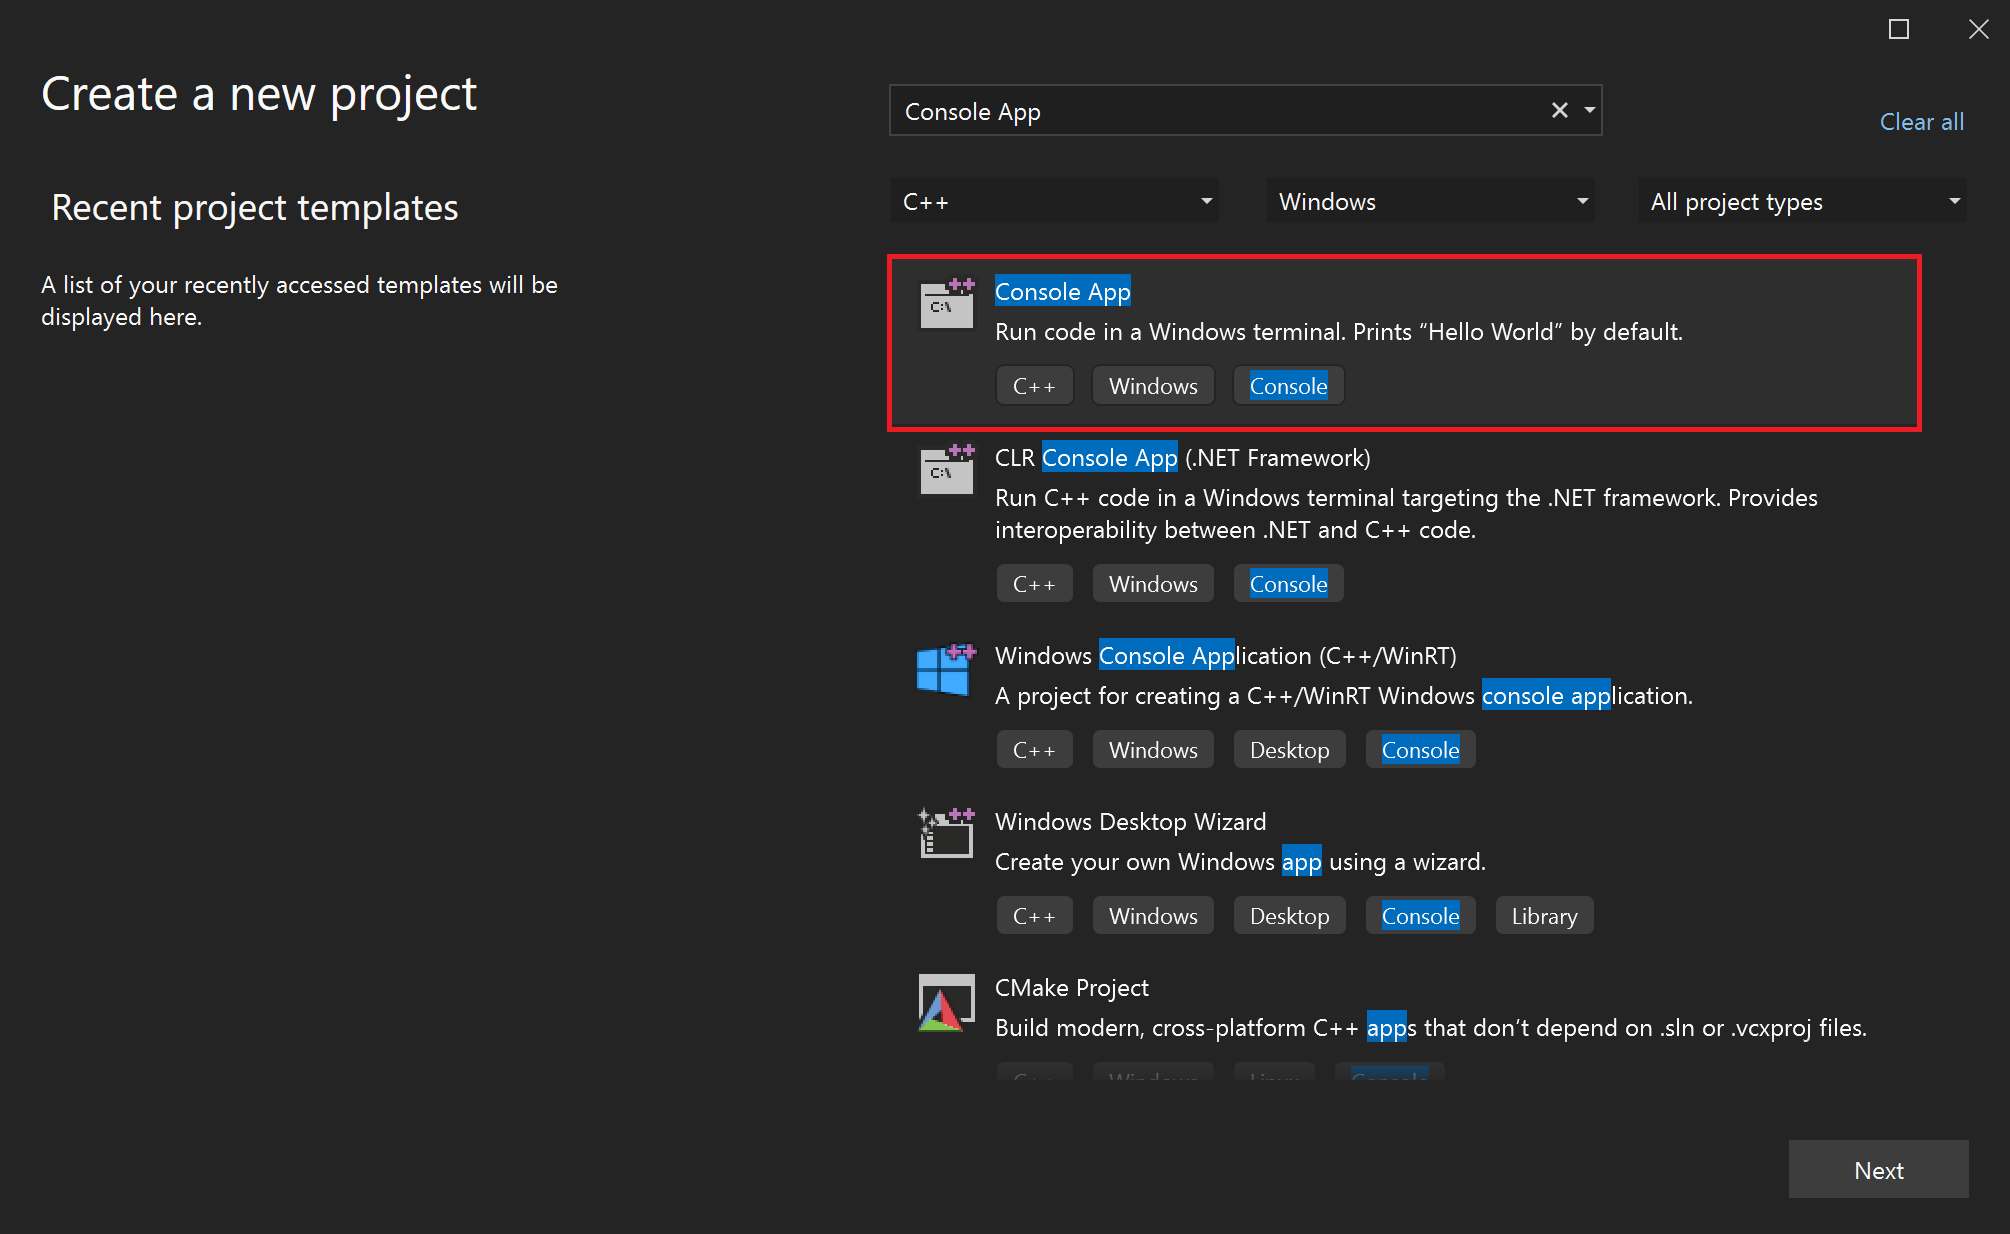
Screenshot of the Visual Studio UI for showing how to create a new C++ Windows console application in Visual Studio
Name your project "helloworld"
Check the box for "Place solution and project in the same directory."
Click the "Create" button
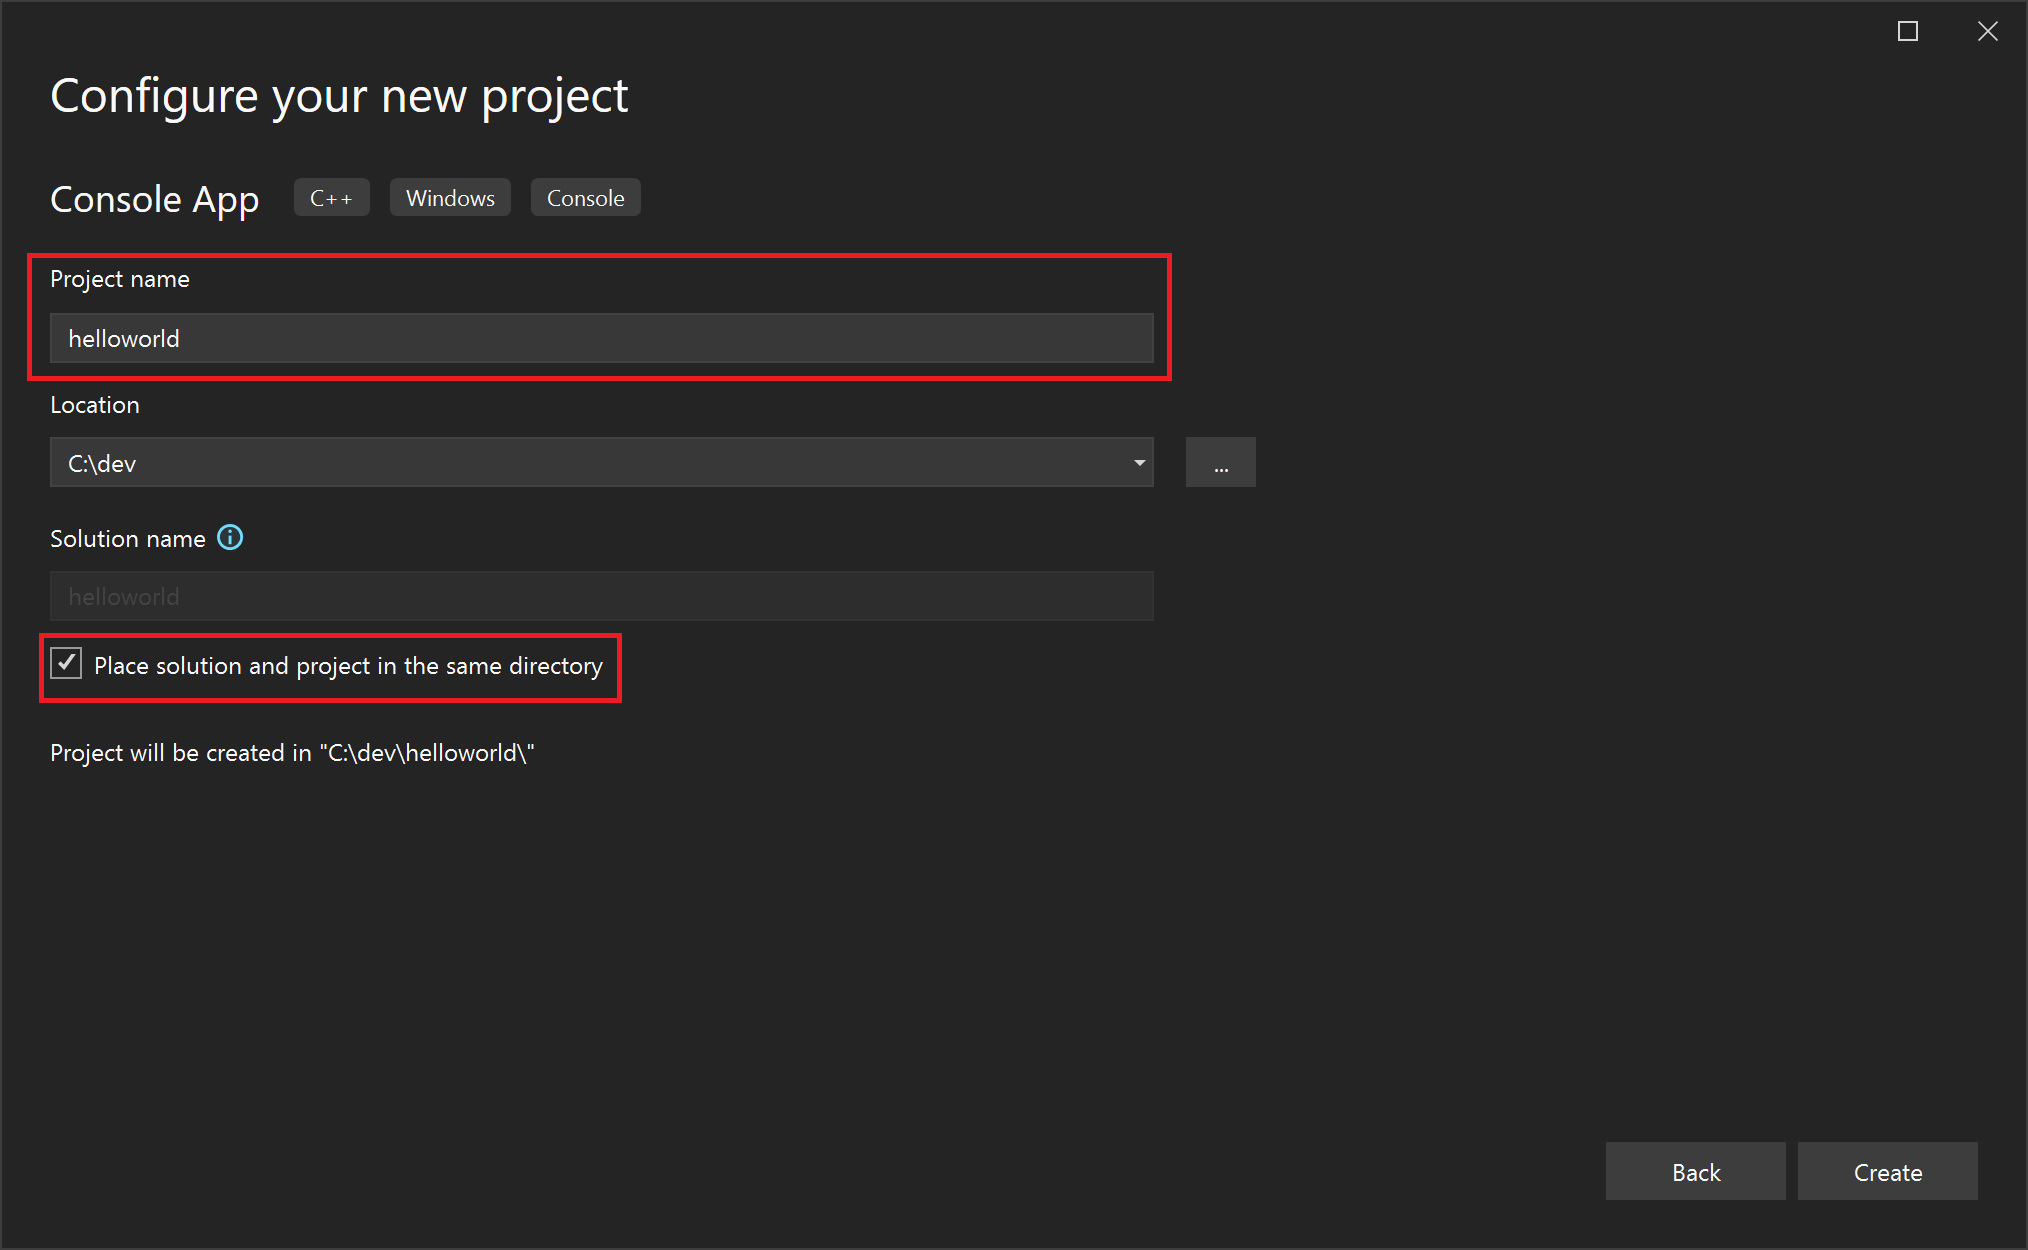
Screenshot of Visual Studio UI for naming your MSBuild C++ project and clicking the "create" button.
Configure the
VCPKG_ROOTenvironment variable.Note
Setting environment variables in this manner only affects the current terminal session. To make these changes permanent across all sessions, set them through the Windows System Environment Variables panel.
Open the built-in Developer PowerShell window in Visual Studio.

Screenshot of Visual Studio UI for the built-in PowerShell developer window
Run the following commands:
$env:VCPKG_ROOT = "C:\path\to\vcpkg"
$env:PATH = "$env:VCPKG_ROOT;$env:PATH"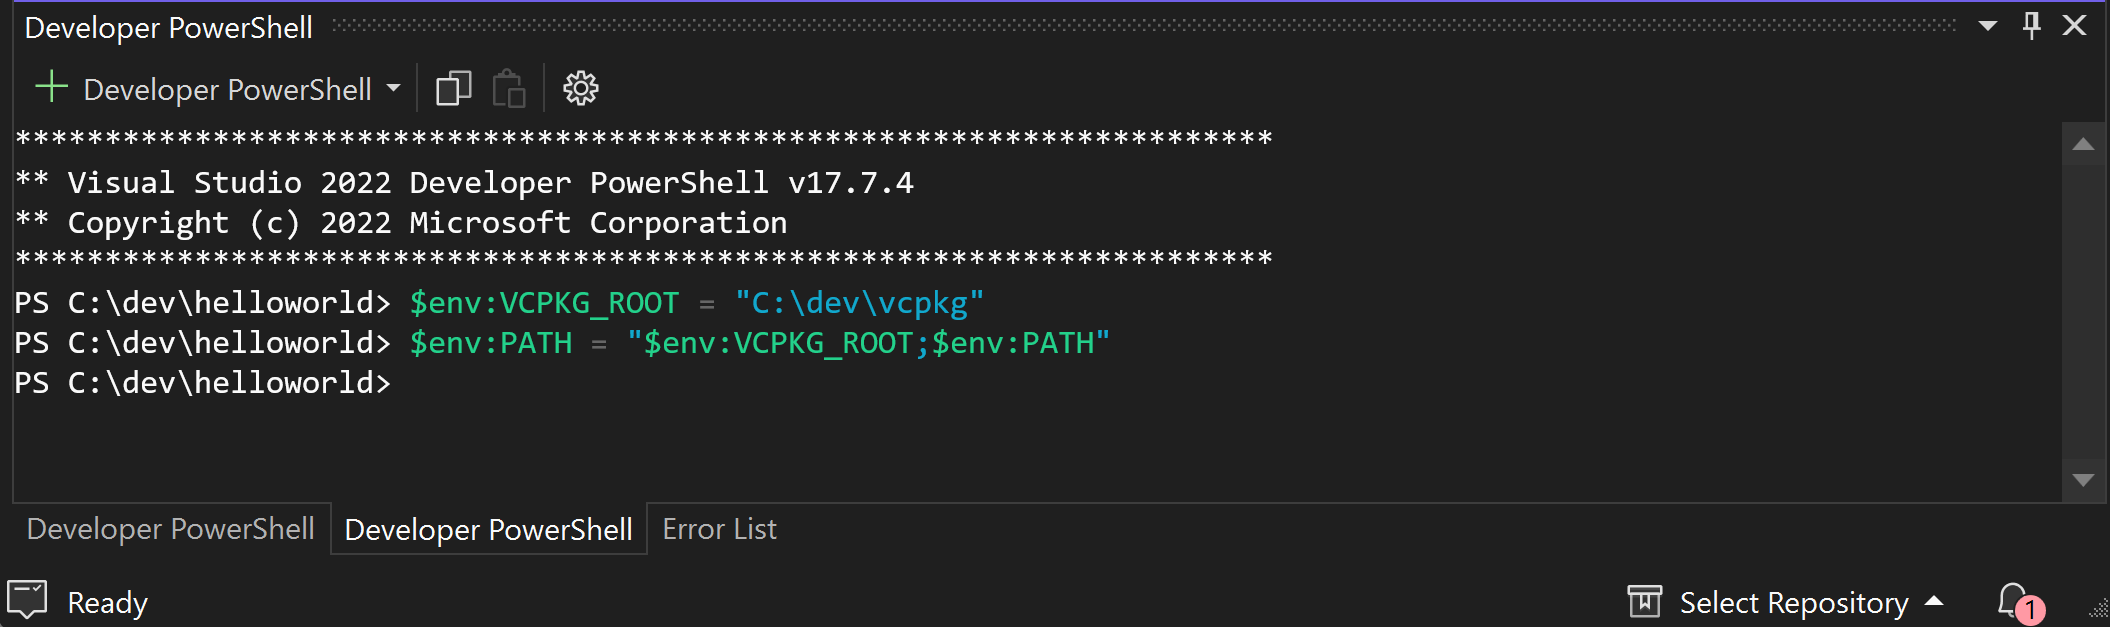
Screenshot of Visual Studio UI for the built-in PowerShell developer window showing how to set up VCPKG_ROOT and and add it to PATH.
Open the Developer command prompt in Visual Studio.
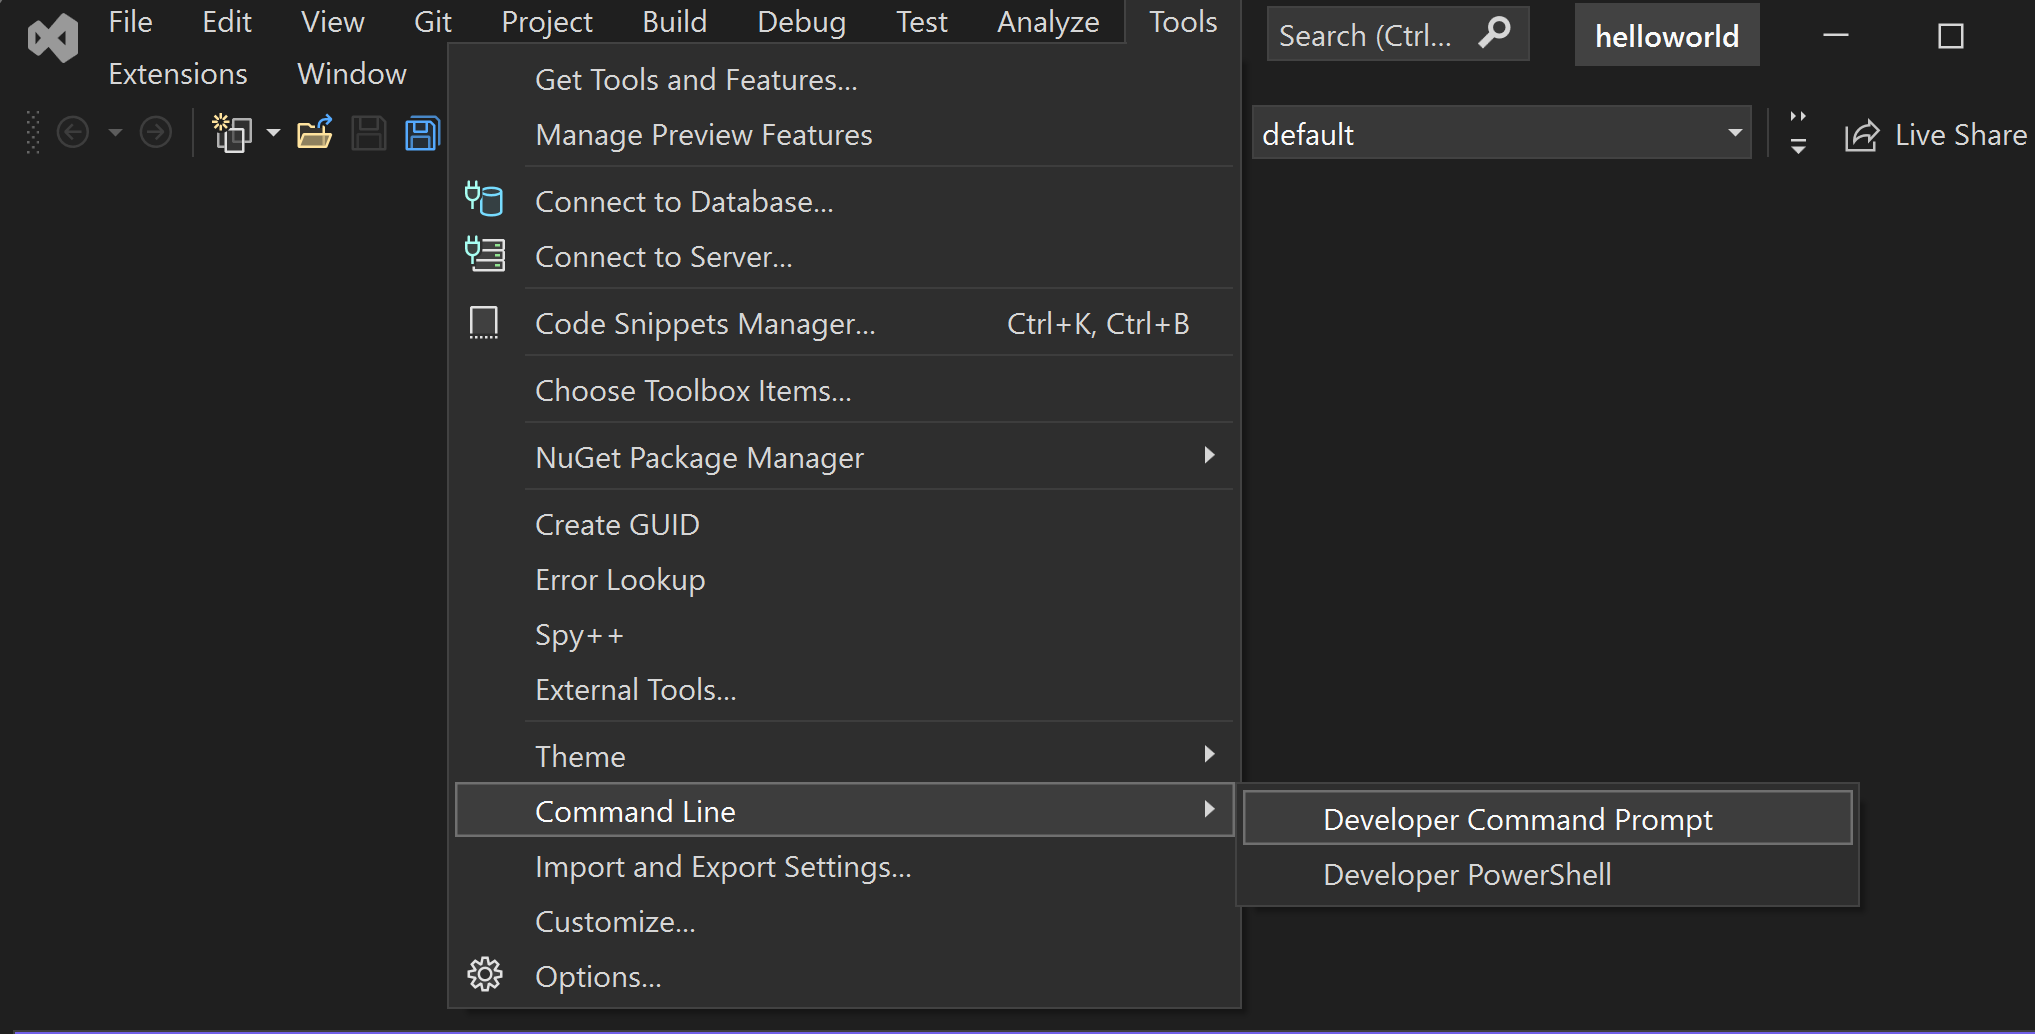
Screenshot of Visual Studio UI for developer command prompt.
Run the following commands:
set "VCPKG_ROOT=C:\path\to\vcpkg"
set PATH=%VCPKG_ROOT%;%PATH%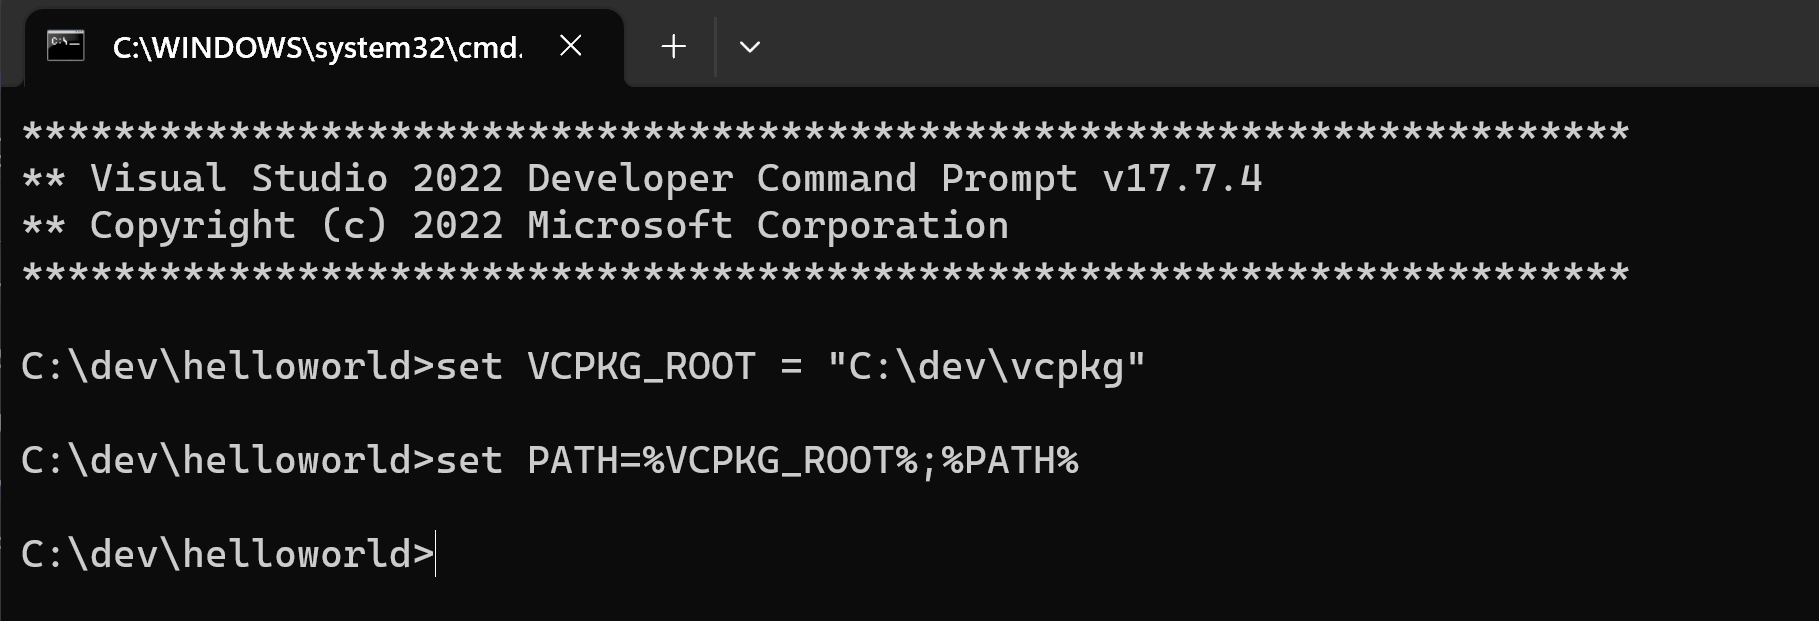
Screenshot of Visual Studio developer command prompt showing how to set up VCPKG_ROOT and and add it to PATH.
Setting
VCPKG_ROOThelps Visual Studio locate your vcpkg instance. Adding it toPATHensures you can run vcpkg commands directly from the shell.Generate a manifest file and add dependencies.
Run the following command to create a vcpkg manifest file (
vcpkg.json):vcpkg new --applicationThe
vcpkg newcommand adds avcpkg.jsonfile and avcpkg-configuration.jsonfile in the project's directory.Add the
fmtpackage as a dependency:vcpkg add port fmtYour
vcpkg.jsonshould now contain:{ "dependencies": [ "fmt" ] }This is your manifest file. vcpkg reads the manifest file to learn what dependencies to install and integrates with MSBuild to provide the dependencies required by your project.
The generated
vcpkg-configuration.jsonfile introduces a baseline that places minimum version constraints on the project's dependencies. Modifying this file is beyond the scope of this tutorial. While not applicable in this tutorial, it's a good practice to keep thevcpkg-configuration.jsonfile under source control to ensure version consistency across different development environments.
3 - Set up the project files
Modify the
helloworld.cppfile.Replace the content of
helloworld.cppwith the following code:#include <fmt/core.h> int main() { fmt::print("Hello World!\n"); return 0; }This source file includes the
<fmt/core.h>header which is part of thefmtlibrary. Themain()function callsfmt::print()to output the "Hello World!" message to the console.Note
The code editor may underline the lines referencing
fmtfiles and symbols as errors. You need to build your project once for vcpkg to install the dependencies and make auto-completion tools evaluate the code correctly.
4 - Enable manifest mode
Navigate to your Project Properties page.
Using the menu navigation at the top, choose Project > Properties. A new window will open.
Navigate to Configuration Properties > vcpkg, and set
Use vcpkg ManifesttoYes.
Screenshot of enabling vcpkg manifest mode in Visual Studio Project Properties
Other settings, such as triplets, are filled in with default values vcpkg detects from your project and will be useful when configuring your project.
5 - Build and run the project
Build the project.
Press
Ctrl+Shift+Bto build the project in Visual Studio and acquire the vcpkg dependencies.If MSBuild detects a
vcpkg.jsonfile and manifests are enabled in your project, MSBuild installs the manifest's dependencies as a pre-build step. Dependencies are installed in avcpkg_installeddirectory in the project's build output directory. Any headers installed by the library can be directly used, and any libraries installed will be automatically linked.Run the application.
Finally, run the executable:

Screenshot of Visual Studio UI for running the executable.
You should see the output:
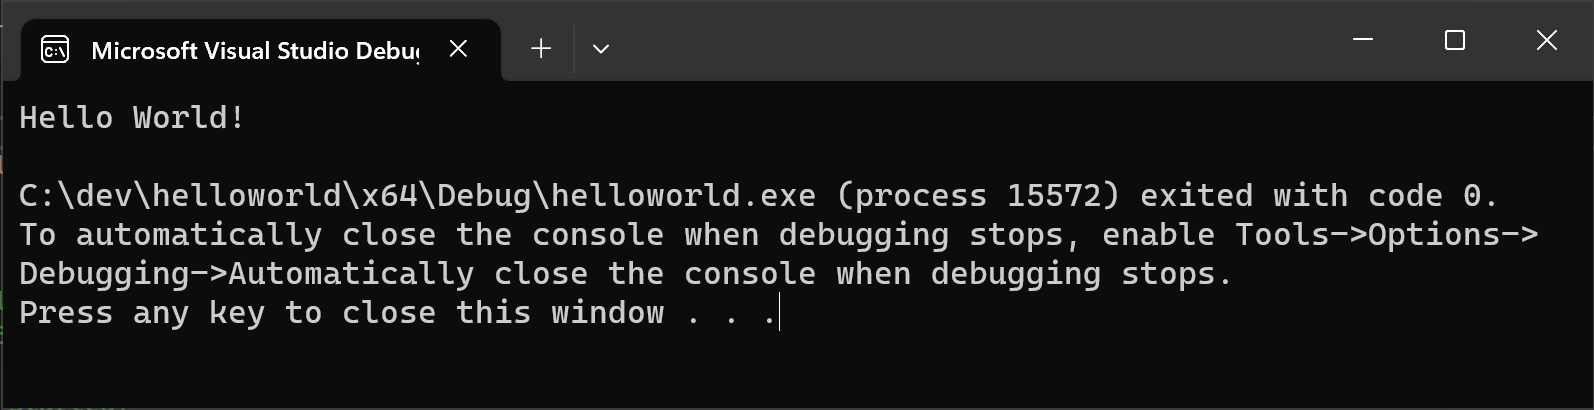
Screenshot of the program outputs - "Hello World!"
Next steps
To learn more about vcpkg.json and vcpkg MSBuild integration, see our reference documentation:
Collaborate with us on GitHub
The source for this content can be found on GitHub, where you can also create and review issues and pull requests. For more information, see our contributor guide.
