Note
Access to this page requires authorization. You can try signing in or changing directories.
Access to this page requires authorization. You can try changing directories.
Windows Admin Center helps you run containers locally on your container host.
In Windows Admin Center with the Containers extension installed, open the container host you want to manage.
Under Tools in the left pane, select the Containers extension.
Select the Images tab under Container host.
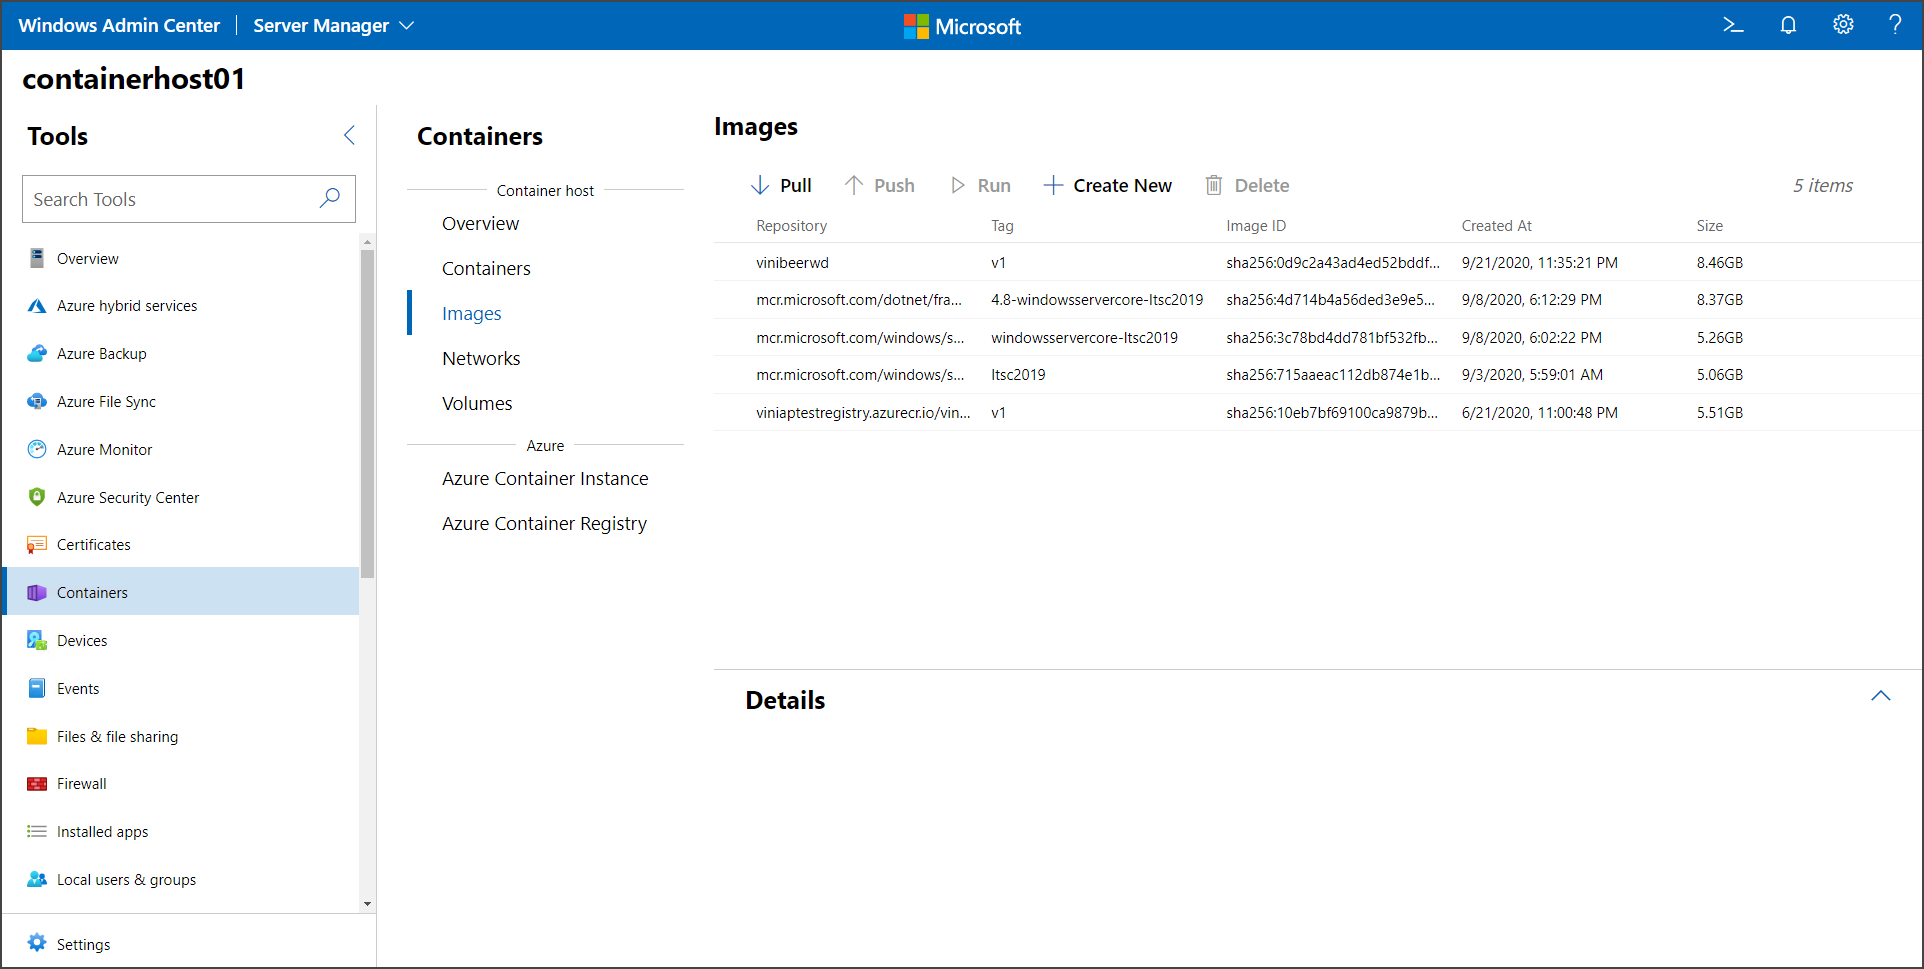
Select the image you want to run and click Run.
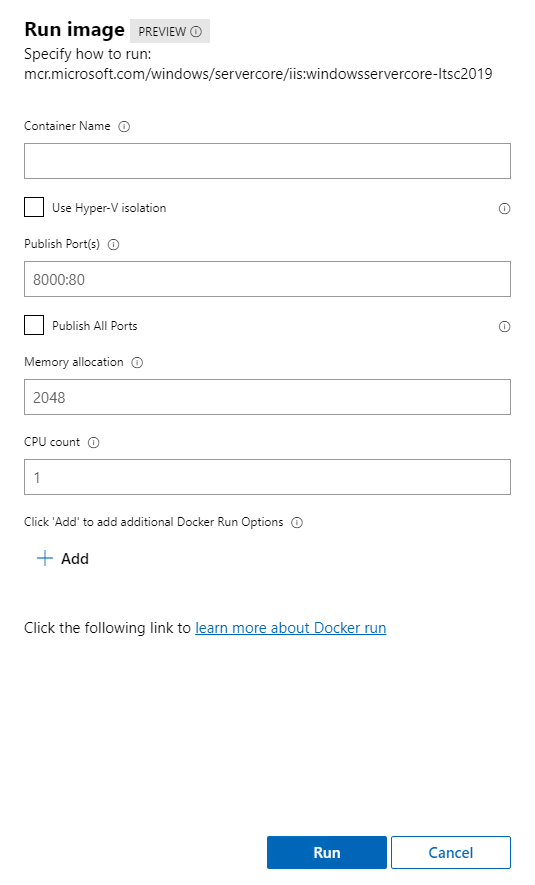
Under Run image, you can specify the container-related configuration:
- Container name: This is an optional input. You can provide a container name to help you track the container you created - otherwise, Docker will provide a generic name to it.
- Isolation type: You can choose to use hypervisor instead of the default process isolation. For more information on isolation modes for Windows Containers, see Isolation Modes.
- Publish ports: By default, Windows containers use NAT for the networking mode. This means a port on the container host will be mapped to the container. This option allows you to specify that mapping.
- Memory allocation and CPU count: You can specify how much memory and how many CPUs that a container should be able to use. This option does not allocate the assigned memory or CPU to the container. Rather, this option specifies the maximum amount a container will be able to allocate.
- Add: You can also append Docker run parameters that are not in the UI, such as -v for persistent volume. For more information on available Docker run parameters, see Docker documentation.
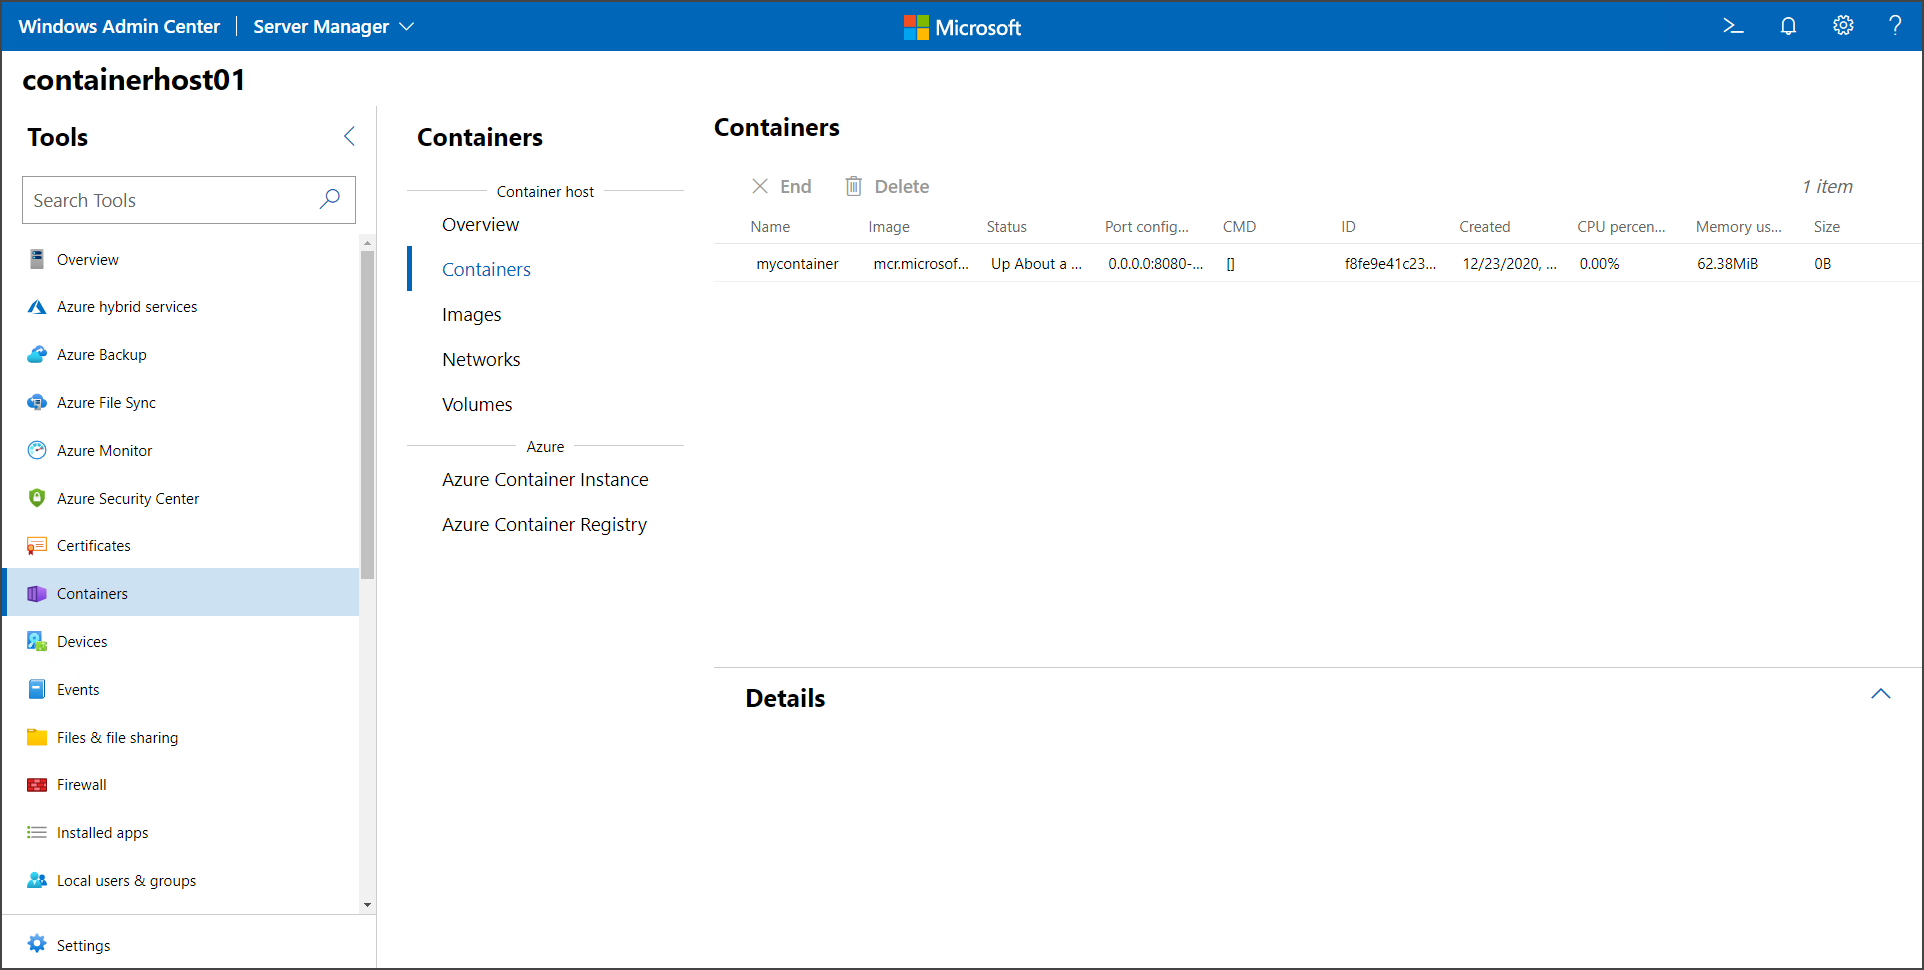
Once you've finished configuring the container, select Run. You can view the status of the running containers on the Containers tab: