Customizing editor behavior by using Language Configuration
You can implement customized language-specific syntax in the Visual Studio editor by using Language Configuration to enable language-specific syntax operations. As compared to using a Language Server, using Language Configuration can improve performance, since all of its operations are local.
What is Language Configuration
Visual Studio offers intelligent editing capabilities for various programming languages through language extensions. Language Configuration supplements the servers that use Language Server Protocol (LSP) and provides declarative data that enables the Visual Studio editor to make formatting, colorization, and completion decisions without the delay of making an asynchronous query to the LSP server. Declarative language features are defined in configuration files. For instance, HTML, CSS, and typescript-basic extensions bundled with Visual Studio offer a subset of the following declarative language features:
- Syntax highlighting
- Snippet completion
- Bracket matching
- Bracket autoclosing
- Comment toggling
- Autoindentation
Visual Studio provides the capability for extensions to define a language configuration for any programming language. The language configuration file controls fundamental editing features such as comment toggling, and bracket matching and surrounding.
Using Language Configuration helps with:
- Synchronous work on user typing
- Simplicity: Short JSON files with regular expressions are easier to maintain than complex algorithm
- Portability: Require no or minimal changes between Visual Studio Code and Visual Studio
Also, language configuration files provide an easy way to extend Visual Studio to support some basic refactoring features through an easy-to-read JSON file.
Add Language Configuration support to a Visual Studio extension
There are three parts to adding Language Configuration support to a Visual Studio extension:
- Create a VSIX project
- Create a Language Configuration file
- Add a grammar file
- Update the pkgdef file
You can explore a working sample at Language Configuration Sample.
Create a VSIX project
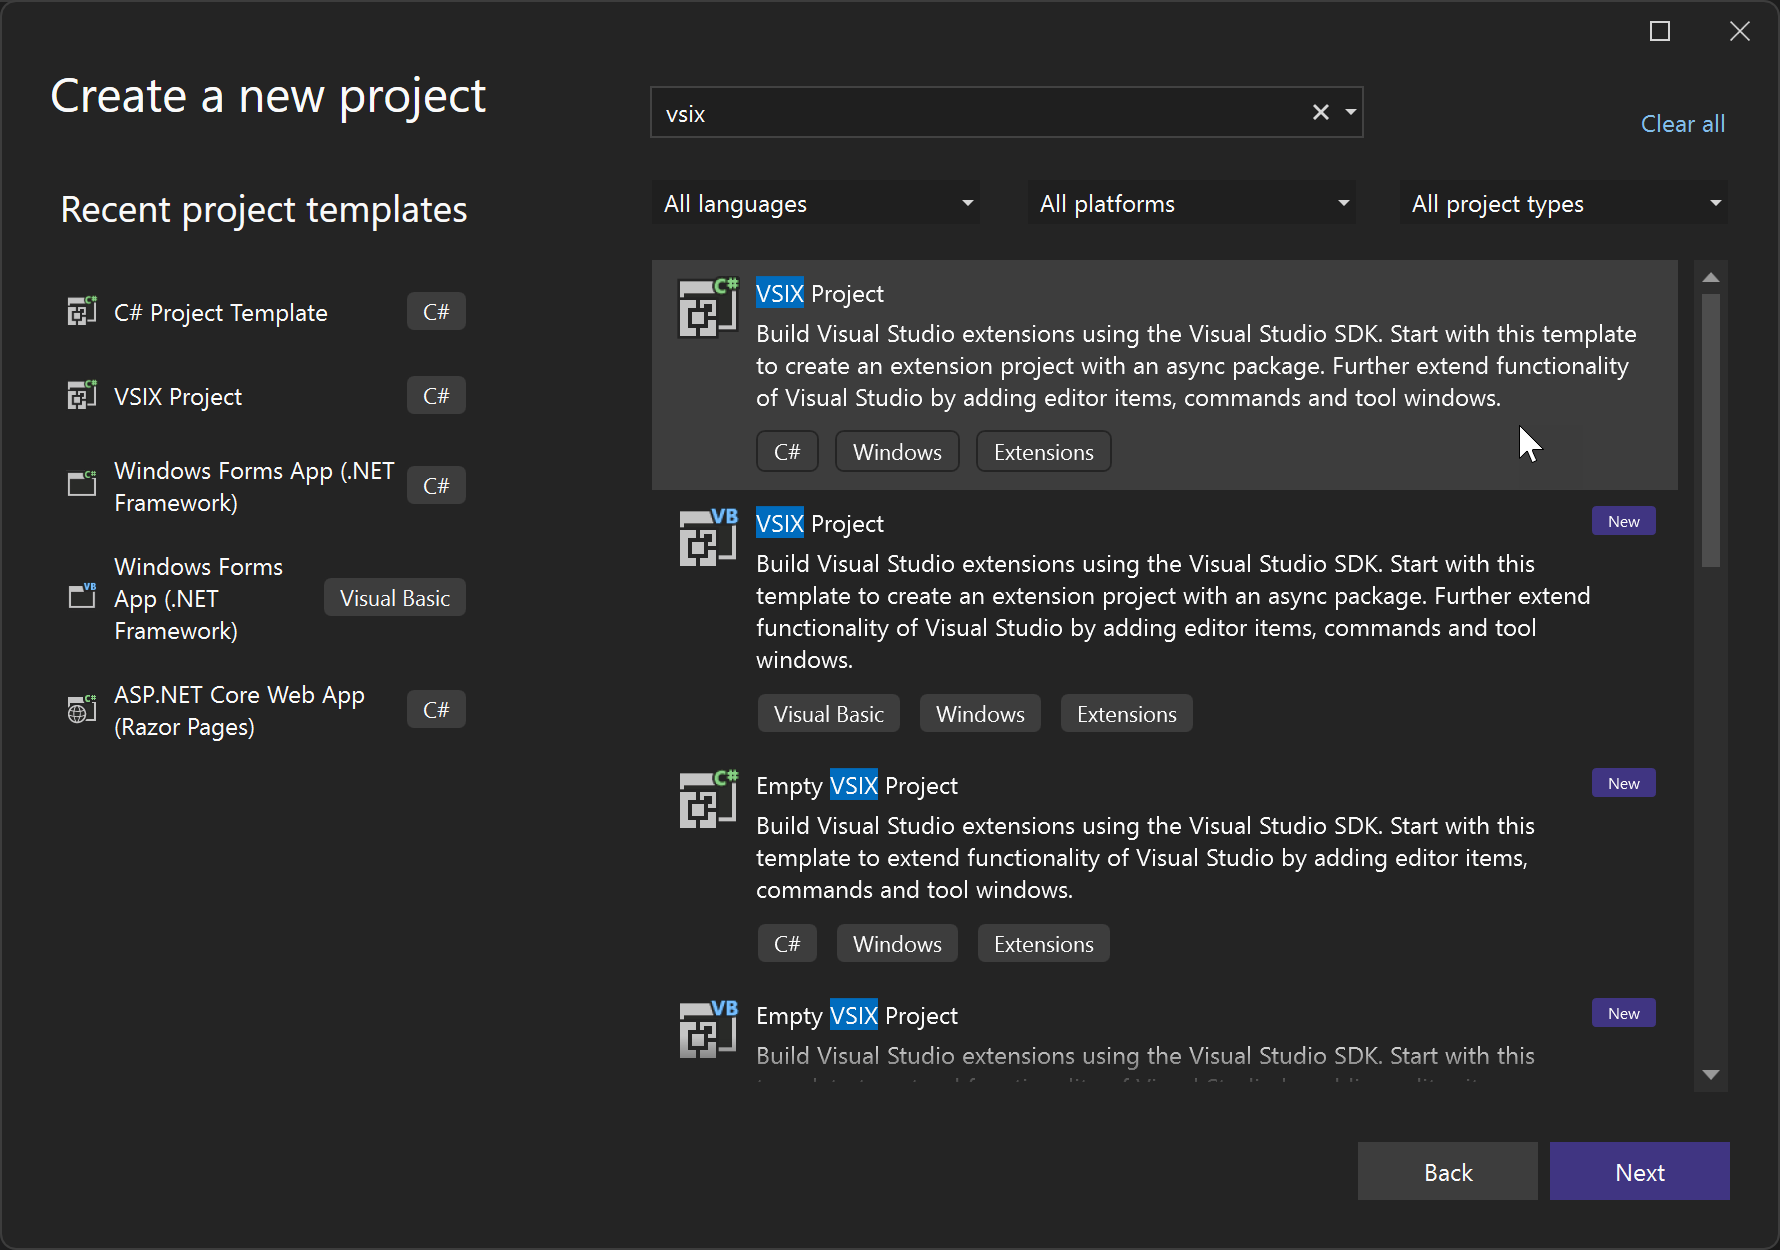
To create a language service extension using Language Configuration, first make sure you have the Visual Studio extension development Workload installed for your instance of VS.
Next, create a new VSIX project by navigating to File > New Project, search for "vsix," and look for VSIX Project:
Create a language configuration file
When making your own language configuration file, you can choose which aspects to onboard in the JSON file. For example, you can choose to support comment toggling, autoclosing of braces, or any combination of the available functionality described in this section.
To add support to your extension, you first create a language configuration file. The name of the file must follow a standard: use hyphens to separate the words in the filename, and make sure it ends with language-configuration.json.
The following code shows an example language configuration file.
{
    "comments": {
      "lineComment": "***",
      "blockComment": ["{*", "*}"]
    },
    "brackets": [
      ["@", "@"],
      ["#", "#"],
      ["$", "$"],
      ["(", ")"]
    ],
    "autoClosingPairs": [
      { "open": "{", "close": "}" },
      { "open": "@", "close": "@" },
      { "open": "#", "close": "#" },
      { "open": "$", "close": "$" },
      { "open": "(", "close": ")" },
      { "open": "'", "close": "'", "notIn": ["string", "comment"] },
      { "open": "\"", "close": "\"", "notIn": ["string"] },
    ],
    "autoCloseBefore": ";:.,=}])>` \n\t",
    "surroundingPairs": [
      ["@", "@"],
      ["#", "#"],
      ["$", "$"],
      ["[", "]"],
      ["(", ")"],
      ["'", "'"],
      ["\"", "\""],
      ["`", "`"]
    ],
    "wordPattern": "(-?\\d*\\.\\d\\w*)|([^\\`\\~\\!\\@\\#\\%\\^\\&\\*\\(\\)\\-\\=\\+\\[\\{\\]\\}\\\\\\|\\;\\:\\'\\\"\\,\\.\\<\\>\\/\\?\\s]+)",
    "indentationRules": {
      "increaseIndentPattern": "^((?!\\/\\/).)*(\\{[^}\"'`]*|\\([^)\"'`]*|\\[[^\\]\"'`]*)$",
      "decreaseIndentPattern": "^((?!.*?\\/\\*).*\\*/)?\\s*[\\)\\}\\]].*$"
    }
  }
Configuration settings
The following sections describe the settings that are available in the language configuration file.
Comment toggling
Language configuration files offer two commands for comment toggling. Toggle Line Comment and Toggle Block Comment. You can specify comments.blockComment and comments.lineComment to control how Visual Studio should comment out lines / blocks.
{
  "comments": {
    "lineComment": "//",
    "blockComment": ["/*", "*/"]
  }
}
This setting affects the behavior of the Visual Studio text editor when you press Ctrl+K, Ctrl+C.
Brackets definition
When you move the cursor to a bracket defined here, Visual Studio highlights that bracket together with its matching pair.
{
  "brackets": [["{", "}"], ["[", "]"], ["(", ")"]]
}
The relevant setting in the Visual Studio Tools > Options dialog, in Text Editor, General, Display, is the checkbox Enable brace pair colorization.
Autoclosing
When you type ', Visual Studio creates a pair of single quotes and puts the cursor in the middle: '|'. This section defines such pairs.
{
  "autoClosingPairs": [
    { "open": "{", "close": "}" },
    { "open": "[", "close": "]" },
    { "open": "(", "close": ")" },
    { "open": "'", "close": "'", "notIn": ["string", "comment"] },
    { "open": "\"", "close": "\"", "notIn": ["string"] },
    { "open": "`", "close": "`", "notIn": ["string", "comment"] },
    { "open": "/**", "close": " */", "notIn": ["string"] }
  ]
}
The notIn key disables this feature in certain code ranges. For example, when you're writing the following code:
// ES6's Template String
`ES6's Template String`;
The single quote is not autoclosed.
Pairs that don't require a notIn property can also use a simpler syntax:
{
  "autoClosingPairs": [ ["{", "}"], ["[", "]"] ]
}
Autoclosing before
By default, Visual Studio only autocloses pairs if there's whitespace right after the cursor. So, when you type { in the following JSX code, you would not get autoclose:
const Component = () =>
  <div className={>
                  ^ Does not get autoclosed by default
  </div>
However, this definition overrides that behavior:
{
  "autoCloseBefore": ";:.,=}])>` \n\t"
}
Now when you enter { right before >, Visual Studio autocloses it with }.
Autosurrounding
When you select a range in Visual Studio and enter an opening bracket, Visual Studio surrounds the selected content with a pair of brackets. This feature is called Autosurrounding, and here you can define the autosurrounding pairs for a specific language:
{
  "surroundingPairs": [
    ["{", "}"],
    ["[", "]"],
    ["(", ")"],
    ["'", "'"],
    ["\"", "\""],
    ["`", "`"]
  ]
}
The relevant setting in Visual Studio Tools > Options is in Text Editor, General, Display the checkbox Automatically surround selections when typing quotes or brackets.
Word pattern
wordPattern defines what's considered as a word in the programming language. Code suggestion features use this setting to determine word boundaries if wordPattern is set.
{
  "wordPattern": "(-?\\d*\\.\\d\\w*)|([^\\`\\~\\!\\@\\#\\%\\^\\&\\*\\(\\)\\-\\=\\+\\[\\{\\]\\}\\\\\\|\\;\\:\\'\\\"\\,\\.\\<\\>\\/\\?\\s]+)"
}
Indentation rules
indentationRules defines how the editor should adjust the indentation of current line or next line when you type, paste, and move lines, or when you format text with Ctrl+K, Ctrl+D (Format Document) and Ctrl+K, Ctrl+F (Format Selection).
{
  "indentationRules": {
    "increaseIndentPattern": "^((?!\\/\\/).)*(\\{[^}\"'`]*|\\([^)\"'`]*|\\[[^\\]\"'`]*)$",
    "decreaseIndentPattern": "^((?!.*?\\/\\*).*\\*/)?\\s*[\\)\\}\\]].*$"
  }
}
For example, if (true) { matches increaseIndentPattern, then if you press Enter after the open bracket {, the editor will automatically indent once, and your code will end up as:
if (true) {
  console.log();
In addition to increaseIndentPattern and decreaseIndentPatter, there are two other indentation rules:
indentNextLinePattern- If a line matches this pattern, then only the next line after it should be indented once.unIndentedLinePattern- If a line matches this pattern, then its indentation shouldn't be changed and it shouldn't be evaluated against the other rules.
If there's no indentation rule set for the programming language, the editor indents when the line ends with an open bracket and unindents when you type a closing bracket. The bracket here is defined by brackets.
Pressing Enter
onEnterRules defines a list of rules to evaluate when Enter is pressed in the editor.
{
  "onEnterRules": [{
    "beforeText": "^\\s*(?:def|class|for|if|elif|else|while|try|with|finally|except|async).*?:\\s*$",
    "action": { "indent": "indent" }
  }]
}
When pressing Enter, the text before, after, or one line above the cursor is checked against the following properties:
beforeText(mandatory). A regular expression that matches the text before the cursor (limited to the current line).afterText. A regular expression that matches the text after the cursor (limited to the current line).previousLineText. A regular expression that matches the text one line above the cursor.
If all the specified properties match, the rule is considered to match and no further onEnterRules are evaluated. An onEnterRule can specify the following actions:
indent(mandatory). One ofnone, indent, outdent, indentOutdent.nonemeans that the new line inherits the indentation of the current line.indentmeans that the new line is indented relative to the current line.outdentmeans that the new line is unindented relative to the current line.indentOutdentmeans that two new lines are inserted, one indented and the second one unindented.
appendText. A string that's appended after the new line and after the indentation.removeText. The number of characters to remove from the new line's indentation.
Property settings
In the extension project, make sure that your language-configuration.json file has the following property settings:
Build Action = Content
Include in VSIX = True
Copy to output = Copy always
(optional) Add a grammar file
In addition, you can add a TextMate grammar file to provide syntax coloring for the language. TextMate grammars are a structured collection of regular expressions and are written as a plist (XML) or JSON files. See Language Grammars. If you don't provide a language-specific grammar file, a built-in default setting is used.
To add custom TextMate grammar or theme files, follow these steps:
Create a folder named "Grammars" inside your extension (or it can be whatever name you choose).
Inside the Grammars folder, include any *.tmlanguage, *.plist, *.tmtheme, or *.json files you’d like that provide custom colorization.
Tip
A .tmtheme file defines how the scopes map to Visual Studio classifications (named color keys). For guidance, you can reference the global .tmtheme file in the %ProgramFiles(x86)%\Microsoft Visual Studio\<version>\<SKU>\Common7\IDE\CommonExtensions\Microsoft\TextMate\Starterkit\Themesg directory.
Create a pkgdef file
Next, create a .pkgdef file. A .pkgdef file contains all the registration information that would otherwise be added to the system registry. For more information about pkgdef files, see Registering VSPackages and What is a pkgdef file? And why?. In your pkgdef file, you should have the path to the language-configuration.json file and the path for the language grammar. Language services such as LSP ask for the editor content type and get that through Language Configuration. This information provides the language-specific intelligence inside a server that can communicate with development tooling. When a language service doesn't exist, the Language Configuration engine falls back to the TextMate grammar. Your .pkgdef file should look like this:
[$RootKey$\TextMate\Repositories]
"AspNetCoreRazor="$PackageFolder$\Grammars

// Defines where the language configuration file for a given
// grammar name is (value of the ScopeName tag in the tmlanguage file).
[$RootKey$\TextMate\LanguageConfiguration\GrammarMapping]
"text.aspnetcorerazor"="$PackageFolder$\language-configuration.json"

// Defines where the language configuration file for a given
// language name is (partial value of the content type name).
[$RootKey$\TextMate\LanguageConfiguration\ContentTypeMapping]
"RazorLSP"="$PackageFolder$\language-configuration.json"

[$RootKey$\TextMate\LanguageConfiguration\GrammarMapping]
"text.html.basic"="$PackageFolder$\html-language-configuration.json"
"source.js"="$PackageFolder$\javascript-language-configuration.json"
"source.css"="$PackageFolder$\css-language-configuration.json"
"source.cs"="$PackageFolder$\csharp-language-configuration.json
Make sure that the properties of the pkgdef file are set as follows:
Build Action = Content
Include in VSIX = True
Copy to output = Copy always
In order to make the language configuration information accessible for Visual Studio, include the language-configuration file in the VSIX package. Including this file means it ships with the Visual Studio Extension. The file lets Visual Studio know that a Language Configuration is available for use. To add the file, edit your vsixmanifest to add your PKGDEF def file, for example:
<Asset Type="Microsoft.VisualStudio.VsPackage" Path="Test.pkgdef"/>