Why Remote UI
One of the main goals of the VisualStudio.Extensibility model is to allow extensions to run outside of the Visual Studio process. This introduces an obstacle for adding UI support to extensions since most UI frameworks are in-process.
Remote UI is a set of classes allowing you to define WPF controls in an out-of-process extension and showing them as part of the Visual Studio UI.
Remote UI leans heavily towards the Model-View-ViewModel design pattern relying on XAML and data binding, commands (instead of events), and triggers (instead of interacting with the logical tree from code-behind).
While Remote UI was developed to support out-of-process extensions, VisualStudio.Extensibility APIs that rely on Remote UI, like ToolWindow, will use Remote UI for in-process extensions as well.
The main differences between Remote UI and normal WPF development are:
- Most Remote UI operations, including binding to the data context and command execution, are asynchronous.
- When defining data types to be used in Remote UI data contexts, they must be decorated with the
DataContractandDataMemberattributes. - Remote UI doesn't allow referencing your own custom controls.
- A Remote user control is fully defined in a single XAML file that references a single (but potentially complex and nested) data context object.
- Remote UI doesn't support code behind or event handlers (workarounds are described in the advanced Remote UI concepts document).
- A Remote user control is instantiated in the Visual Studio process, not the process hosting the extension: the XAML can't reference types and assemblies from the extension but can reference types and assemblies from the Visual Studio process.
Create a Remote UI Hello World extension
Start by creating the most basic Remote UI extension. Follow the instructions in Creating your first out-of-process Visual Studio extension.
You should now have a working extension with a single command, the next step is to add a ToolWindow and a RemoteUserControl. The RemoteUserControl is the Remote UI equivalent of a WPF user control.
You will end up with four files:
- a
.csfile for the command that opens the tool window, - a
.csfile for theToolWindowthat provides theRemoteUserControlto Visual Studio, - a
.csfile for theRemoteUserControlthat references its XAML definition, - a
.xamlfile for theRemoteUserControl.
Later on, you add a data context for the RemoteUserControl, which represents the ViewModel in the MVVM pattern.
Update the command
Update the code of the command to show the tool window using ShowToolWindowAsync:
public override Task ExecuteCommandAsync(IClientContext context, CancellationToken cancellationToken)
{
    return Extensibility.Shell().ShowToolWindowAsync<MyToolWindow>(activate: true, cancellationToken);
}
You can also consider changing CommandConfiguration and string-resources.json for a more appropriate display message and placement:
public override CommandConfiguration CommandConfiguration => new("%MyToolWindowCommand.DisplayName%")
{
    Placements = new[] { CommandPlacement.KnownPlacements.ViewOtherWindowsMenu },
};
{
  "MyToolWindowCommand.DisplayName": "My Tool Window"
}
Create the tool window
Create a new MyToolWindow.cs file and define a MyToolWindow class extending ToolWindow.
The GetContentAsync method is supposed to return an IRemoteUserControl which you'll define in the next step. Since the remote user control is disposable, take care of disposing it by overriding the Dispose(bool) method.
namespace MyToolWindowExtension;

using Microsoft.VisualStudio.Extensibility;
using Microsoft.VisualStudio.Extensibility.ToolWindows;
using Microsoft.VisualStudio.RpcContracts.RemoteUI;

[VisualStudioContribution]
internal class MyToolWindow : ToolWindow
{
    private readonly MyToolWindowContent content = new();

    public MyToolWindow(VisualStudioExtensibility extensibility)
        : base(extensibility)
    {
        Title = "My Tool Window";
    }

    public override ToolWindowConfiguration ToolWindowConfiguration => new()
    {
        Placement = ToolWindowPlacement.DocumentWell,
    };

    public override async Task<IRemoteUserControl> GetContentAsync(CancellationToken cancellationToken)
        => content;

    public override Task InitializeAsync(CancellationToken cancellationToken)
        => Task.CompletedTask;

    protected override void Dispose(bool disposing)
    {
        if (disposing)
            content.Dispose();

        base.Dispose(disposing);
    }
}
Create the remote user control
Perform this action across three files:
Remote user control class
The remote user control class, named MyToolWindowContent, is straightforward:
namespace MyToolWindowExtension;

using Microsoft.VisualStudio.Extensibility.UI;

internal class MyToolWindowContent : RemoteUserControl
{
    public MyToolWindowContent()
        : base(dataContext: null)
    {
    }
}
You don't need a data context yet, so you can set it to null for now.
A class extending RemoteUserControl automatically uses the XAML embedded resource with the same name. If you want to change this behavior, override the GetXamlAsync method.
XAML definition
Next, create a file named MyToolWindowContent.xaml:
<DataTemplate xmlns="http://schemas.microsoft.com/winfx/2006/xaml/presentation"
              xmlns:x="http://schemas.microsoft.com/winfx/2006/xaml"
              xmlns:vs="http://schemas.microsoft.com/visualstudio/extensibility/2022/xaml">
    <Label>Hello World</Label>
</DataTemplate>
As described previously, this file must have the same name as the remote user control class. To be precise, the full name of the class extending RemoteUserControl must match the name of the embedded resource. For example, if the full name of the remote user control class is MyToolWindowExtension.MyToolWindowContent, the embedded resource name should be MyToolWindowExtension.MyToolWindowContent.xaml. By default, embedded resources are assigned a name that is composed by the root namespace for the project, any subfolder path they may be under, and their file name. This may create problems if your remote user control class is using a namespace different from the project's root namespace or if the xaml file isn't in the project's root folder. If necessary, you can force a name for the embedded resource by using the LogicalName tag:
<ItemGroup>
  <EmbeddedResource Include="MyToolWindowContent.xaml" LogicalName="MyToolWindowExtension.MyToolWindowContent.xaml" />
  <Page Remove="MyToolWindowContent.xaml" />
</ItemGroup>
The XAML definition of the remote user control is normal WPF XAML describing a DataTemplate. This XAML is sent to Visual Studio and used to fill the tool window content. We use a special namespace (xmlns attribute) for Remote UI XAML: http://schemas.microsoft.com/visualstudio/extensibility/2022/xaml.
Setting the XAML as an embedded resource
Finally, open the .csproj file and make sure that the XAML file is treated as an embedded resource:
<ItemGroup>
  <EmbeddedResource Include="MyToolWindowContent.xaml" />
  <Page Remove="MyToolWindowContent.xaml" />
</ItemGroup>
You can also change the target framework for your extension from net6.0 to net6.0-windows in order to get better autocompletion in the XAML file.
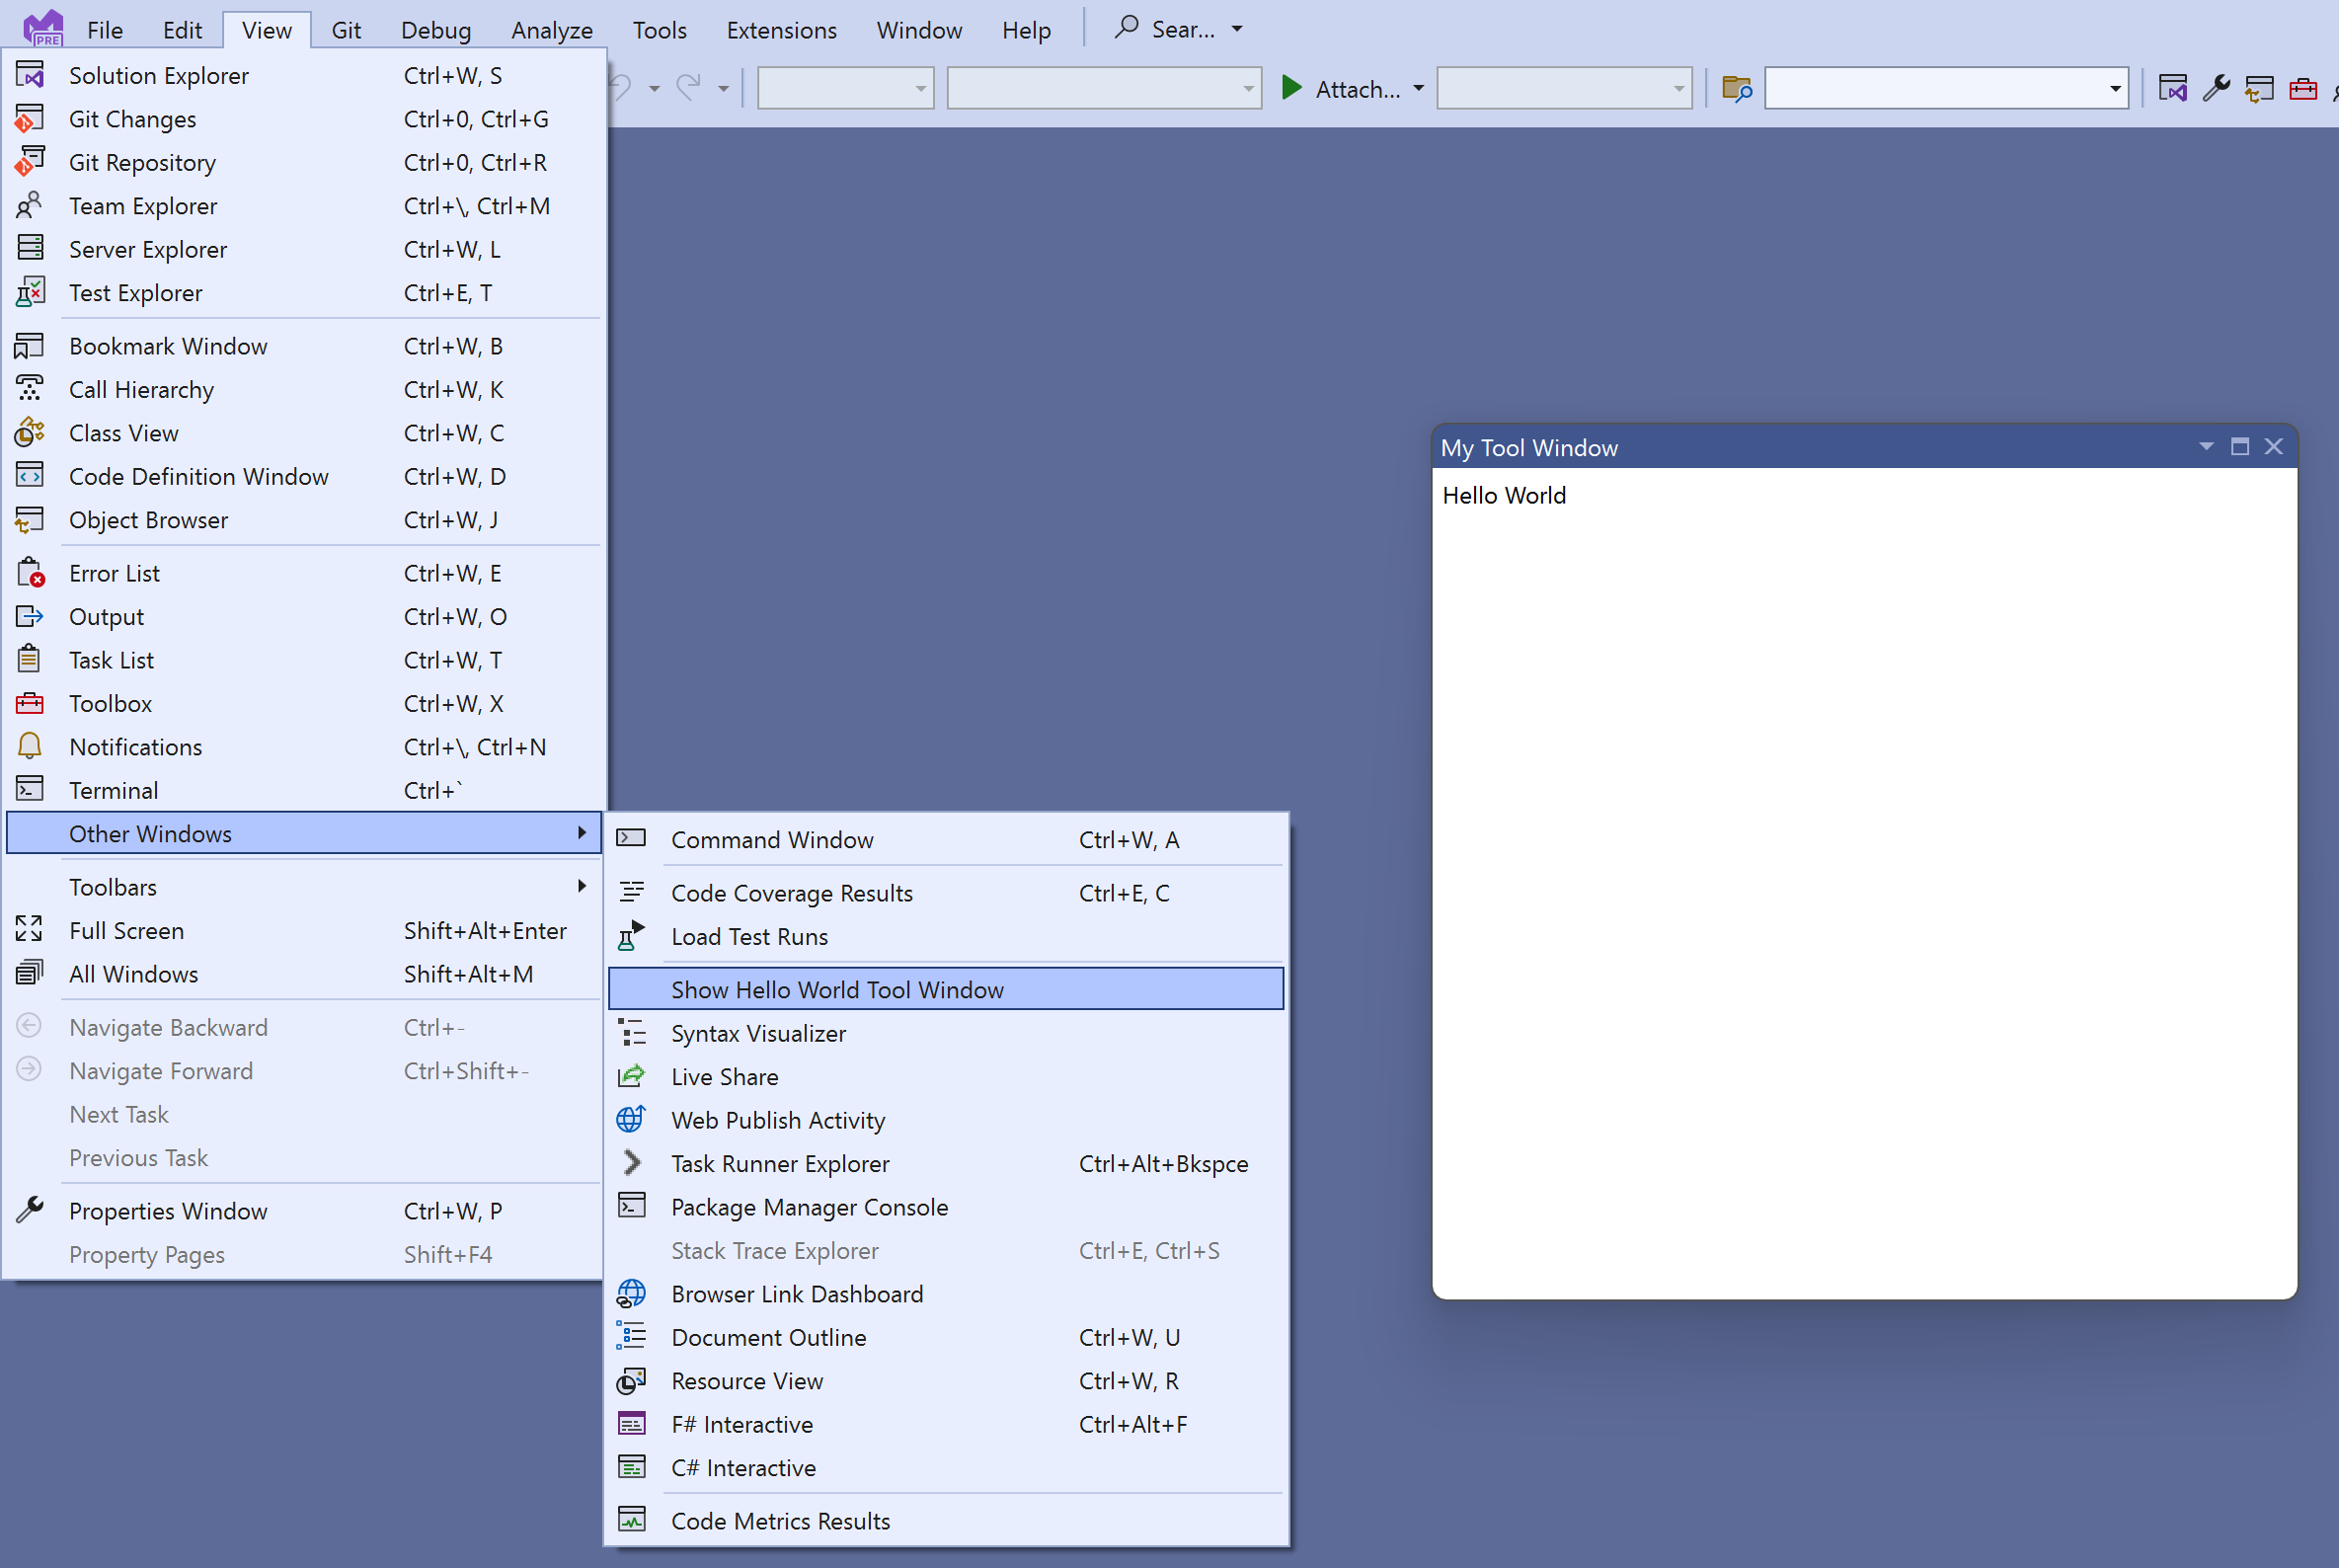
Testing the extension
You should now be able to press F5 to debug the extension.
Add support for themes
it's a good idea to write the UI keeping in mind that Visual Studio can be themed resulting in different colors being used.
Update the XAML to use the styles and colors used across Visual Studio:
<DataTemplate xmlns="http://schemas.microsoft.com/winfx/2006/xaml/presentation"
              xmlns:x="http://schemas.microsoft.com/winfx/2006/xaml"
              xmlns:vs="http://schemas.microsoft.com/visualstudio/extensibility/2022/xaml"
              xmlns:styles="clr-namespace:Microsoft.VisualStudio.Shell;assembly=Microsoft.VisualStudio.Shell.15.0"
              xmlns:colors="clr-namespace:Microsoft.VisualStudio.PlatformUI;assembly=Microsoft.VisualStudio.Shell.15.0">
    <Grid>
        <Grid.Resources>
            <Style TargetType="Label" BasedOn="{StaticResource {x:Static styles:VsResourceKeys.ThemedDialogLabelStyleKey}}" />
        </Grid.Resources>
        <Label>Hello World</Label>
    </Grid>
</DataTemplate>
The label now uses the same theme as the rest of the Visual Studio UI, and automatically changes color when the user switches to dark mode:

Here, the xmlns attribute references the Microsoft.VisualStudio.Shell.15.0 assembly, which isn't one of the extension dependencies. This is fine because this XAML is used by the Visual Studio process, which has a dependency on Shell.15, not by the extension itself.
In order to get a better XAML editing experience, you can temporarily add a PackageReference to Microsoft.VisualStudio.Shell.15.0 to the extension project. Don't forget to remove it later since an out-of-process VisualStudio.Extensibility extension shouldn't reference this package!
Add a data context
Add a data context class for the remote user control:
using System.Runtime.Serialization;

namespace MyToolWindowExtension;

[DataContract]
internal class MyToolWindowData
{
    [DataMember]
    public string? LabelText { get; init; }
}
and update MyToolWindowContent.cs and MyToolWindowContent.xaml to use it:
internal class MyToolWindowContent : RemoteUserControl
{
    public MyToolWindowContent()
        : base(dataContext: new MyToolWindowData { LabelText = "Hello Binding!"})
    {
    }
<Label Content="{Binding LabelText}" />
The content of the label is now set through databinding:

The data context type here is marked with DataContract and DataMember attributes. This is because the MyToolWindowData instance exists in the extension host process while the WPF control created from MyToolWindowContent.xaml exists in the Visual Studio process. To make data binding work, the Remote UI infrastructure generates a proxy of the MyToolWindowData object in the Visual Studio process. The DataContract and DataMember attributes indicate which types and properties are relevant for data binding and should be replicated in the proxy.
The data context of the remote user control is passed as a constructor parameter of the RemoteUserControl class: the RemoteUserControl.DataContext property is read-only. This doesn't imply that the whole data context is immutable, but the root data context object of a remote user control can't be replaced. In the next section, we will make MyToolWindowData mutable and observable.
Lifecycle of a Remote User Control
You can override the ControlLoadedAsync method to be notified when the control is first loaded in a WPF container. If in your implementation, the state of the data context may change independently from UI events, the ControlLoadedAsync method is the right place to initialize the content of the data context and start applying changes to it.
You can also override the Dispose method to be notified when the control is destroyed and won't be used anymore.
internal class MyToolWindowContent : RemoteUserControl
{
    public MyToolWindowContent()
        : base(dataContext: new MyToolWindowData())
    {
    }

    public override async Task ControlLoadedAsync(CancellationToken cancellationToken)
    {
        await base.ControlLoadedAsync(cancellationToken);
        // Your code here
    }

    protected override void Dispose(bool disposing)
    {
        // Your code here
        base.Dispose(disposing);
    }
}
Commands, observability and two-way data binding
Next, let's make the data context observable and add a button to the toolbox.
The data context can be made observable by implementing INotifyPropertyChanged. Alternatively, Remote UI provides a convenient abstract class, NotifyPropertyChangedObject, that we can extend to reduce boilerplate code.
A data context usually has a mix of readonly properties and observable properties. The data context can be a complex graph of objects as long as they're marked with the DataContract and DataMember attributes and implement INotifyPropertyChanged as necessary. It's also possible to have observable collections, or an ObservableList<T>, which is an extended ObservableCollection<T> provided by Remote UI to also support range operations, allowing better performance.
We also need to add a command to the data context. In Remote UI, commands implement IAsyncCommand but it's often easier to create an instance of the AsyncCommand class.
IAsyncCommand differs from ICommand in two ways:
- The
Executemethod is replaced withExecuteAsyncbecause everything in Remote UI is async! - The
CanExecute(object)method is replaced by aCanExecuteproperty. TheAsyncCommandclass takes care of makingCanExecuteobservable.
It's important to note that Remote UI doesn't support event handlers, so all notifications from the UI to the extension must be implemented through databinding and commands.
This is the resulting code for MyToolWindowData:
[DataContract]
internal class MyToolWindowData : NotifyPropertyChangedObject
{
    public MyToolWindowData()
    {
        HelloCommand = new((parameter, cancellationToken) =>
        {
            Text = $"Hello {Name}!";
            return Task.CompletedTask;
        });
    }

    private string _name = string.Empty;
    [DataMember]
    public string Name
    {
        get => _name;
        set => SetProperty(ref this._name, value);
    }

    private string _text = string.Empty;
    [DataMember]
    public string Text
    {
        get => _text;
        set => SetProperty(ref this._text, value);
    }

    [DataMember]
    public AsyncCommand HelloCommand { get; }
}
Fix the MyToolWindowContent constructor:
public MyToolWindowContent()
    : base(dataContext: new MyToolWindowData())
{
}
Update MyToolWindowContent.xaml to use the new properties in the data context. This is all normal WPF XAML. Even the IAsyncCommand object is accessed through a proxy called ICommand in the Visual Studio process so it can be data-bound as usual.
<DataTemplate xmlns="http://schemas.microsoft.com/winfx/2006/xaml/presentation"
              xmlns:x="http://schemas.microsoft.com/winfx/2006/xaml"
              xmlns:vs="http://schemas.microsoft.com/visualstudio/extensibility/2022/xaml"
              xmlns:styles="clr-namespace:Microsoft.VisualStudio.Shell;assembly=Microsoft.VisualStudio.Shell.15.0"
              xmlns:colors="clr-namespace:Microsoft.VisualStudio.PlatformUI;assembly=Microsoft.VisualStudio.Shell.15.0">
    <Grid>
        <Grid.Resources>
            <Style TargetType="Label" BasedOn="{StaticResource {x:Static styles:VsResourceKeys.ThemedDialogLabelStyleKey}}" />
            <Style TargetType="TextBox" BasedOn="{StaticResource {x:Static styles:VsResourceKeys.TextBoxStyleKey}}" />
            <Style TargetType="Button" BasedOn="{StaticResource {x:Static styles:VsResourceKeys.ButtonStyleKey}}" />
            <Style TargetType="TextBlock">
                <Setter Property="Foreground" Value="{DynamicResource {x:Static styles:VsBrushes.WindowTextKey}}" />
            </Style>
        </Grid.Resources>
        <Grid.ColumnDefinitions>
            <ColumnDefinition Width="Auto" />
            <ColumnDefinition Width="*" />
            <ColumnDefinition Width="Auto" />
        </Grid.ColumnDefinitions>
        <Grid.RowDefinitions>
            <RowDefinition Height="Auto" />
            <RowDefinition Height="*"/>
        </Grid.RowDefinitions>
        <Label Content="Name:" />
        <TextBox Text="{Binding Name}" Grid.Column="1" />
        <Button Content="Say Hello" Command="{Binding HelloCommand}" Grid.Column="2" />
        <TextBlock Text="{Binding Text}" Grid.ColumnSpan="2" Grid.Row="1" />
    </Grid>
</DataTemplate>

Understanding asynchronicity in Remote UI
The whole Remote UI communication for this tool window follows these steps:
The data context is accessed through a proxy inside the Visual Studio process with its original content,
The control created from
MyToolWindowContent.xamlis data bound to the data context proxy,The user types some text in the text box, which is assigned to the
Nameproperty of the data context proxy through databinding. The new value ofNameis propagated to theMyToolWindowDataobject.The user clicks the button causing a cascade of effects:
- the
HelloCommandin the data context proxy is executed - the async execution of the extender's
AsyncCommandcode is started - the async callback for
HelloCommandupdates the value of the observable propertyText - the new value of
Textis propagated to the data context proxy - the text block in the tool window is updated to the new value of
Textthrough data binding
- the

Using command parameters to avoid race conditions
All the operations that involve communication between Visual Studio and the extension (blue arrows in the diagram) are asynchronous. It's important to consider this aspect in the overall design of the extension.
For this reason, if consistency is important, it's better to use command parameters, instead of two-way binding, to retrieve data context state at the time of the execution of a command.
Make this change by binding the button's CommandParameter to Name:
<Button Content="Say Hello" Command="{Binding HelloCommand}" CommandParameter="{Binding Name}" Grid.Column="2" />
Then, modify the command's callback to use the parameter:
HelloCommand = new AsyncCommand((parameter, cancellationToken) =>
{
    Text = $"Hello {(string)parameter!}!";
    return Task.CompletedTask;
});
With this approach, the value of the Name property is retrieved synchronously from the data context proxy at the time of the button click and sent over to the extension. This avoids any race conditions, especially if the HelloCommand callback is changed in the future to yield (have await expressions).
Async commands consume data from multiple properties
Using a command parameter isn't an option if the command needs to consume multiple properties that are settable by the user. For example, if the UI had two textboxes: "First Name" and "Last Name".
The solution in this case is to retrieve, in the async command callback, the value of all the properties from the data context before yielding.
Below you can see a sample where the FirstName and LastName property values are retrieved before yielding to make sure that the value at the time of the command invocation is used:
HelloCommand = new(async (parameter, cancellationToken) =>
{
    string firstName = FirstName;
    string lastName = LastName;
    await Task.Delay(TimeSpan.FromSeconds(1));
    Text = $"Hello {firstName} {lastName}!";
});
It's also important to avoid the extension asynchronously updating the value of properties that can also be updated by the user. In other words, avoid TwoWay data binding.
Related content
The information here should be enough to build simple Remote UI components. For more advanced scenarios, see Advanced Remote UI concepts.