Walkthrough: Publish a Visual Studio extension
This walkthrough shows you how to publish a Visual Studio extension to Visual Studio Marketplace. When you add your extension to Visual Studio Marketplace, developers can use Extensions and Updates to browse for new and updated extensions.
Prerequisites
To follow this walkthrough, you must install the Visual Studio SDK. For more information, see Install the Visual Studio SDK.
Create a Visual Studio extension
This article uses a default VSPackage extension, but the steps are valid for every kind of extension.
- Create a VSPackage in C# named
TestPublishthat has a menu command. For more information, see Create your first extension: Hello World.
Package your extension
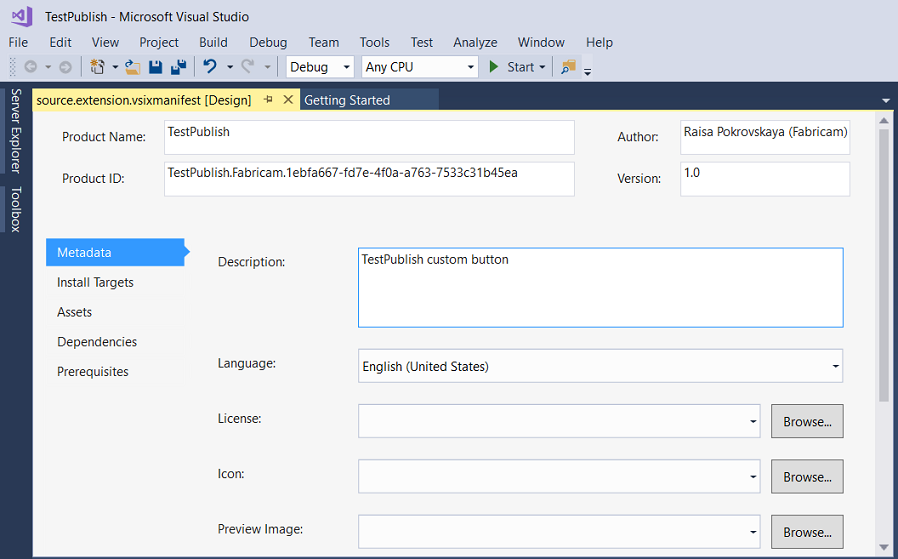
Update the extension .vsixmanifest with the correct information about product name, author, and version.
Build your extension in Release mode. Now your extension is packaged as a VSIX in the \bin\Release folder.
You can double-click the VSIX to verify the installation.
Test the extension
Before you distribute the extension, build and test it to make sure it's installed correctly in the experimental instance of Visual Studio.
In Visual Studio, start debugging to open an experimental instance of Visual Studio.
In the experimental instance, go to the Tools menu and click Extensions and Updates. The TestPublish extension should appear in the center pane and be enabled.
On the Tools menu, make sure you see the test command.
Publish the extension to Visual Studio Marketplace
Make sure that you have built the Release version of your extension and that it's up to date.
In a web browser, go to Visual Studio Marketplace.
In the upper-right corner, click Sign in.
Use your Microsoft account to sign in. If you do not have a Microsoft account, you can create one at this point.
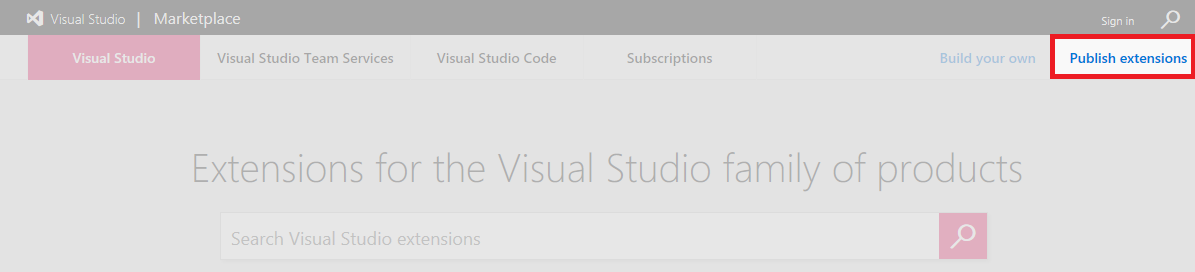
Click Publish extensions. This option navigates you to the manage page for all your extensions. If you don't have a publisher account, you are prompted to create one at this time.

Choose the publisher you want to use to upload your extension. You can change publishers by clicking on the publisher names listed on the left. Click New extension and select Visual Studio.
In 1: Upload extension, you can choose to upload a VSIX file directly to Visual Studio Marketplace or just add a link to your own website. In this example, the extension, TestPublish.vsix is uploaded. Drag and drop your extension or use the click link to browse for the file. Find your extension in the \bin\Release folder of the project. Click Continue.
In 2: Provide extension details, some fields are auto-populated from the source.extension.vsixmanifest file from your extension. Find more details about each below:
Internal Name is used in the URL of the extension's detail page. For an example, publishing an extension under the publisher name "myname" and specifying the internal name to be "my extension" results in a URL of "marketplace.visualstudio.com/items?itemName=myname.myextension" for your extension's detail page.
Display Name of your extension. This name is auto-populated from the source.extension.vsixmanifest file.
Version number of the extension you are uploading. This version is auto-populated from the source.extension.vsixmanifest file.
VSIX ID is the unique identifier that Visual Studio uses for your extension. This identifier is required if you would like to have your extension auto-updated. This identifier is auto-populated from the source.extension.vsixmanifest file.
Logo that is used for your extension. This logo is auto-populated from the source.extension.vsixmanifest file if provided.
Short description of what your extension does. This description is auto-populated from the source.extension.vsixmanifest file.
Overview is a good place to include screenshots and detailed information about what your extension does.
Supported Visual Studio versions lets you choose which versions of Visual Studio your extension will work on. Your extension is only installed to those versions.
Supported Visual Studio edition lets you choose which editions of Visual Studio your extension will work on. Your extension is only installed to those editions.
Type. The most common type of extension is Tools.
Categories. Pick up to three that are a best fit for your extension.
Tags are keywords that help users find your extension. Tags can help increase the search relevance of your extensions in Visual Studio Marketplace.
Pricing Category is the cost of your extension.
Source code repository allows you to share a link to your source code with the community.
Allow Q&A for your extension lets users leave questions on your extension entry page.
Click Save & Upload. This option takes you back to your publisher manage page. Your extension has not yet been published.
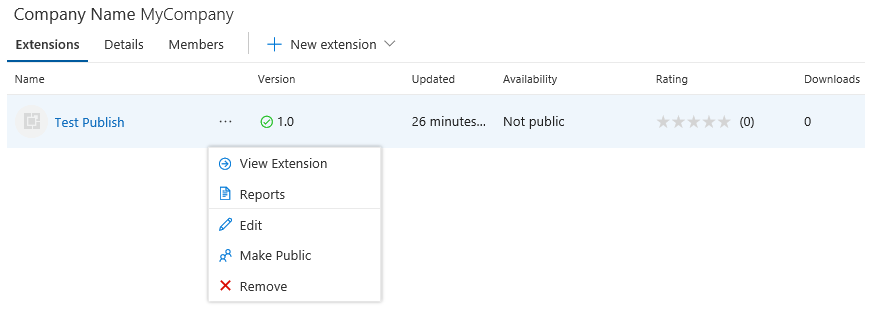
To publish your extension, right-click on your extension and select Make Public. To see how your extension will look in Visual Studio Marketplace, select View Extension. For acquisition numbers, click on Reports. To make changes to your extension, click on Edit.
Click Make Public, and your extension is now public. Search Visual Studio Marketplace for your extension.
Update a published extension in Visual Studio Marketplace
Before you begin, make sure that you've built the new release version of your extension and that it's up to date.
In a web browser, go to Visual Studio Marketplace.
In the upper-right corner, click Sign in, and then sign in with your Microsoft account.

Click Publish extensions, and then choose the publisher you want to use to upload your updated extension.
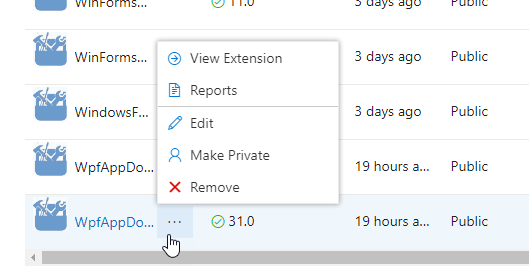
Next to the extension you want to update, hover your mouse over the three horizontal dots, and then choose Edit.
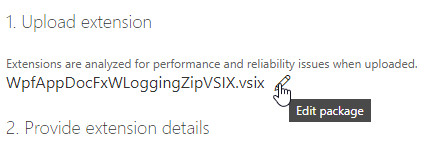
In 1: Upload extension, after your VSIX file name, click the pencil icon to edit your published extension.
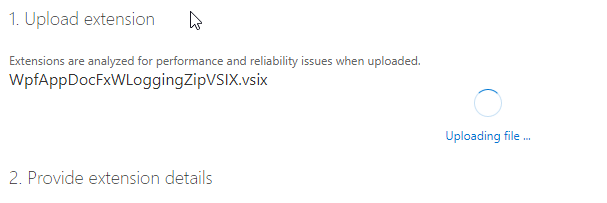
Browse to your updated extension VSIX file. Click the file, and then click Open.
Your updated extension uploads.
In 2: Provide extension details, some details are read-only for an extension update or they're auto-populated from the source.extension.vsixmanifest file from your extension. Here's more information about extension details:
Internal Name* is used in the URL of the extension's detail page. For an example, publishing an extension under the publisher name "myname" and specifying the internal name as "my extension" results in a URL of "marketplace.visualstudio.com/items?itemName=myname.myextension" for your extension's detail page.
Display Name* of your extension. This name is auto-populated from the source.extension.vsixmanifest file.
Version* number of the extension you are uploading. This version is auto-populated from the source.extension.vsixmanifest file.
VSIX ID* is the unique identifier that Visual Studio uses for your extension. This identifier is required if you would like to have your extension auto-updated. This identifier is auto-populated from the source.extension.vsixmanifest file.
Logo* that is used for your extension. This logo is auto-populated from the source.extension.vsixmanifest file if provided.
Short description* of what your extension does. This description is auto-populated from the source.extension.vsixmanifest file.
Overview is a good place to include screenshots and detailed information about what your extension does.
Supported Visual Studio versions* lets you choose which versions of Visual Studio your extension will work on. Your extension is only installed to those versions.
Supported Visual Studio edition* lets you choose which editions of Visual Studio your extension will work on. Your extension is installed only on those editions.
Type. The most common type of extension is Tools.
Categories. Pick up to three that are a best fit for your extension.
Tags are keywords that help users find your extension. Tags can help increase the search relevance of your extensions in Visual Studio Marketplace.
Pricing Category is the cost of your extension.
Source code repository allows you to share a link to your source code with the community.
Allow Q&A for your extension lets users leave questions on your extension entry page.
* This detail can't be changed for an extension update.
Click Save & Upload. This option takes you back to your publisher manage page. Your extension has not yet been published.
To publish your extension, right-click your extension and select Make Public. To see how your extension will look in Visual Studio Marketplace, select View Extension. For acquisition numbers, click Reports. To make changes to your extension, click Edit.
Add additional users to manage your publisher account
Visual Studio Marketplace supports granting additional users permissions to access and manage a publisher account.
Ask the member that you want to add to sign in to their account on Marketplace and get the User ID. The User ID will be visible by hovering over email, as shown in the following image:

The member can copy the User ID by clicking the copy-to-clipboard button, and then share it with you.
Navigate to the publisher account you wish to add additional users to.
Select Members and click on Add.
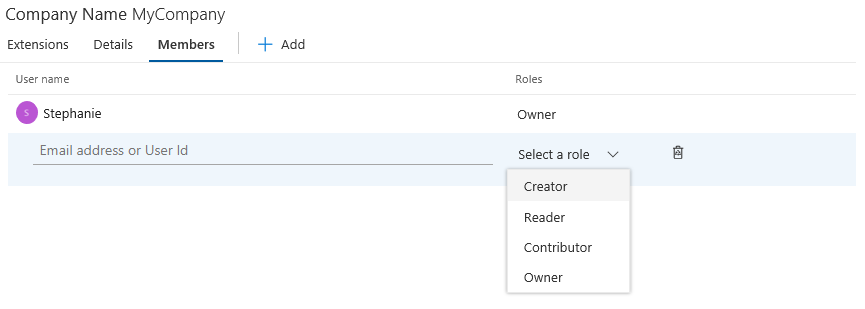
You can then specify the User ID of the user you wish to add and grant the right level of access under Select a role. You can choose from the following options:
Creator: The user can publish extensions, but cannot view or manage extensions published by other users.
Reader: The user can view extensions, but cannot publish or manage extensions.
Contributor: The user can publish and manage extensions, but cannot edit publisher settings or manage access.
Owner: The user can publish and manage extensions, edit publisher settings, and manage access.
Troubleshoot adding a user to the publisher account
When you add a user to the publisher profile by using their email address, you might see the error TF14045: The identity could not be found.
To avoid this error, use the user's user ID instead of an email address to add the user to the publisher account. To find a user's user ID, in Visual Studio Marketplace, hover over the user's name at the top of the pane. Select the copy icon to copy the user ID.
You can then add the new user by using their user ID.
Install the extension from Visual Studio Marketplace
Now that the extension is published, install it in Visual Studio and test it there.
In Visual Studio, on the Tools menu, click Extensions and Updates.
Click Online and then search for TestPublish.
Click Download. The extension is then scheduled for install.
To complete the installation, close all instances of Visual Studio.
Remove the extension
You can remove the extension from Visual Studio Marketplace and from your computer.
To remove/unpublish the extension from Visual Studio Marketplace
Go to Visual Studio Marketplace.
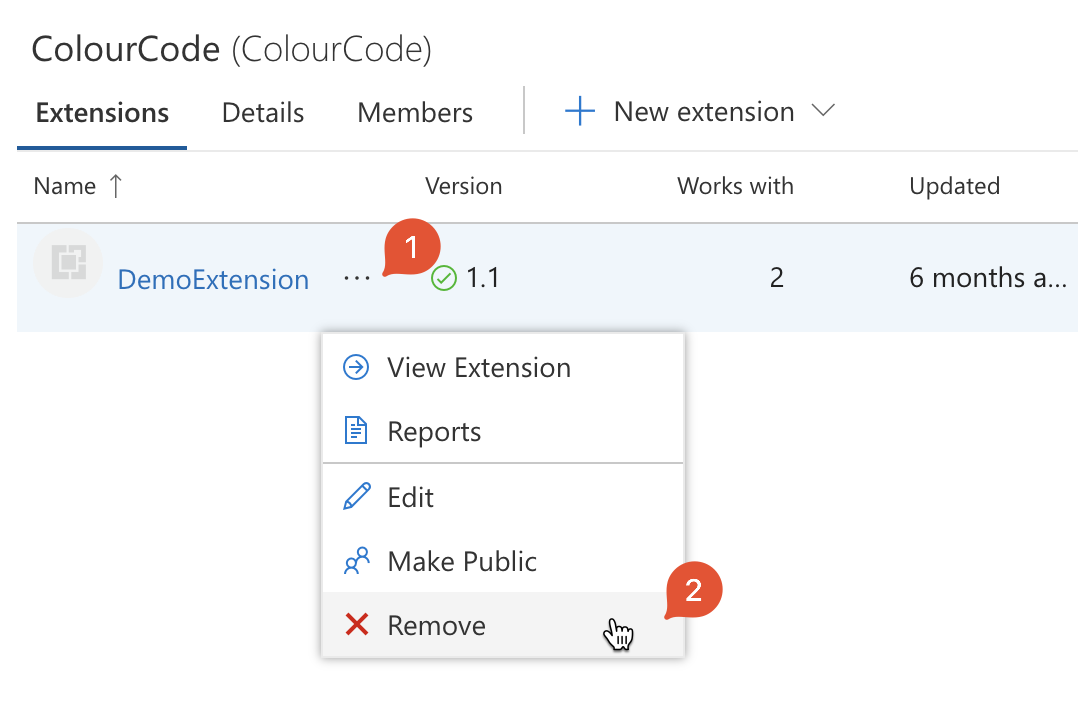
In the upper-right hand corner, click Publish extensions. Pick the publisher that you used to publish (eg: TestPublish). The listing for extensions will appear.
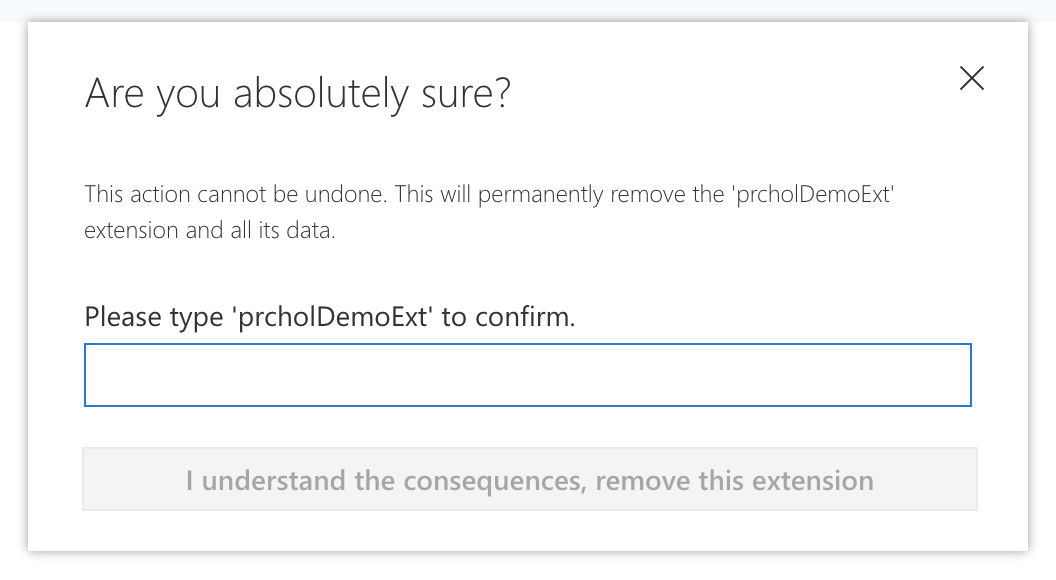
Click on extenion menu button → click Remove. You are asked to confirm if you want to remove the extension.
To prevent accidental unpublishing, you must confirm the remove operation by filling extension name in the warning dialog. Note that remove/unpublish action is non-reversible
To remove the extension from your computer
In Visual Studio, on the Tools menu, click Extensions and Updates.
Select TestPublish and then click Uninstall. The extension is then scheduled for uninstall.
To complete the uninstallation, close all instances of Visual Studio.