Note
Access to this page requires authorization. You can try signing in or changing directories.
Access to this page requires authorization. You can try changing directories.
You can turn the Word wrap option on or off. When enabled, long lines that extend beyond the current width of the Code Editor window continue onto the next line. When disabled, you can scroll horizontally to view the rest of long lines. You can turn this option off to use line numbering.
To set word wrap preferences
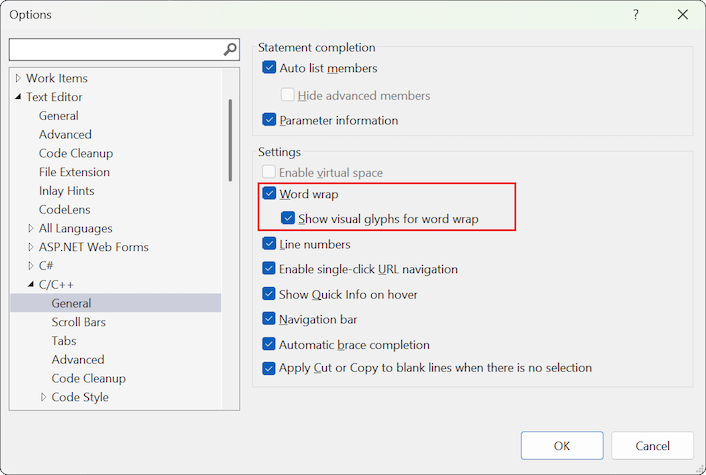
Select Tools > Options.
Select Text Editor > All Languages > General to set this option globally.
— or —
Select Text Editor > Programming language that you're using, for example, C# > General.
Under Settings, select or clear the Word wrap option.
When you select the Word wrap option, the Show visual glyphs for word wrap option is enabled.
Note
The Show visual glyphs for Word Wrap option displays a return-arrow indicator where a long line wraps onto a second line. These reminder arrows are not added to your code. They are for display purposes only.

Known issues
If you're familiar with word wrap in Notepad++, Sublime Text, or Visual Studio Code (VS Code), be aware of the following issues where Visual Studio behaves differently to other editors:
- Unexpected and sporadic indents
- Pressing Home key twice should move cursor to very beginning of line