Note
Access to this page requires authorization. You can try signing in or changing directories.
Access to this page requires authorization. You can try changing directories.
Linting JavaScript and TypeScript in Visual Studio is powered by ESLint. If you're new to ESLint, you can begin by checking their documentation.
Enable linting support
To enable linting support in Visual Studio 2022 or later versions, enable the Enable ESLint setting in Tools > Options > Text Editor > JavaScript/TypeScript > Linting.
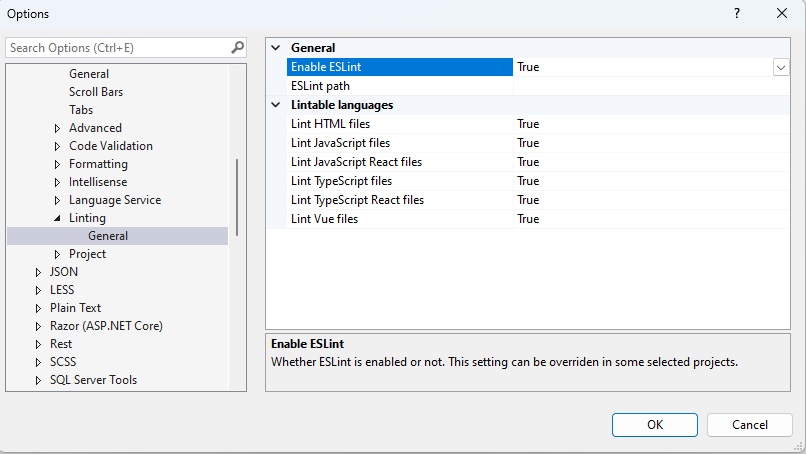
In the options page, you can also modify the set of files that you want to lint. By default, all file extensions that can be linted (.js, .jsx, .ts, .tsx, .vue, .html) will be linted. The HTML LSP-based editor must be enabled for linting Vue and HTML files. The respective setting can be found in Tools > Options > Environment > Preview Features > HTML LSP-based editor.
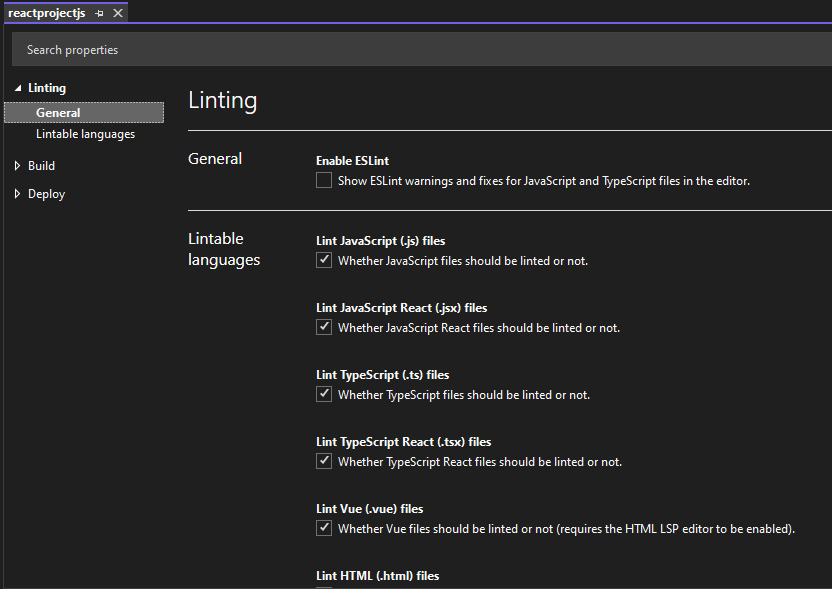
You can override these options in some project types, like the standalone React project templates. In these projects, you can override the settings from the Tools > Options page using project properties:
Install ESLint dependencies
Once linting is enabled, the necessary dependencies need to be installed. Dependencies include the ESLint npm package and other plugins applicable to your project. This package can be installed locally in each project where you want to enable linting, or you can install it globally using npm install -g eslint. However, a global installation isn't recommended because plugins and shareable configs always need to be installed locally.
Starting in Visual Studio 2022 version 17.7 Preview 2, you can also use the ESLint Path setting in Tools > Options > Text Editor > JavaScript/TypeScript > Linting to specify a directory from which to load ESLint. This setting is useful when ESLint is installed globally, where you might set the corresponding path to C:\Program Files\nodejs\node_modules.
Depending on the files you want to lint, other ESLint plugins may be needed. For example, you may need TypeScript ESLint, which enables ESLint to run on TypeScript code and includes rules that are specific to the extra type information.
When ESLint is enabled but the ESLint npm package isn't found, a gold bar is displayed. This message allows you to install ESLint as a local npm development dependency.

Similarly, when an .eslintrc file isn't found, a gold bar is displayed. This message allows you to run a configuration wizard that installs the plugins applicable to the current project.

Disable linting rules and autofixes
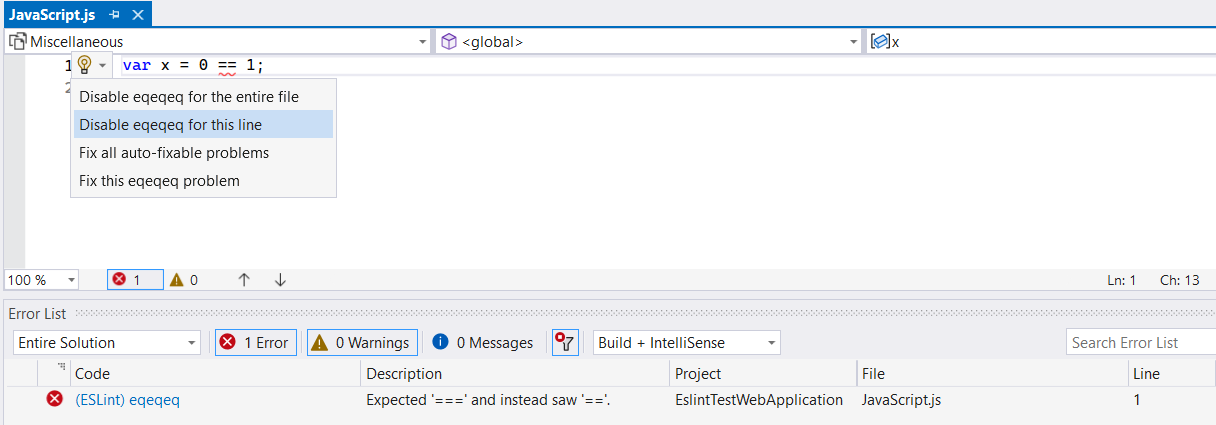
You can disable linting errors on a specific line or file. You can disable the errors by using the Quick Actions lightbulb menu:
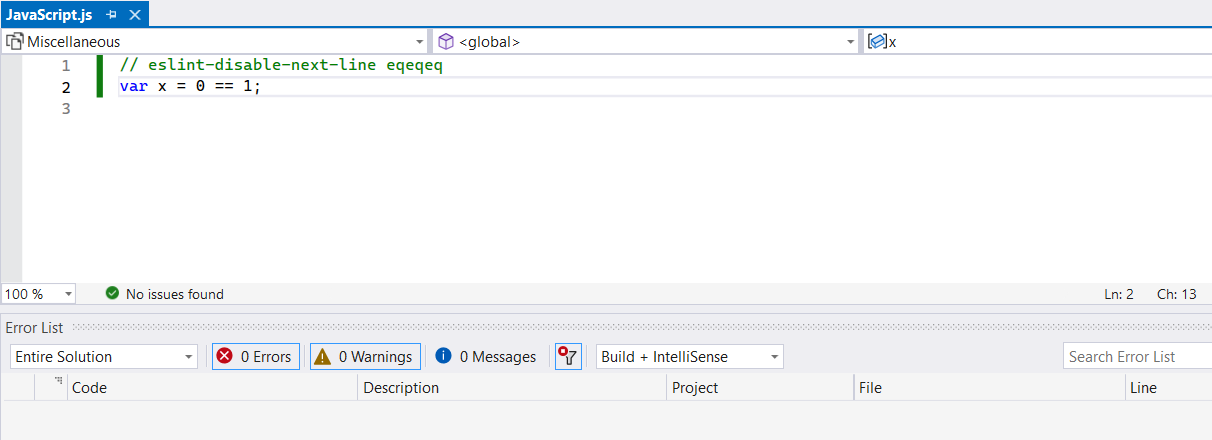
The following illustration shows the result if you disable a linting error for the selected line of code.
In addition, autofix code actions allow you to apply an autofix to address the respective linting error.
Troubleshooting
You can open the ESLint Language Extension pane in the Output window to see any error messages or other logs that might explain the problem.