Note
Access to this page requires authorization. You can try signing in or changing directories.
Access to this page requires authorization. You can try changing directories.
Important
Visual Studio Live Share is in maintenance mode, with no additional features planned.
Existing capabilities remain available. Use this documentation for current functionality and operational guidance. For details, see Maintenance mode for Visual Studio Live Share.
Ready to get collaborating with Live Share in Visual Studio? If so, you're in the right spot! In this article, we'll show you how to install the Visual Studio Live Share extension for Visual Studio.
All collaboration activities described in this series of articles involve a single collaboration session host and one or more guests. The host is the person that started the collaboration session and anyone that joins is a guest.
Looking for an abridged summary? Check out the share or join quickstarts instead.
Tip
Did you know you can join your own collaboration session? This lets you try Live Share on your own or to spin up an instance of Visual Studio or VS Code and connect to it remotely! You can even use the same identity on both instances. Check it out!
Installation
Before you begin, you'll need to install Visual Studio. We recommend Visual Studio 2022. At minimum, Visual Studio 2019 version 16.9 or higher is required on Windows 7, 8.1, 10, or 11.
Getting started is simple:
For Visual Studio 2022
- Install any edition of Visual Studio 2022.
- Install a supported workload, like ASP.NET, .NET Core, C++, and/or Node.js.
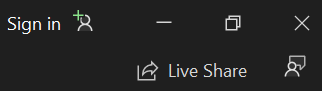
- Once installed, you'll see Live Share appear in the top right corner of Visual Studio. You can now begin collaborating with others immediately!
For Visual Studio 2019
- Install any edition of Visual Studio 2019.
- Install a supported workload, like ASP.NET, .NET Core, C++, Python, or Node.js.
- Once installed, you'll see Live Share appear in the top right corner of Visual Studio. You can now begin collaborating with others immediately!
By downloading and using Visual Studio Live Share, you agree to the license terms and privacy statement. See troubleshooting if you run into problems.
Sign in
To collaborate, you'll need to sign into Visual Studio Live Share so everyone knows who you are. This sign-in is purely a security measure and does not opt you into any marketing or other research activities. You can sign in using:
- A Microsoft personal account like outlook.com
- A Microsoft-backed work or school account like Azure Active Directory (Azure AD)
- A GitHub account.
Visual Studio uses your personalization account by default. If you're already logged in to Visual Studio, you can skip this step. Otherwise, sign in as you normally would.
If you want to use a different sign-in than your Visual Studio personalization account, go to Tools > Options > Live Share > General. Select User account, and then select the ellipses to the right to switch credentials.
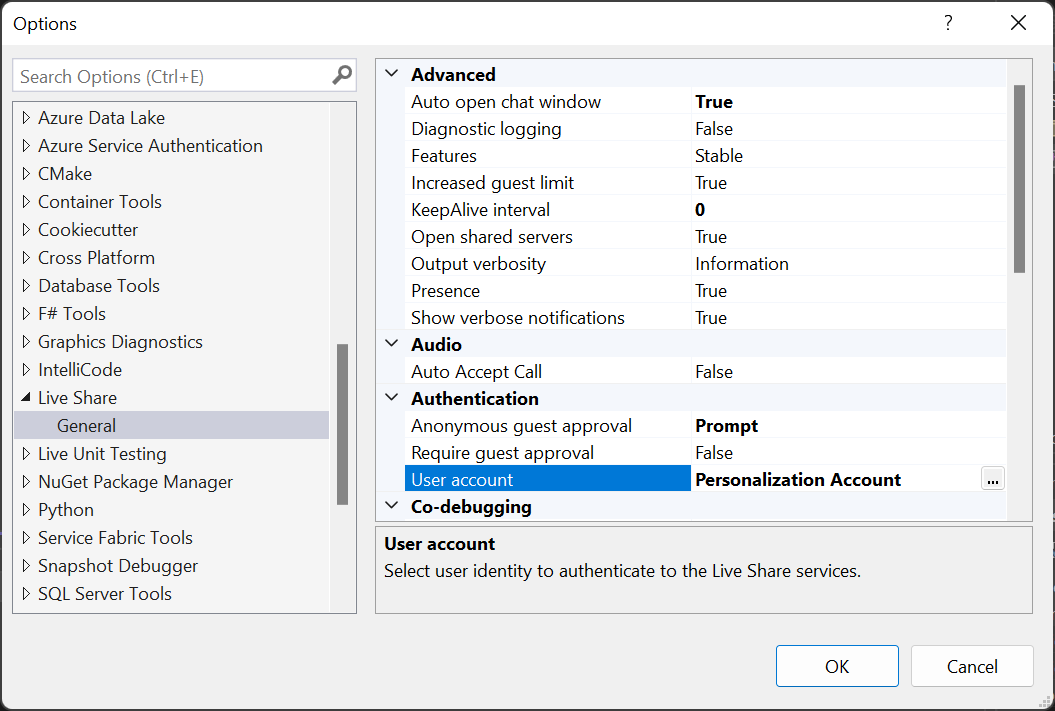
Selecting External Account allows you to select an account not supported by Visual Studio's personalization feature, like GitHub. A browser automatically appears the first time you use a Live Share feature so you can complete your sign-in.
Tip
Did you know you can go to Tools > Options > Live Share > General to view all the default Live Share settings? Customize your collaboration experience to your needs! You can also try the new Live Share features by choosing Advanced > Features > Insiders from inside the General Live Share settings!
If you run into trouble, check out troubleshooting for more tips.
Guest limitations
There are currently some shortcomings that guests will experience using the features described in these articles. But collaboration session hosts keep the complete functionality of their tool of choice. For more information, see the following:
- Language and platform support
- Extension support
- All major bugs, feature requests, and limitations
- All feature requests and limitations