Adding and removing project items in Visual Studio for Mac
Important
Visual Studio for Mac is scheduled for retirement on August 31, 2024 in accordance with Microsoft’s Modern Lifecycle Policy. While you can continue to work with Visual Studio for Mac, there are several other options for developers on Mac such as the preview version of the new C# Dev Kit extension for VS Code.
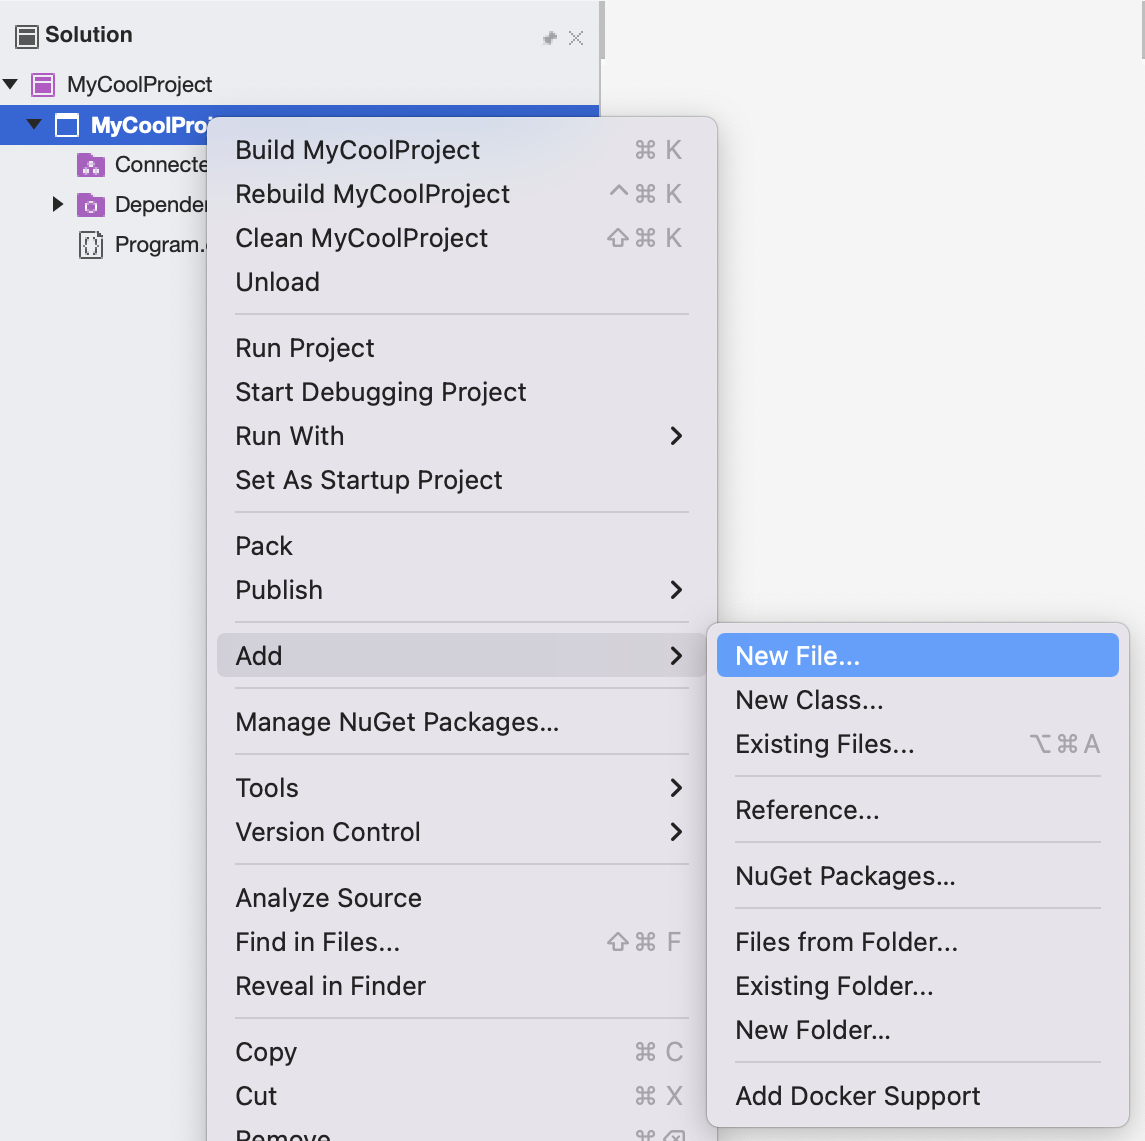
You can add new project items to your project by right-clicking on the Project node in the Solution Window and browsing to Add > New File:
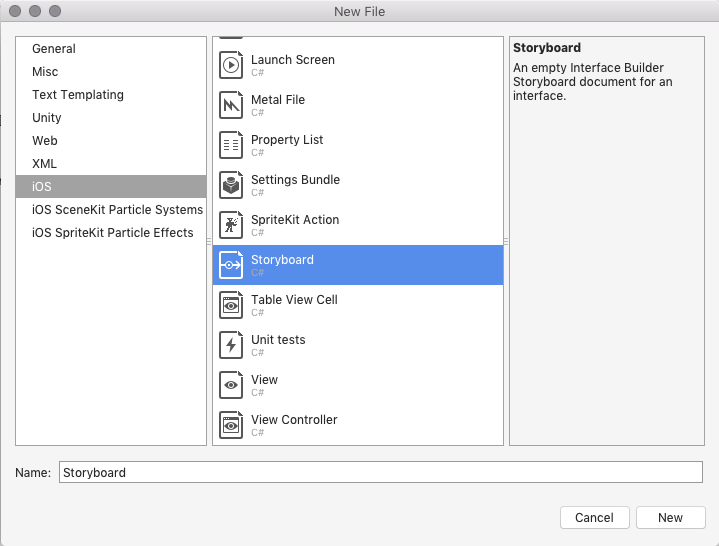
The New File dialog provides file templates based on the type of application that you're creating in addition to the default templates, such as Empty Classes or Empty Enumerations. For example, if you're writing an iOS application, you can select Storyboard to create a new empty Storyboard file:
Adding existing files
You can add existing files to your project by right-clicking on the Project node and selecting Add > Add Files.... Alternatively, to add an entire folder, select Add > Add Existing Folder.... The file browser is shown. It lets you search your system for the required item to add.
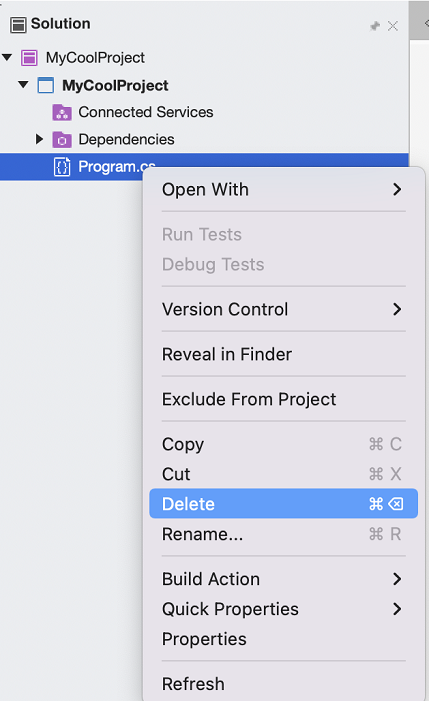
Removing items
To remove an item from your current project, right-click the item and select Delete.
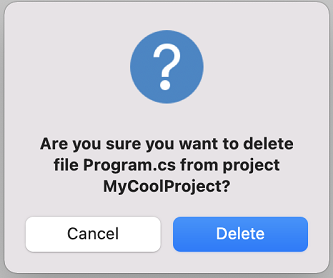
The delete item confirmation dialog comes up. Select the Delete option to remove the item from the project and from disk: