Integrated Terminal in Visual Studio for Mac
Important
Visual Studio for Mac was retired on August 31, 2024 in accordance with Microsoft’s Modern Lifecycle Policy. While you can continue to work with Visual Studio for Mac, there are several other options for developers on Mac such as the preview version of the new C# Dev Kit extension for VS Code.
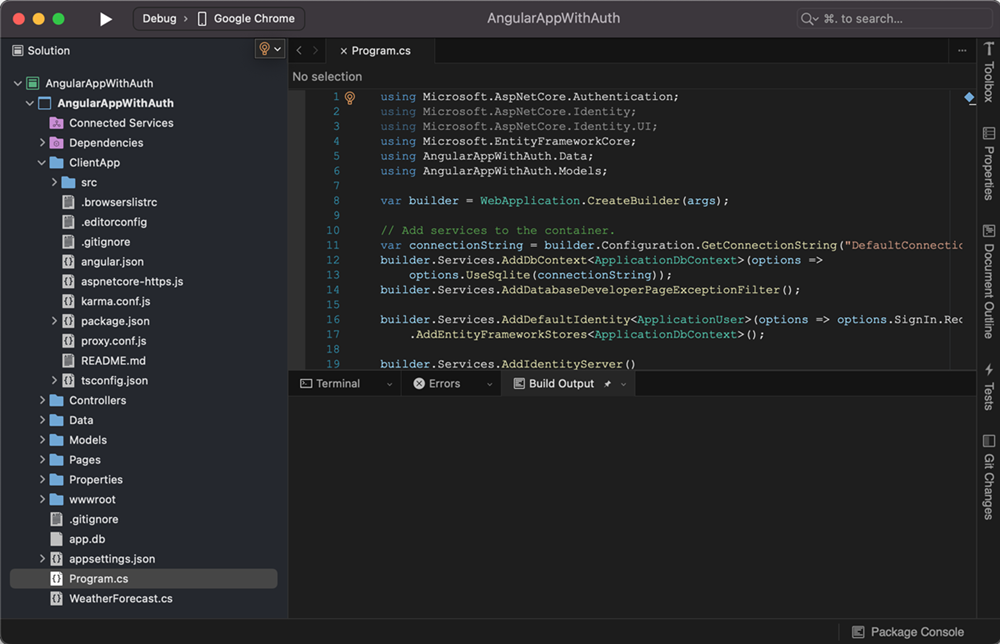
You can open an integrated terminal window in Visual Studio for Mac, starting at the root of your solution. The terminal can be useful for different kinds of situations – running front-end tasks (for example: npm, ng, or vue), managing containers, running advanced git commands, executing Entity Framework commands, viewing dotnet CLI output, adding NuGet packages, and more.
To open the Terminal:
- Use the Ctrl + ` keyboard shortcut with the backtick character to show or hide the Terminal window.
- Use the View > Terminal menu command.
- Use the terminal command from the search bar.

By default, when the Terminal is launched it will:
- Set the working directory to the path of the current solution.
- Load the default system shell.
Search
You can search the content of the Terminal window by using the Search > Find... menu.

Terminal keyboard shortcuts
| Commands | Keyboard shortcuts |
|---|---|
| Show/Hide the Terminal window | Ctrl+ ` |
| Create new Terminal instance | Ctrl+' |
| Scroll page up | PageUp |
| Scroll page down | PageDown |
| Cycle through previously used commands | ↑, ↓ |
| Increase font size | ⌘+ |
| Decrease font size | ⌘- |
Multiple instances
Multiple instances of the Terminal may be running at any time. You can create a new instance by using the Ctrl+' keyboard shortcut. You can switch between instances by clicking on the tab for each instance, or using the Ctrl+tab shortcut to use the window picker dialog.

Customizing the terminal window
Configuring the terminal font
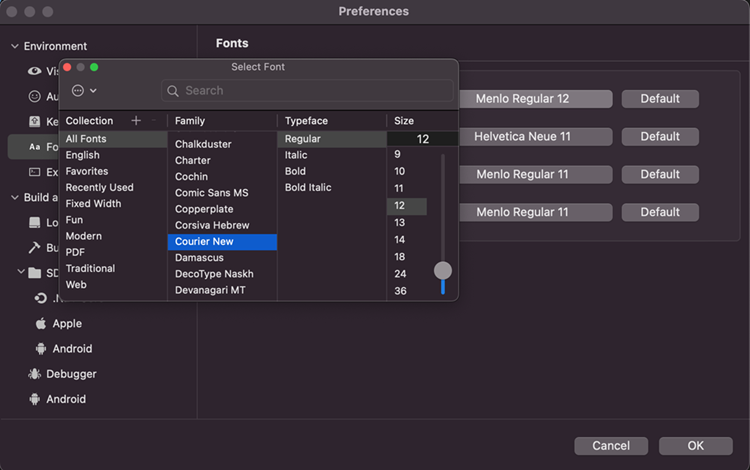
You can change the font Family, Typeface and Size used for the Terminal Window Contents from Preferences... > Environment > Fonts. By default, the font will be the same as that for the Output Window Contents, using Menlo Regular 11. You can set it to any font, independent of your Text Editor font.

Reusing system terminal customizations
The integrated terminal uses the same defaults and configuration as your macOS system terminal. That means that your terminal customizations (zsh, oh-my-zsh, etc.) also work in the integrated terminal.