Publish to a folder using Visual Studio for Mac
Important
Visual Studio for Mac was retired on August 31, 2024 in accordance with Microsoft’s Modern Lifecycle Policy. While you can continue to work with Visual Studio for Mac, there are several other options for developers on Mac such as the preview version of the new C# Dev Kit extension for VS Code.
You can use the Publish tool to publish .NET Core Console or ASP.NET Core apps to a folder.
Prerequisites
- Visual Studio 2019 for Mac installed with .NET Core enabled.
- A .NET Core console or ASP.NET Core project. If you don’t already have a project, you can create a new one.
Publish to Folder
Using Visual Studio for Mac you can publish your .NET Core projects to a folder using the Publish tool. After publishing to a folder you can transfer the files to a different environment. To publish to a folder follow these steps.
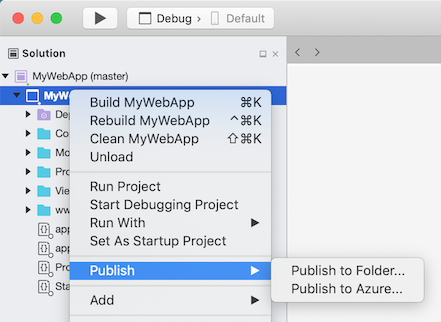
In the Solution Window, right-click the project and choose Publish.

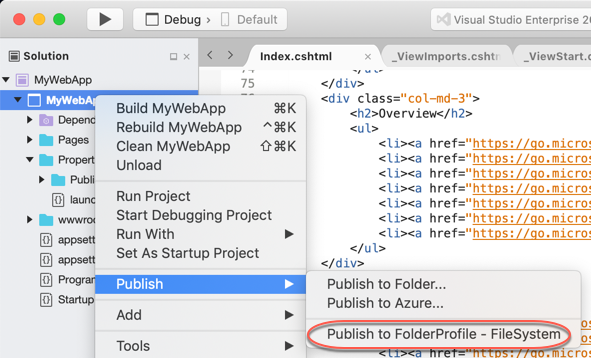
If you have previously published this project, you'll see the publish profile in the menu. Select that publish profile to start the publish process.
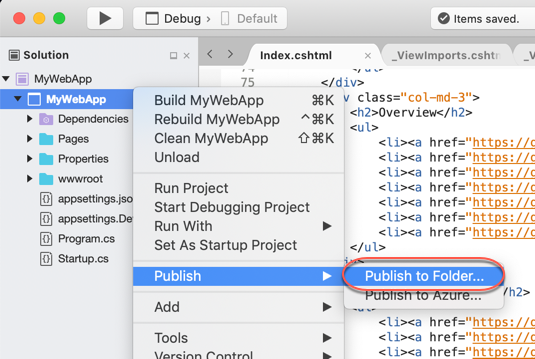
To publish this project to a folder for the first time, select Publish to Folder

The Publish to Folder dialog appears. On this dialog you can customize the folder where the project will be published. You can use the Browse button to do this, or paste in a path.
After clicking Publish a few things happen. First a publish profile is created. A publish profile is an MSBuild file that is imported into the project during the publish process. It contains the properties that are used during the publish process. These files are stored in the
Properties/PublishProfilesand have the extension.pubxml. Next, the publish process is started. You can monitor the progress by watching the status bar in Visual Studio for Mac.
Once publish completes successfully a Finder window will open to the publish folder. Now that a publish profile has been created, it will be displayed in the Publish context menu.

To publish the project again with the same settings you can click on the profile in the publish context menu.
Customize Publish Options
To change the name of the publish profile (which is displayed in the publish context menu), rename the publish profile file. Make sure to not change the extension of the file (.pubxml).
To change the publish folder path, open the publish profile and edit the publishUrl value.
To change the build configuration that is used, change the LastUsedBuildConfiguration property in the publish profile.