Note
Access to this page requires authorization. You can try signing in or changing directories.
Access to this page requires authorization. You can try changing directories.
This article is the first step in a six-part tutorial series that demonstrates how to work with Python in Visual Studio. Python is a popular programming language that's reliable, flexible, easy to learn, and free to use on all operating systems. A strong developer community and many free libraries provide robust support for working with Python. The language supports all kinds of development, including web applications, web services, desktop apps, scripting, and scientific computing. Many universities, scientists, casual developers, and professional developers use Python. Visual Studio provides first-class language support for Python.
The six parts in the tutorial series include:
- Step 1: Create a Python project (this article)
- Step 2: Write and run Python code in Visual Studio
- Step 3: Use the Interactive REPL window
- Step 4: Run code in the Visual Studio debugger
- Step 5: Install packages in your Python environment
- Step 6: Work with Git in Visual Studio
In Step 1 of the tutorial, you learn how to:
- Create a Python application project in Visual Studio
- Manage your Python project files in Solution Explorer
Prerequisites
- Visual Studio installed with support for Python workloads. For more information, see Install Python support in Visual Studio.
Create a new Python project
A project is how Visual Studio manages all the files that come together to produce a single application. Application files include source code, resources, and configurations. A project formalizes and maintains the relationships among all the project's files. The project also manages external resources that are shared between multiple projects. A project allows your application to effortlessly expand and grow. Using projects is easier than managing relationships by hand in unplanned folders, scripts, text files, and your memory.
This tutorial begins by creating a simple project that contains a single, empty code file.
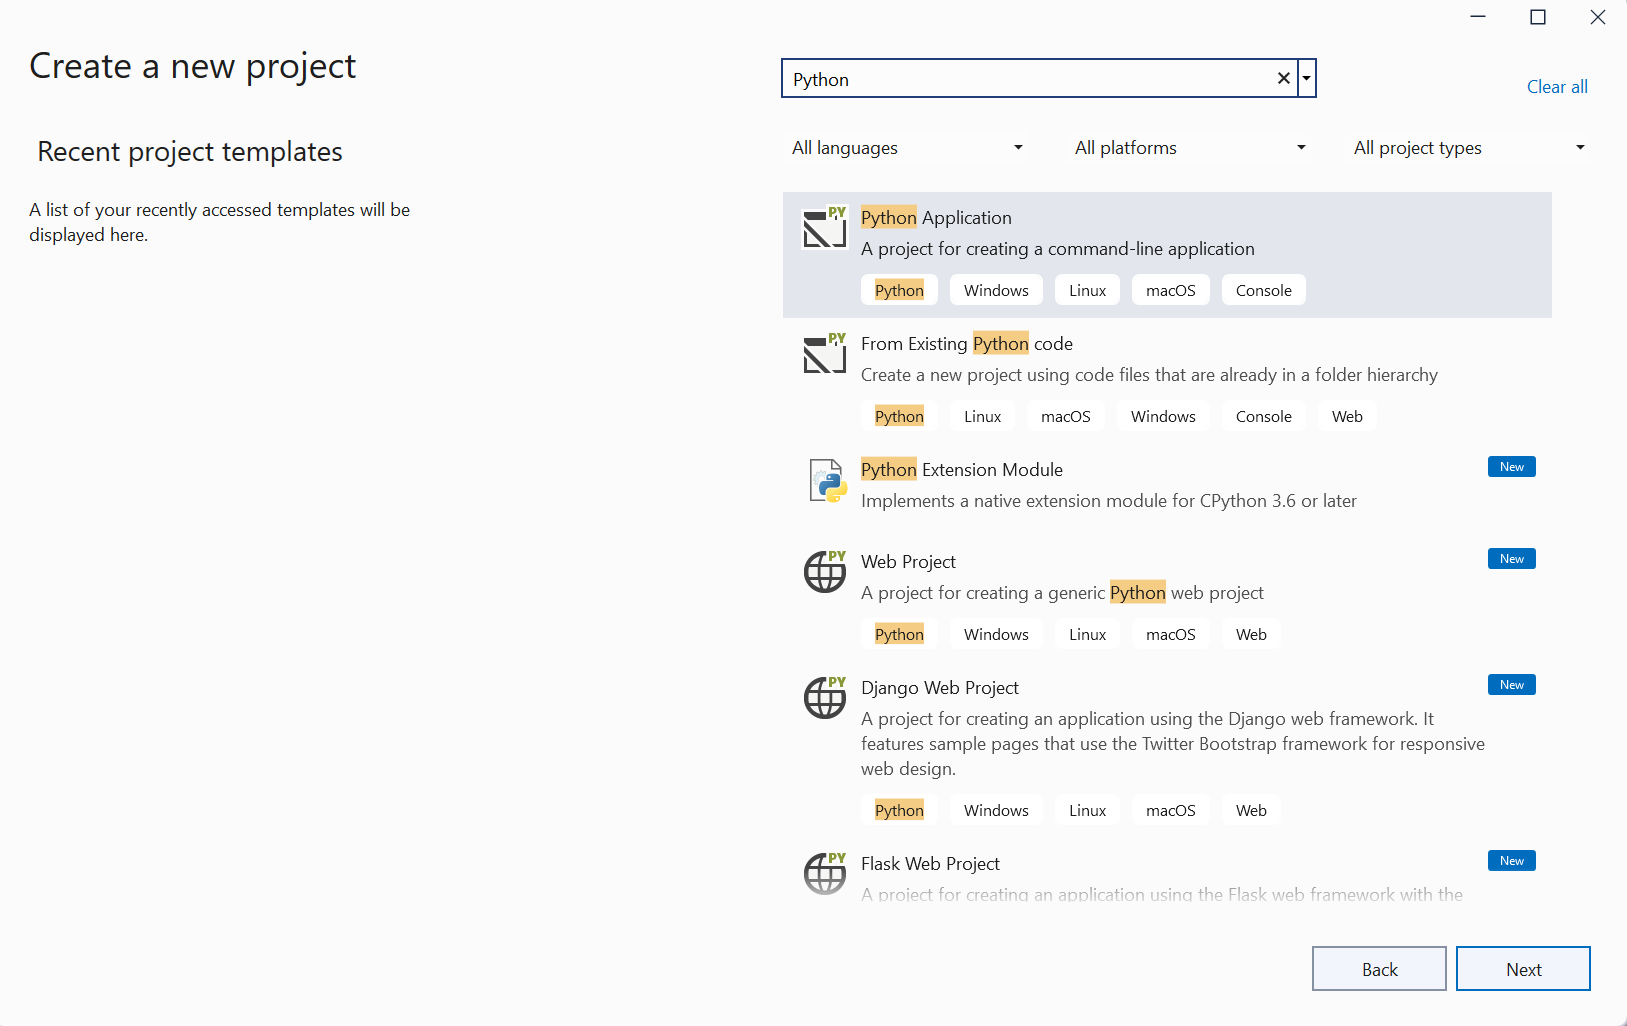
In Visual Studio, select File > New > Project or use the keyboard shortcut Ctrl+Shift+N. The Create a new project screen opens, where you can search and browse templates across different languages.
To view Python templates, search for python. Search is a great way to find a template when you can't remember its location in the languages tree.

Python web support in Visual Studio includes several project templates, such as web applications in the Bottle, Flask, and Django frameworks. When you install Python with the Visual Studio Installer, select Python Web Support under Optional to install these templates. For this tutorial, start with an empty project.
Select the Python Application template, and select Next.
On the Configure your new project screen, specify a name and file location for the project, and then select Create.

In Visual Studio, select File > New > Project or use the keyboard shortcut Ctrl+Shift+N. The Create a new project screen opens, where you can search and browse templates across different languages.
To view Python templates, search for python. Search is a great way to find a template when you can't remember its location in the languages tree.
Python web support in Visual Studio includes several project templates, such as web applications in the Bottle, Flask, and Django frameworks. When you install Python with the Visual Studio Installer, select Python Web Support under Optional to install these templates. For this tutorial, start with an empty project.
Select the Python Application template, and select Next.
On the Configure your new project screen, specify a name and file location for the project, and then select Create.

After a few moments, your new project opens in Visual Studio:


Here's what you see:
- (1): The Visual Studio Solution Explorer window shows the project structure.
- (2): The default code file opens in the editor.
- (3): The Properties window shows more information for the item selected in Solution Explorer, including its exact location on disk.
Review elements in Solution Explorer
Take some time to familiarize yourself with Solution Explorer. This window in Visual Studio is where you can browse files and folders in your project.


In Solution Explorer (1), notice the top-level item in the structure. This item is your Visual Studio solution. By default, your solution name is the same as your project.
A solution, which is shown as an .sln file on disk, is a container for one or more related projects. For example, if you write a C++ extension for your Python application, that C++ project can be in the same solution. The solution might also contain a project for a web service, and projects for dedicated test programs.
Locate the item directly under the solution name. This item is your project (2). Your project name is the name you entered in the Create a new project dialog. Visual Studio uses bold to identify the currently selected project in your solution.
On disk, a .pyproj file in your project folder represents the project.
Toggle the Expand/Collapse arrow next to the project name to view your project source files.
Visual Studio uses bold to identify which file is the Start File for the program. In this example, you have only a single .py file (3).
To view the properties for a file in the Properties window, select the file in Solution Explorer.
If you don't see the Properties window, select the wrench icon in the Solution Explorer banner. Double-clicking a file opens it in whatever way is appropriate for that file.
Under your project node, locate the Python Environments node (4). Expand the node to show the available Python interpreters.
Under the Python Environments node, expand an interpreter node to see the libraries installed in that environment (5).
Right-click any node or item in Solution Explorer to show a context menu of applicable commands. For example, Rename lets you change the name of a node or item, including the project and the solution.