Note
Access to this page requires authorization. You can try signing in or changing directories.
Access to this page requires authorization. You can try changing directories.
Use Visual Studio to define and run unit tests to maintain code health, ensure code coverage, and find errors and faults before your customers do. Run your unit tests frequently to make sure your code is working properly.
In this article, the code uses C# and C++, illustrations are in C#, but the concepts and features apply to .NET languages, C++, Python, JavaScript, and TypeScript.
Create unit tests
This section describes how to create a unit test project.
Open the project that you want to test in Visual Studio.
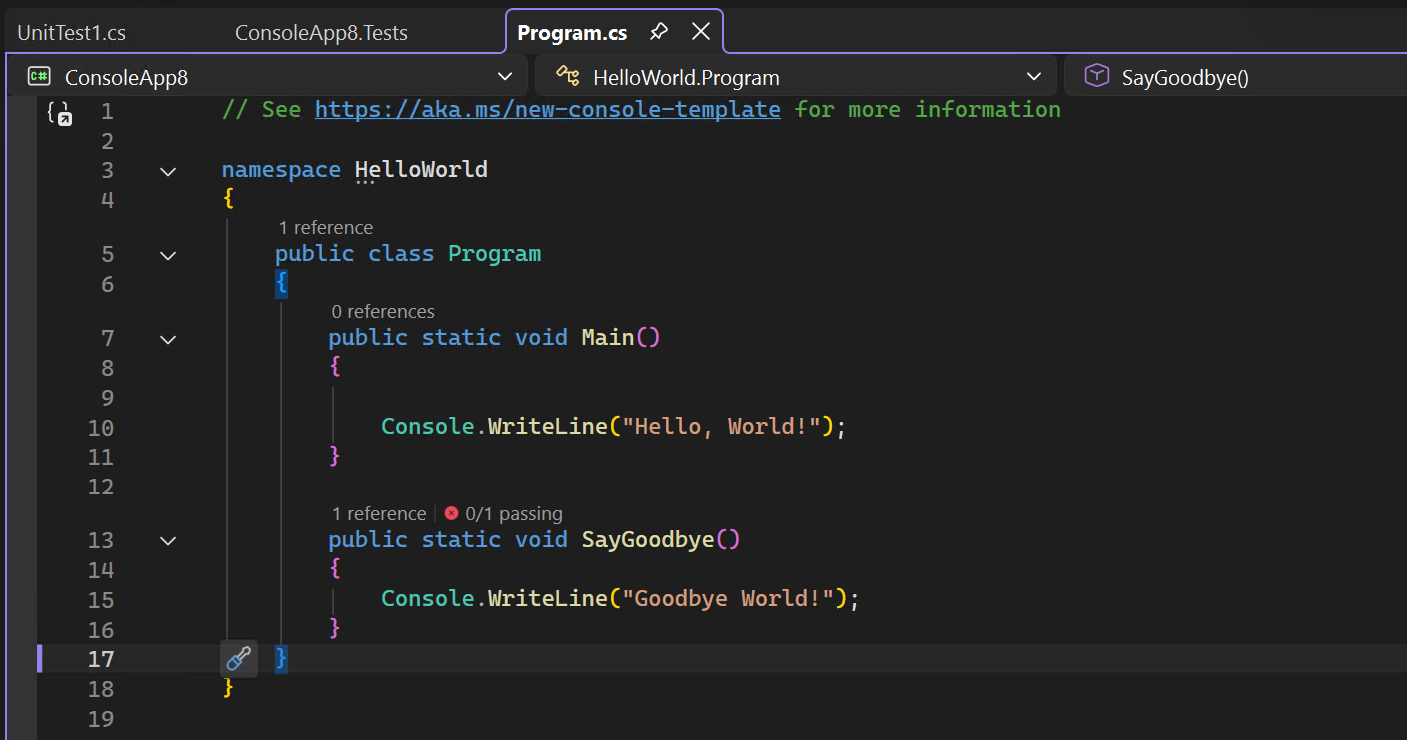
For the purposes of demonstrating an example unit test, this article tests a simple "Hello World" C# or C++ Console project named HelloWorld. The sample code for such a project is as follows:
In Solution Explorer, select the solution node. Then, from the top menu bar, select File > Add > New Project.
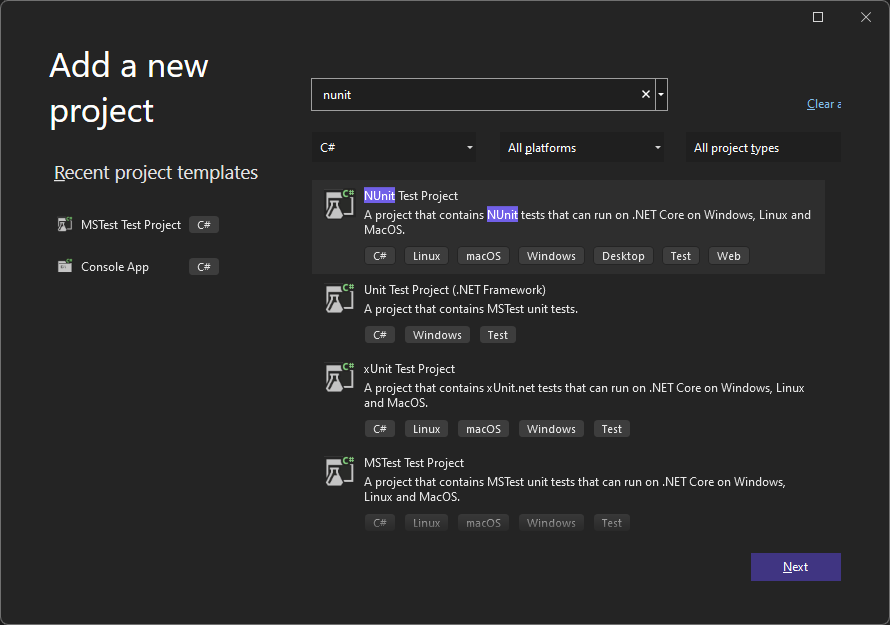
In the new project dialog box, find the unit test project to use.
Type test in the search box to find a unit test project template for the test framework you want to use, such as MSTest (C#) or the Native Unit Test project (C++), and select it.
The .NET languages in Visual Studio include built-in templates for NUnit and xUnit. For C++, in this example select the Native Unit Test project, which uses Microsoft Native Unit Test Framework. (To use a different C++ test framework, see Writing unit tests for C/C++). For Python, see Set up unit testing in Python code to set up your test project.
Tip
This article describes how to manually create unit tests. If you would like to generate tests automatically from existing code, see Generate and run unit tests using GitHub Copilot testing for .NET, or for other languages, see Use slash commands in GitHub Copilot
Tip
This article describes how to manually create unit tests. If you would like to generate tests automatically from existing code, see Create C# unit test method stubs from code, or for other languages, see Use slash commands in GitHub Copilot
The following illustration shows an MSTest unit test, which is supported in .NET.

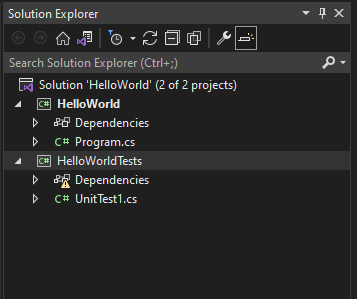
Click Next, choose a name for the test project, and then click Create.
The project is added to your solution.

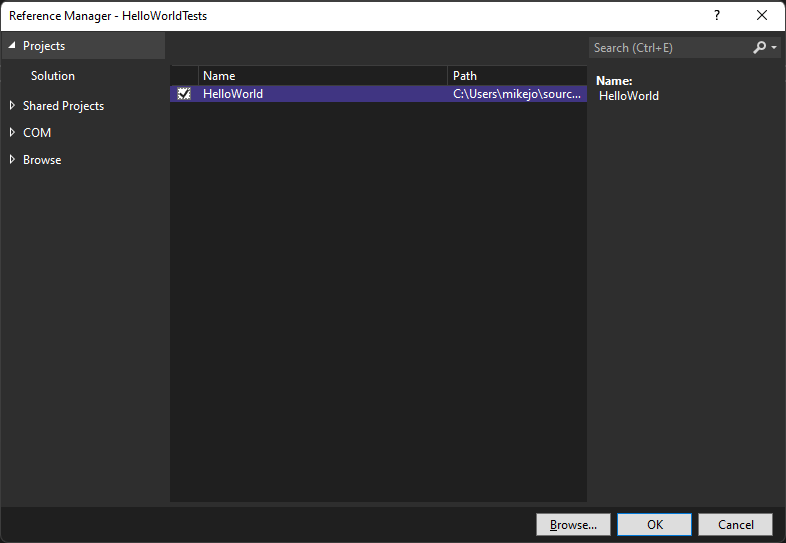
In the unit test project, add a reference to the project you want to test by right-clicking on References or Dependencies and then choosing Add Reference or Add Project Reference.
Select the project that contains the code you'll test and click OK.
Add code to the unit test method.
For example, you might use the following code by selecting the correct documentation tab that matches your test framework: MSTest, NUnit, or xUnit (supported on .NET only), or C++ Microsoft Native Unit Test Framework.
using Microsoft.VisualStudio.TestTools.UnitTesting;
using System.IO;
using System;

namespace HelloWorldTests
{
   [TestClass]
   public class UnitTest1
   {
      private const string Expected = "Hello World!";
      [TestMethod]
      public void TestMethod1()
      {
         using (var sw = new StringWriter())
         {
            Console.SetOut(sw);
            HelloWorld.Program.Main();

            var result = sw.ToString().Trim();
            Assert.AreEqual(Expected, result);
         }
      }
   }
}
Run unit tests
Open Test Explorer.
To open Test Explorer, choose Test > Test Explorer from the top menu bar (or press Ctrl + E, T).
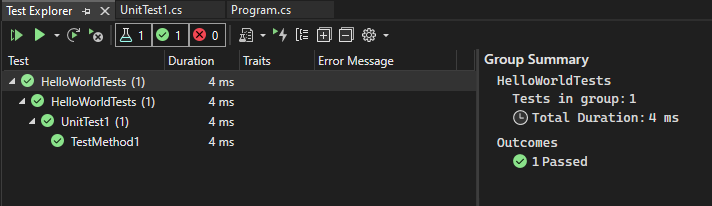
Run your unit tests by clicking Run All (or press Ctrl + R, V).


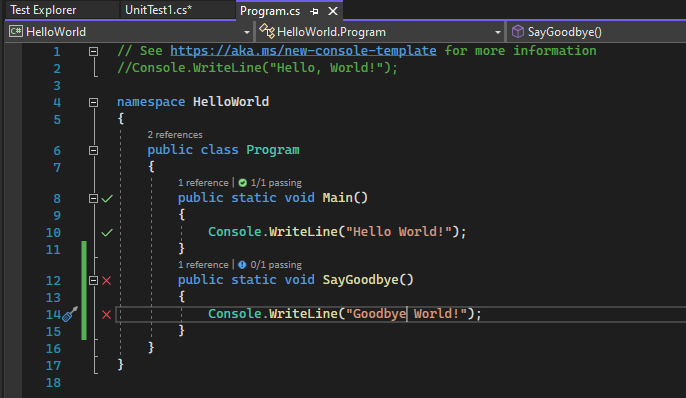
After the tests have completed, a green check mark indicates that a test passed. A red "x" icon indicates that a test failed.

Tip
You can use Test Explorer to run unit tests from the built-in test framework (MSTest) or from third-party test frameworks. You can group tests into categories, filter the test list, and create, save, and run playlists of tests. You can also debug tests and analyze test performance and code coverage.
View live unit test results (Visual Studio Enterprise)
If you are using the MSTest, xUnit, or NUnit testing framework in Visual Studio 2017 or later, you can see live results of your unit tests.
Note
To follow these steps, Visual Studio Enterprise is required, along with .NET code and one of the following test frameworks: MSTest, xUnit, or NUnit.
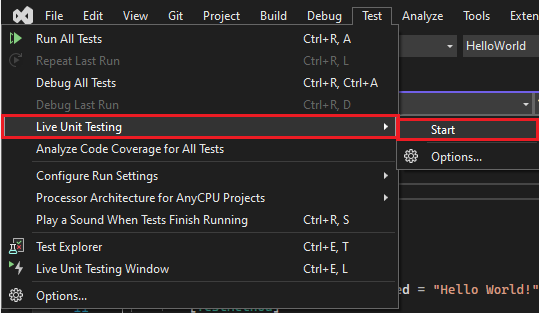
Turn live unit testing from the Test menu by choosing Test > Live Unit Testing > Start.
View the results of the tests within the code editor window as you write and edit code.
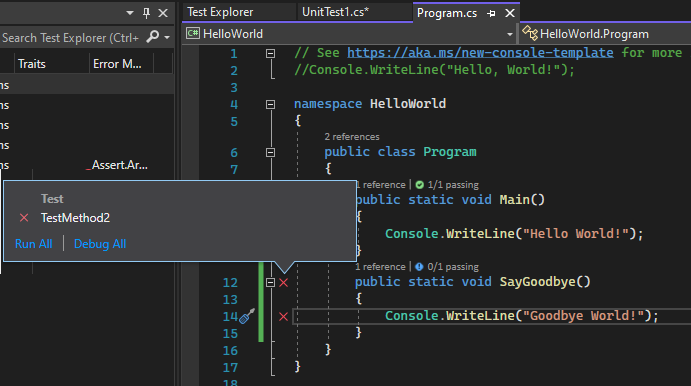
Click a test result indicator to see more information, such as the names of the tests that cover that method.

For more information about live unit testing, see Live unit testing.
Use a third-party test framework
You can run unit tests in Visual Studio by using third-party test frameworks such as NUnit, Boost, or Google C++ Testing Framework, depending on your programming language. To use a third-party framework:
Use the NuGet Package Manager to install the NuGet package for the framework of your choice.
(.NET) Starting in Visual Studio 2017 version 14.6, Visual Studio includes pre-configured test project templates for NUnit and xUnit test frameworks. The templates also include the necessary NuGet packages to enable support.
(C++) In Visual Studio 2017 and later versions, some frameworks like Google C++ Testing Framework are already included. For more information, see Write unit tests for C/C++ in Visual Studio.
To add a unit test project:
Open the solution that contains the code you want to test.
Right-click on the solution in Solution Explorer and choose Add > New Project.
Select a unit test project template.
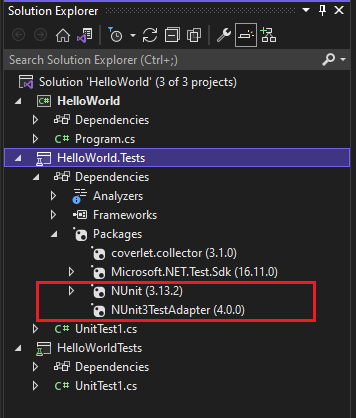
In this example, select NUnit
The project template includes NuGet references to NUnit and NUnit3TestAdapter.

Add a reference from the test project to the project that contains the code you want to test.
Right-click on the project in Solution Explorer, and then select Add > Reference. (You can also add a reference from the right-click menu of the References or Dependencies node.)
Add code to your test method.

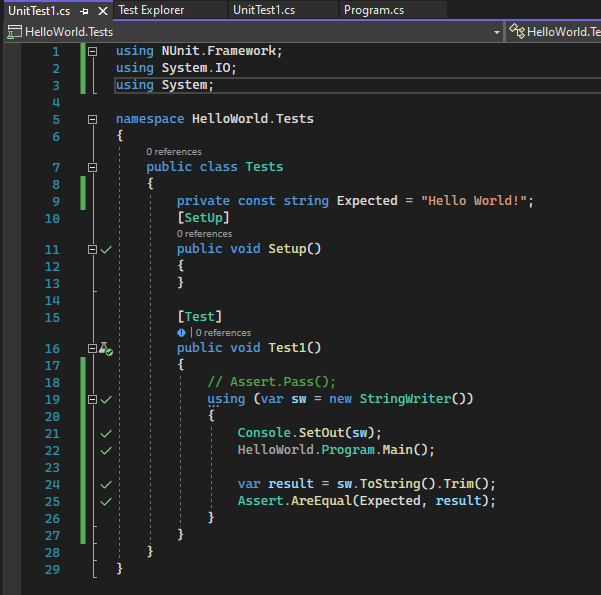
Run the test from Test Explorer or by right-clicking on the test code and choosing Run Test(s) (or Ctrl + R, T).