Note
Access to this page requires authorization. You can try signing in or changing directories.
Access to this page requires authorization. You can try changing directories.
Visual Studio makes it easy to create a repo right from the IDE. Repository creation from Visual Studio is optimized for GitHub, but you can work remotely with the Git provider of your choice. Here's how.
Prerequisites
To follow this article, you'll need:
Create a GitHub repo
Open Visual Studio, and then select Create a new project.
Tip
If you don't already have a project in Visual Studio to add to a repo, you can quickly create a new C# console app and name it MyNewApp. Visual Studio populates your new app with default "Hello, World!" code.
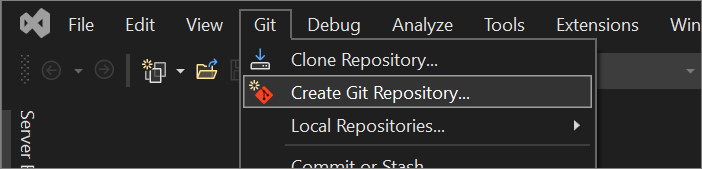
From the Git menu, select Create Git Repository.

In the Create a Git repository dialog, under the Push to a new remote section, choose GitHub.
In the Create a new GitHub repository section of the Create a Git repository dialog, enter the name of the repo you want to create. (If you haven't yet signed in to your GitHub account, you can do so from this screen, too.)
Visual Studio 17.12 and later support multiple GitHub accounts, so you can use the Account dropdown to switch to another GitHub account that you want to use for the new repository.


With Visual Studio 2022 version 17.12 and later, you can choose the visibility of the new repo. Next to Visibility, choose public, private, or internal (see About internal repositories). To create an internal repo, you must be signed in with a GitHub Enterprise account. With earlier versions, select the checkbox if you want a private repo.
Under Initialize a local Git Repository, you can use the .gitignore template option to specify any intentionally untracked files that you want Git to ignore. To learn more about .gitignore, see Ignoring files. And to learn more about licensing, see Licensing a repository.
Tip
You can update and change these settings whenever you want to. For detailed instructions, see Git settings in Visual Studio.
After you sign in and enter your repo info, select the Create and Push button to create your repo and add your app.

Create an Azure DevOps repo
Open Visual Studio, and then select Create a new project.
Tip
If you don't already have a project in Visual Studio to add to a repo, you can quickly create a new C# console app and name it MyNewApp. Visual Studio populates your new app with default "Hello, World!" code.
From the Git menu, select Create Git Repository.
In the Create a Git repository dialog, under the Push to a new remote section, choose Azure DevOps.
In the Create a new Azure DevOps repository section, sign in to your Azure account, and then select a project from the Project drop-down list.
Select the Create and Push button to create your repo and add your app.
Work with local repos
To create a local repo:
- From the Git menu, select Create Git Repository.
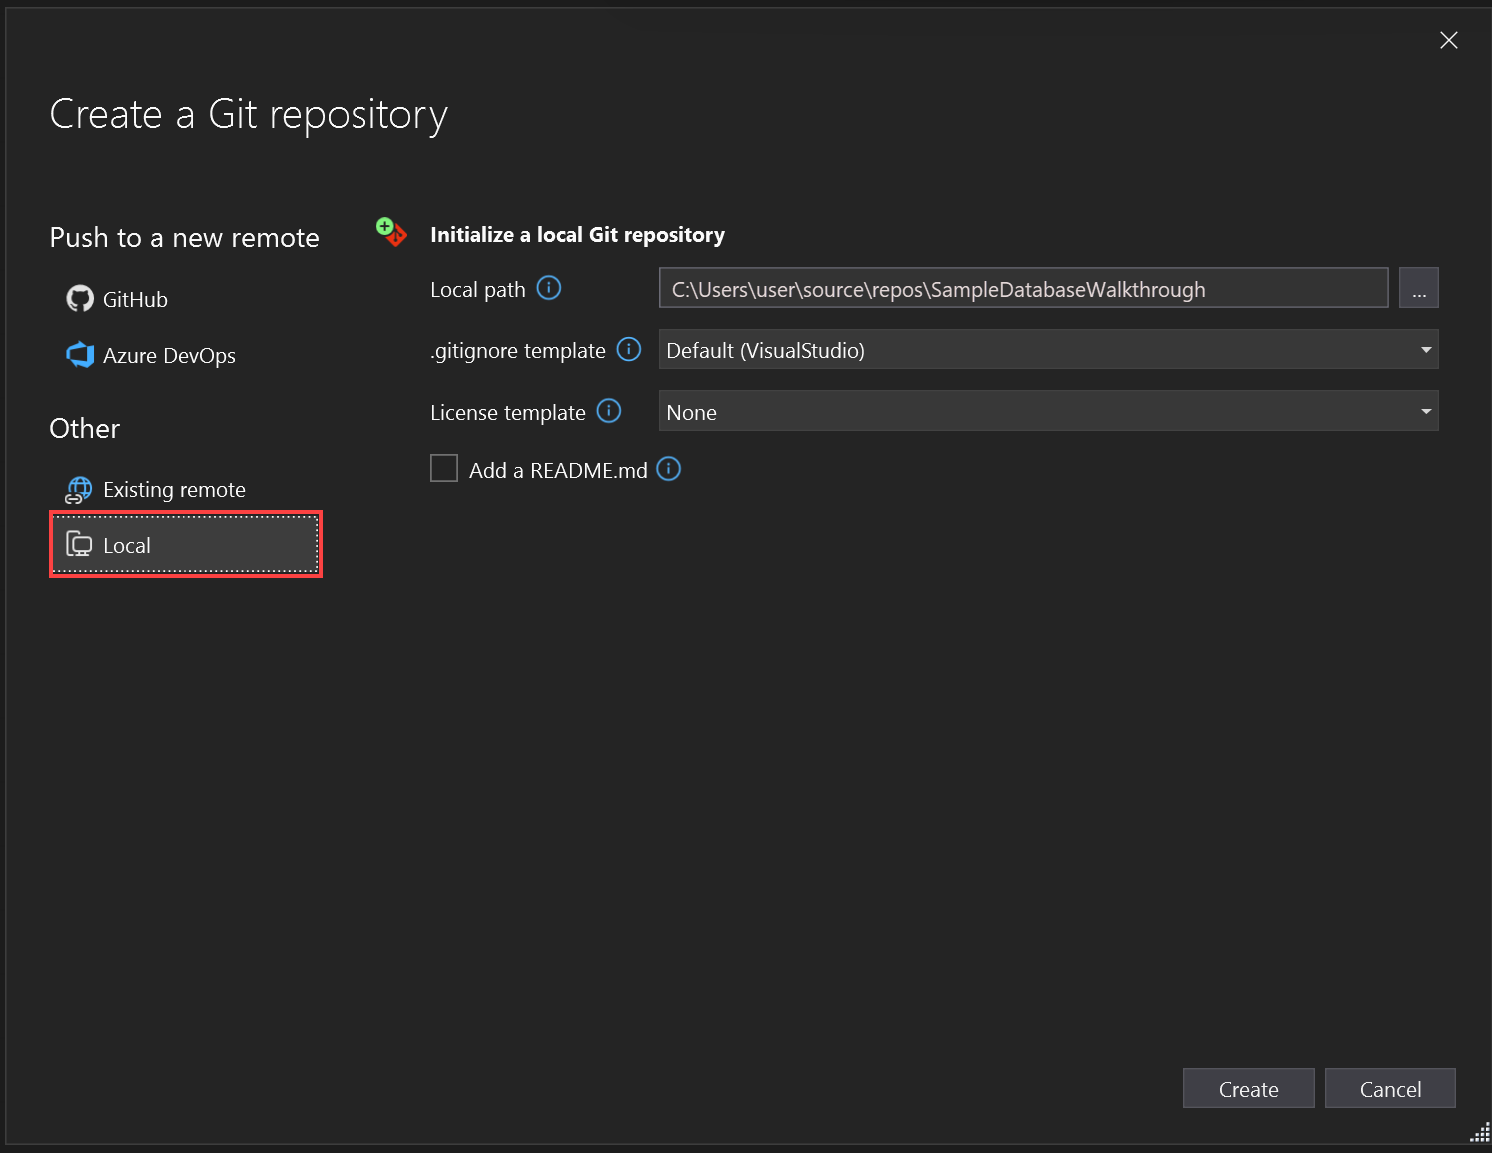
In the Create a Git repository dialog, under Other, choose Local.

In the Create a Git repository dialog, under Other, choose Local only.
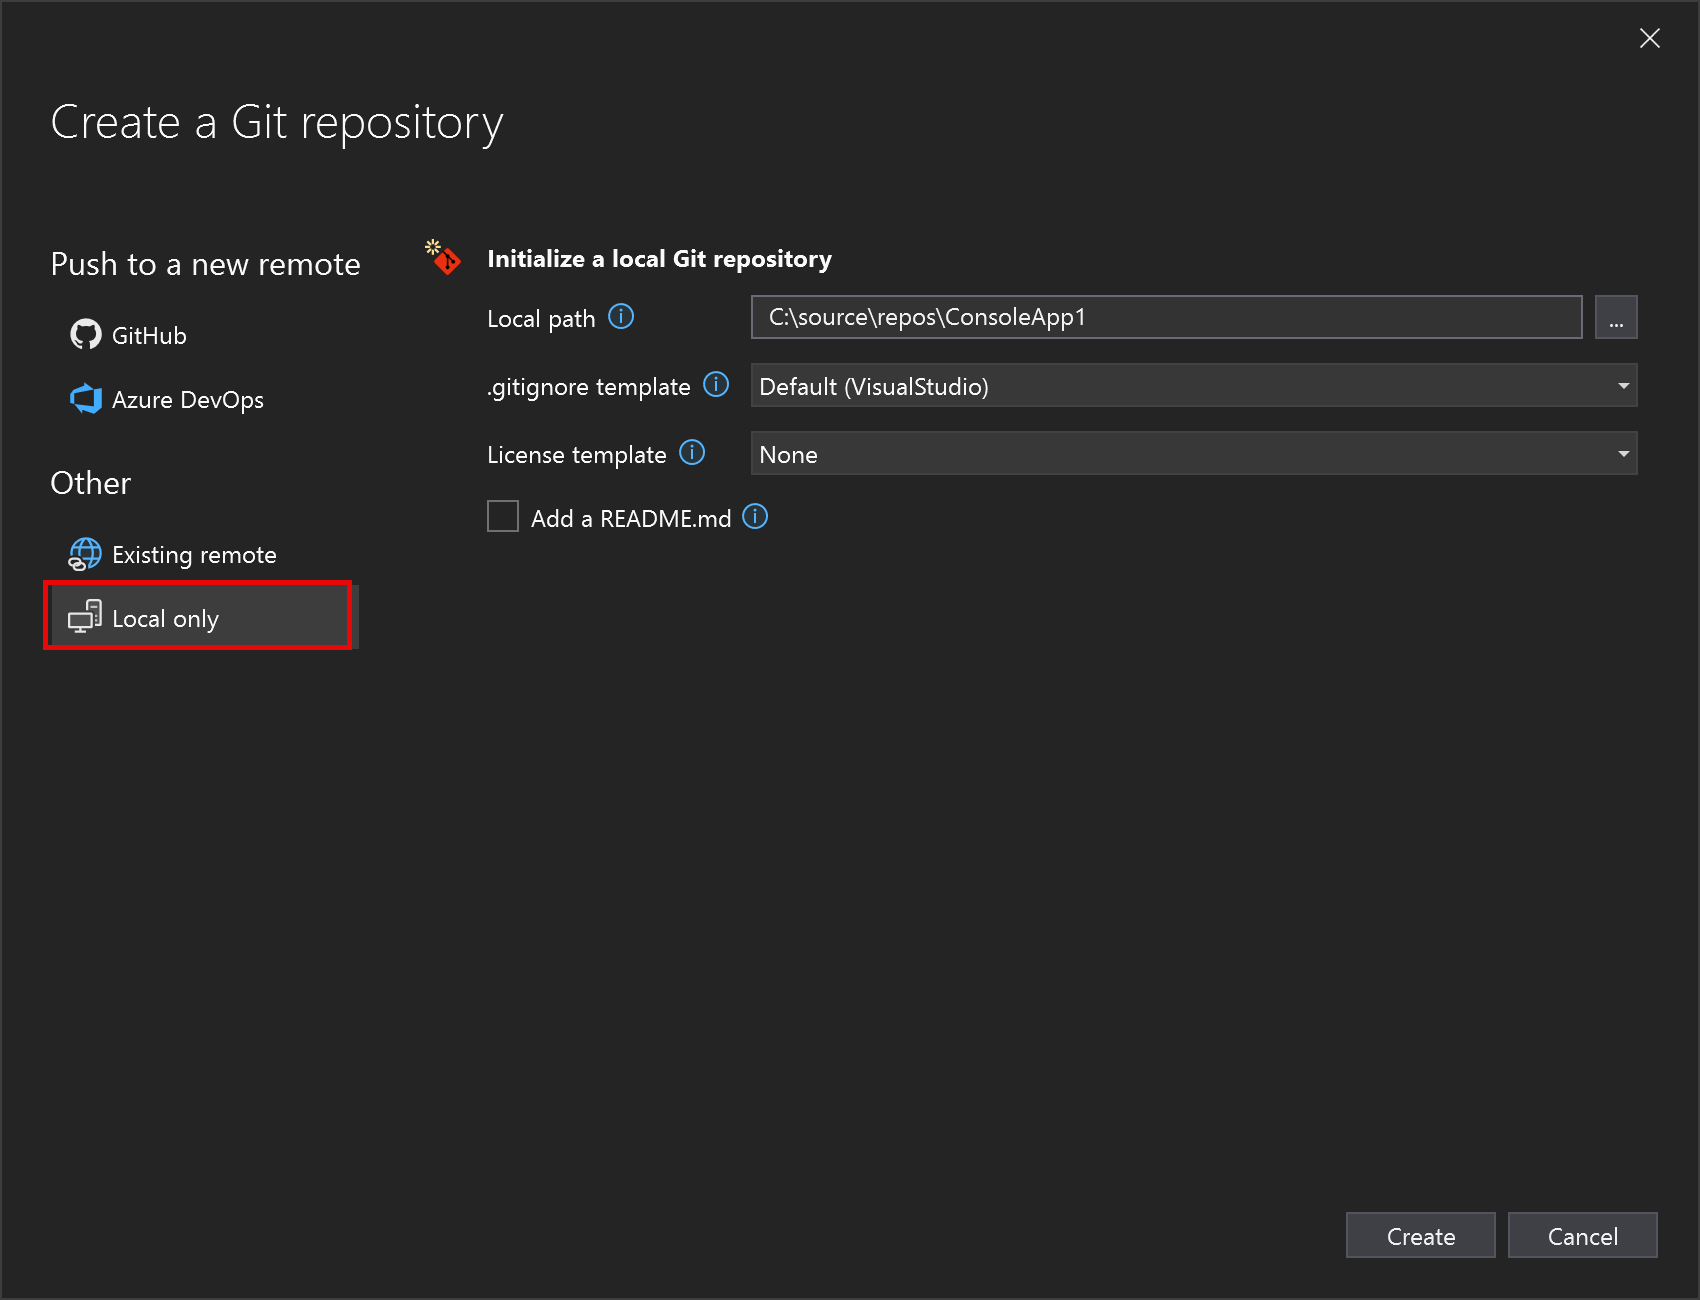
Under Initialize a local Git repository, check the local path to the project, and modify any other settings if needed.
Select the Create and Push button to create your repo.
After you’ve created a repo or cloned one, Visual Studio detects the Git repository and adds it to your list of Local Repositories in the Git menu. From there, you can quickly access and switch between your Git repositories.
Add another repo to a solution
When you add a new project to an existing multi-repo solution, you might want to track that project in its own repository. To do so, follow these steps:
- Add the project to the solution.
- Close the solution.
- Use Open a local folder to open the new project by itself.
- Create a new repository using the methods described earlier in this article in GitHub, Azure DevOps, another Git hosting provider, or locally (the equivalent of
git initfrom the command line). - Reopen the parent solution. The new project's repo will be included.