Note
Access to this page requires authorization. You can try signing in or changing directories.
Access to this page requires authorization. You can try changing directories.
Suggested Action templates contain content that Microsoft Viva Glint includes as suggested resources to help managers achieve team-approved Focus Areas. Resources used in Action Plan templates must first exist in Content Resources.
Viva People Science explains Focus Areas and Suggested Action templates
Focused and streamlined action planning is essential. A Suggested Action plan is a written commitment to make incremental improvements to the employee experience and can help to increase work engagement on your team and within your company.
Understand terminology associated with Content Resources and Action Plans
This terminology assists with understanding how Glint sets up Suggested Action templates:
| Term | Definition |
|---|---|
| Driver | A factor that affects employee engagement, such as growth or culture. Survey items are developed to surface key - also referred to as "core" - drivers |
| Suggested Action Templates | The overall template associated with a survey item. Choosing a Focus Area from survey results directs managers to the Suggested Action Template associated with the chosen key driver |
| Suggested Action Items | The components of a Suggested Action Template |
| Content Resources | Articles, images, PDFs, and videos that are available to managers in a Suggested Action Template |
| Standard content | Content that is prepopulated into Glint Content Resources. Content must first exist or be added in Content Resources before it's attached to a Suggested Action template. |
| Custom content | Content that you, as the Viva Glint customer, upload to your Content Resources |
Familiarize yourself with the Content Resources feature
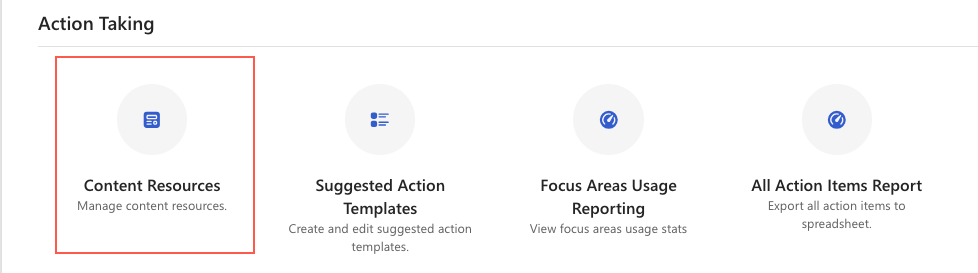
Access Content Resources from the Action Taking section on your admin dashboard.
Character limits for Content Resources
| Field | Character limit |
|---|---|
| Name | 100, no spaces |
| Title | 2048 |
| Description | 50K+ |
| Rich text | 50K+ |
| Image file name | 255, include file extension |
| PDF file name | 255, include file extension |
| Video link URL | 5048 |
Add external links to Content Resources

- From the admin dashboard, select Configuration and then in Action Taking, choose Content Resources.
- Select + New.
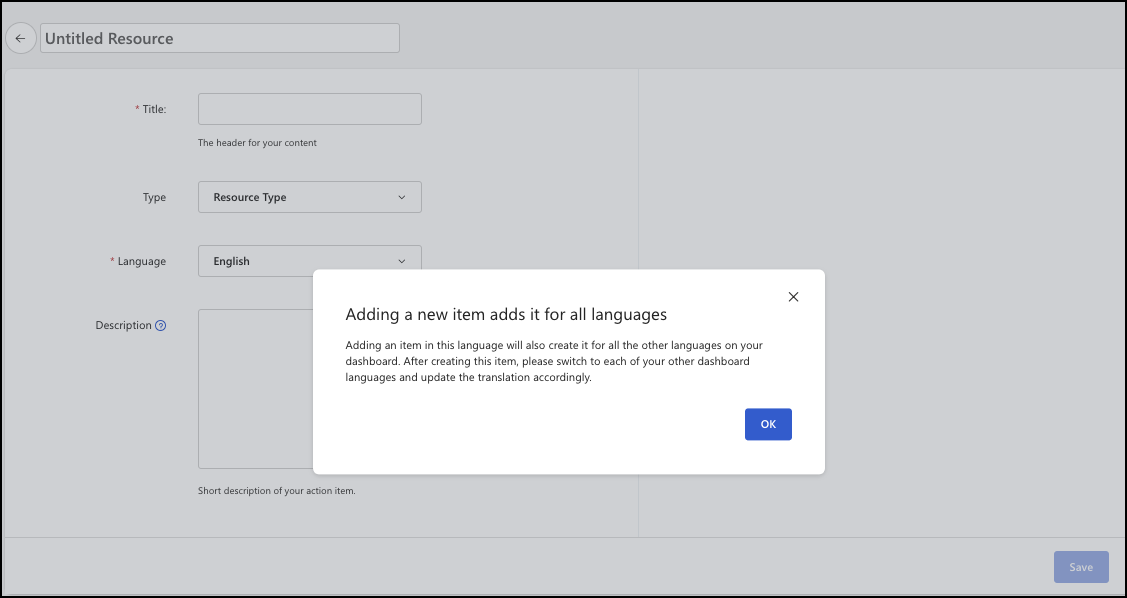
- Select OK to confirm that you understand that adding a new resource adds it for all program languages.
- To modify text for translations, select each language from the dropdown menu in the Content Resource.
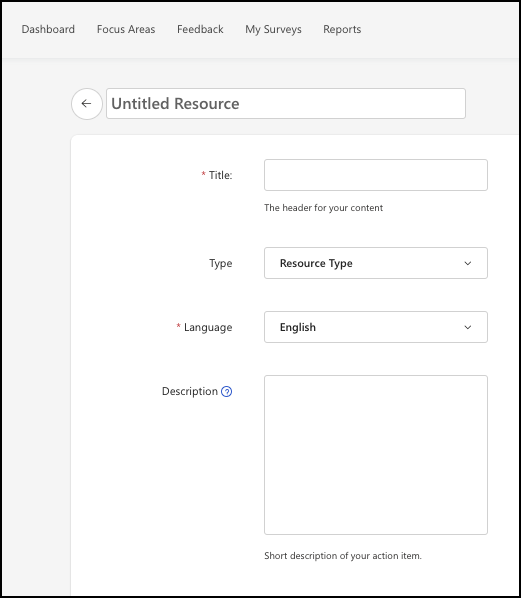
- Add a title in the Untitled Resource and Title sections.
- In the Resource Type dropdown menu, select Rich Text.
- Add a short summary of the resource in the Description section.
- In the Rich Text field, select External Link from the Insert dropdown menu.
- Enter the link in the Url field and enter a Label and Title.
- Select OK.
- Preview the link in the right edit pane and ensure that the right page appears when the link is selected.
- Select Save and then select Publish.
Add videos to Content Resources
Many LinkedIn Learning videos are already linked to Viva Glint templates. If you’re a LinkedIn Learning customer and want to add different course content to your Viva Glint template, check out LinkedIn Learning Customer Success: Course Content Corner.
Important
Videos that aren't the property of LinkedIn Learning can also be used as resources in your templates. Follow the LinkedIn Learning instructions, as much as possible, to achieve your upload.
Choose a LinkedIn Learning video to add to Content Resources
Select the video to add. The preview screen displays.
- Select Watch full course.
- Use the share arrow symbol and then select Embed.
- Select Unlock Video to Embed.
- Select Copy Code.
Paste the code into a document to save the entire URL, such as a Word or Google document. Locate the section of the URL, which is within quotes: 'https://linkedin.com/learning/embed/' Copy just that part of the URL.
Add the new video to Content Resources
From your Glint admin dashboard, select the Configuration symbol and then Content Resources.

Select + New.
Select Ok on the Adding a new item adds it for all languages window.
Describe and name your new resource.
- In the Untitled Resource bar, enter the actual video title.
- For Title, select a title that helps you easily identify the video.
- For Type, use the dropdown menu to select Video.
- Choose the default language.
- Enter a description of the video content.
- Paste the copied code - just that small piece - into the Video Link box. A video preview displays.
Select Save.
Select Publish.

Embed the video into the Suggested Action Plan
From your Viva Glint admin dashboard, select the Configuration symbol and then Content Resources.
Search for the Suggested Action Item and open it.
Place the cursor where you want to embed the video.
Select Insert and then Video Link to search for or link to the resource.
Copy and paste the link to move the embedded video in Rich Text. A preview displays.
Select Save.
Important
To clone this resource, create a new name.
Select Publish.
Add a LinkedIn Learning Video to a Focus Area
From your Viva Glint admin dashboard, select the Configuration symbol and then Suggested Action Templates.
Search and select the name of the Focus Area.
Delete the old Suggested Action.
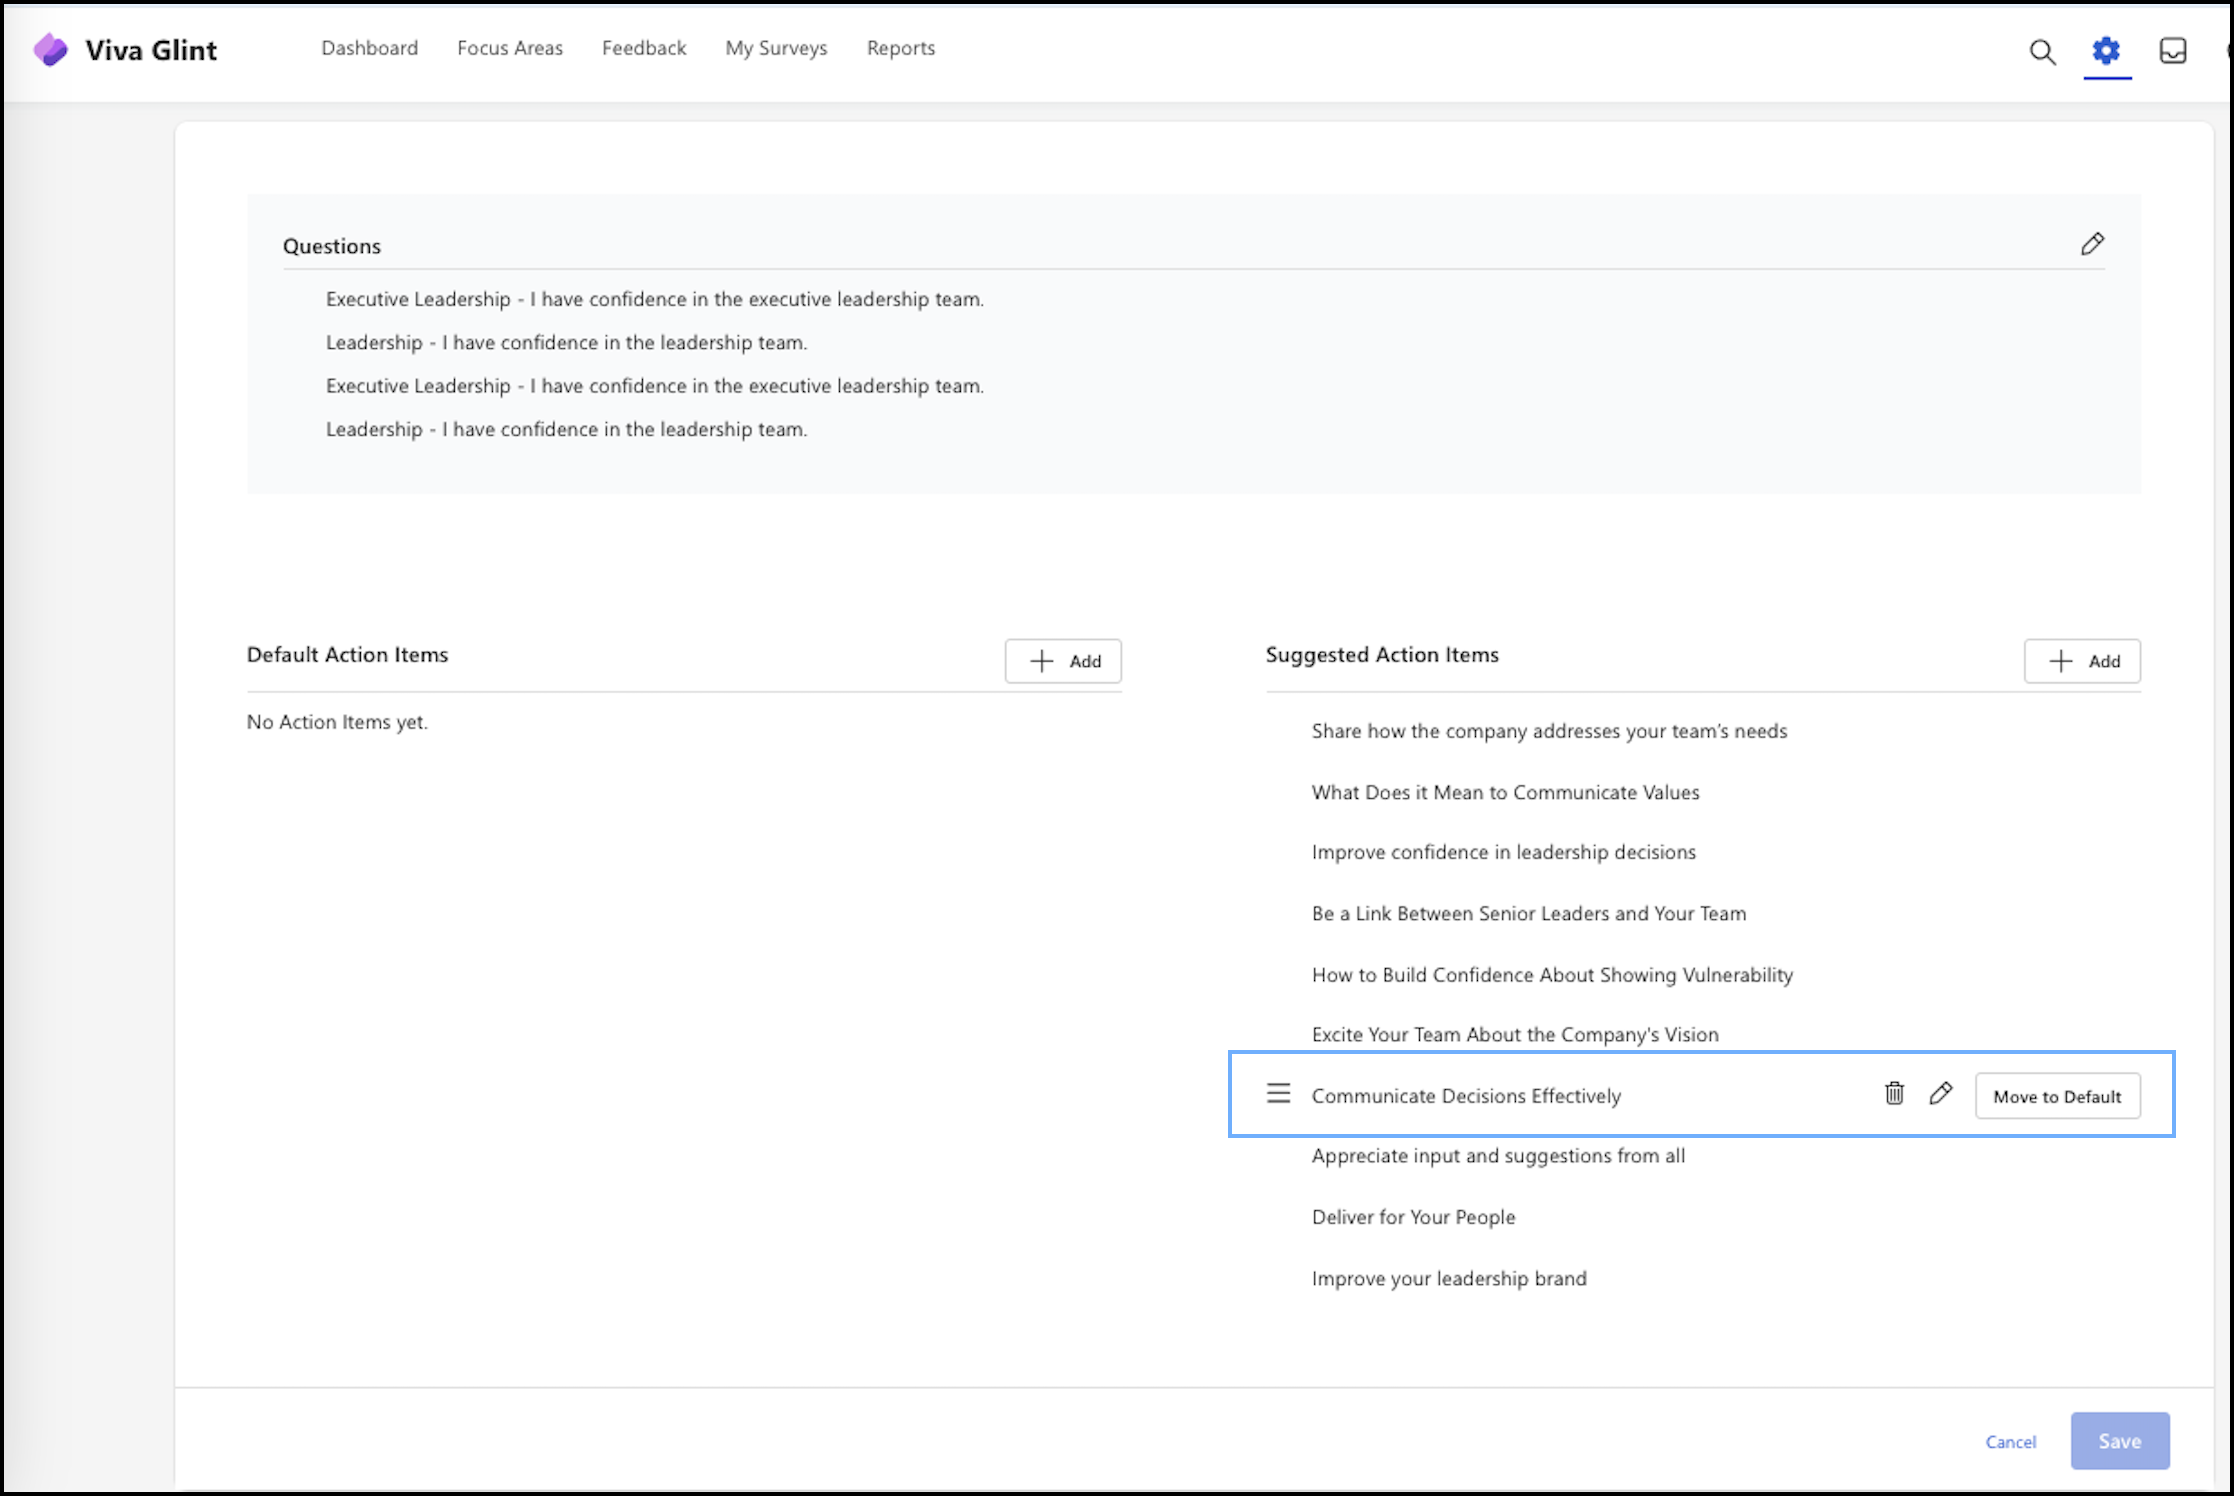
Add the cloned copy of the Suggested Action.
Select Save.
Select Publish.
Confirm the update.

Edit Content Resources connected to Focus Areas
Depending on the status of Focus Areas in your organization, edits to Content Resources already connected to Focus Areas and their Action Items apply differently. Review the following table to see how Content Resource edits flow to users' Focus Areas and Action Items.
| Focus Area status | Add or edit content from Focus Areas | Add or edit content from Results |
|---|---|---|
| Complete | Original content retained in Focus Area | Updated content appears in Focus Area |
| Open (On track, Off track) | Original content retained in Focus Area | Original content retained in Focus Area |
| Not created | Updated content appears in Focus Area | Updated content appears in Focus Area |
| Deleted | Updated content appears in Focus Area | Updated content appears in Focus Area |
To make Content Resource edits appear in users' Focus Areas in cases where Viva Glint would usually retain the original content for a user:
- Reassign Focus Areas: Users can deselect and reselect a Focus Area to pull in the latest content from the Suggested Action Template and its Content Resources.
- Use Dashboard access: Encourage users to always access Focus Areas and Action Items from their Dashboards to see the most recent content.
- Update Content Resources: Ensure that Viva Glint Admins keep content updated in Content Resources, which flow into Suggested Action Templates.
Learn more about linking custom content to Suggested Action Templates.
Note
If Content Resources can be removed completely instead of edited, consider using the Deprecation feature to deprecate content. Content is removed from all Focus Areas, regardless of status, after users log out and log in again.