Note
Access to this page requires authorization. You can try signing in or changing directories.
Access to this page requires authorization. You can try changing directories.
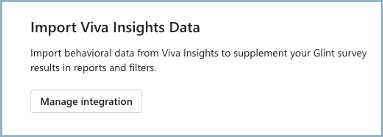
Viva Glint customers can import behavioral data from Microsoft Viva Insights to supplement their Viva Glint survey data for a better understanding of how your organization’s way of working impacts the employee experience.
- Explore employee sentiment relative to behaviors
- Filter employee sentiment by ways of working
- Control who can access Viva Insights data
To use this integration:
- Your organization purchased a Viva Insights tenant
- Your organization purchased Premium Viva Insights licenses
This article discusses how to import survey results – employee-level survey responses, question/item text, question/item labels, categories, survey names, rating scales, and survey closed date – from Viva Glint into Viva Insights.
Integration workflow
The Microsoft 365 Global Administrator consents to share Viva Insights data with Viva Glint. Learn how to start the process.
The Viva Glint Administrator sets up the integration and adds the relevant metrics from Viva Insights.
To resync the data to pick up the Microsoft Entra ID changes:
Use Prerequisites to the integration to solve for discrepancies between Viva Glint active users and those seen in your Microsoft Entra IDs in MAC.
- In manage integration: delete all attributes and remove all programs.
- Readd the attributes and program to reimport Viva Insights data for all survey cycles.
In the future, expect this resync to happen automatically.
Manage data sharing
On your first visit to the Viva Insights Integrations platform, accessible from your admin configuration dashboard, you see a window requesting you to review and agree to this information:
- Data sharing from Viva Insights to Viva Glint is a feature governed by the Microsoft Viva Preview Agreement.
- When Insights-to-Glint data sharing is enabled, Insights advanced insights metrics is shared with Glint and subject to further processing by Viva Glint. Viva Glint stores a copy of the share Insights data, which can be deleted from Viva Glint at any time.
- By selecting the checkbox, you enable Insights-to-Glint data sharing and agree to the Microsoft Viva Preview Agreement.
Set up the Viva Insights integration
From your Viva Glint admin dashboard, select the Configuration symbol and then Viva Insights from the Microsoft Viva Integrations section.
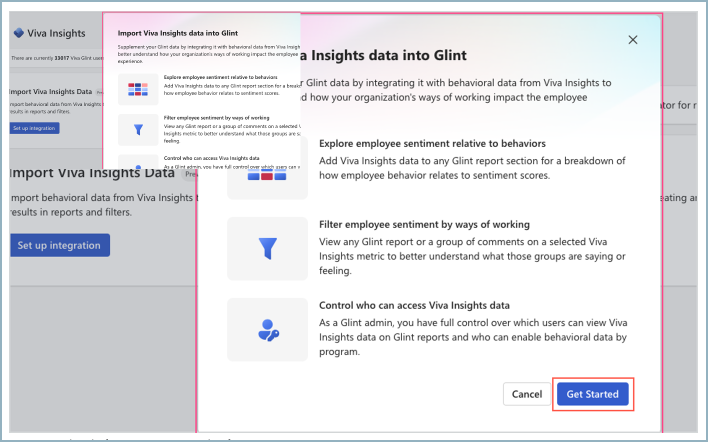
Select the Set up integration button in the Import Viva Insights data section.
Review the window that pops up and then select Get Started.
Understand confidentiality thresholds for the integration to understand what data can be sent
For both Viva Insights and Viva Glint, the default confidentiality thresholds are five (5). If the defaults are unchanged, the minimum threshold of five (5) is recognized for viewing survey data.
If you have changed the confidentiality threshold in either application, we consider the thresholds of both products. The higher of the two thresholds is enforced when showing survey data. This rule includes both workplace pattern data from Viva Insights as well as sentiment data from Viva Glint.
Note
Higher Viva Insights thresholds are only enforced in Viva Glint for User Roles that are granted access to Viva Insights attributes.
If you have a program that has a confidentiality threshold of less than five and would like to use this integration, reach out to your account team. This may be possible.
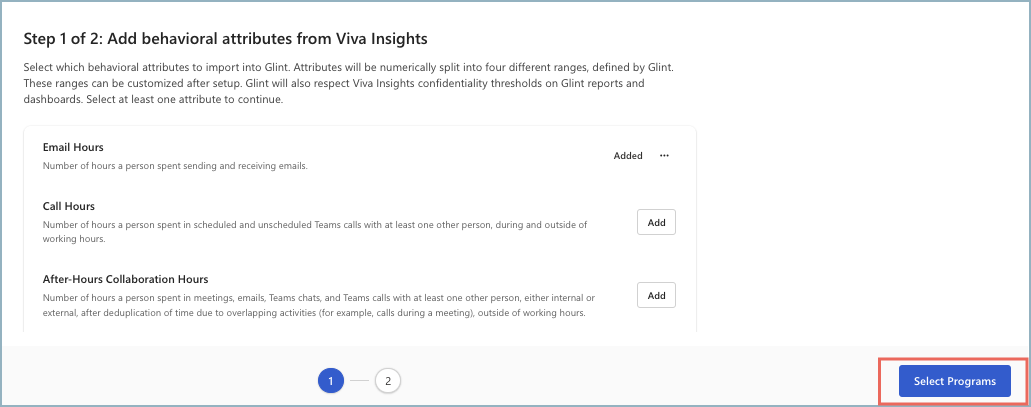
Add behavioral attributes from Viva Insights
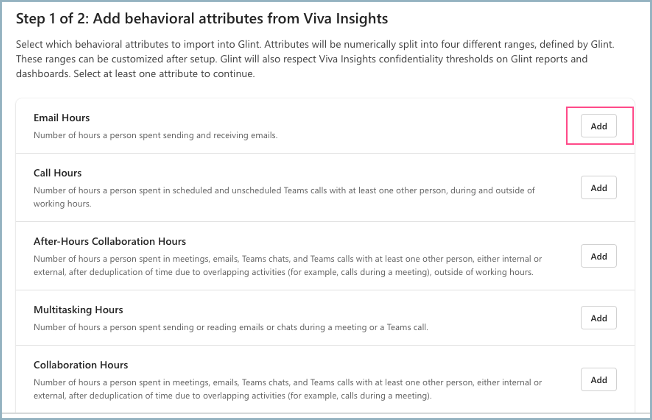
In Step 1 of 2, decide which behavioral attributes to import into Viva Glint. Attributes are numerically split into four different ranges, defined by Viva Glint. Ranges can be customized after setup. Viva Glint respects Viva Insights confidentiality thresholds on Viva Glint reports and dashboards for User Roles that have access to Viva Insights attributes.
Select Add next to an attribute to continue. You must select at least one attribute to continue.
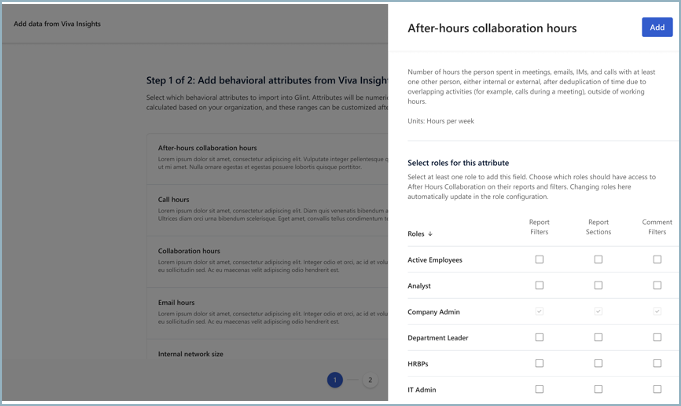
In the window that opens, select at least one role to add to this attribute. Roles are prepopulated from your User Roles configured earlier.
In the role row, select if that role should have access to information about this attribute in their report filters, report sections, or comment filters.
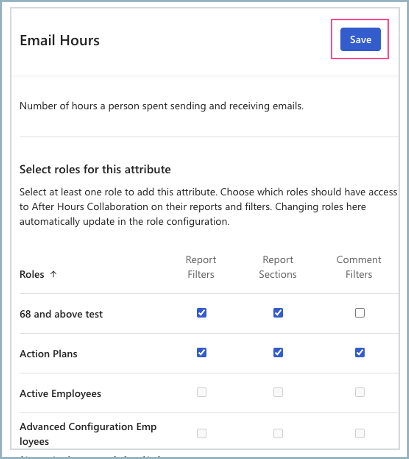
Select Save. This attribute now shows as Added.
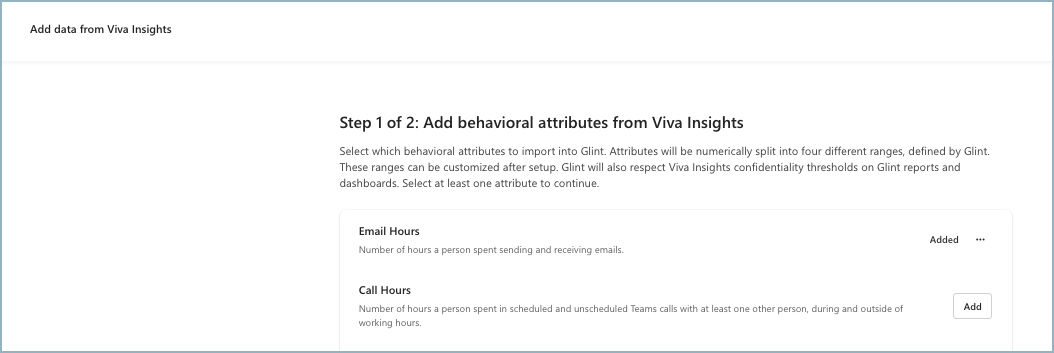
Continue adding attributes until you have everything you need.
Select Programs.

Important
Viva Glint respects Viva Insights confidentiality thresholds on Viva Glint reports and dashboards for User Roles that have access to Viva Insights attributes.
Note
When a new survey cycle ends, it takes 24-48 hours to receive data from Viva Insights. Expect some delay in the data reflecting in the platform.
Viva Insights metrics
Add a Viva Insights metric as an employee attribute. Assign roles for the attribute. In this example, after-hours collaboration hours are chosen as the Insight metric.
Important
**Viva Insights only runs reports from Sunday to Sunday. This means Viva Glint receives Viva Insights data (also referred to as collaboration data) on the Sunday directly before a survey start date and the last Sunday before the survey's end date. For this reason, your data is partial, excluding data past the last Sunday of the survey window.
Example: A survey starting On October 8, 2024, and ending on October 15, 2024, is actually pushed to Viva Glint on October 6-October 13, 2024. Push dates are inclusive of start dates and exclusive of end dates.
Make your metric selection from Insights
Note
Default bucket values are determined by Viva People Science research experts.
| Default metric name | Default metric description | Bucket 1 | Bucket 2 | Bucket 3 | Bucket 4 | Unit |
|---|---|---|---|---|---|---|
| Email hours | Number of hours that a person spent sending and receiving emails | 0 to less than 3 | 3 to less than 6 | 6 to less than 8 | 8 or more | Hour |
| Call hours | Number of hours that a person spent in scheduled and unscheduled Teams calls with at least one other person, during and outside of working hours | 0 to less than 5 | 5 to less than 10 | 10 to less than 15 | 15 or more | Hour |
| After-hours collaboration hours | Number of hours that a person spent in meetings, emails, Teams chats, and Teams calls with at least one other person, either internal or external, after deduplication of overlapping times (for example, calls during a meeting), outside of working hours | 0 to less than 1 | 1 to less than 3 | 3 to less than 5 | 5 or more | Hour |
| Multitasking hours | Number of hours that a person spent sending or reading emails or chats during a meeting or Teams call | 0 to less than 1 | 1 to less than 3 | 3 to less than 5 | 5 or more | Hour |
| Collaboration hours | Number of hours that a person spent in meetings, emails, and Teams chats, and calls with at least one other person. These hours are either internal or external. They're determined after deduplication of time due to overlapping activities. | |||||
| Uninterrupted hours | Sum of block one hour or longer where a person didn't attend a meeting, read or send emails, read or send Teams chats, or initiate or receive Teams calls. In other words, uninterrupted hours are the sum of blocks of time, one hour or longer, for deep thinking with no communication. This metric helps organizations understand whether employees have long blocks of uninterrupted time for deep thinking to solve new problems creatively and to fuel innovation | 0 to less than 5 | 5 to less than 10 | 10 to less than 15 | 15 or more | Hour |
| Meeting hours | Number of hours a person spent in meetings with at least one other person, during and outside of working hours. | 0 to less than 6 | 60 to less than 12 | 10 to less than 15 | 15 or more | Hour |
| Meeting hours with Manager 1:1 | Number of meeting hours involving only the person and their manager | 0 to less than 0.01 | 0.01 to less than 0.25 | 0.25 to less than 0.5 | 0.5 or more | Hour |
| Meeting hours with Skip Level Manager | Number of meeting hours a person attended where their manager's manager also attended the meeting | 0 to less than 0.01 | 0.01 to less than 0.5 | 0.5 to less than 1 | 1 or more | Hour |
| Internal network size | Number of people within the organization with whom a person had a reciprocal interaction in the past four weeks | 0 to less than 15 | 15 to less than 30 | 30 to less than 45 | 45 or more | Count |
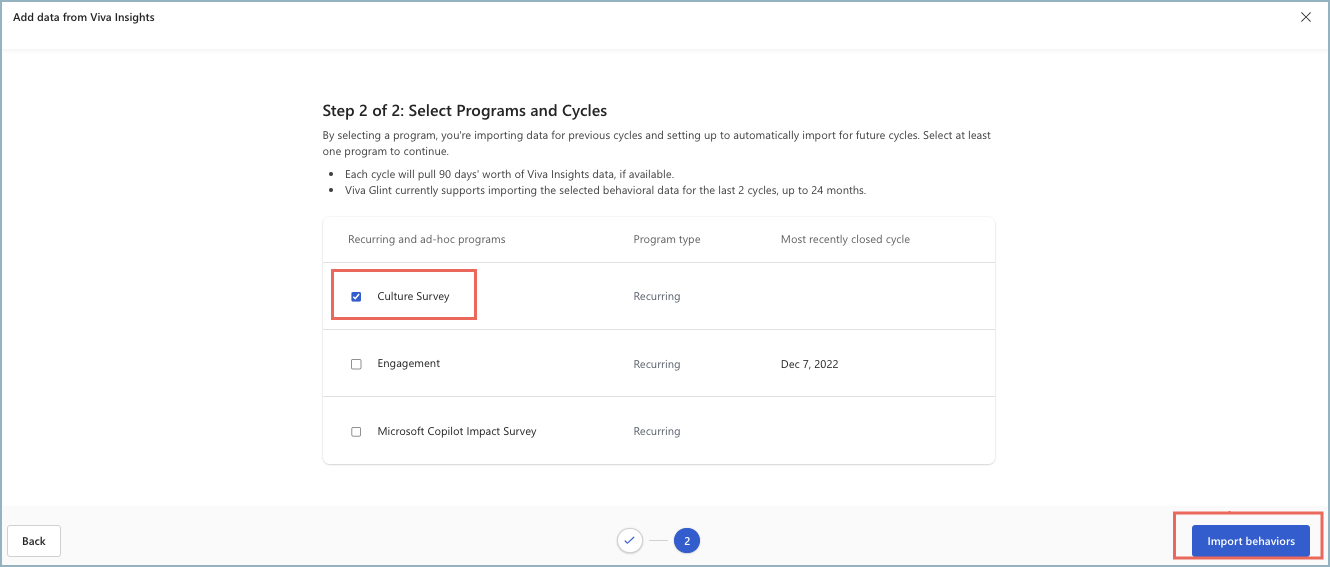
Import data
In the Select Programs and Cycles section, import data from previous cycles and set up automatic imports for future cycles.
To continue, use the boxes to display a checkmark to select a program. You may select multiple programs.
- Each cycle pulls 12 weeks of Insights data, if available.
- Viva Glint currently supports importing the selected behavioral data for the last two cycles, up to 24 months.
Select Import behaviors.
This confirmation shows:
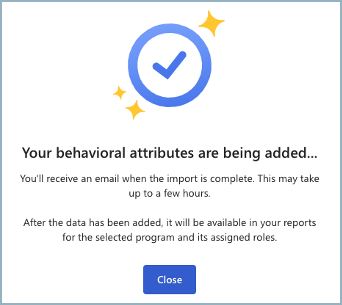
Select Close.

Manage added data
Now you’re ready to manage your integration. After closing the confirmation window, the Set up integration button now reads Manage Integration.
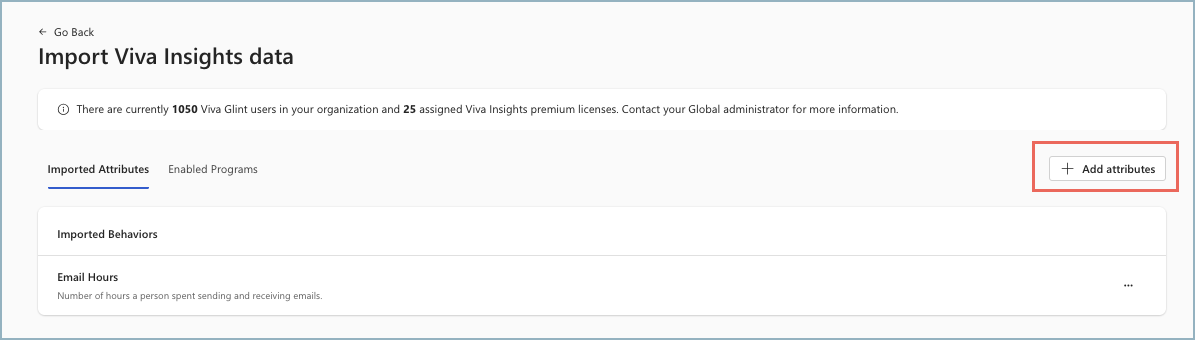
Select Manage Integration. The Import Viva Insights data page opens.
Manage imported attributes
You can see the list of attributes imported.
To bring in other behaviors, select + Add attributes and follow the same procedure. Attributes continue to populate in the Imported Attributes column.
Use the ellipses next to each behavior to open a dropdown menu, providing options for you to edit, customize, or delete.
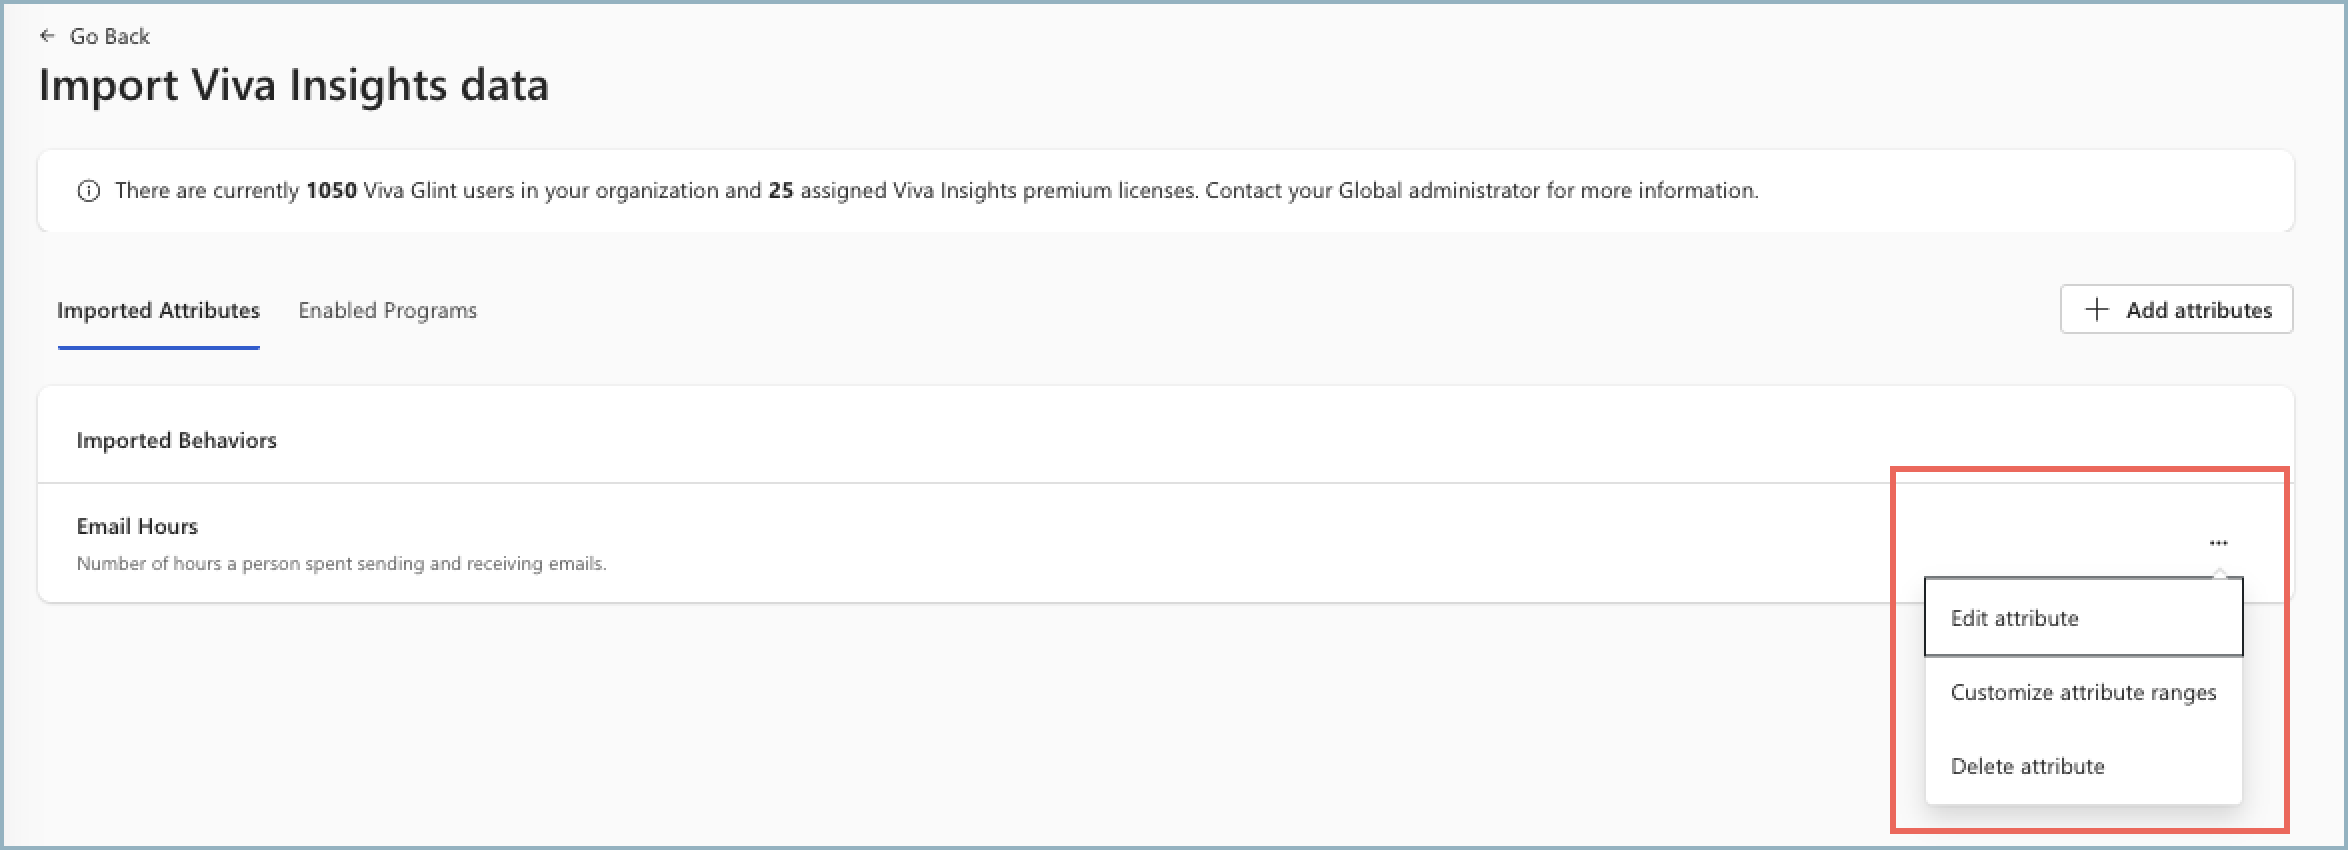


Edit attributes
To add or delete attributes, check or uncheck any roles or filters. Select Save.
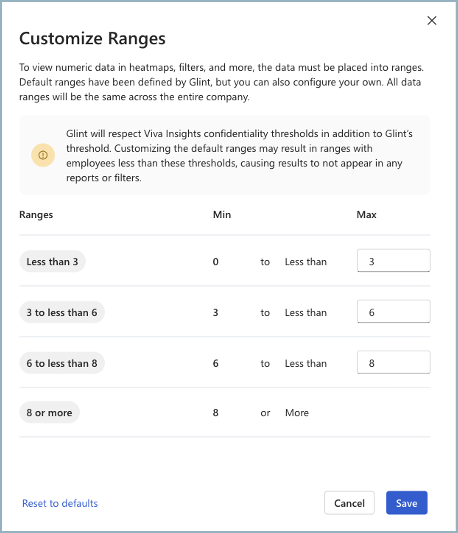
Customize attribute ranges
To view numeric data in heatmaps, filters, and more, the data must be placed into ranges. Viva Glint defines default ranges, but you can configure your own ranges.
All data ranges are the same across the entire company.
Adjust the range in the Max column.
Select Save.
Important
Viva Glint respects Viva Insights confidentiality thresholds, in addition to Viva Glint’s threshold, for User Roles that have access to Viva Insights attributes. Customizing default ranges may result in ranges with employees less than these thresholds and for this reason, results don’t appear in any reports or filters.
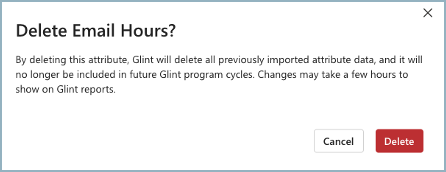
Delete an imported attribute
By deleting an attribute, Viva Glint deletes all previously imported attribute data, and this data isn't included in future Viva Glint program cycles. Changes may take a few hours to show on Viva Glint reports. Select Delete in the window that opens.
Manage enabled survey programs
Switch to the Enabled Programs tab.
Add programs
Viva Glint imports Insights data for previous and future cycles by selecting more programs, which are populated in the Add Programs window that opens. Each cycle imports 12 weeks of Insights data. Viva Glint supports importing selected behavioral data for the past two cycles, up to 24 months.
Select the + Add Programs button and then the Add button as desired. These programs are now added to the Enabled Programs column.

Remove programs
Use the ellipses next to each program to open the Remove program option.
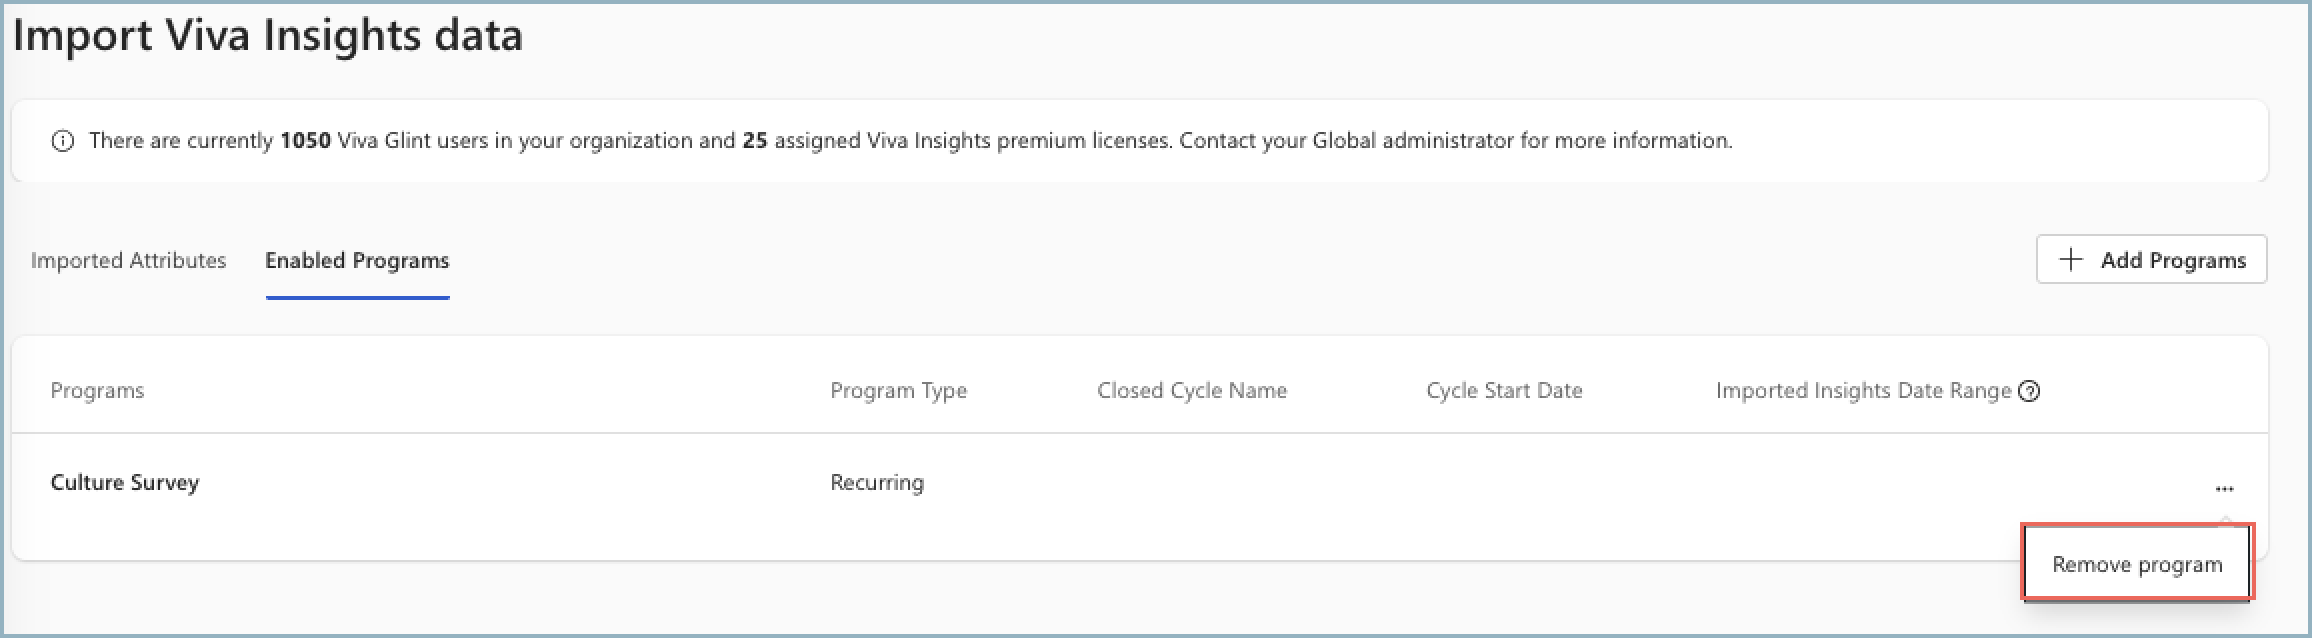
Select Remove from the window that opens.
Raw data export
Important
Viva insights attributes aren't available in Viva Glint Raw Data Exports.