Note
Access to this page requires authorization. You can try signing in or changing directories.
Access to this page requires authorization. You can try changing directories.
ThViva Goals Domo integration enables automated real-time tracking of OKR progress.
Let's consider this example: You use Domo cards to visualize your sales team's close rate: quarter-to-date (QTD) versus goal. When you configure a Domo integration and set up a data link in Viva Goals, you can connect to other source sales systems, if all data integrations, aggregations, and key performance indicator (KPI) visualizations are already implemented in Domo. Viva Goals will automatically update OKR progress, which saves you time and brings all your data and progress in one place.
How to enable Domo integration
A Viva Goals admin can follow these steps to enable Domo Integration:
Go to Viva Goals integrations page: Admin > Integrations.
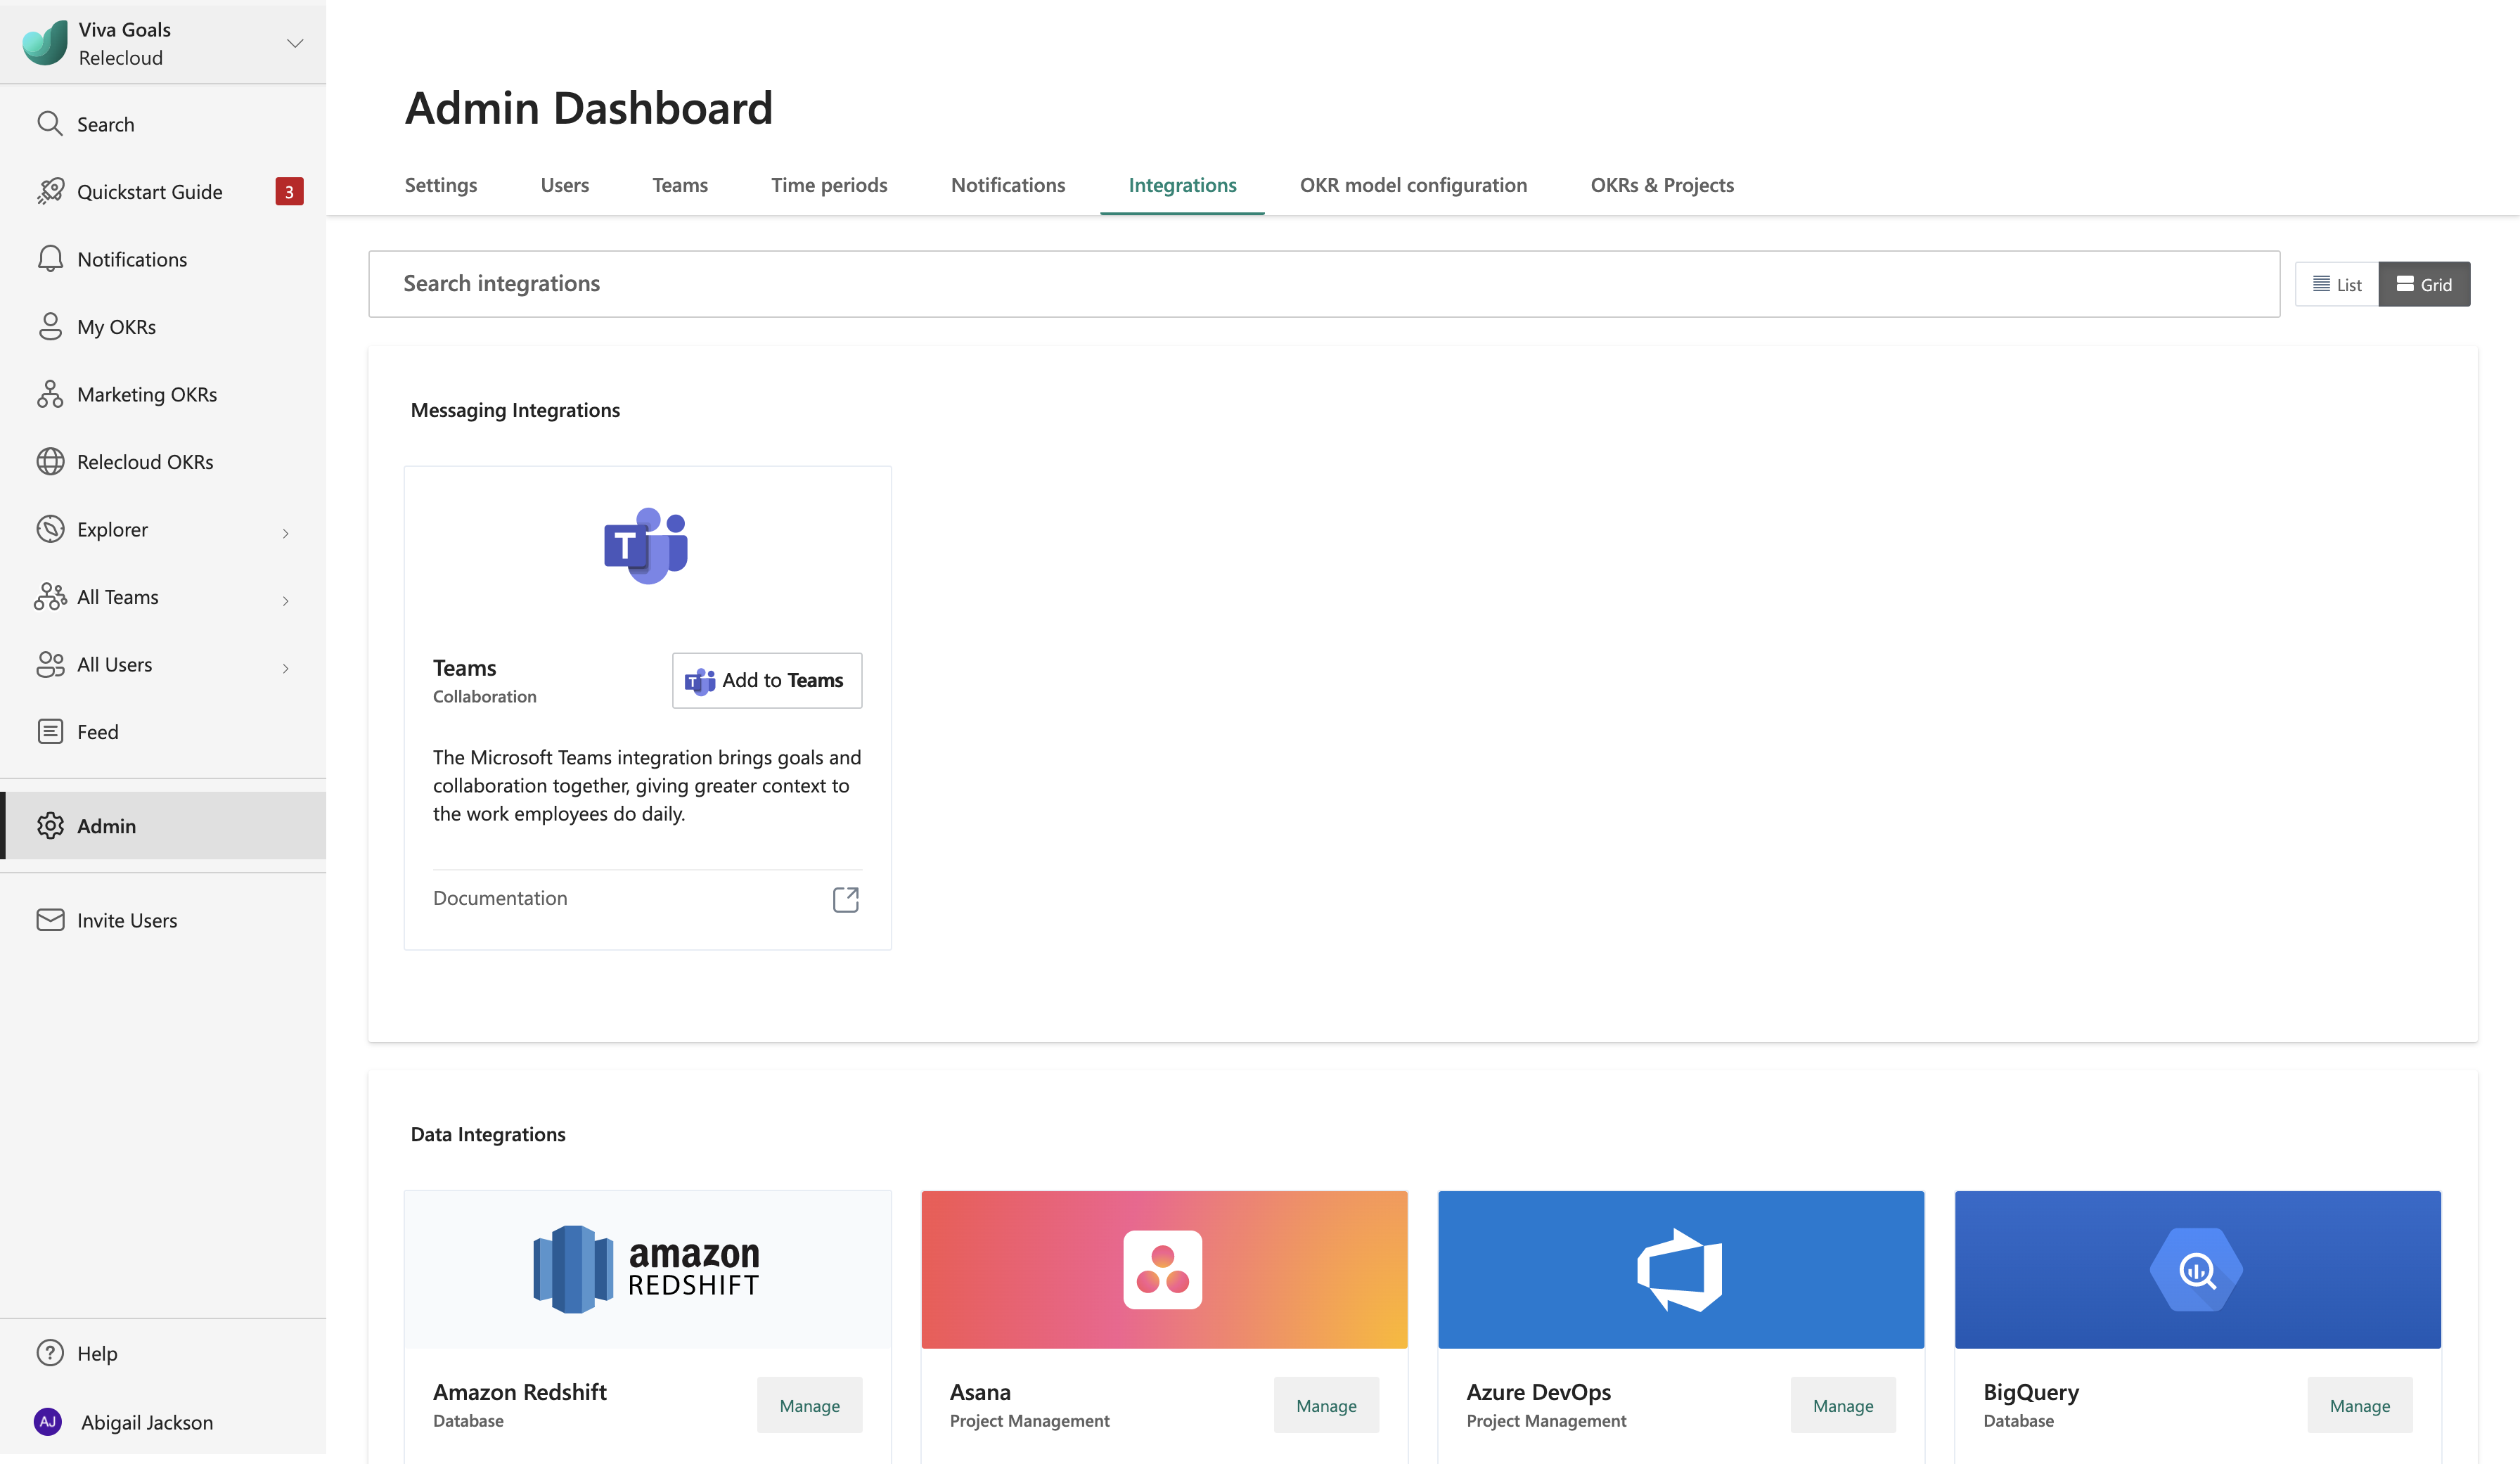
Enable the Domo integration in the Data Integrations category.
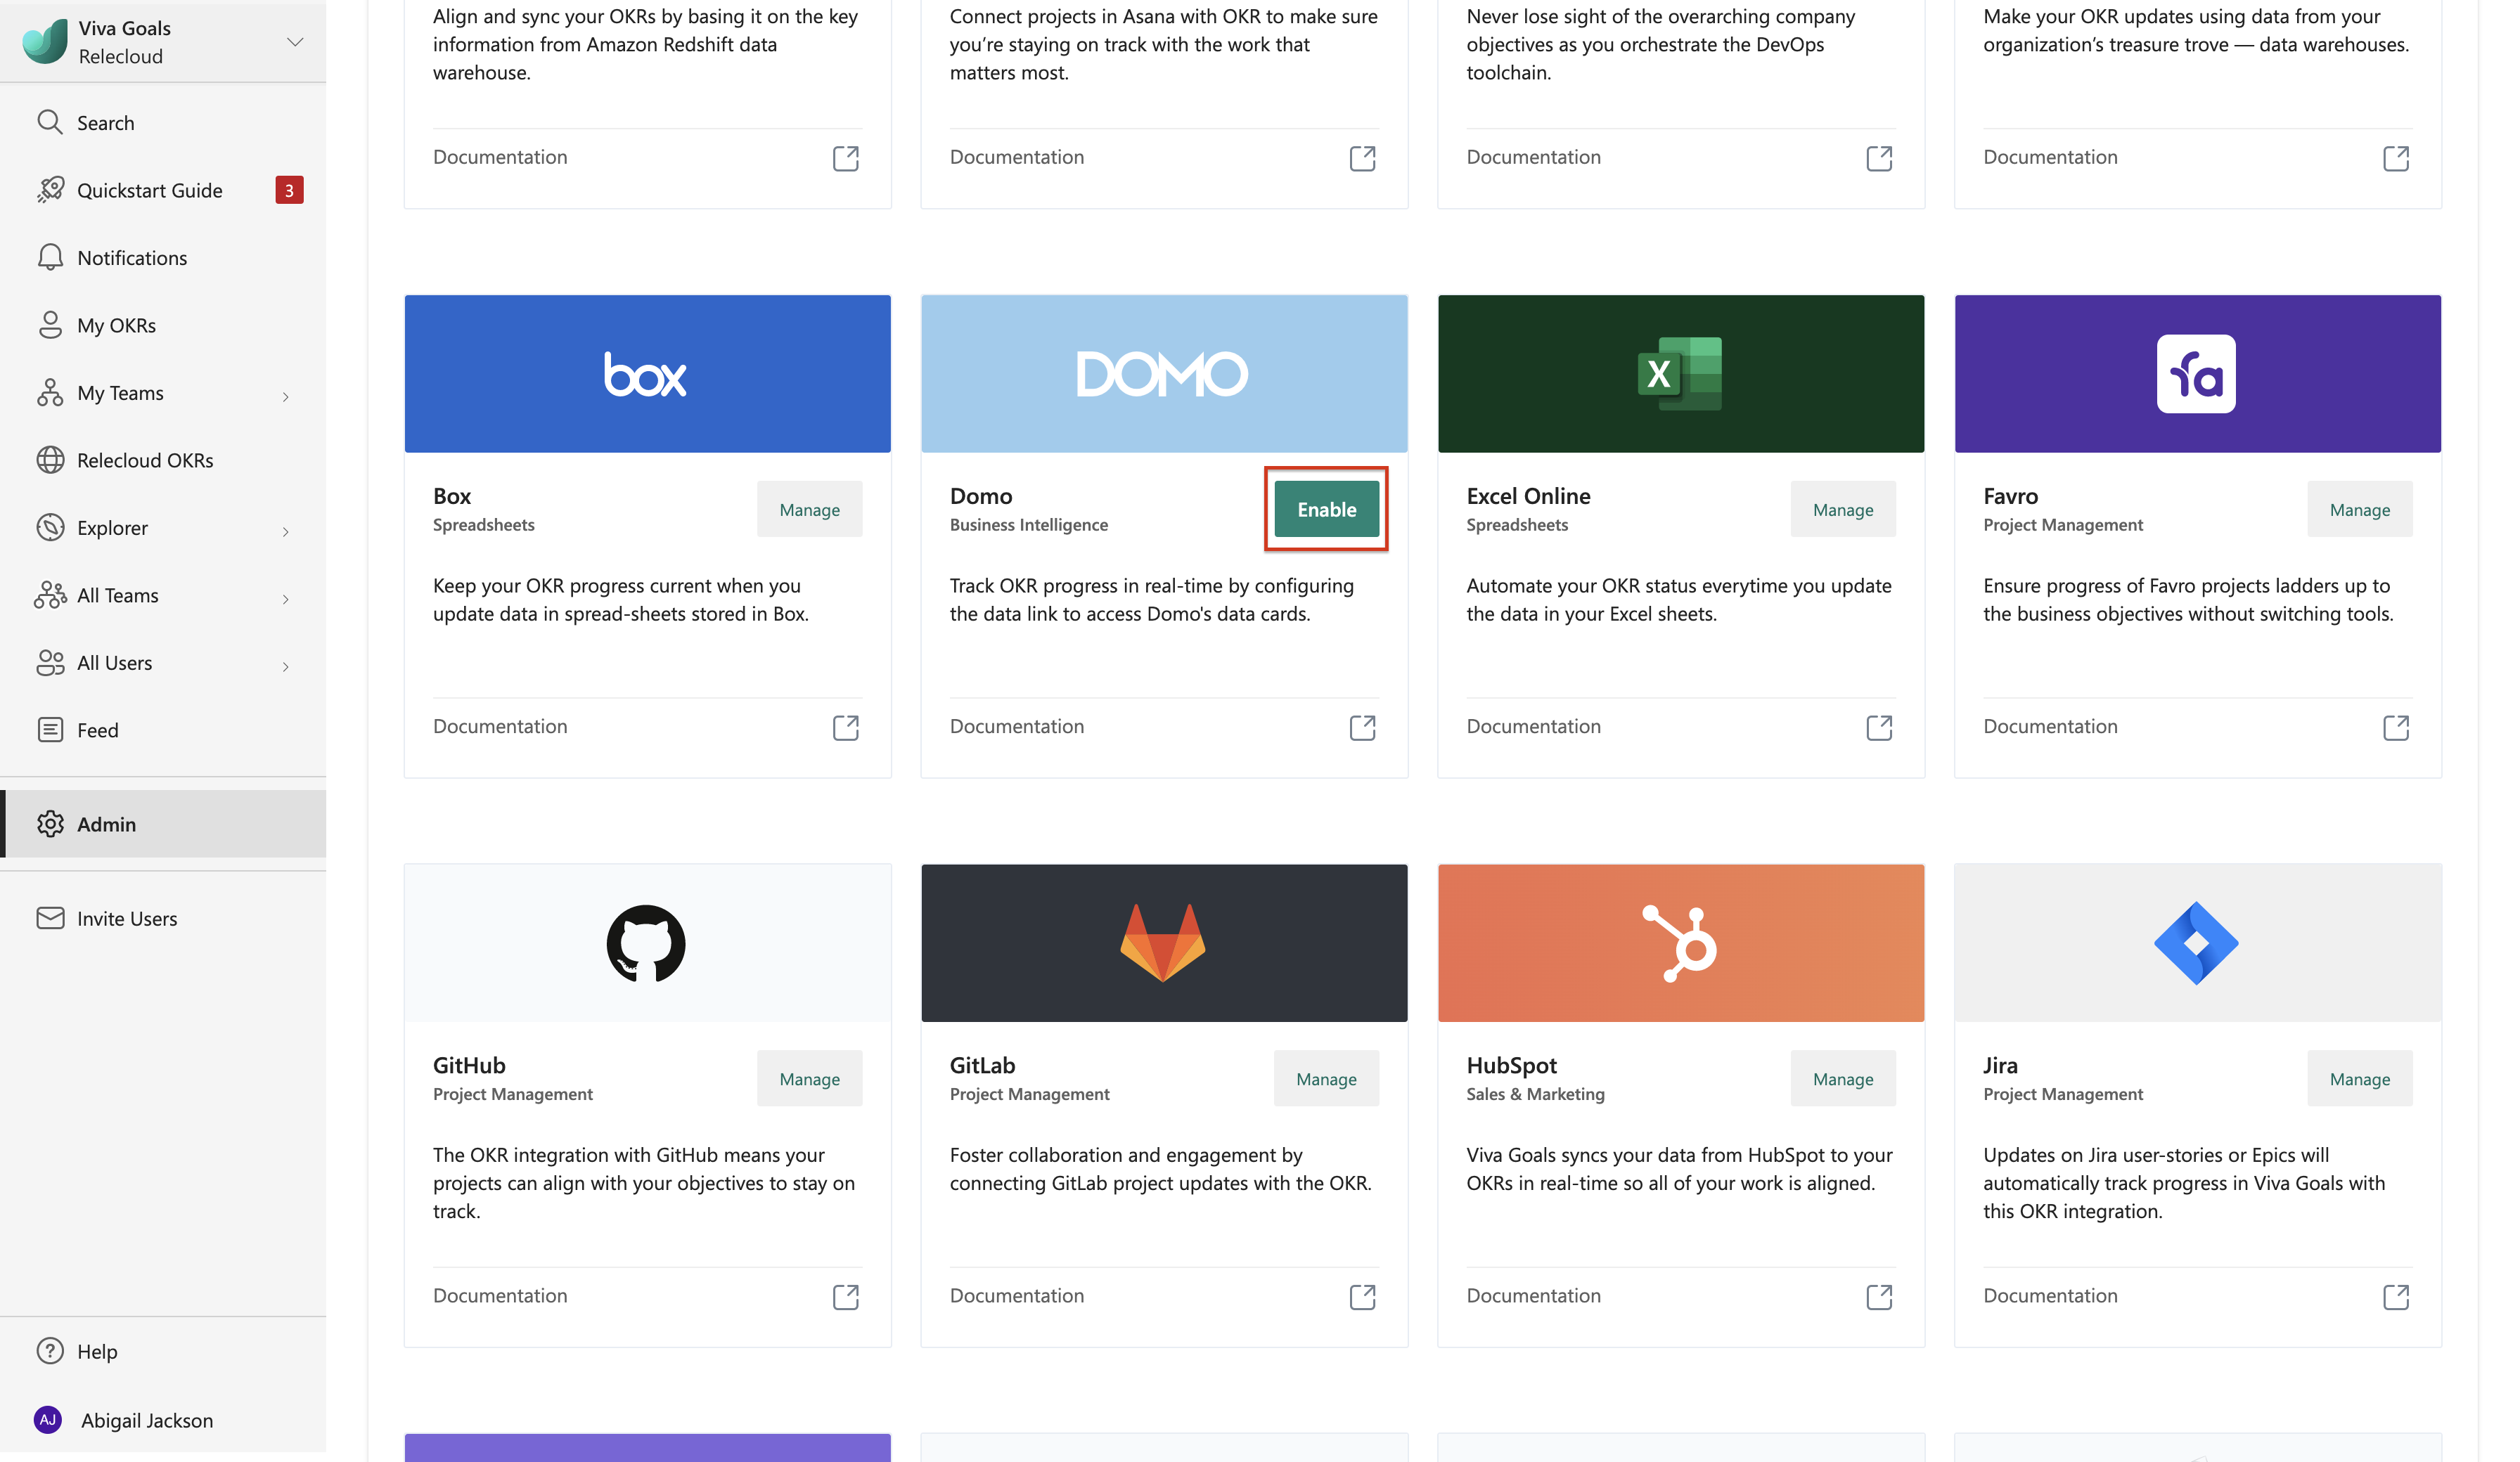
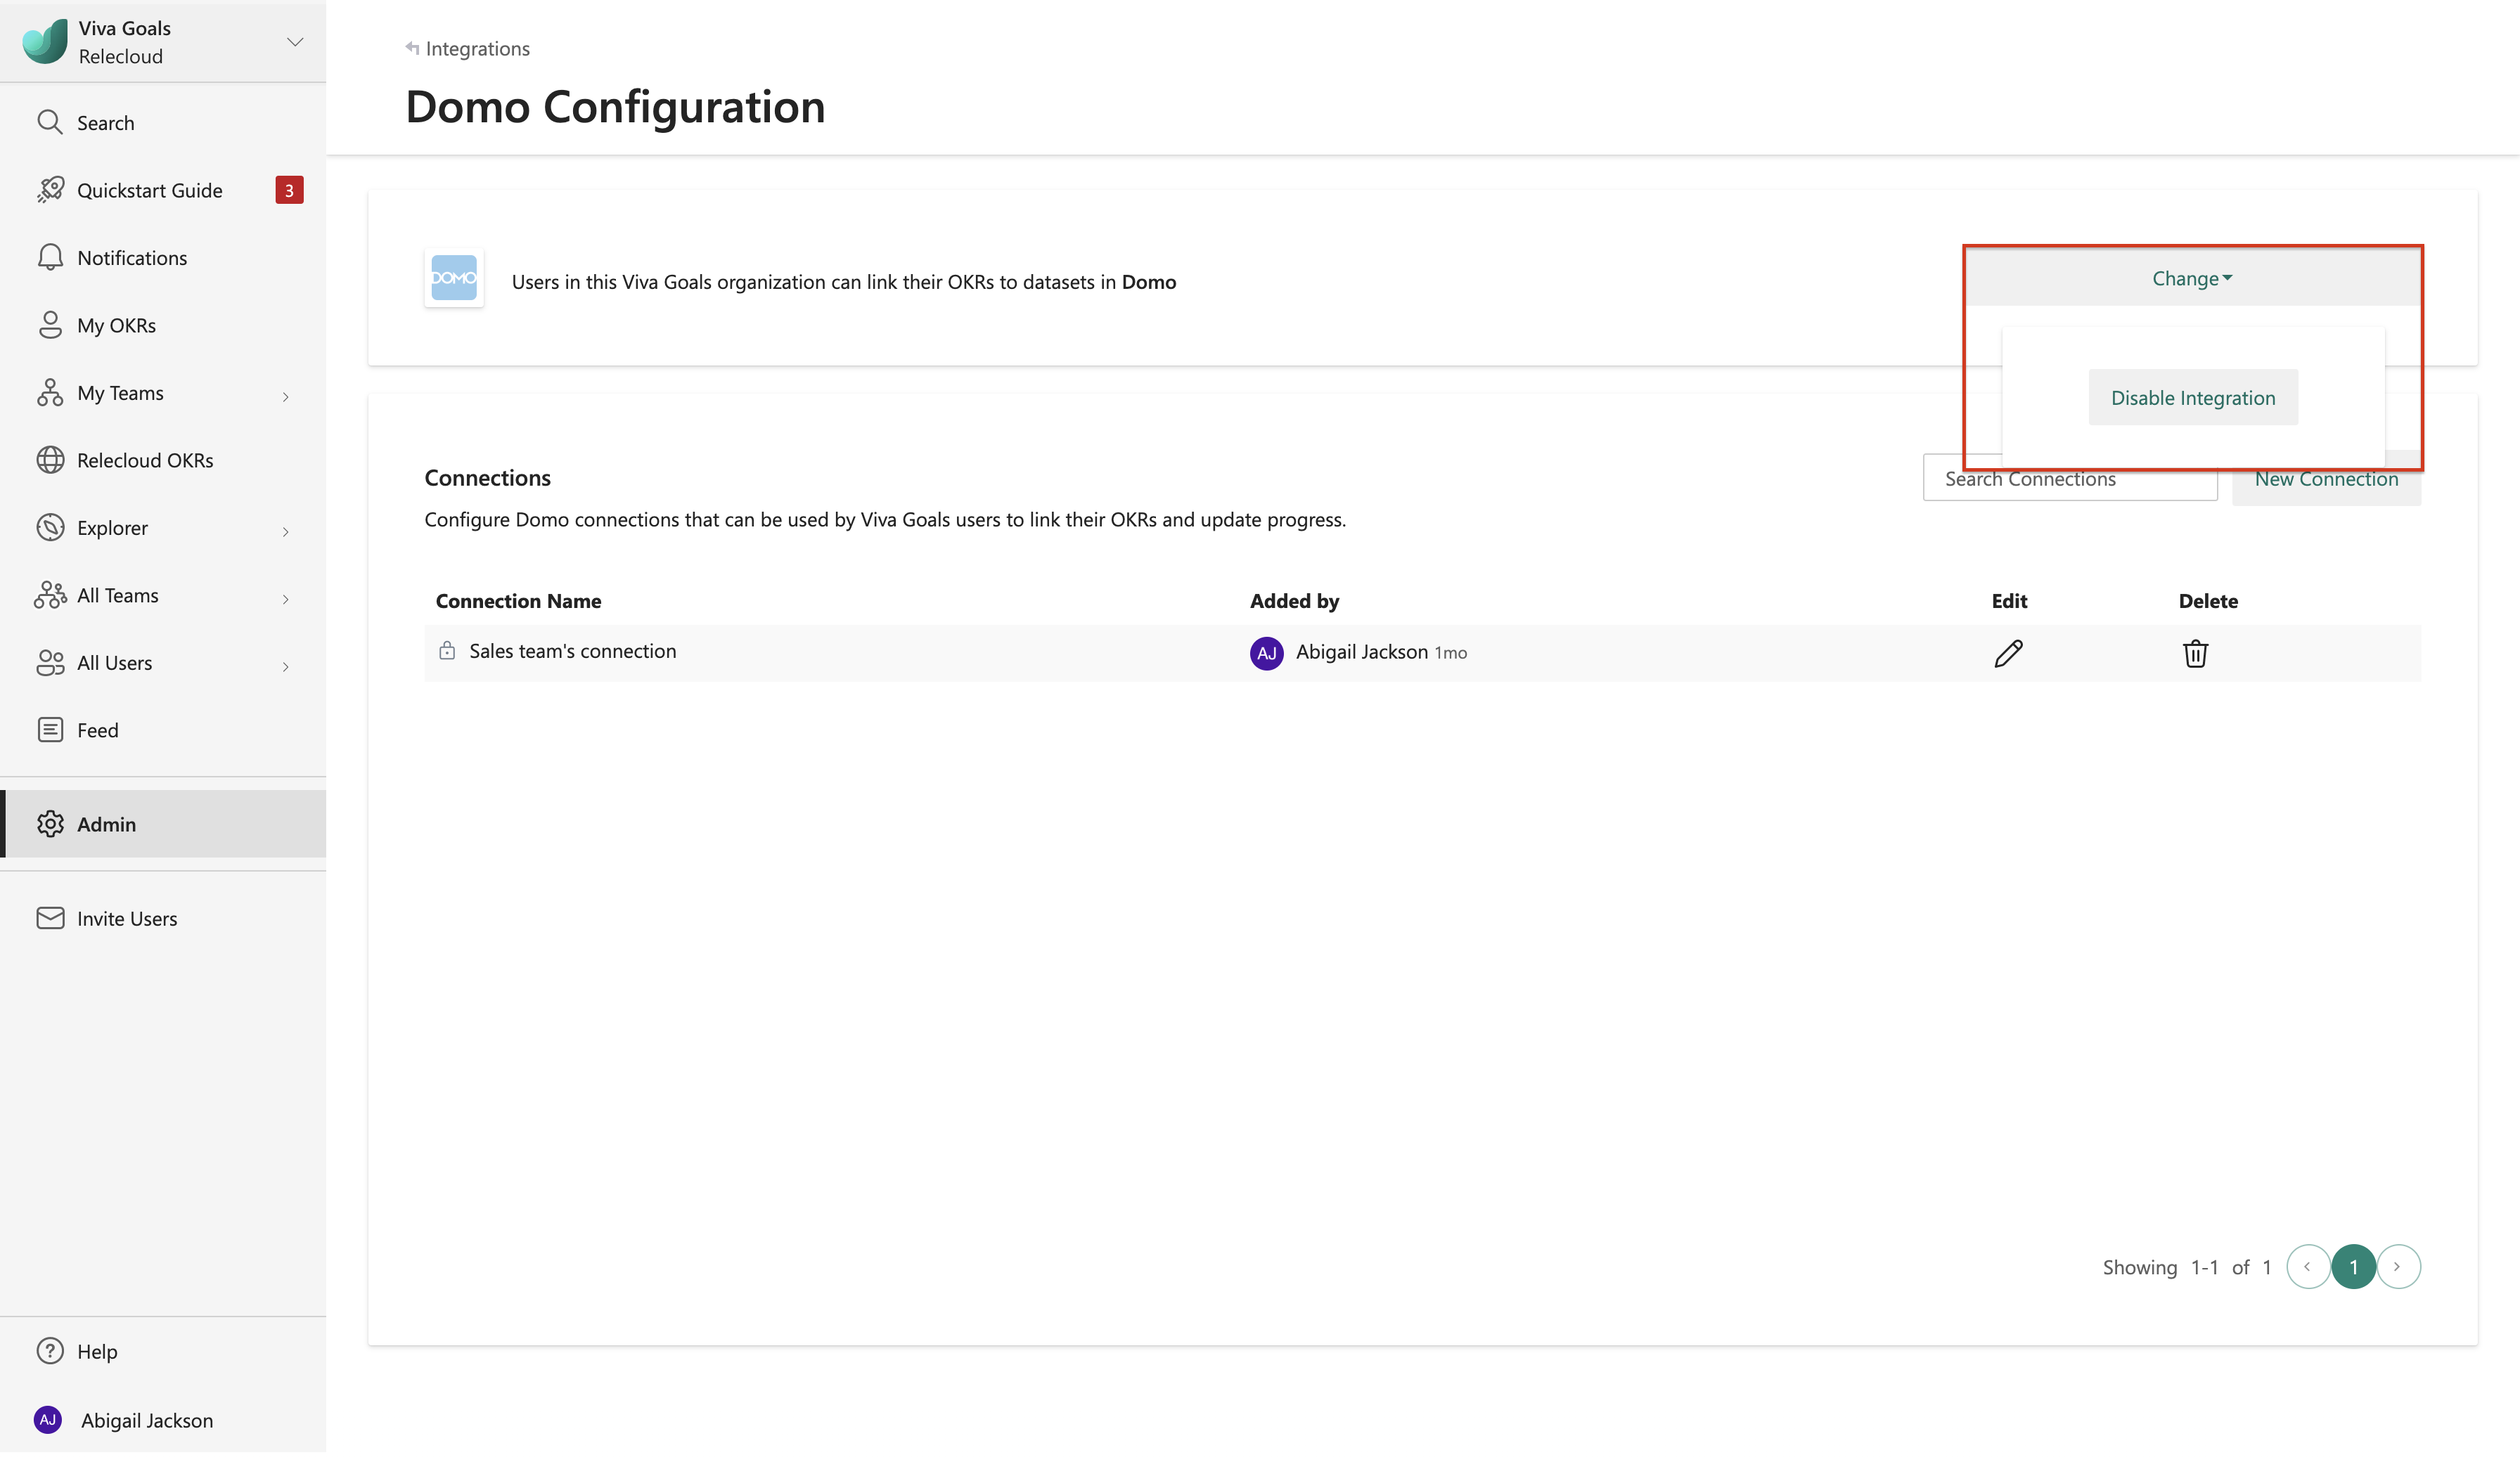
The integration can also be disabled at any time from the same section.


How to configure Domo connection
In the Connections section, select New Connection. In the popup that appears, follow the prompts to configure the Domo connection by using a Domo client ID and secret. The connection can be shared with all users or made private. You can also edit a saved Domo connection from the same section.

To create a Domo client ID and secret, visit https://developer.domo.com/new-client and sign in with your Domo domain and credentials. Enter Name and Description details, and then select Data as Application scope.
How to set up the Domo data link
After the connection is configured, users can Edit their Viva Goals OKRs to set up a Data Link to directly track progress from their Domo datasets.
Note
Domo integration is available only for the KPI (success metric) method of measuring OKR success, not for the % completion method.
When you create/edit an objective or key result, select Add an integration. Select Domo from the list of integrations.
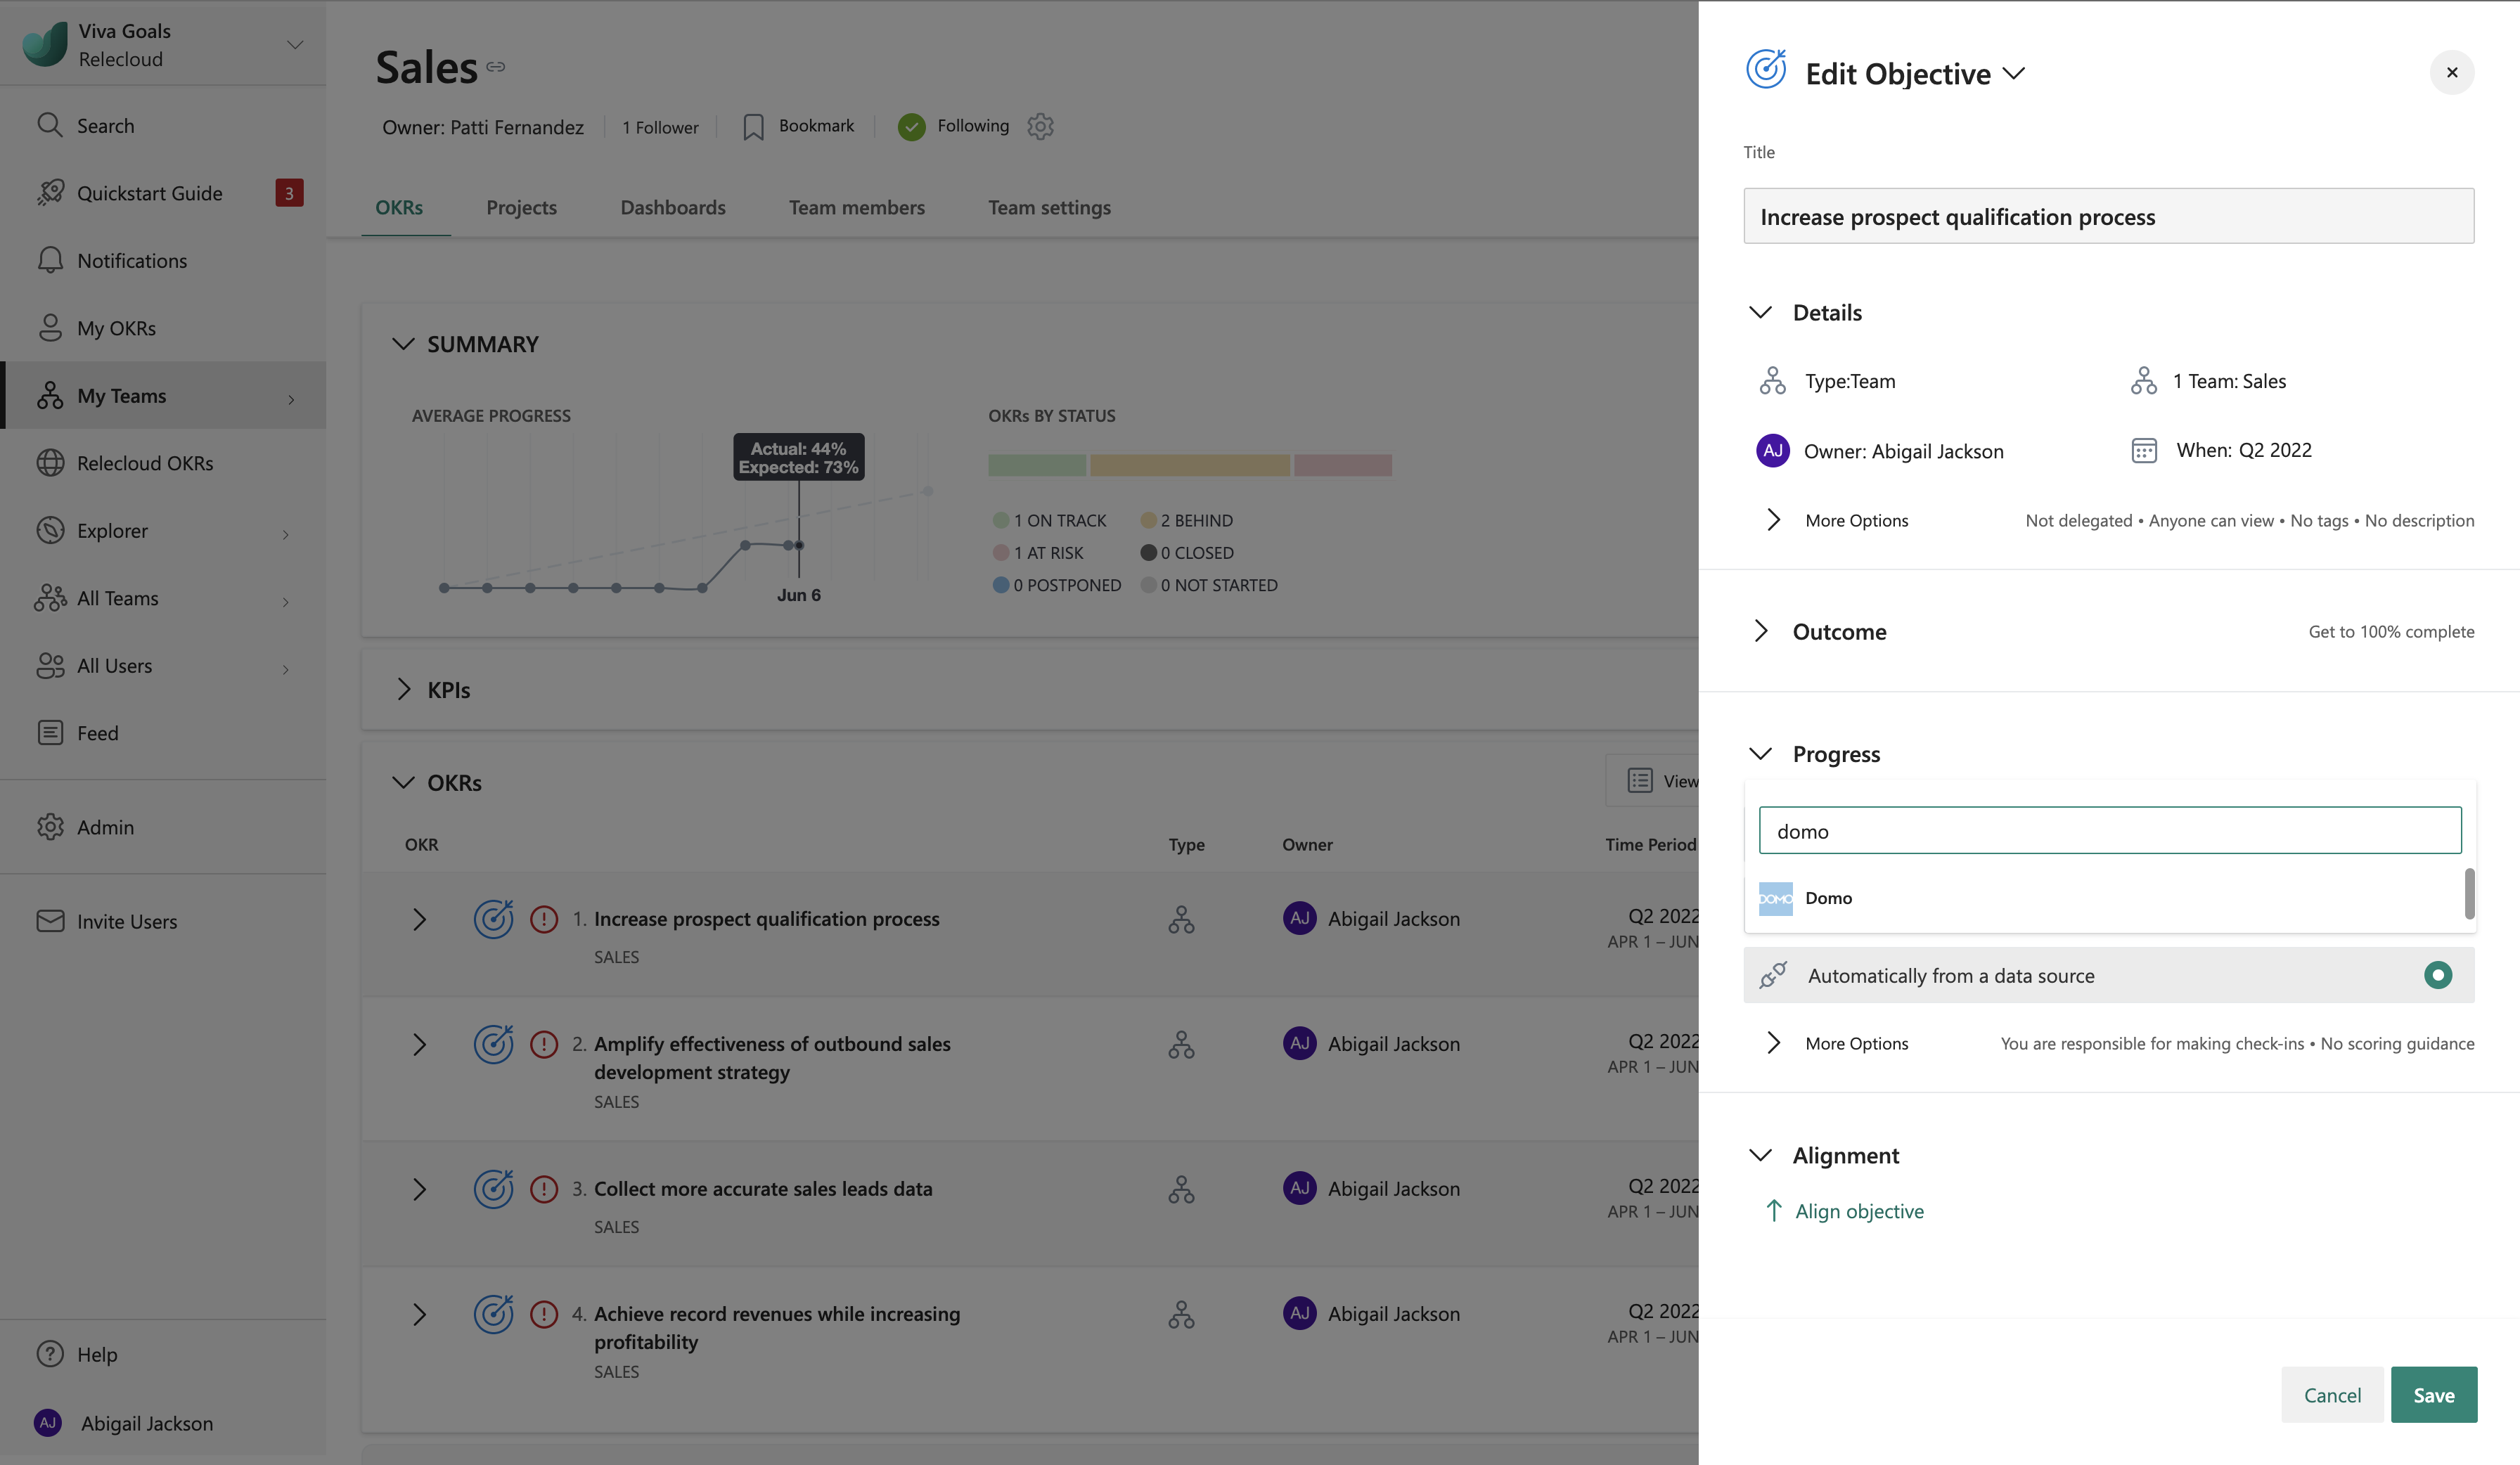
If a Domo connection isn't already configured, Viva Goals lets the user configure a connection. If one is already configured, Viva Goals lets users select a connection and set up a data link.
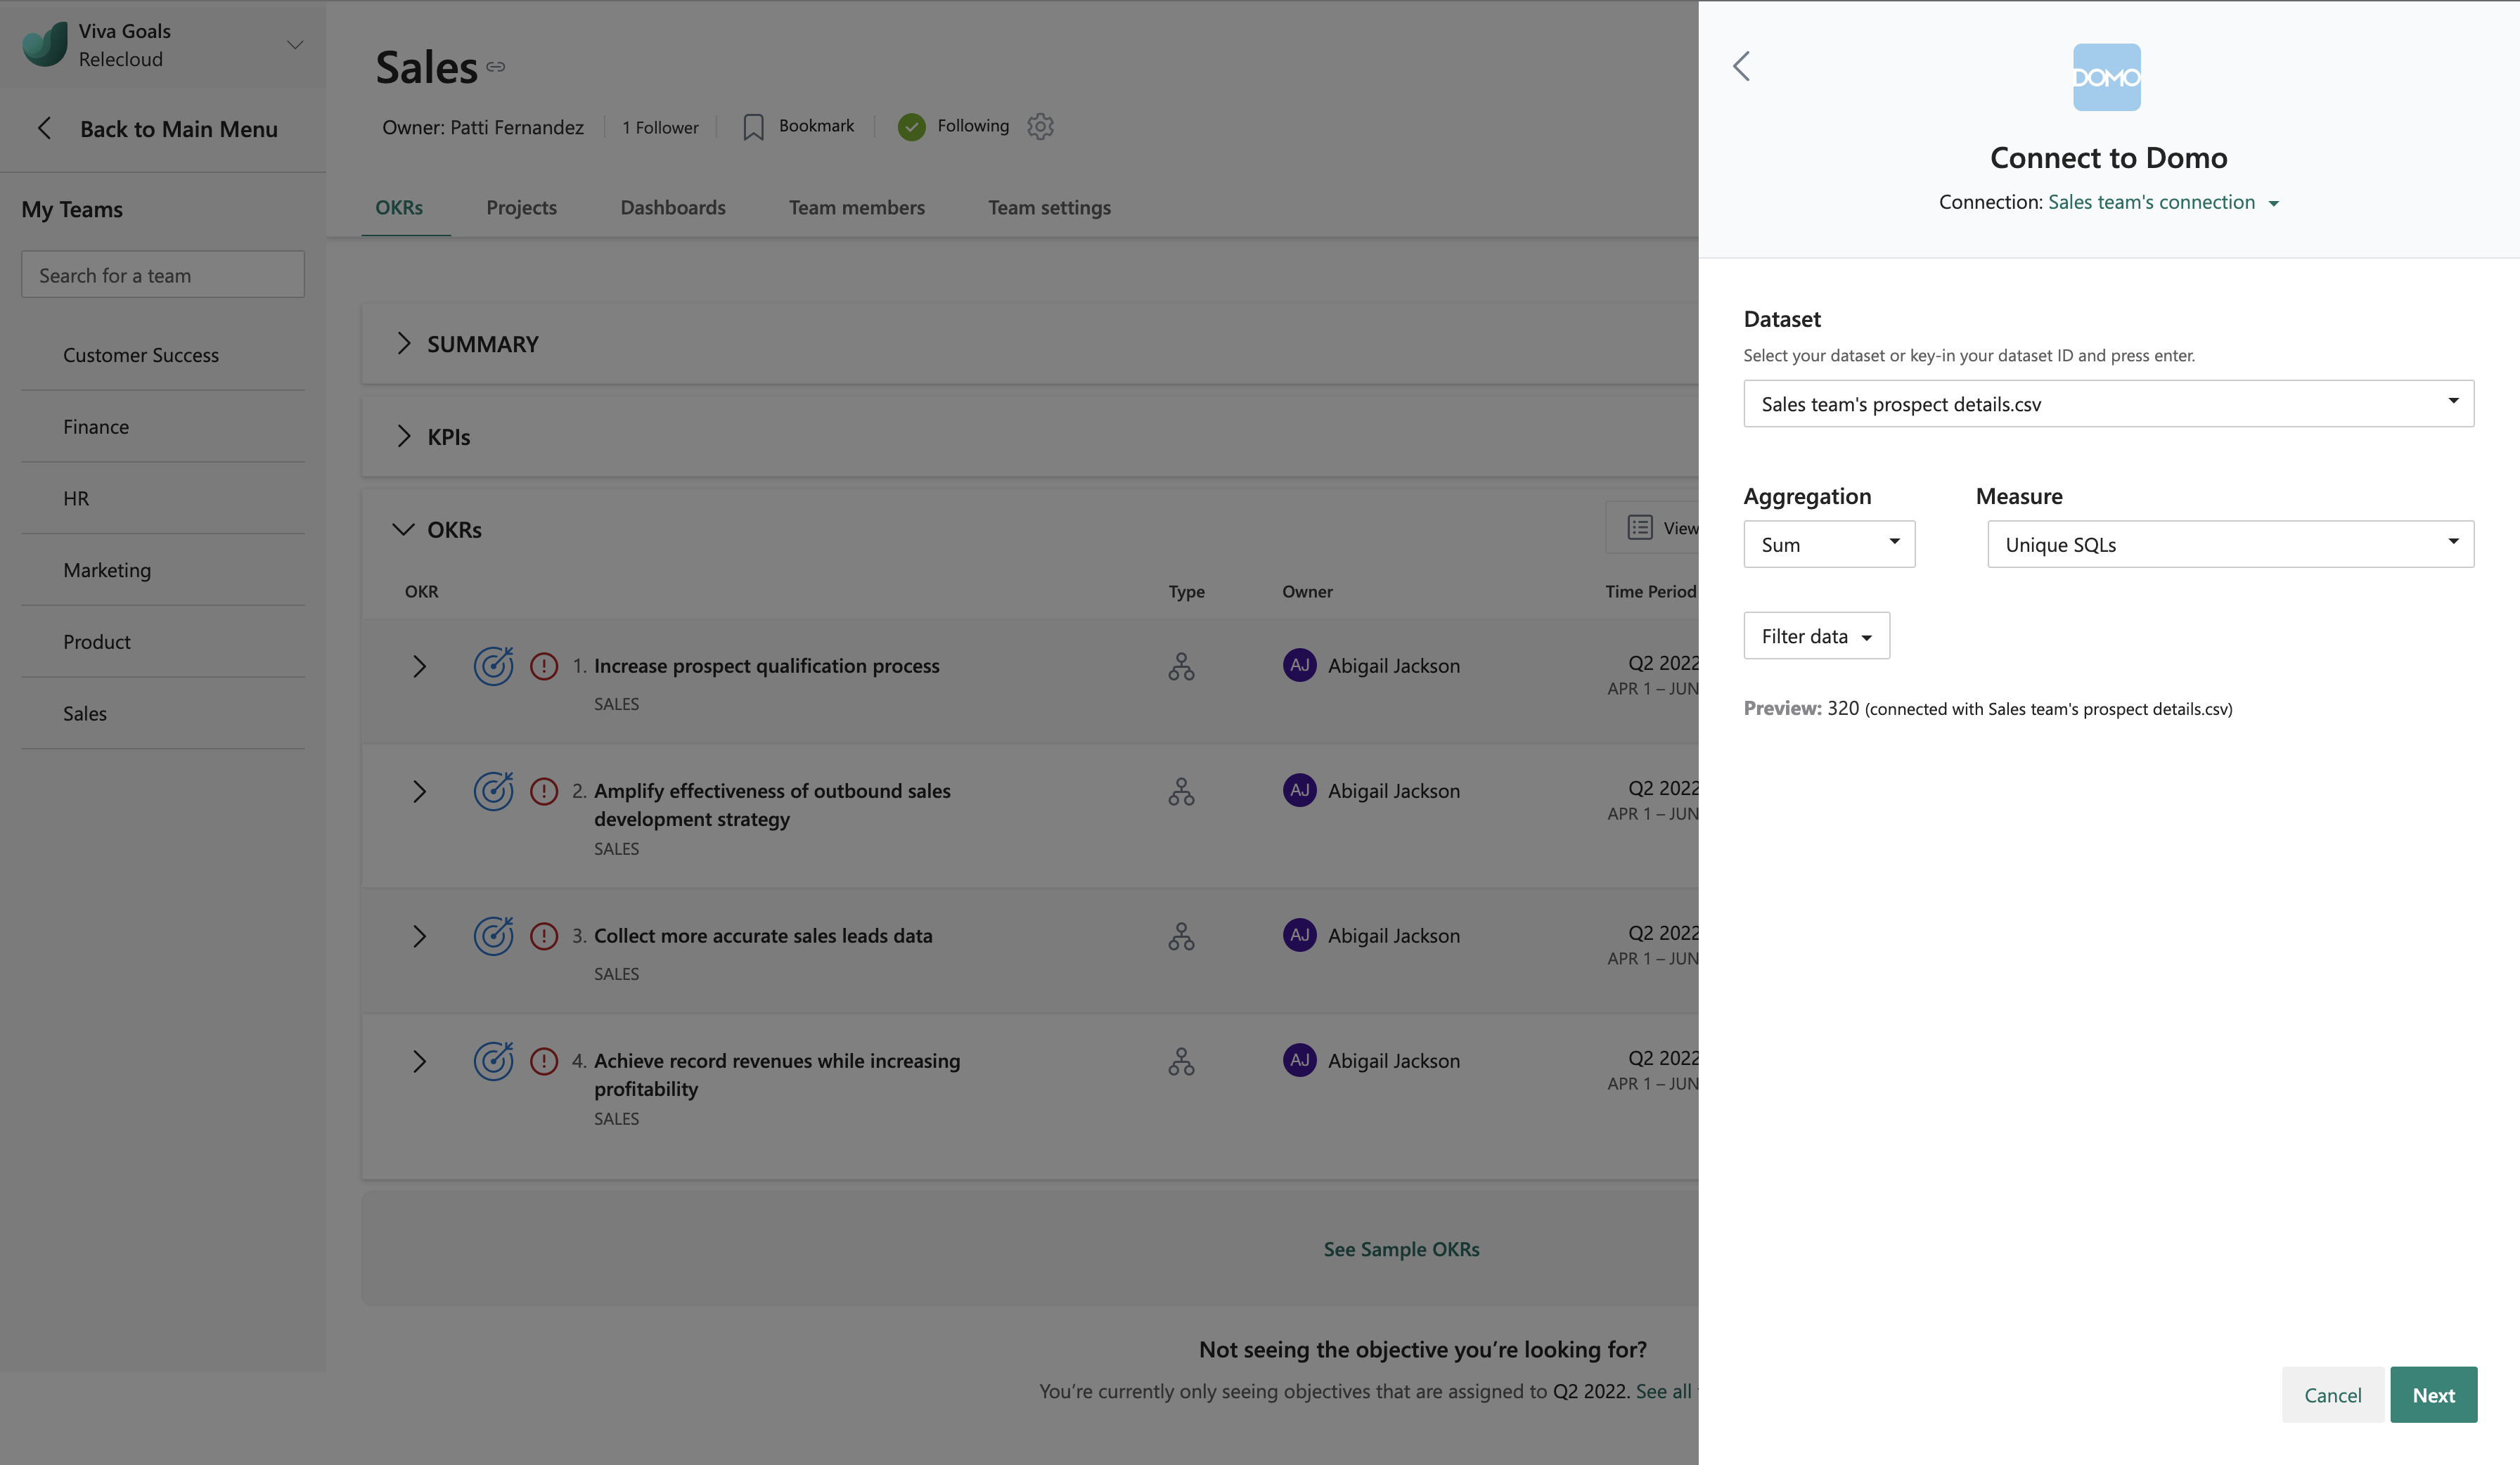
In the dialog that appears, follow the prompts to set up the Domo data link.
Select Connection, enter the DataSet-ID,and your KPI from the list of measures/dimensions available in the selected dataset.
Note
To obtain the DataSet-ID: Log in to your Domo instance and select the Dataset name mentioned under the card.
Copy the 36-character DataSet-ID from the URL of the DataSet page.
If there are multiple values for the KPI and you have the close rate for all your sales team members as part of the Domo dataset, you can apply a function (sum/average/count) on the set of values. For example, average of close rate for the entire sales team.
Or, apply any available dataset fields as Filters. For example, filter a particular AE name.
Viva Goals displays the final KPI value for your reference before saving the data link setup.

