Note
Access to this page requires authorization. You can try signing in or changing directories.
Access to this page requires authorization. You can try changing directories.
Jira Server and Jira Data Center enable automatic tracking of key result and initiative progress in Viva Goals from Jira user stories and epics. Any updates on linked Jira user stories, epics, or projects will automatically update the progress of linked Viva Goals key results and initiatives. This ensures that your OKR process isn't waiting on manual check-ins and any progress is updated in real time on Viva Goals.
Note: A tenant administrator must enable both Jira and Jira Server integration from Viva Goals tenant settings before it will be visible on the Viva Goals integration section for your Viva Goals organization.

Configure a Jira Server or Data Center connection
In the left-hand navigation in Viva Goals, select Admin > Integrations.
On the Integrations page, go to Jira and select Enable. Once Jira has been enabled, or if it is already enabled, select Manage.
Select New Connection and add the following details in the pop-up dialog:
Connection name: Give your connection a name.
Server: Add your Jira Server URL.
How is this Jira instance hosted?: Select the Jira Server option.
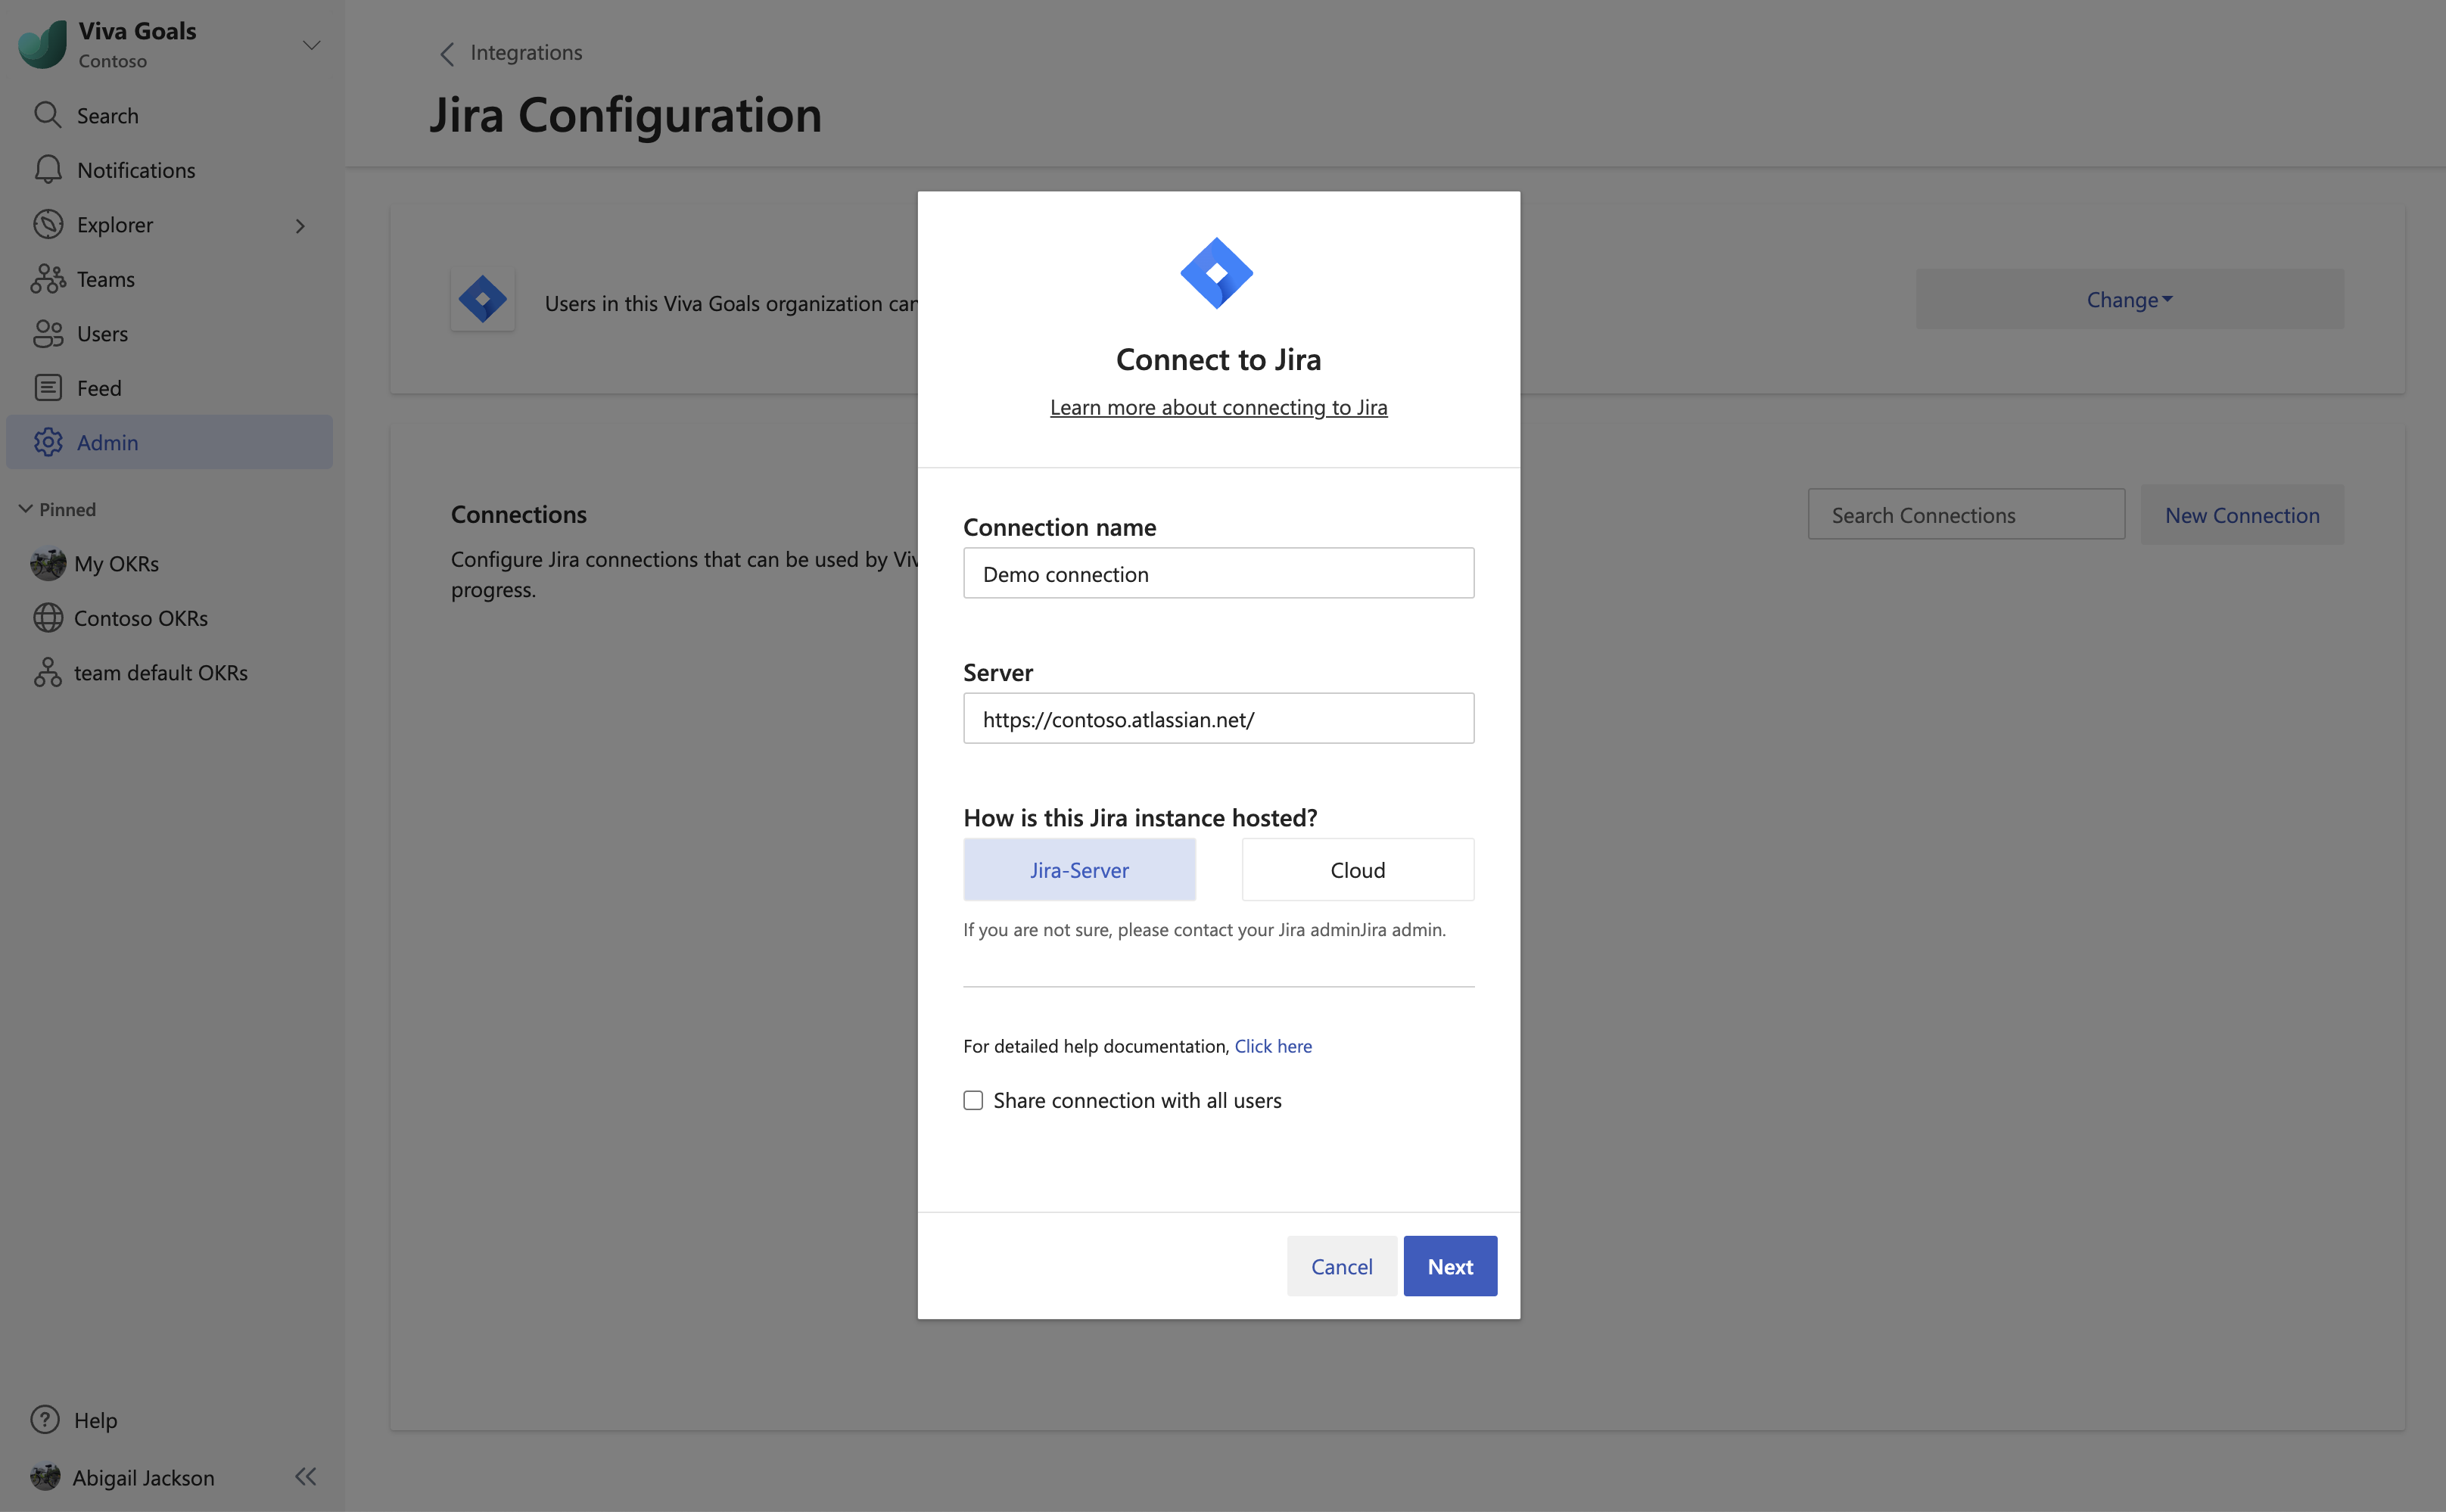
Save the connection by selecting Next.
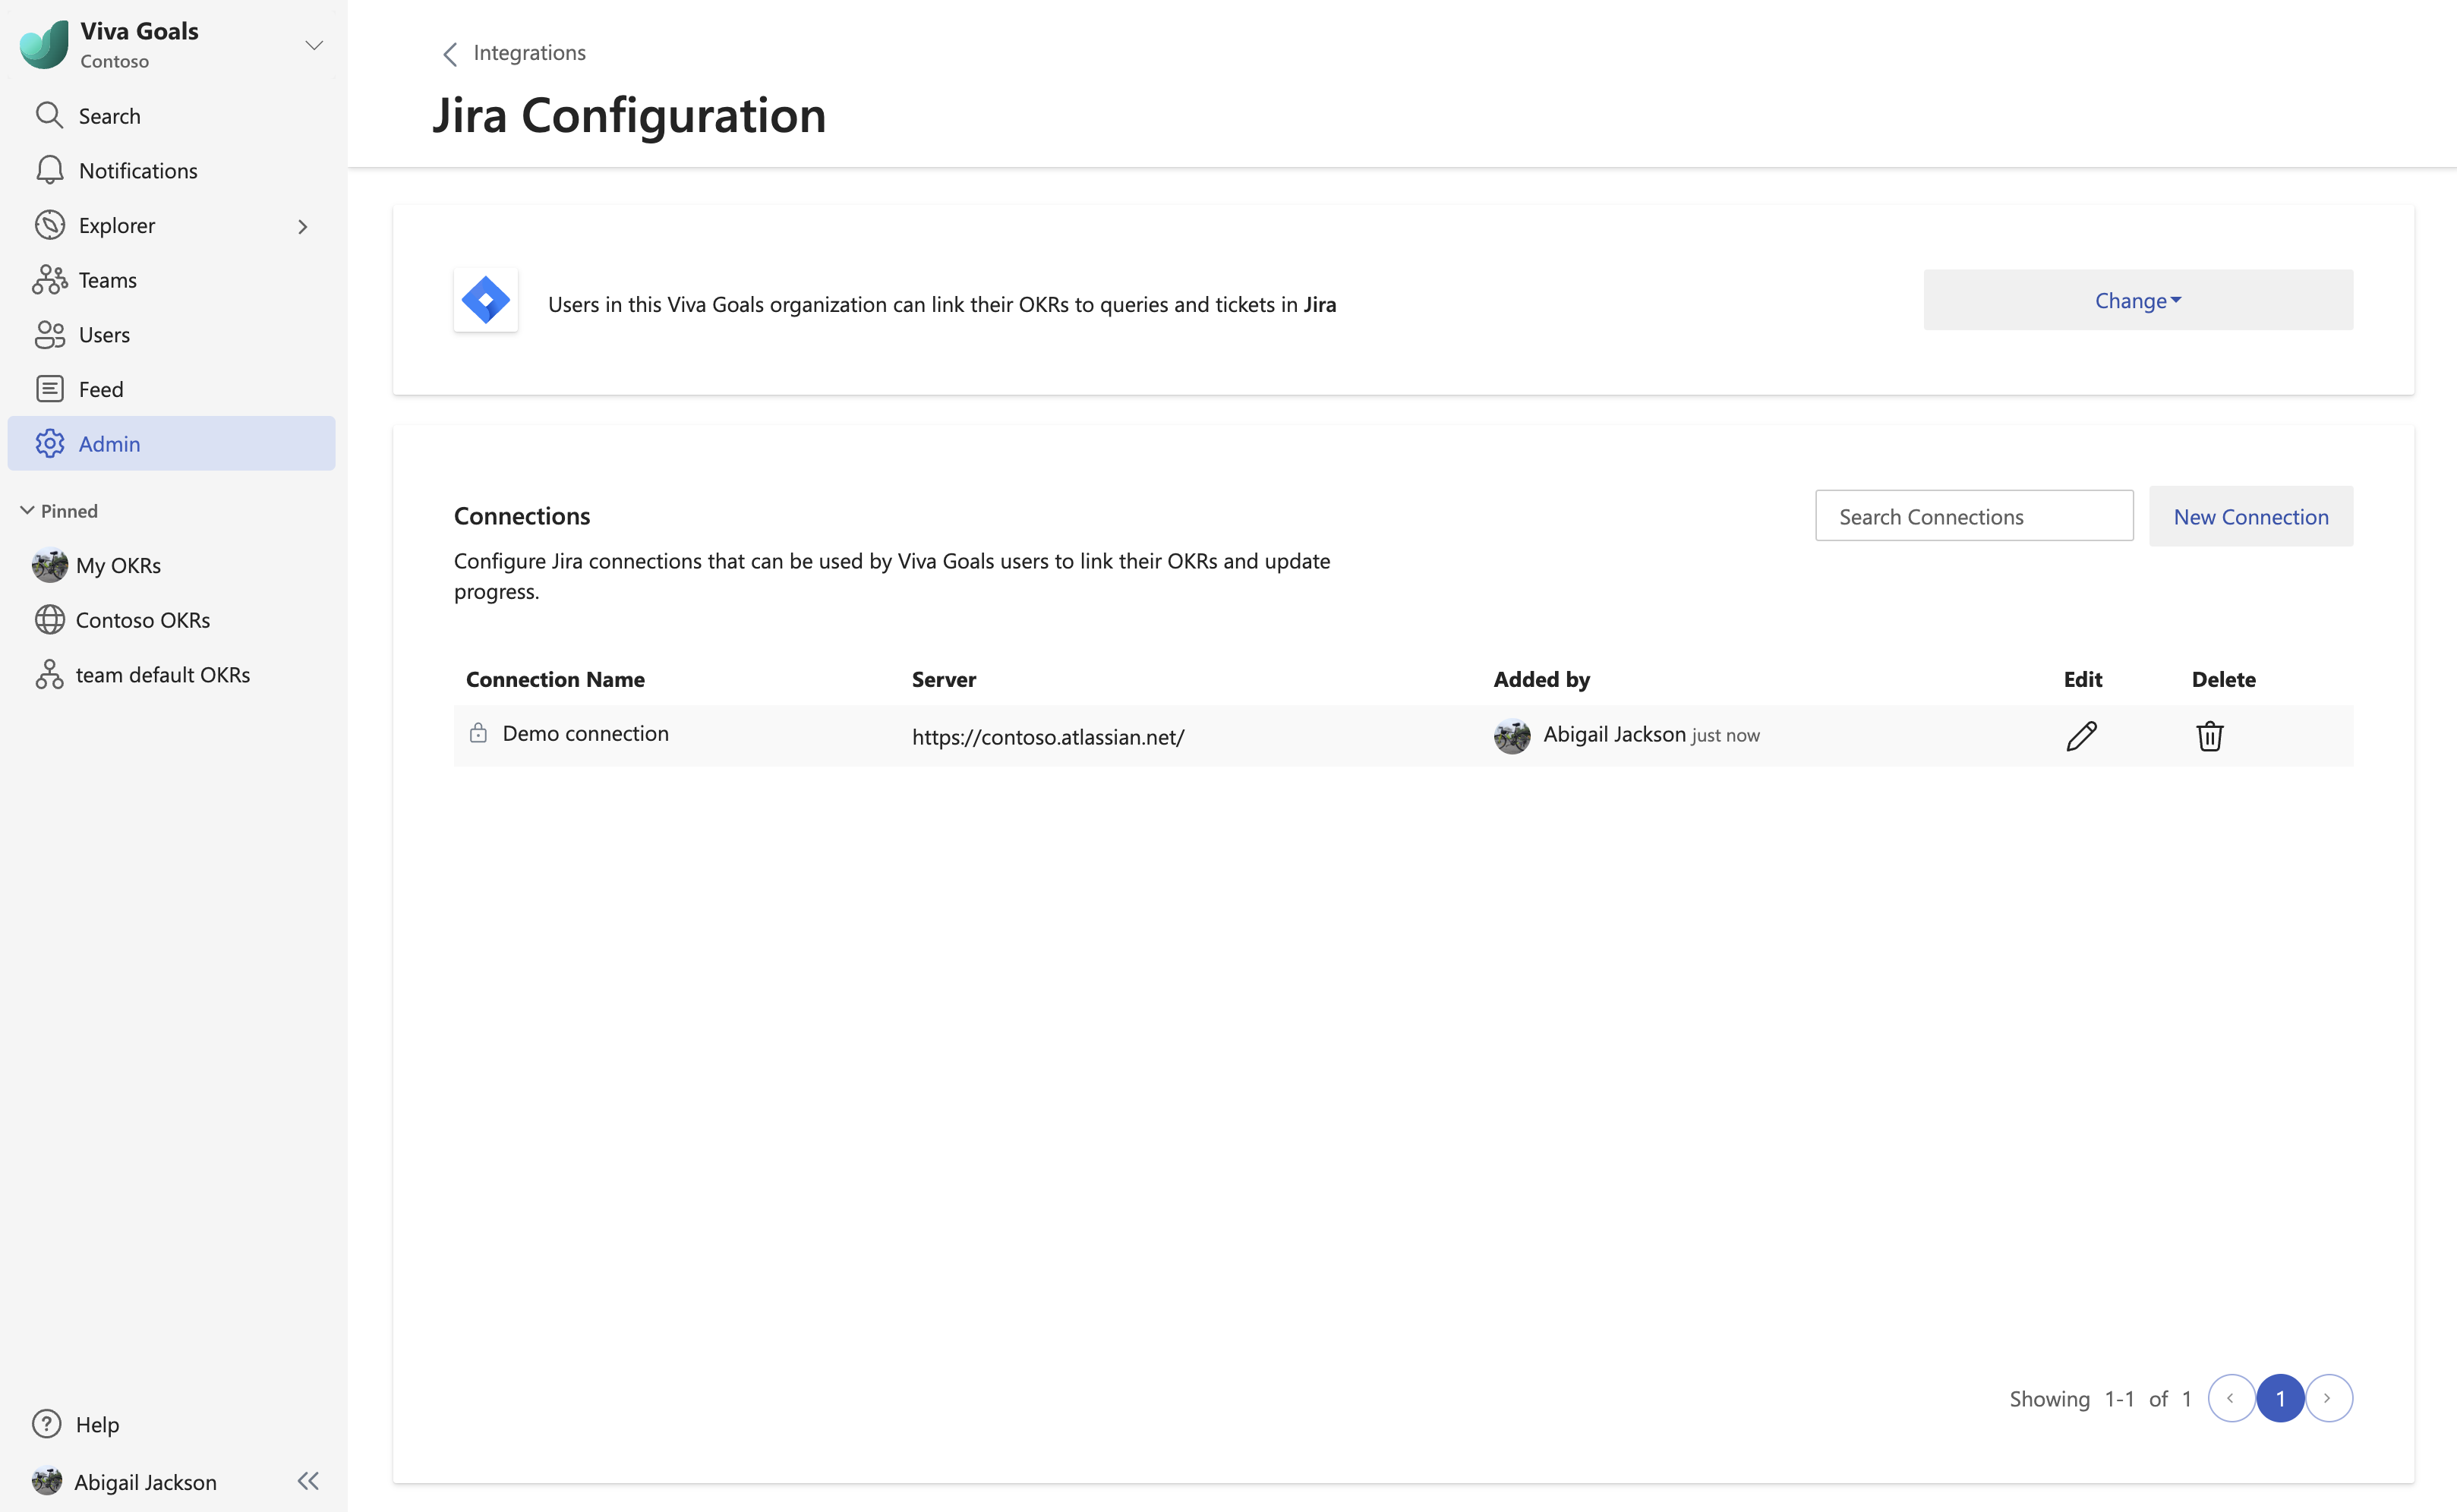
Open the connection by selecting Edit.
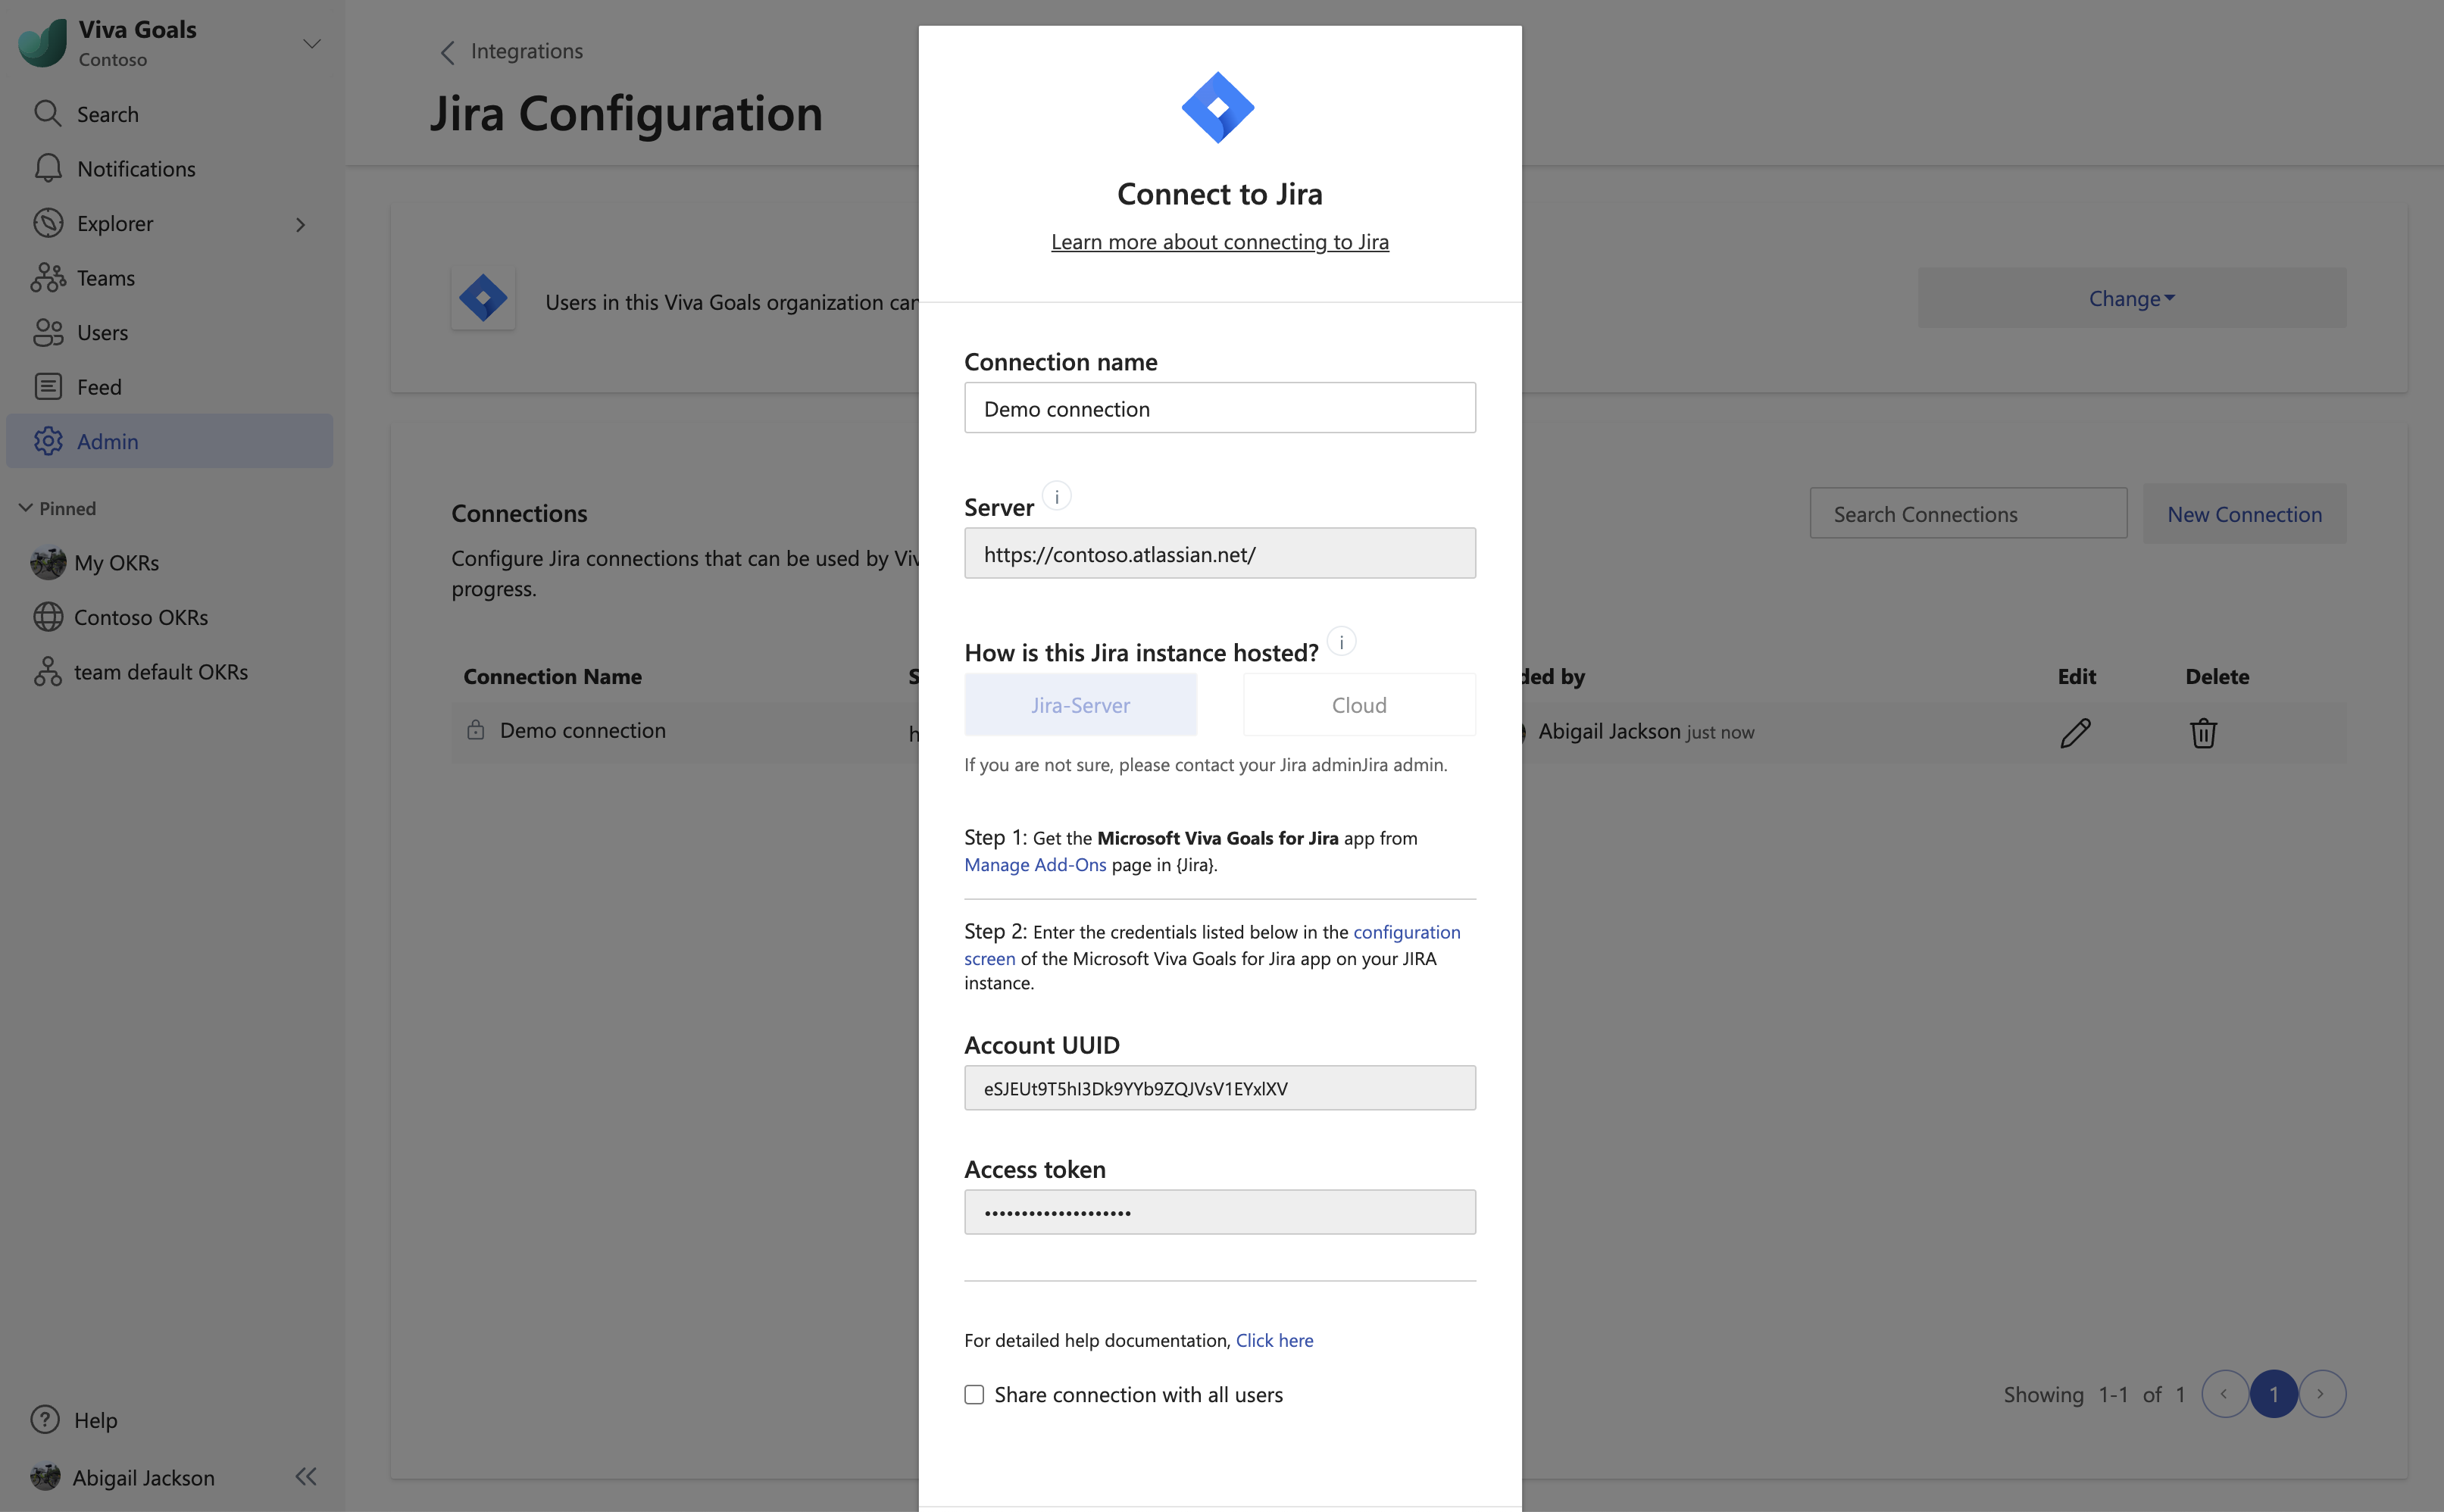
Switch to Jira Server or Data Center to install and configure Microsoft Viva Goals for Jira.
Note
You'll need to use the Account UUID and Access token in the Jira configuration after you install the Microsoft Viva Goals for Jira app from the Atlassian Marketplace.


Install and set up Microsoft Viva Goals for Jira from the Atlassian Marketplace
As a Jira Server or Data Center administrator, search for the Microsoft Viva Goals for Jira app from the Find new Apps page in Jira.
Select Install next to Microsoft Viva Goals for Jira and follow the steps in the "confirm app installation" popup.
Once the installation is finished, select Get Started.
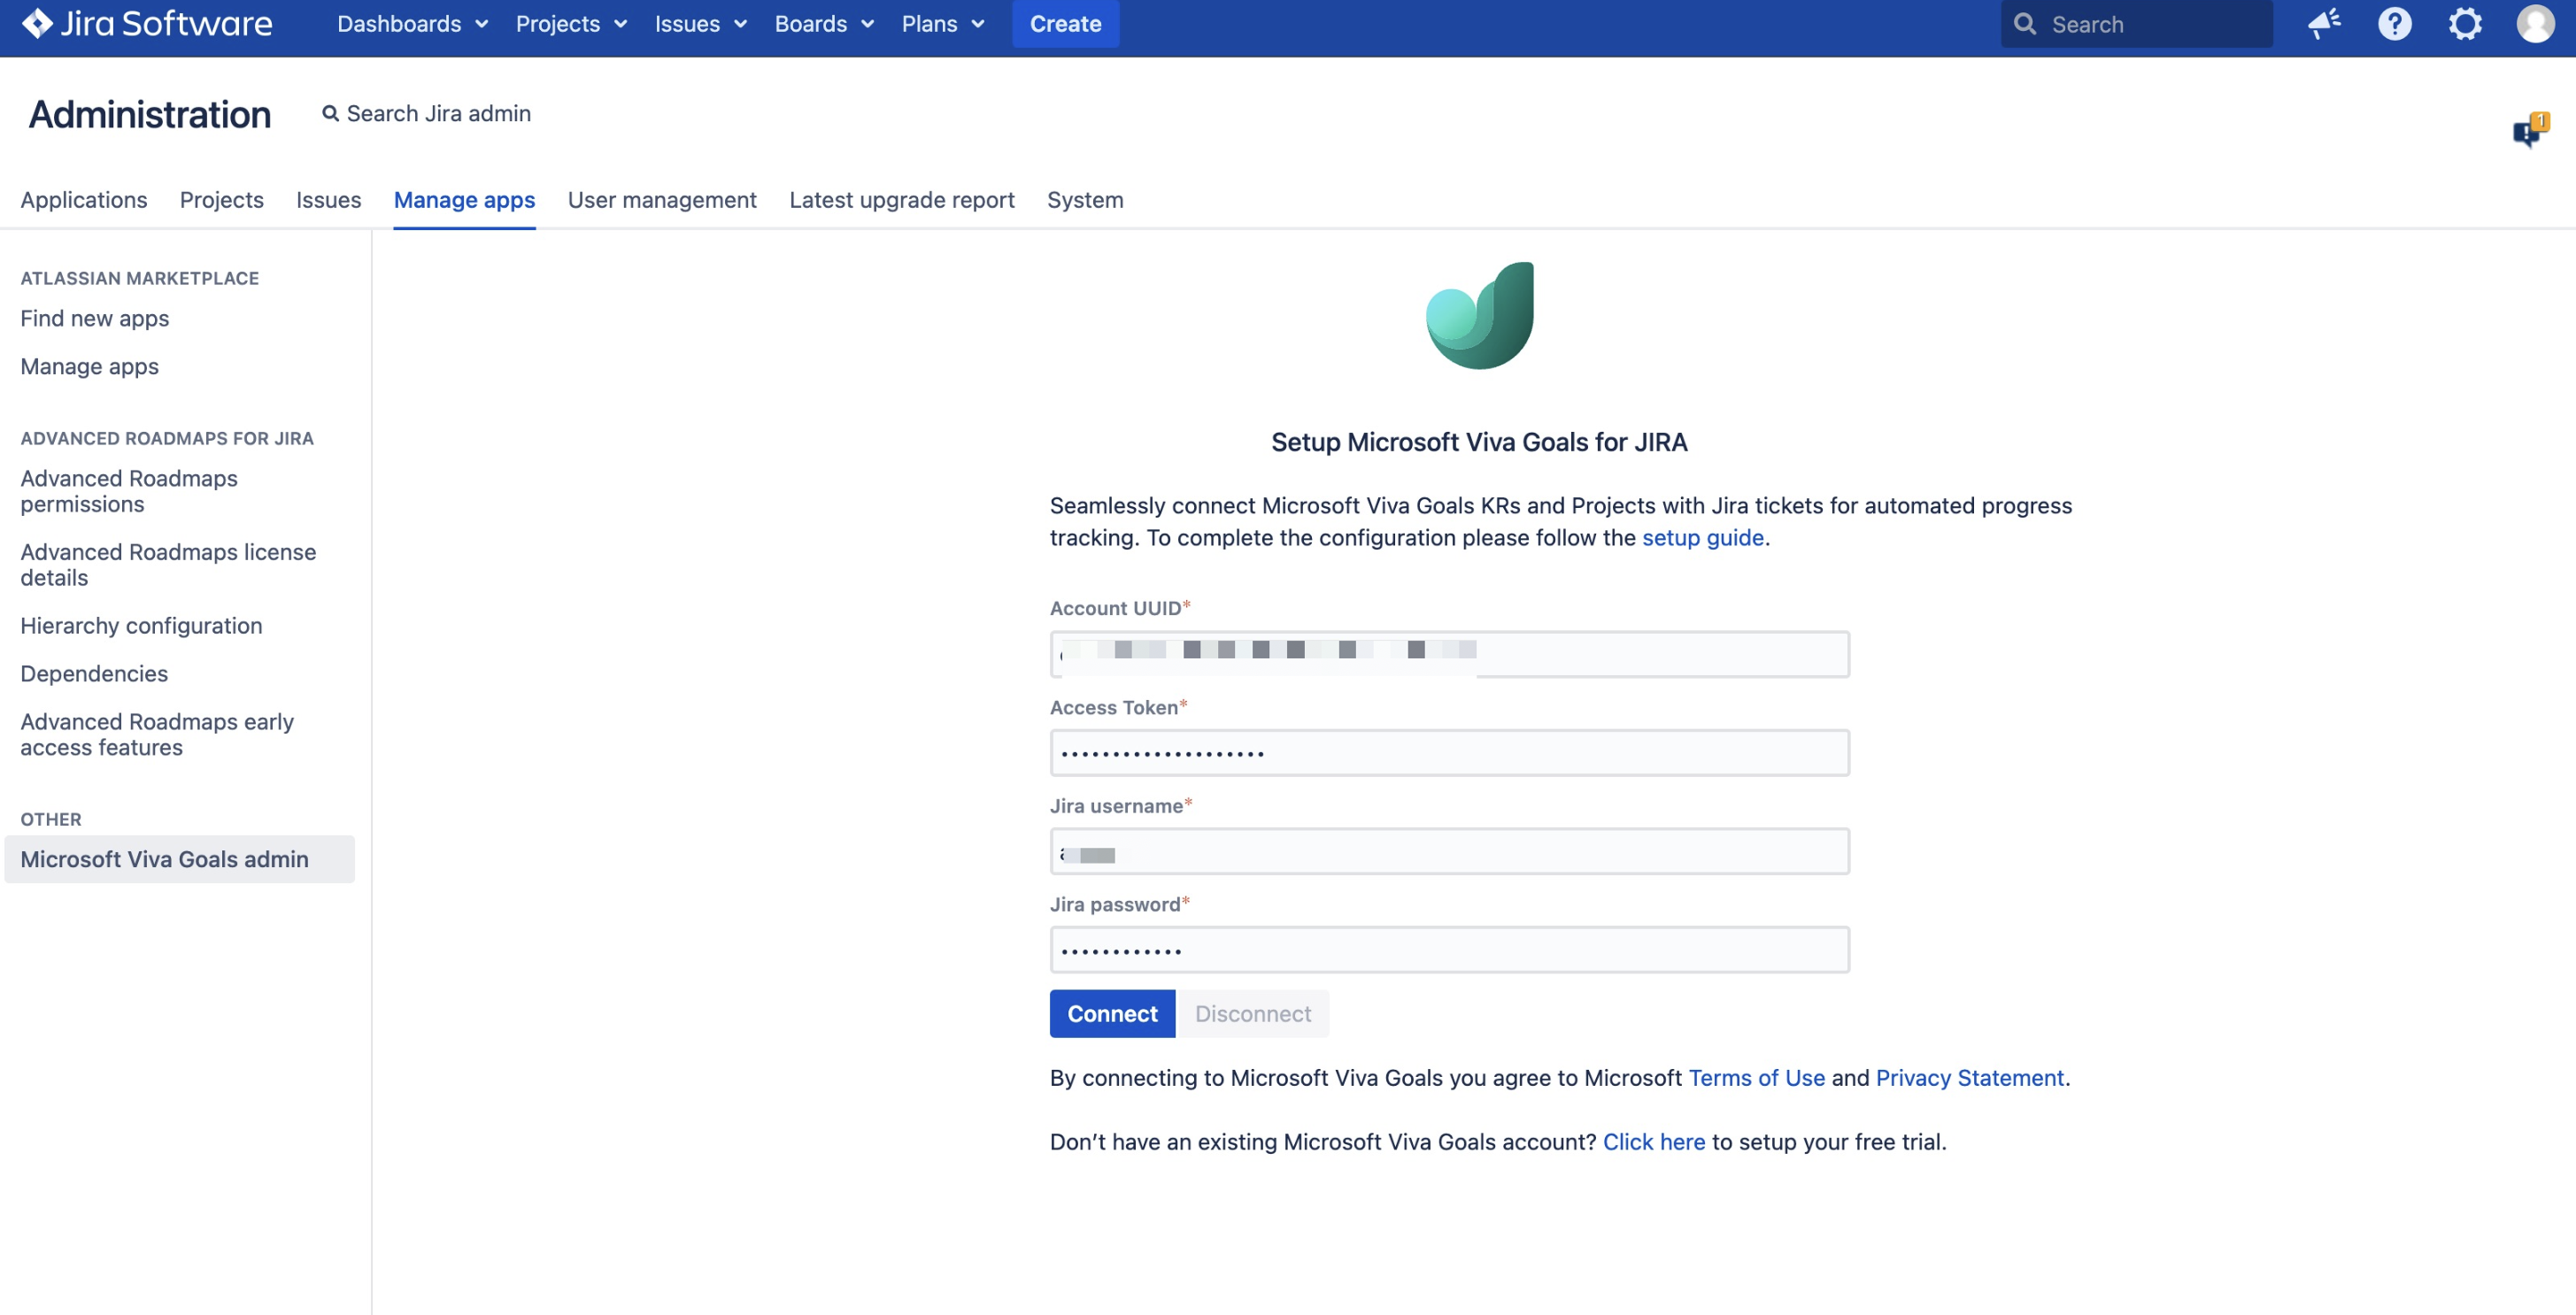
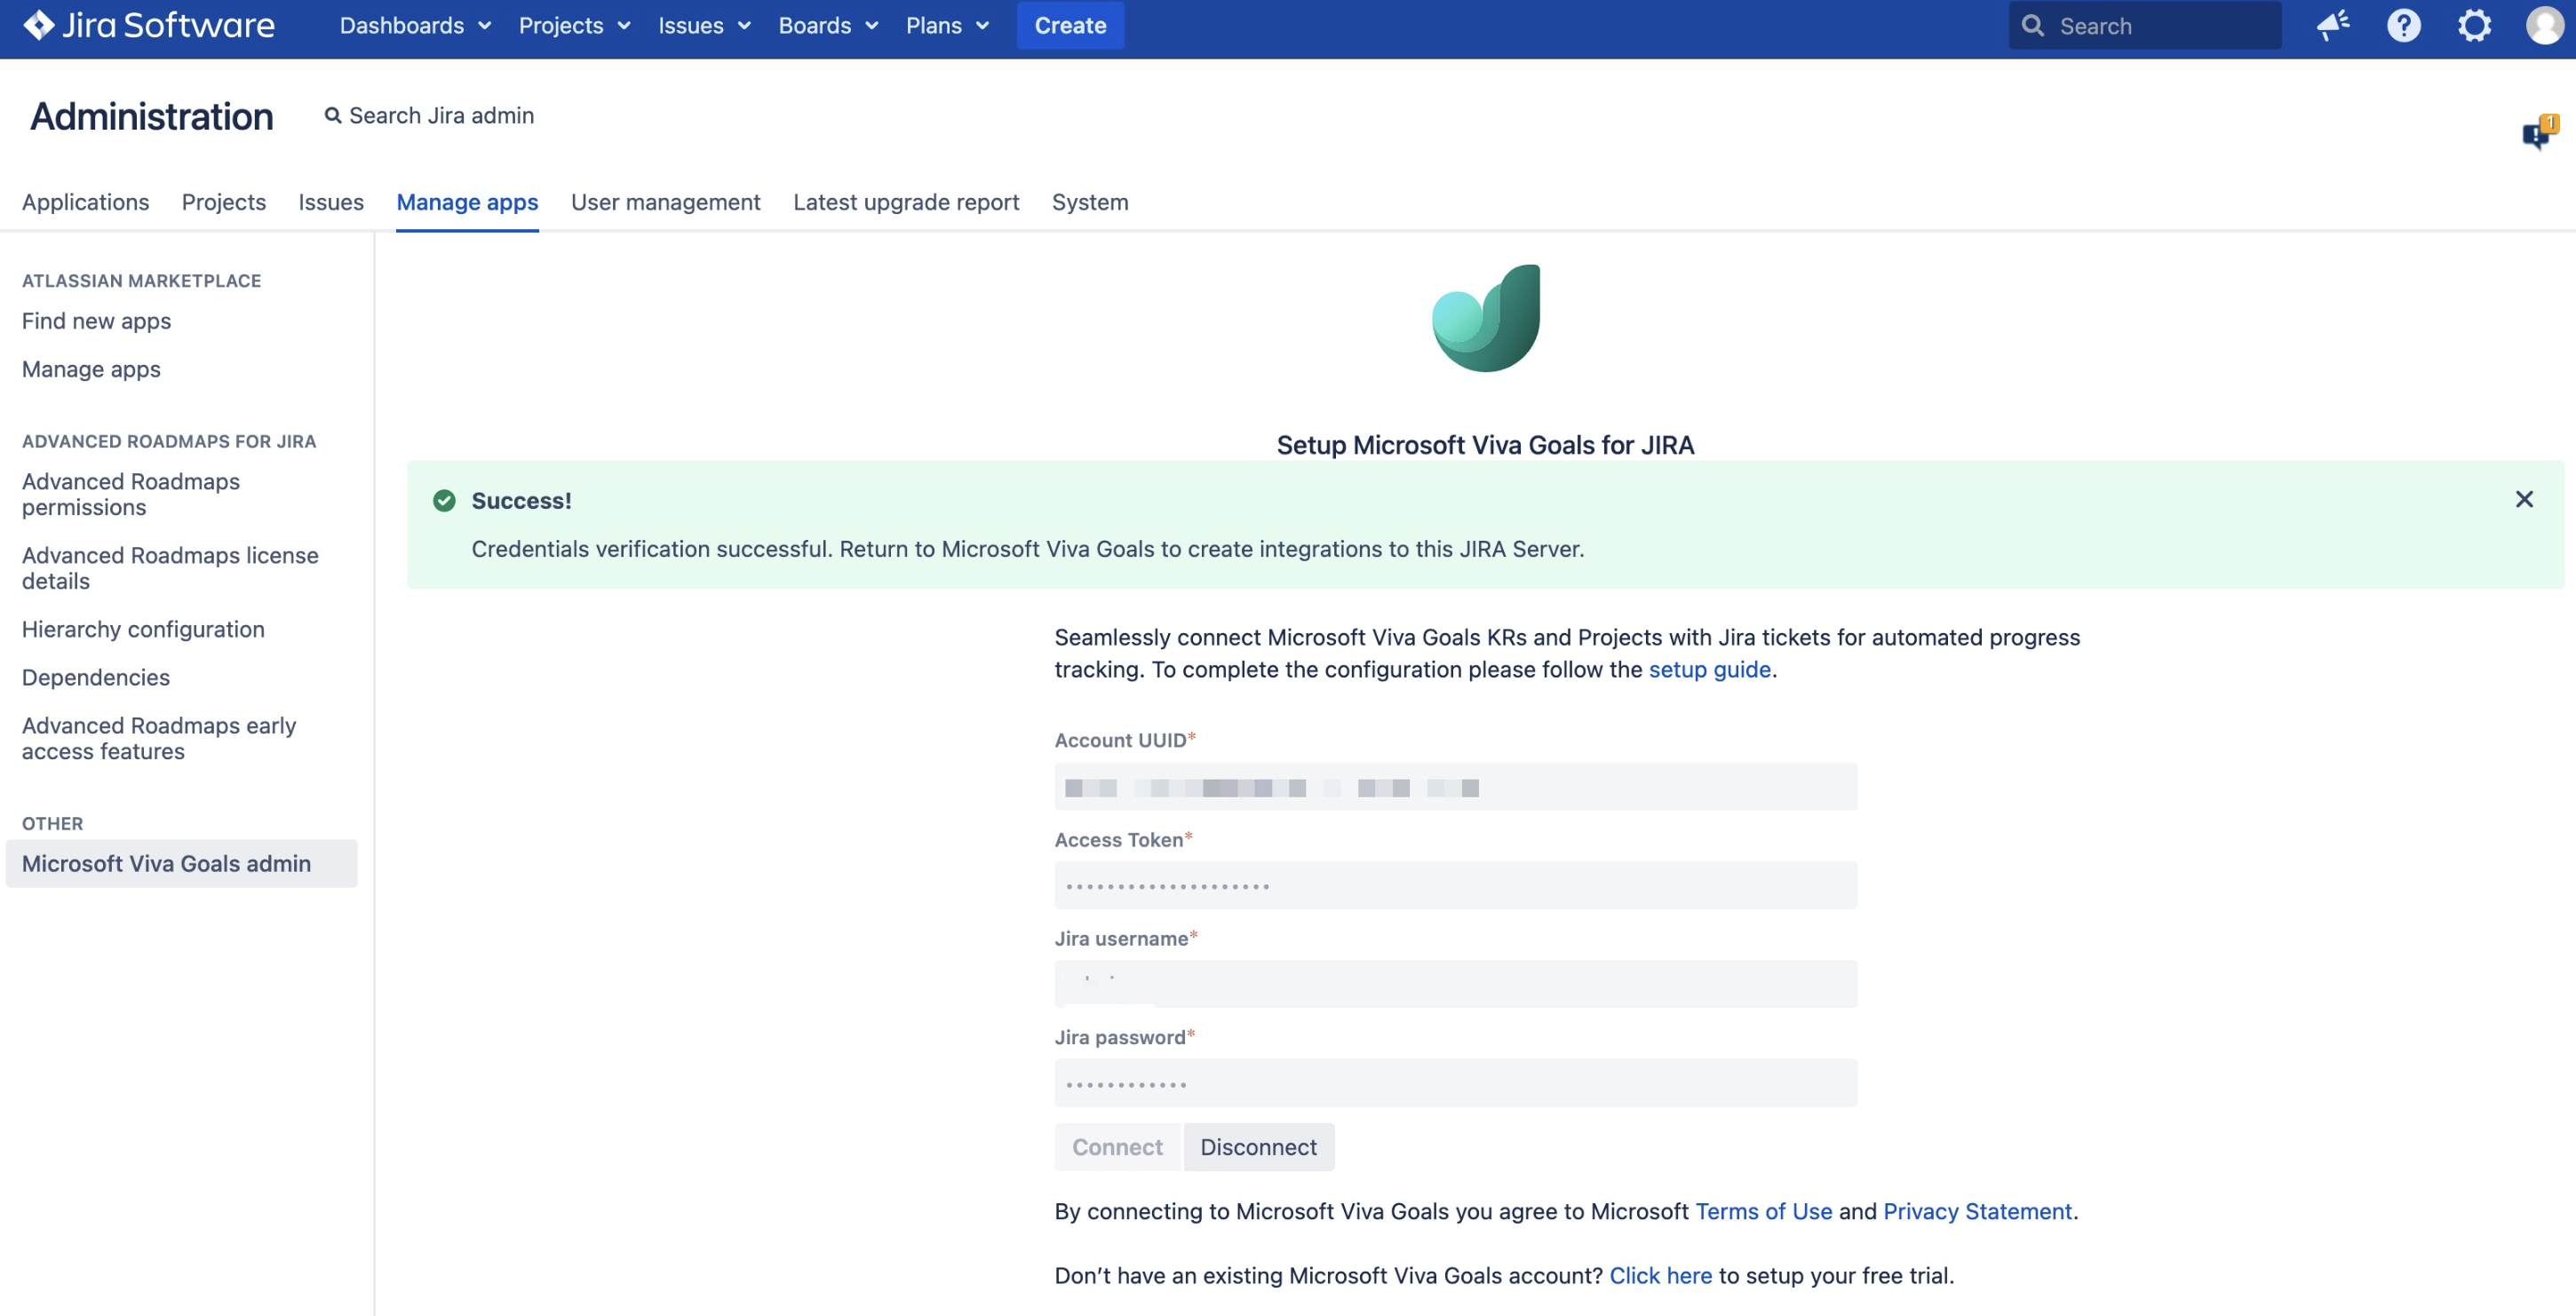
Enter the Account UUID and Access Token copied from Viva Goals, as well as the Jira service account details, then select Connect. The Jira service account is required so that the Microsoft Viva Goals for Jira app can access Jira project details on behalf of Viva Goals. Add these two pieces of information for the service account:
Jira username: The service account's Jira username.
Jira password: The respective Jira password.
Important
The Jira service account user should have access to the Jira projects you want to connect with Viva Goals so that the Microsoft Viva Goals for Jira app has access to the Jira Server or Data Center project details. The JQL entered during integration setup will consider this service user account for execution.
Switch back to Viva Goals and confirm the connection setup was successful by checking for a Verified on the connection's popup.


Use the Jira integration
For information on how to connect a Jira integration to a goal, see Jira integration.
Manually sync the progress of all goals integrated with a specific Jira server
To manually sync the progress of all the goals integrated with a specific Jira server:
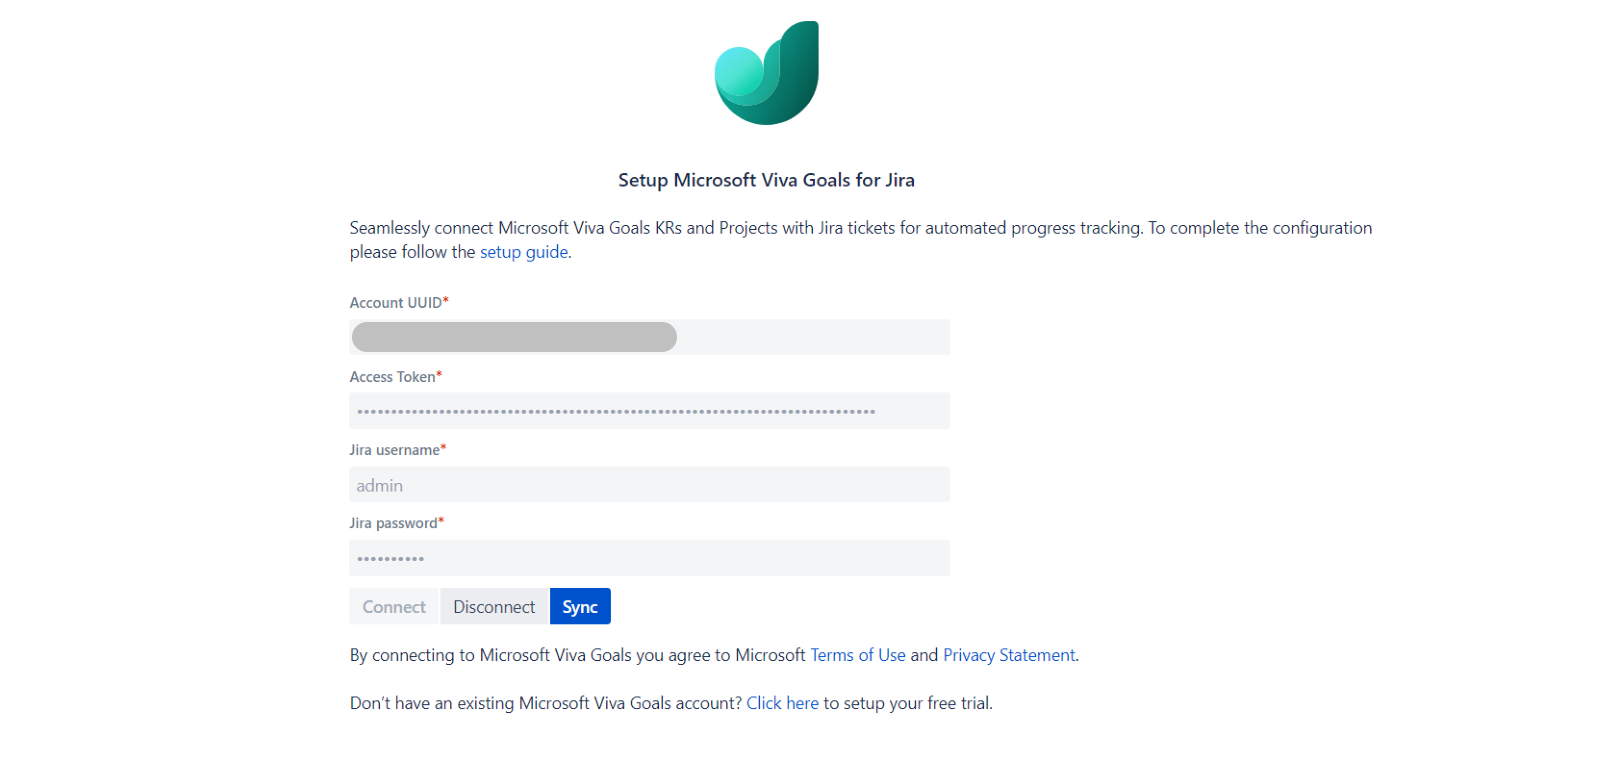
Go to your Jira Server app.
Navigate to the Viva Goals app in that server.
Select Sync.
Current limitations of Jira Server and Data Center integration
Progress is not synced immediately, but the first sync will happen automatically within 10 minutes of connecting Jira with a specific goal. However, you can manually refresh to pull in all the updates by selecting the Sync button in your Jira Server app.
Jira Server and Data Center integration supports progress computation based on ticket count and story points.
A Jira Server instance can only be connected to one Viva Goals organization at a time. If you need to connect the same Jira Server instance to another Viva Goals organization, you'll need to disconnect the instance from the current Viva Goals organization first.
You can find more about the latest Jira Server version updates here.
Supported versions
The Jira plugin app Microsoft Viva Goals for Jira currently supports up to Jira version 10.1.2. If you're planning to upgrade your Jira version, raise a compatibility request with Jira or reach out to Microsoft for support.
Frequently asked questions
What should I do if I'm getting an invalid credentials error despite using the correct credentials?
Check your service account permissions.
Sign in as the service account user on Jira and ensure the Jira project(s) you want to query are accessible.
Check the permissions by invoking the following query from one (or all) of the Jira nodes. Note that the command below is a sample curl command: use the real credentials of the service account or appropriate user. Also replace
https://test.com/rest/api/2/search?jql=project=ATPwith the Jira server's URL and the project's JQL.curl -u username:password -X GET -H "Content-Type: application/json" https://test.com/rest/api/2/search?jql=project=ATP
Important
We recommend enabling verbose logging for the Microsoft Viva Goals plugin by following the steps below:
- On the Jira Server, navigate to Administration > System.
- Select Logging and profiling.
- Scroll down to the Default loggers section.
- Select Configure logging level for another package.
- Enter "io.ally" as the package name and TRACE as the logging level.
- Restart the Jira nodes.
- Grep the logs using the following string:
tail –f log/atlassian-jira.log | grep "io\.ally"
Why is the Jira plugin unable to validate credentials after resetting the password of the Jira service account?
Follow these steps when you're resetting your password to avoid this issue:
- Disconnect the connection in the Jira plugin app.
- Reset the password.
- In the Jira plugin app, establish the connection again. This will resume the Jira plugin connection and automatic sync to Viva Goals.