Note
Access to this page requires authorization. You can try signing in or changing directories.
Access to this page requires authorization. You can try changing directories.
Viva Goals can integrate with Snowflake to automatically update your OKRs.
Let's consider this example: You have data in your Snowflake warehouse to track leads generated across multiple channels. Your goal is to generate 4,000 qualified leads from SEO by implementing Snowflake integration. You can save yourself the hassle of going back and forth between Snowflake and Viva Goals to update your progress. Viva Goals will sync the values for you and chart your progress toward the goal, saving time while keeping your OKRs current.
How to set up Snowflake integration
An admin follows these steps to set up the Snowflake integration in Viva Goals:
Go to the Viva Goals integrations page: Admin > Integrations.
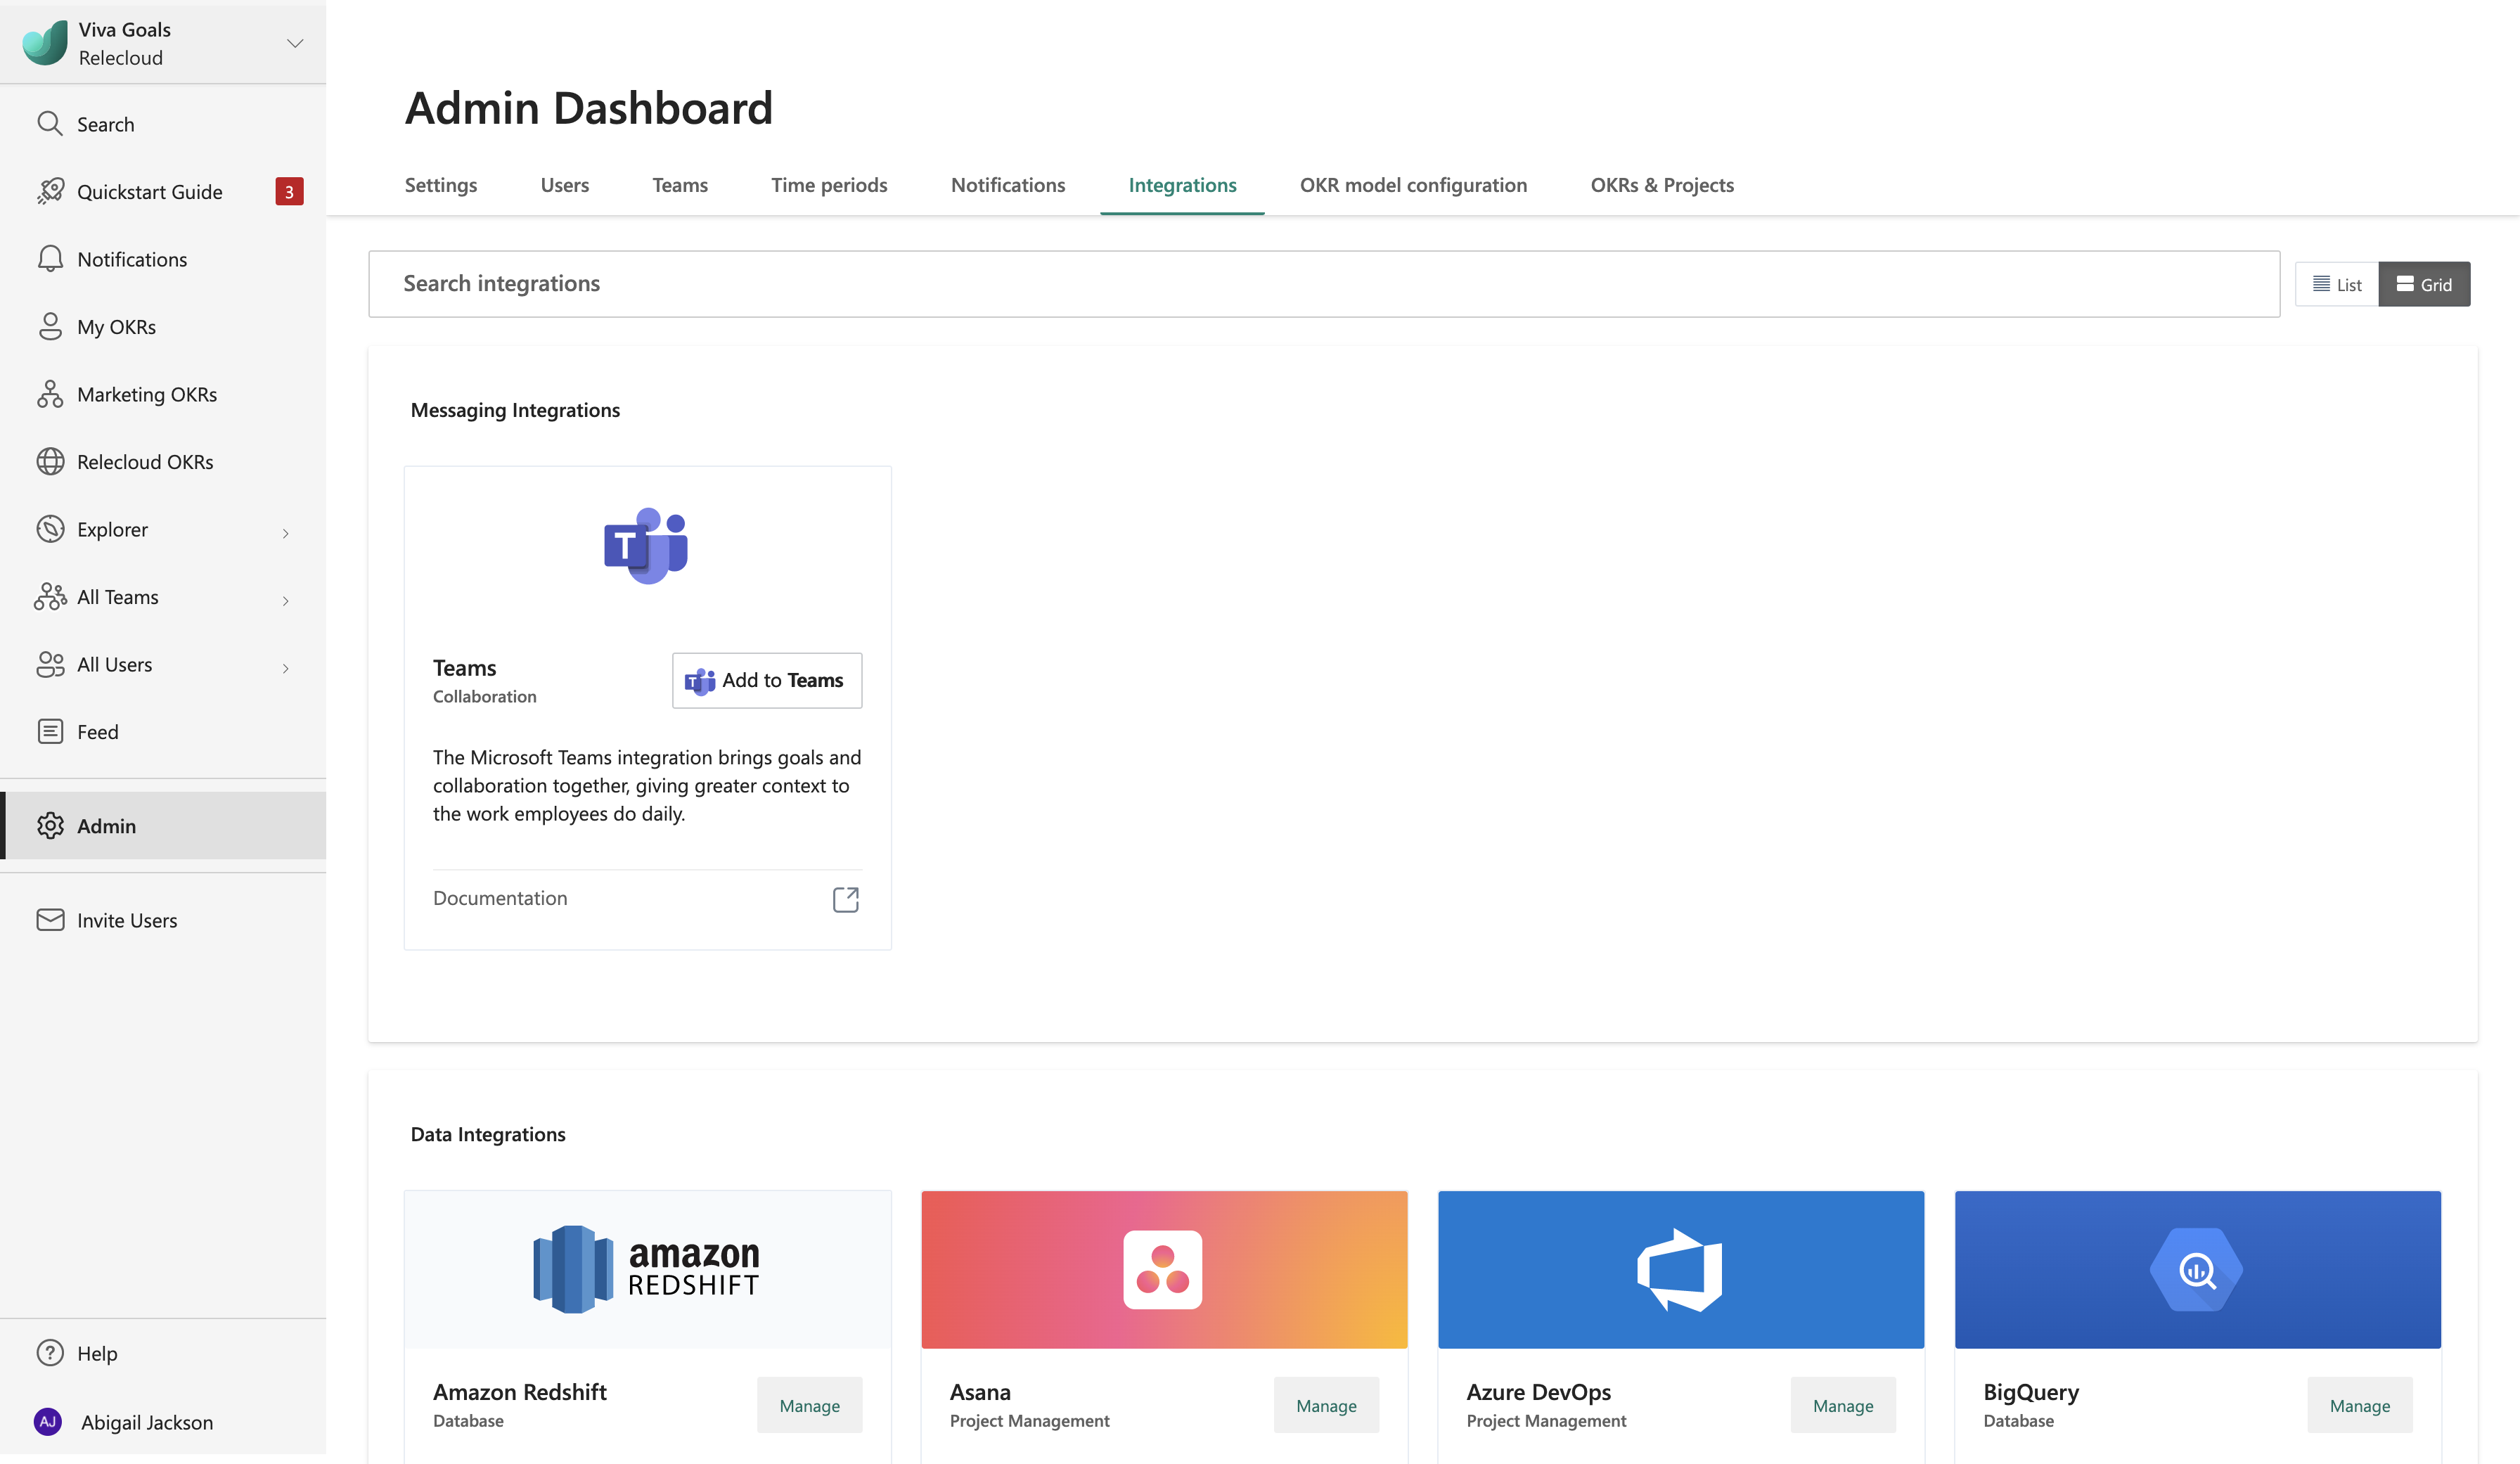
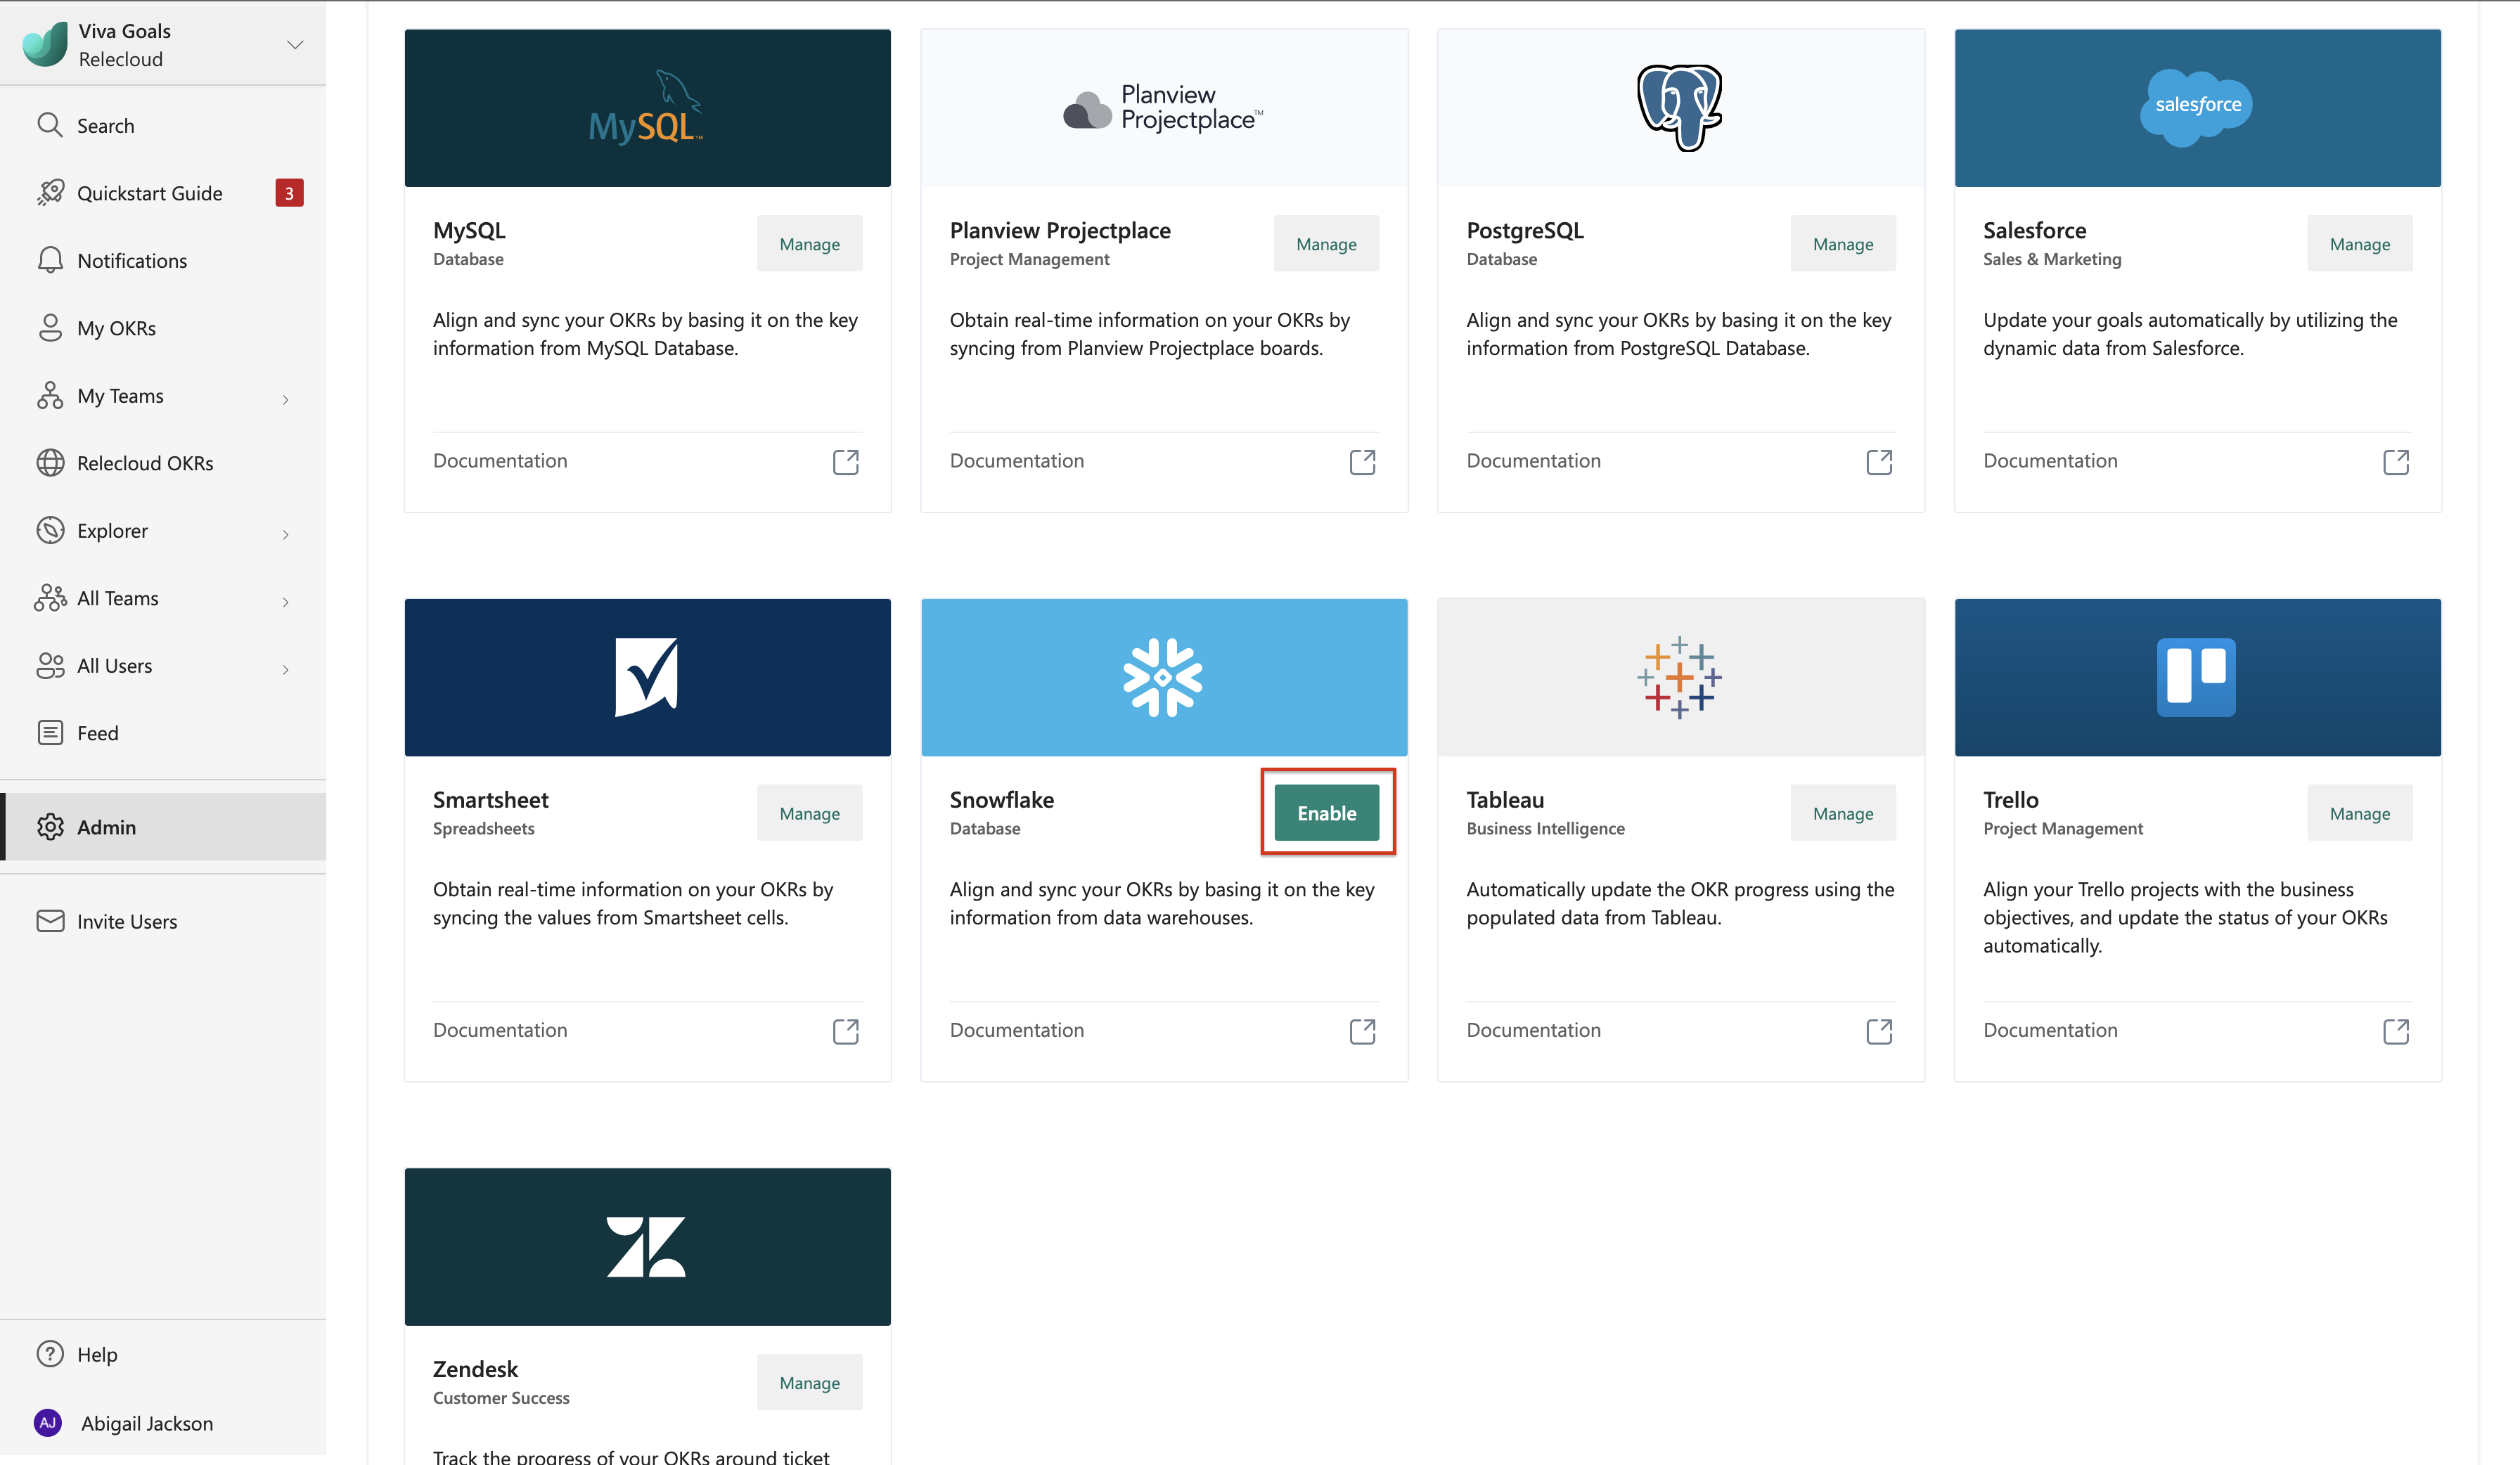
Scroll through the integration options to locate Snowflake. Select enable for a new integration or select manage if an integration was previously established.
Select New Connection. In the dialog that appears, enter the connection name, account URL, user name, password, and warehouse. The warehouses list should populate automatically if the credentials you entered are correct.
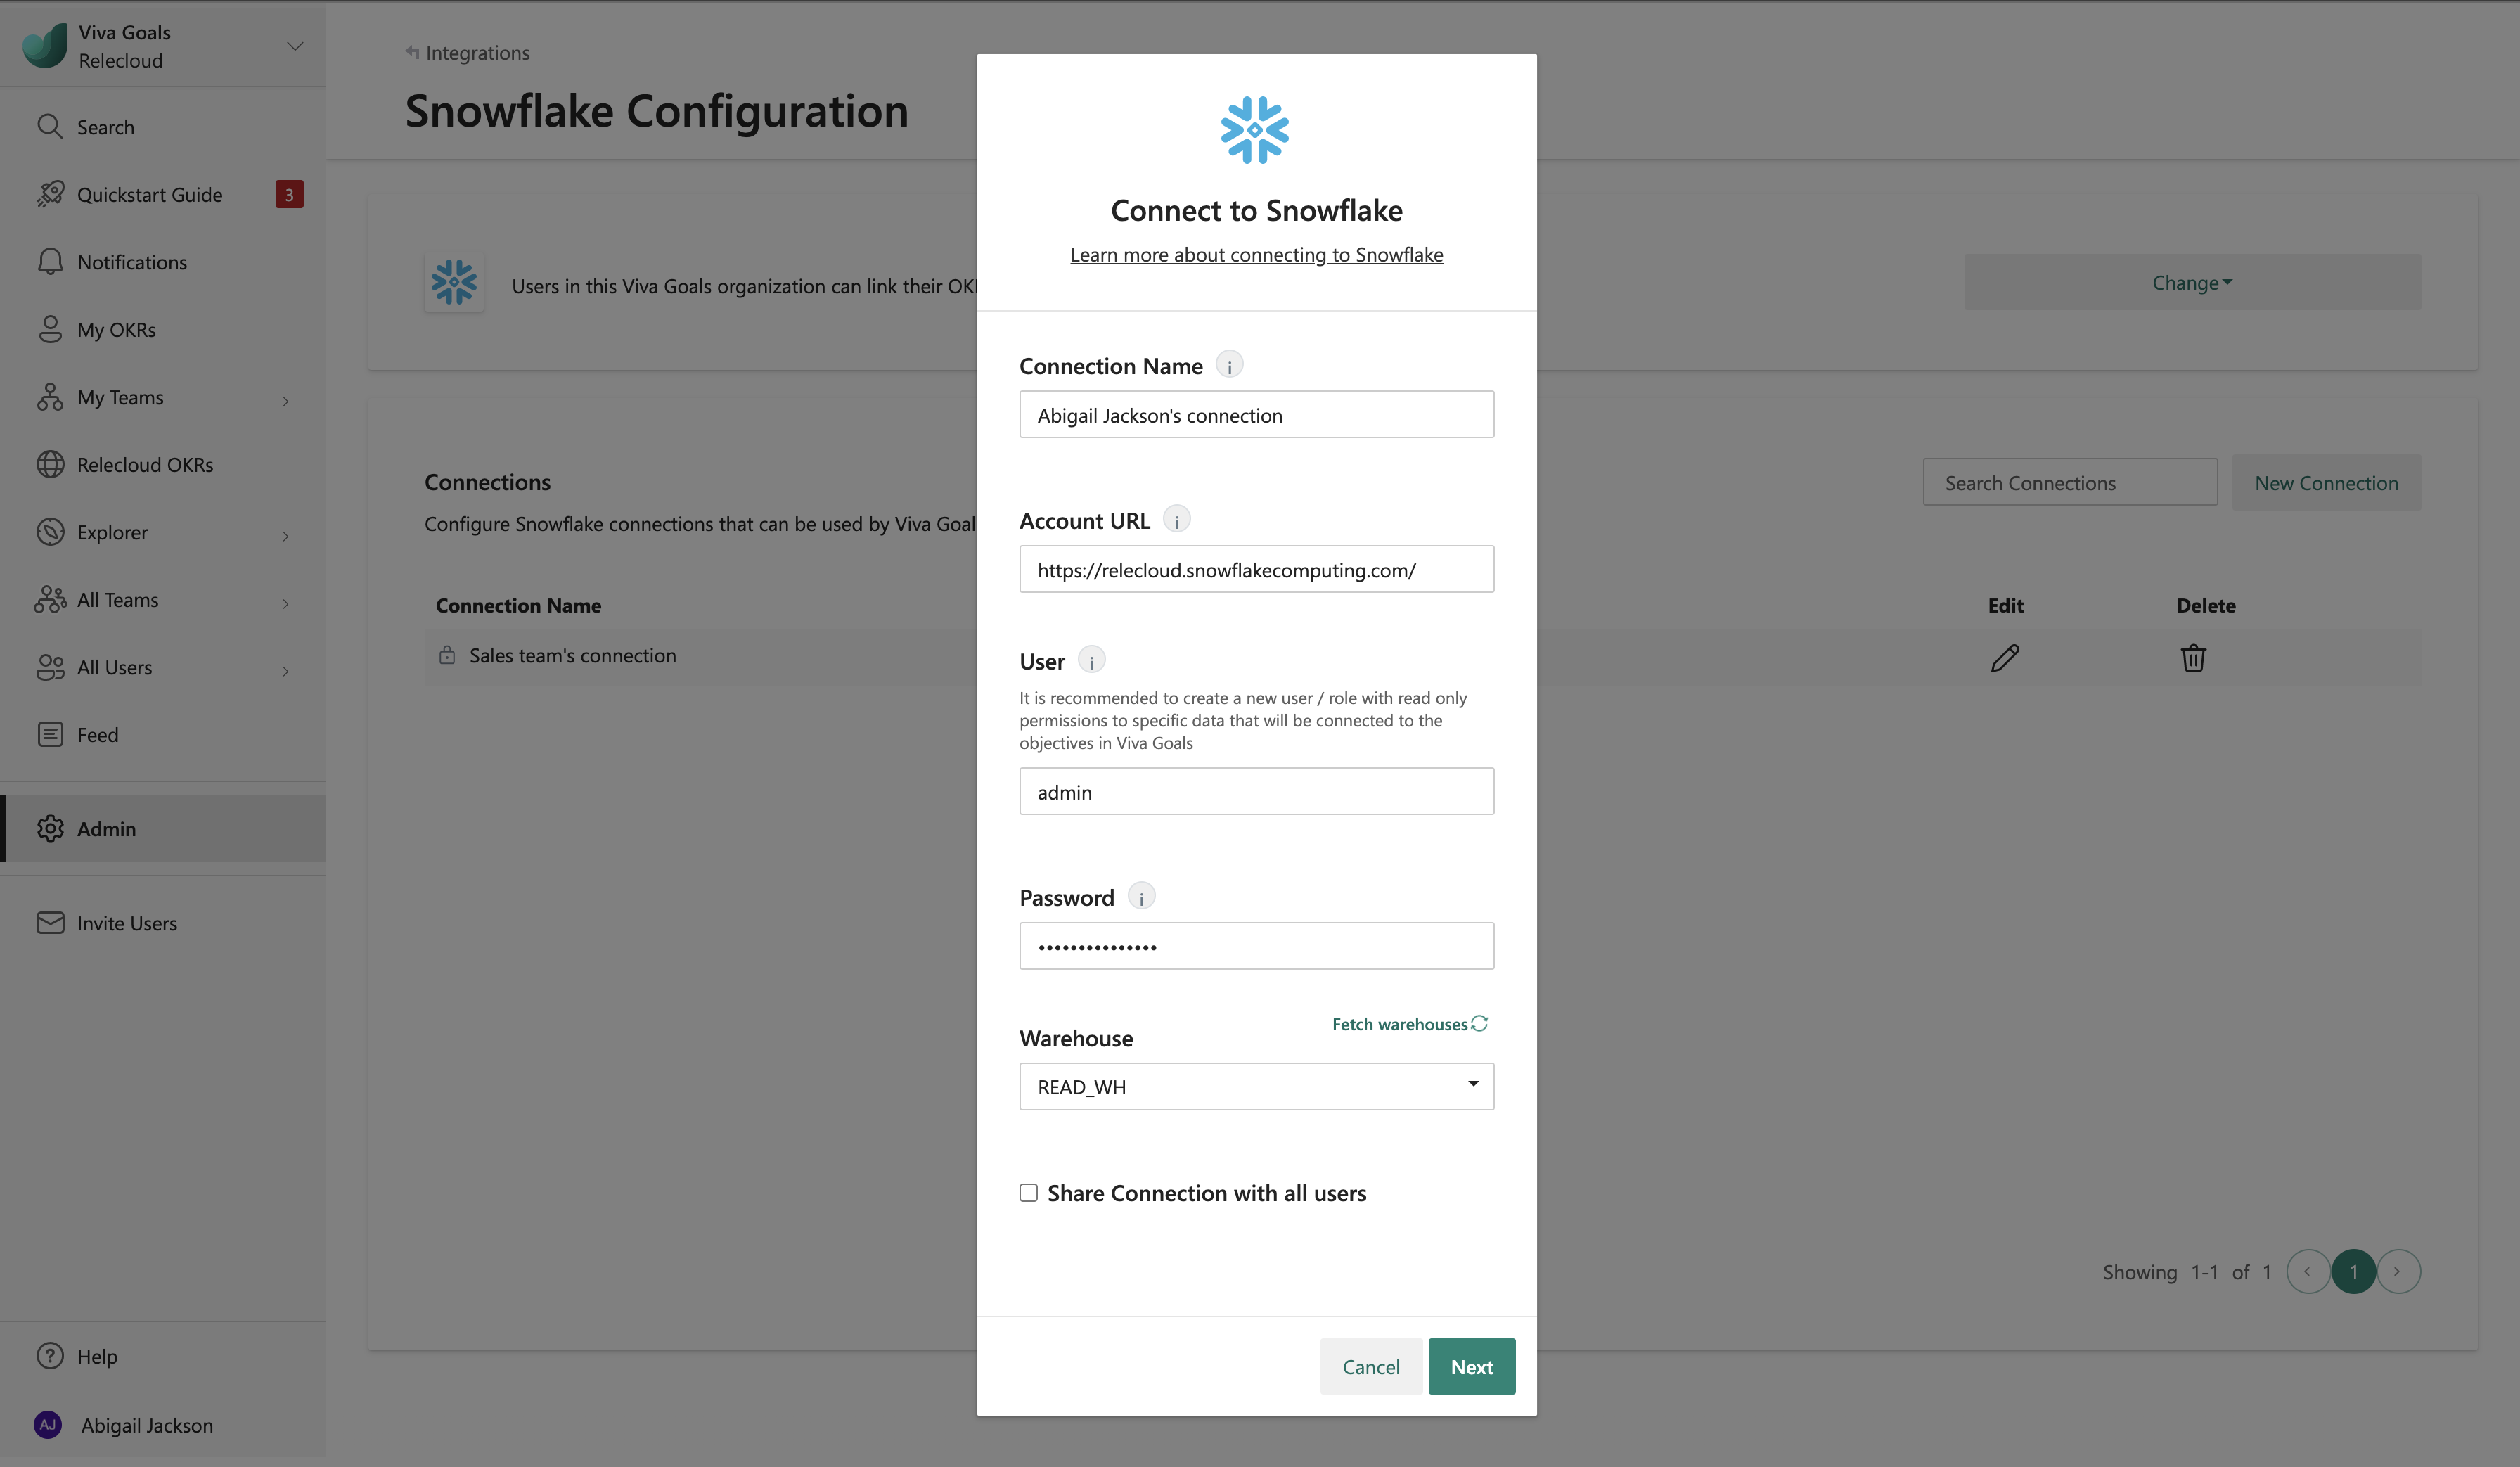
Select Next to finish setup.


Viva Goals lets you connect to multiple Snowflake warehouses. Select New connection to add another. You differentiate them by name. These names are displayed to users when they link their OKRs to Snowflake data.
How to use the Snowflake integration
After setup is complete, users in your organization can link the success of their OKRs directly the data in a Snowflake warehouse.
When you create or edit an objective or key result, select Connect data source to auto-update progress.
From the list of integrations, pick Snowflake.

If you already created a Snowflake connection or an administrator in your organization shared a Snowflake connection with you, that connection will be automatically selected for you. If there are no connections previously created or shared, Viva Goals will prompt you to add a new connection.
Add a Snowflake SQL query that will return a single-valued numeric value. This value will be connected to the OKR's progress or KPI depending on how the OKR is measured.
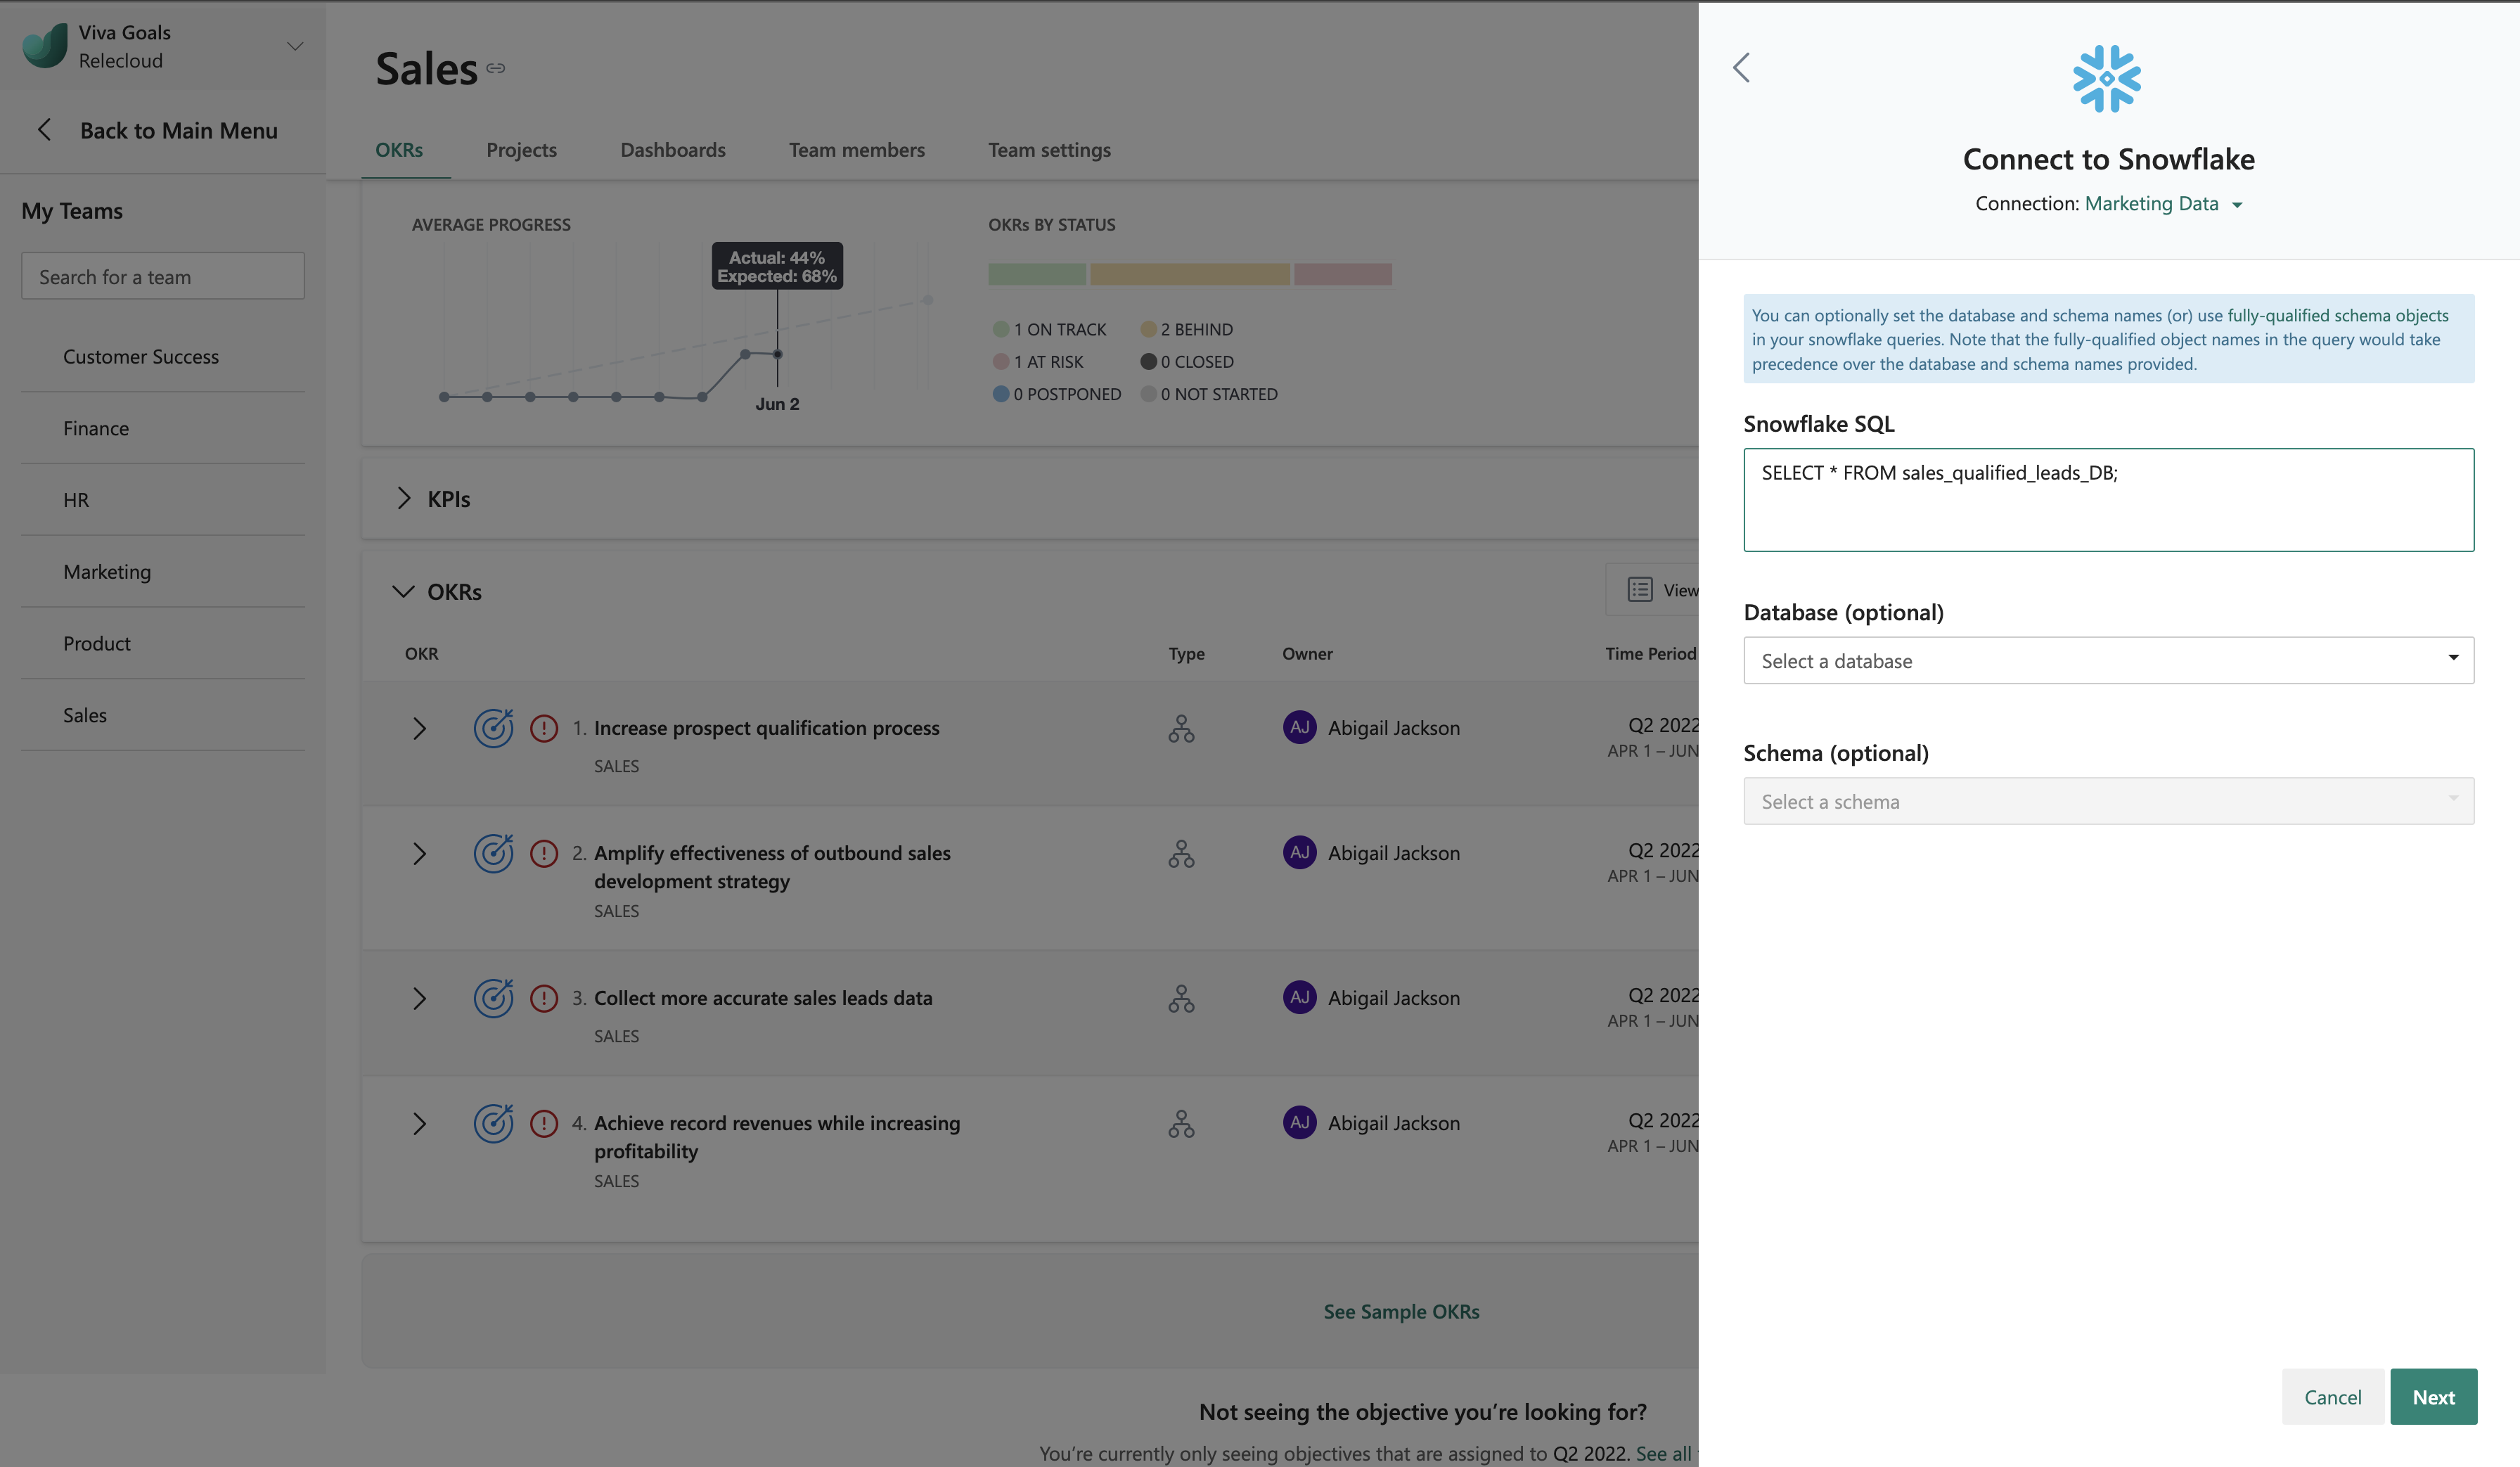
Select next to finish and save your OKR. You should now see a Snowflake icon next to the OKR. The OKR will sync automatically every hour. You can also select refresh to refresh it manually.


The colors of the progress bars indicate the status of the objective.
- If the progress is 0 to 25 percent less than expected at any point in time, the status is behind, and the status bar will be orange).
- If the progress is more than 25 less than expected at any point in time, the status is at risk, and the status bar will be red.