Note
Access to this page requires authorization. You can try signing in or changing directories.
Access to this page requires authorization. You can try changing directories.
Deals Landing Page
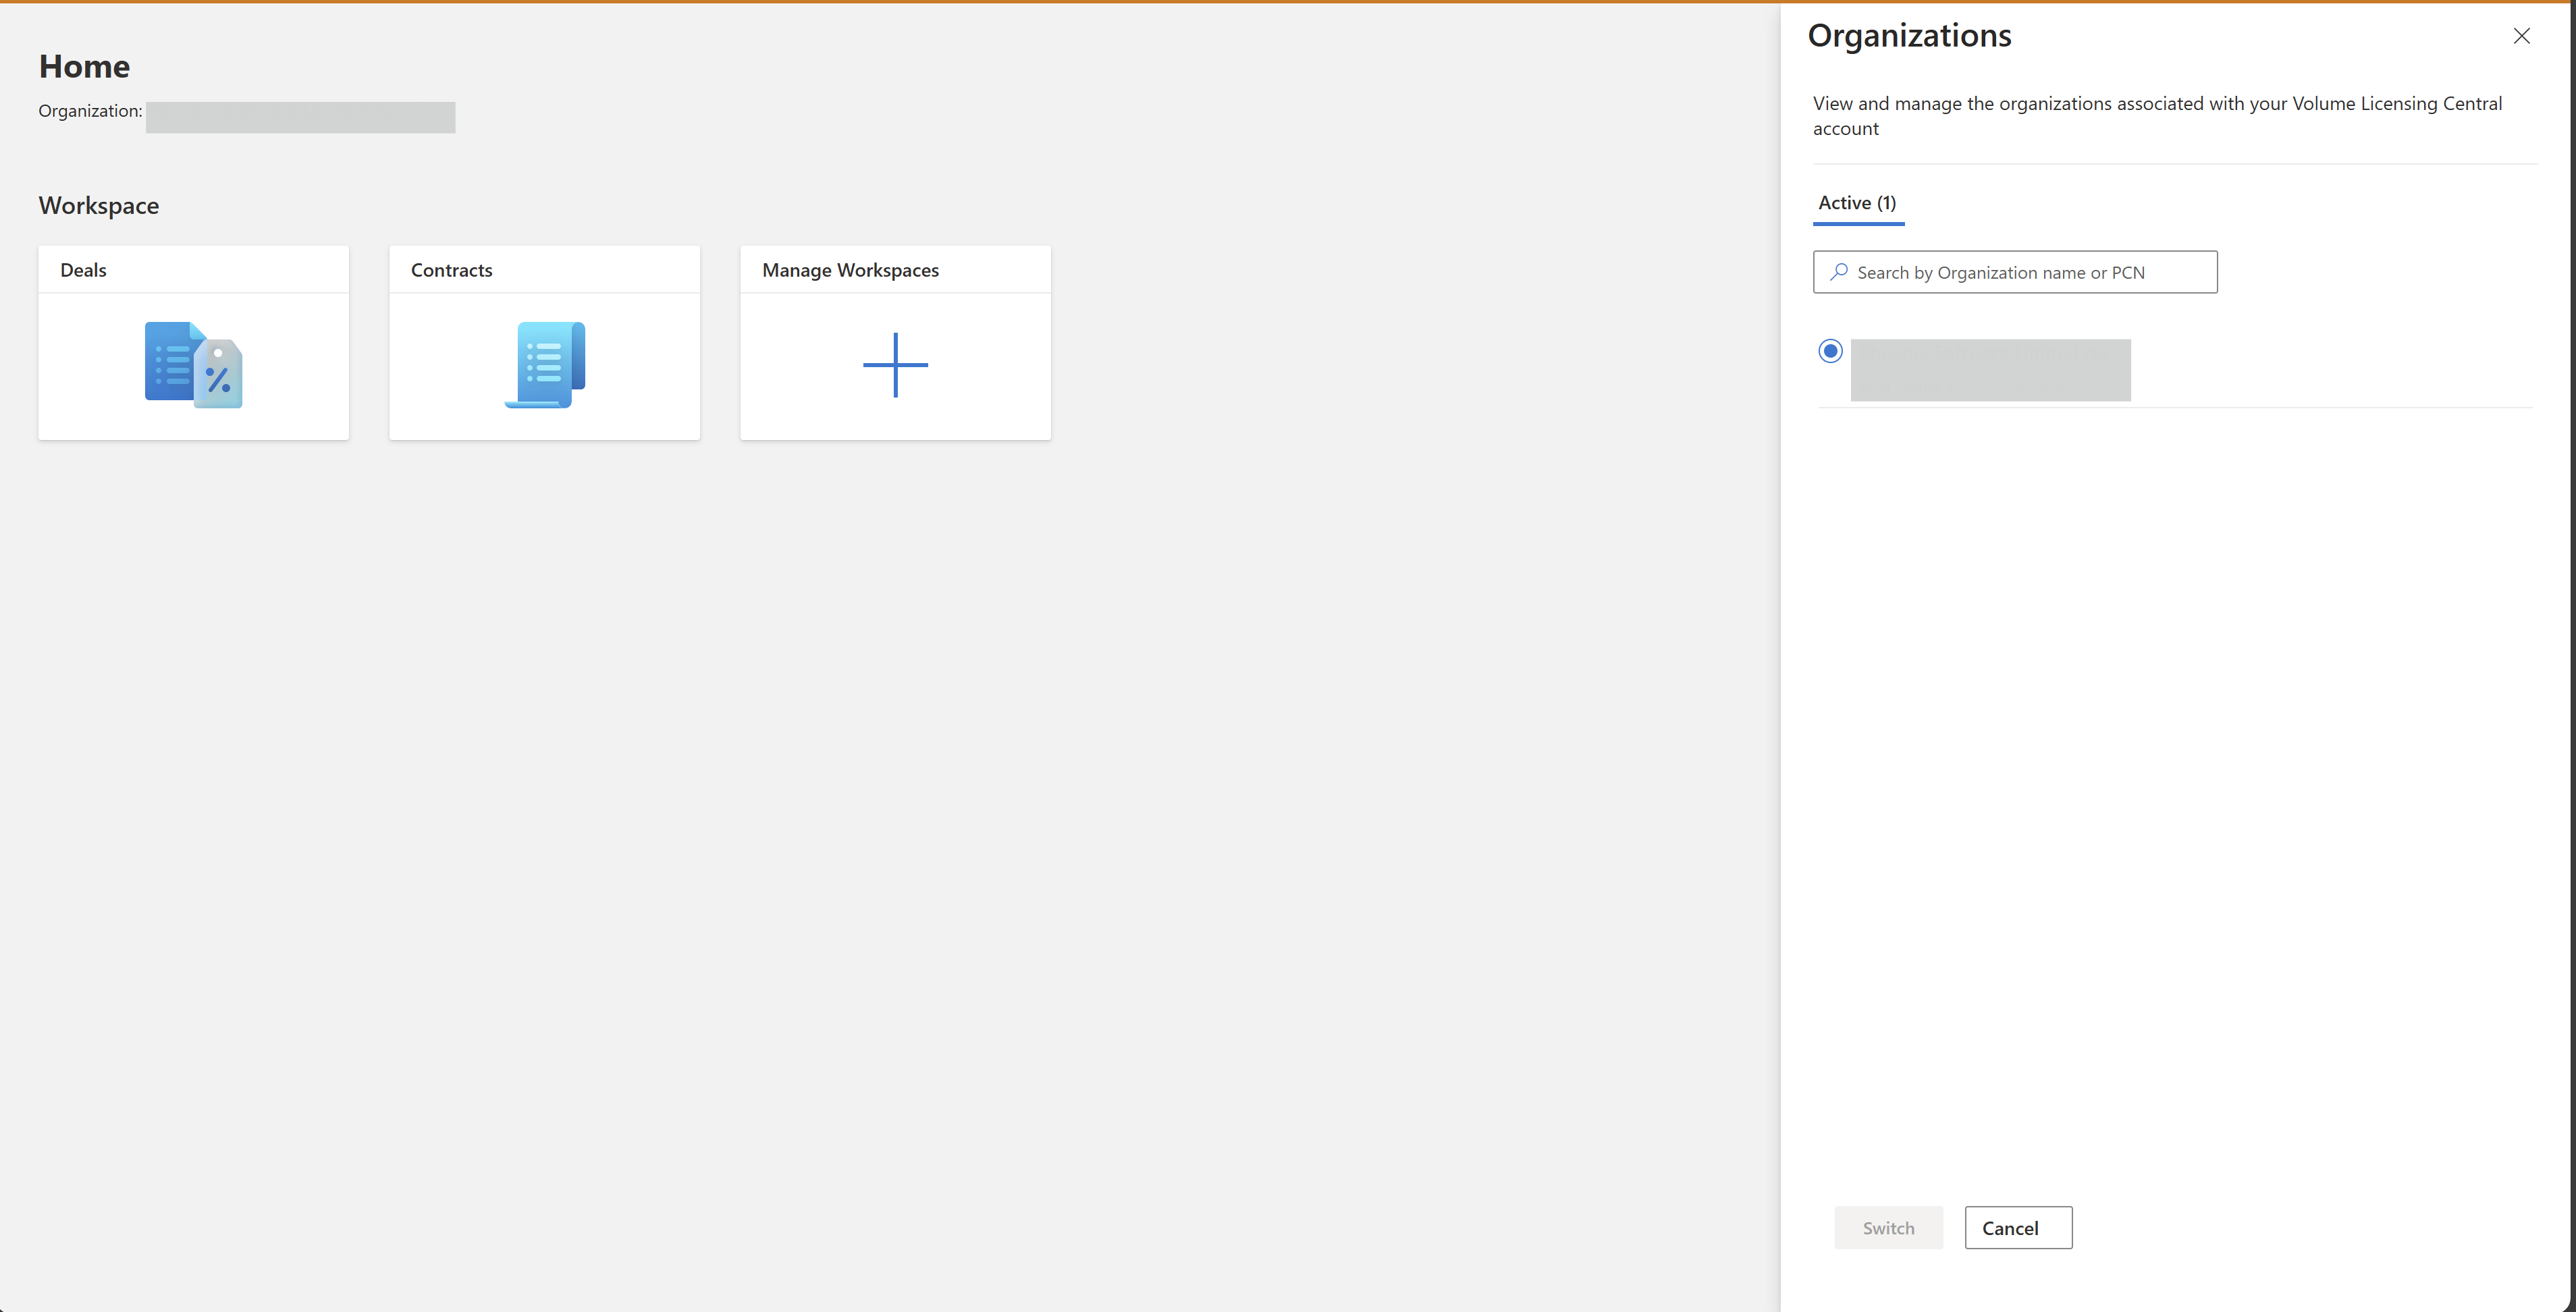
VLC Home Page: You're able to select the organization for which you want to work on.
Creating a New Deal:
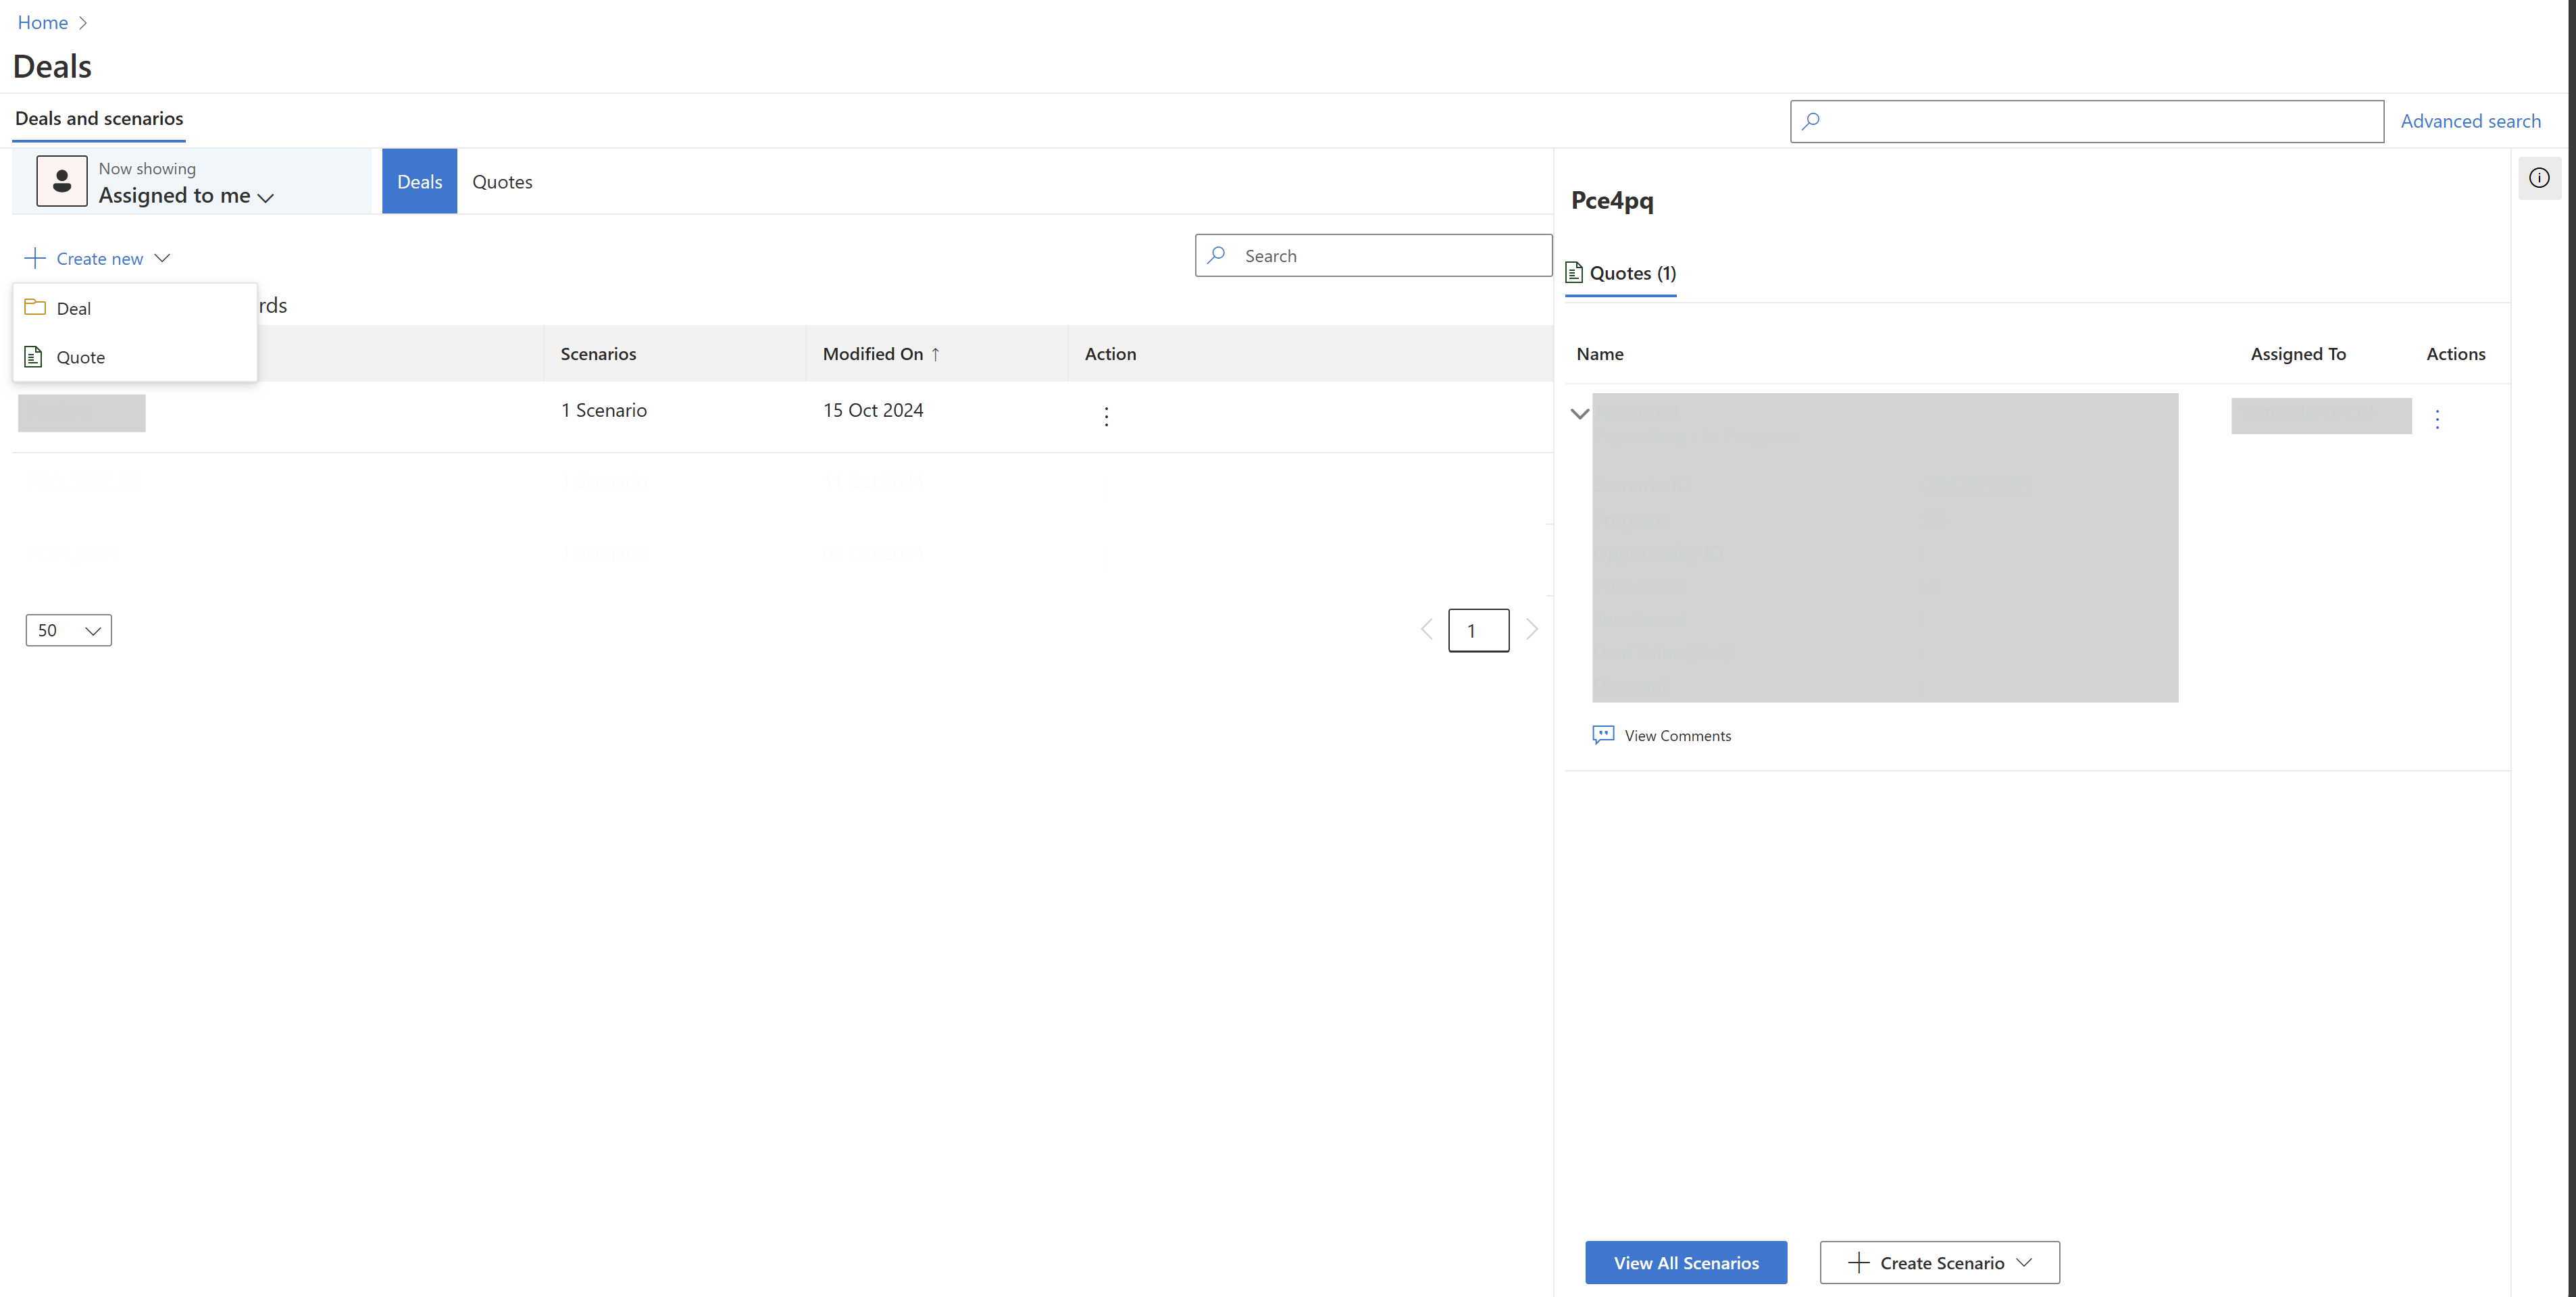
1.Navigate to the deals workspace.
Note: For scenario creation, Partner PCN is retrieved from the Organization selected on the VLC Home Page

2.Landing Page provides the details of all Deals and Scenarios created in the past for the organization selected earlier
Deals Folder: Consider deal as one of your folders under which I can have multiple quotes (or scenarios) Quotes: A scenario created under a deal
3.Select create a “New Quote”
4.Enter the scenario name and specify the deal folder you want to associate that scenario with.
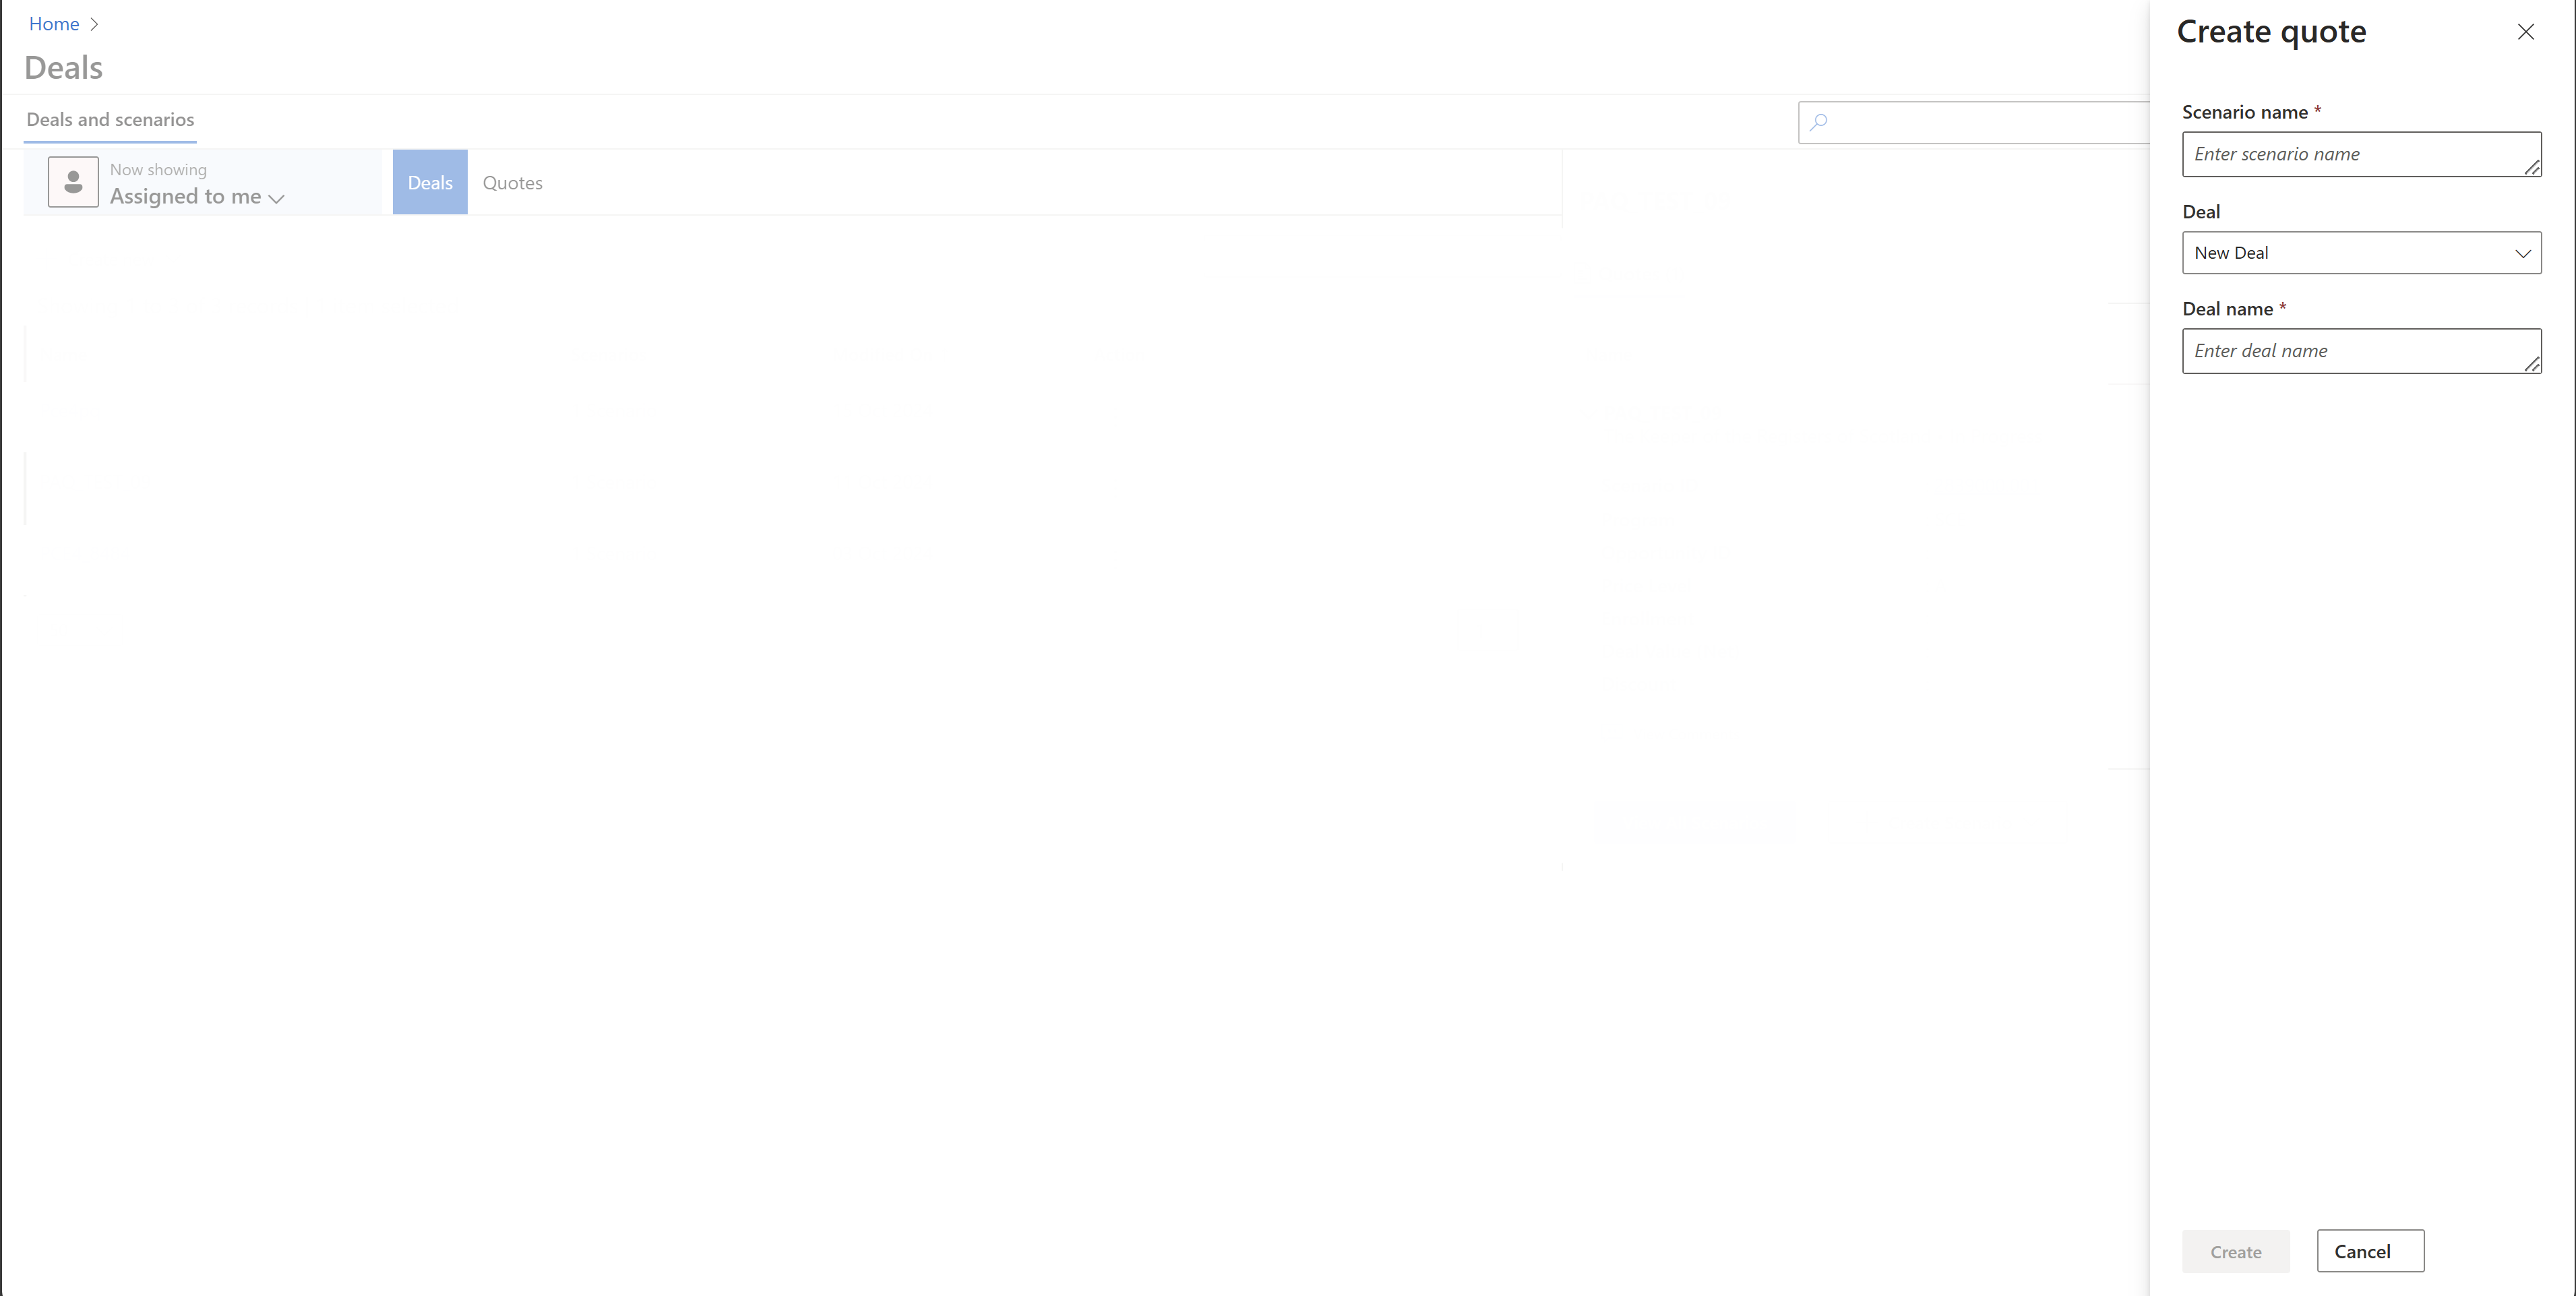
5.Once you enter the required details, a scenario ID is generated
6.Click on “Proceed to set up”
Scenario Setup
1.You're now on the Scenario setup page
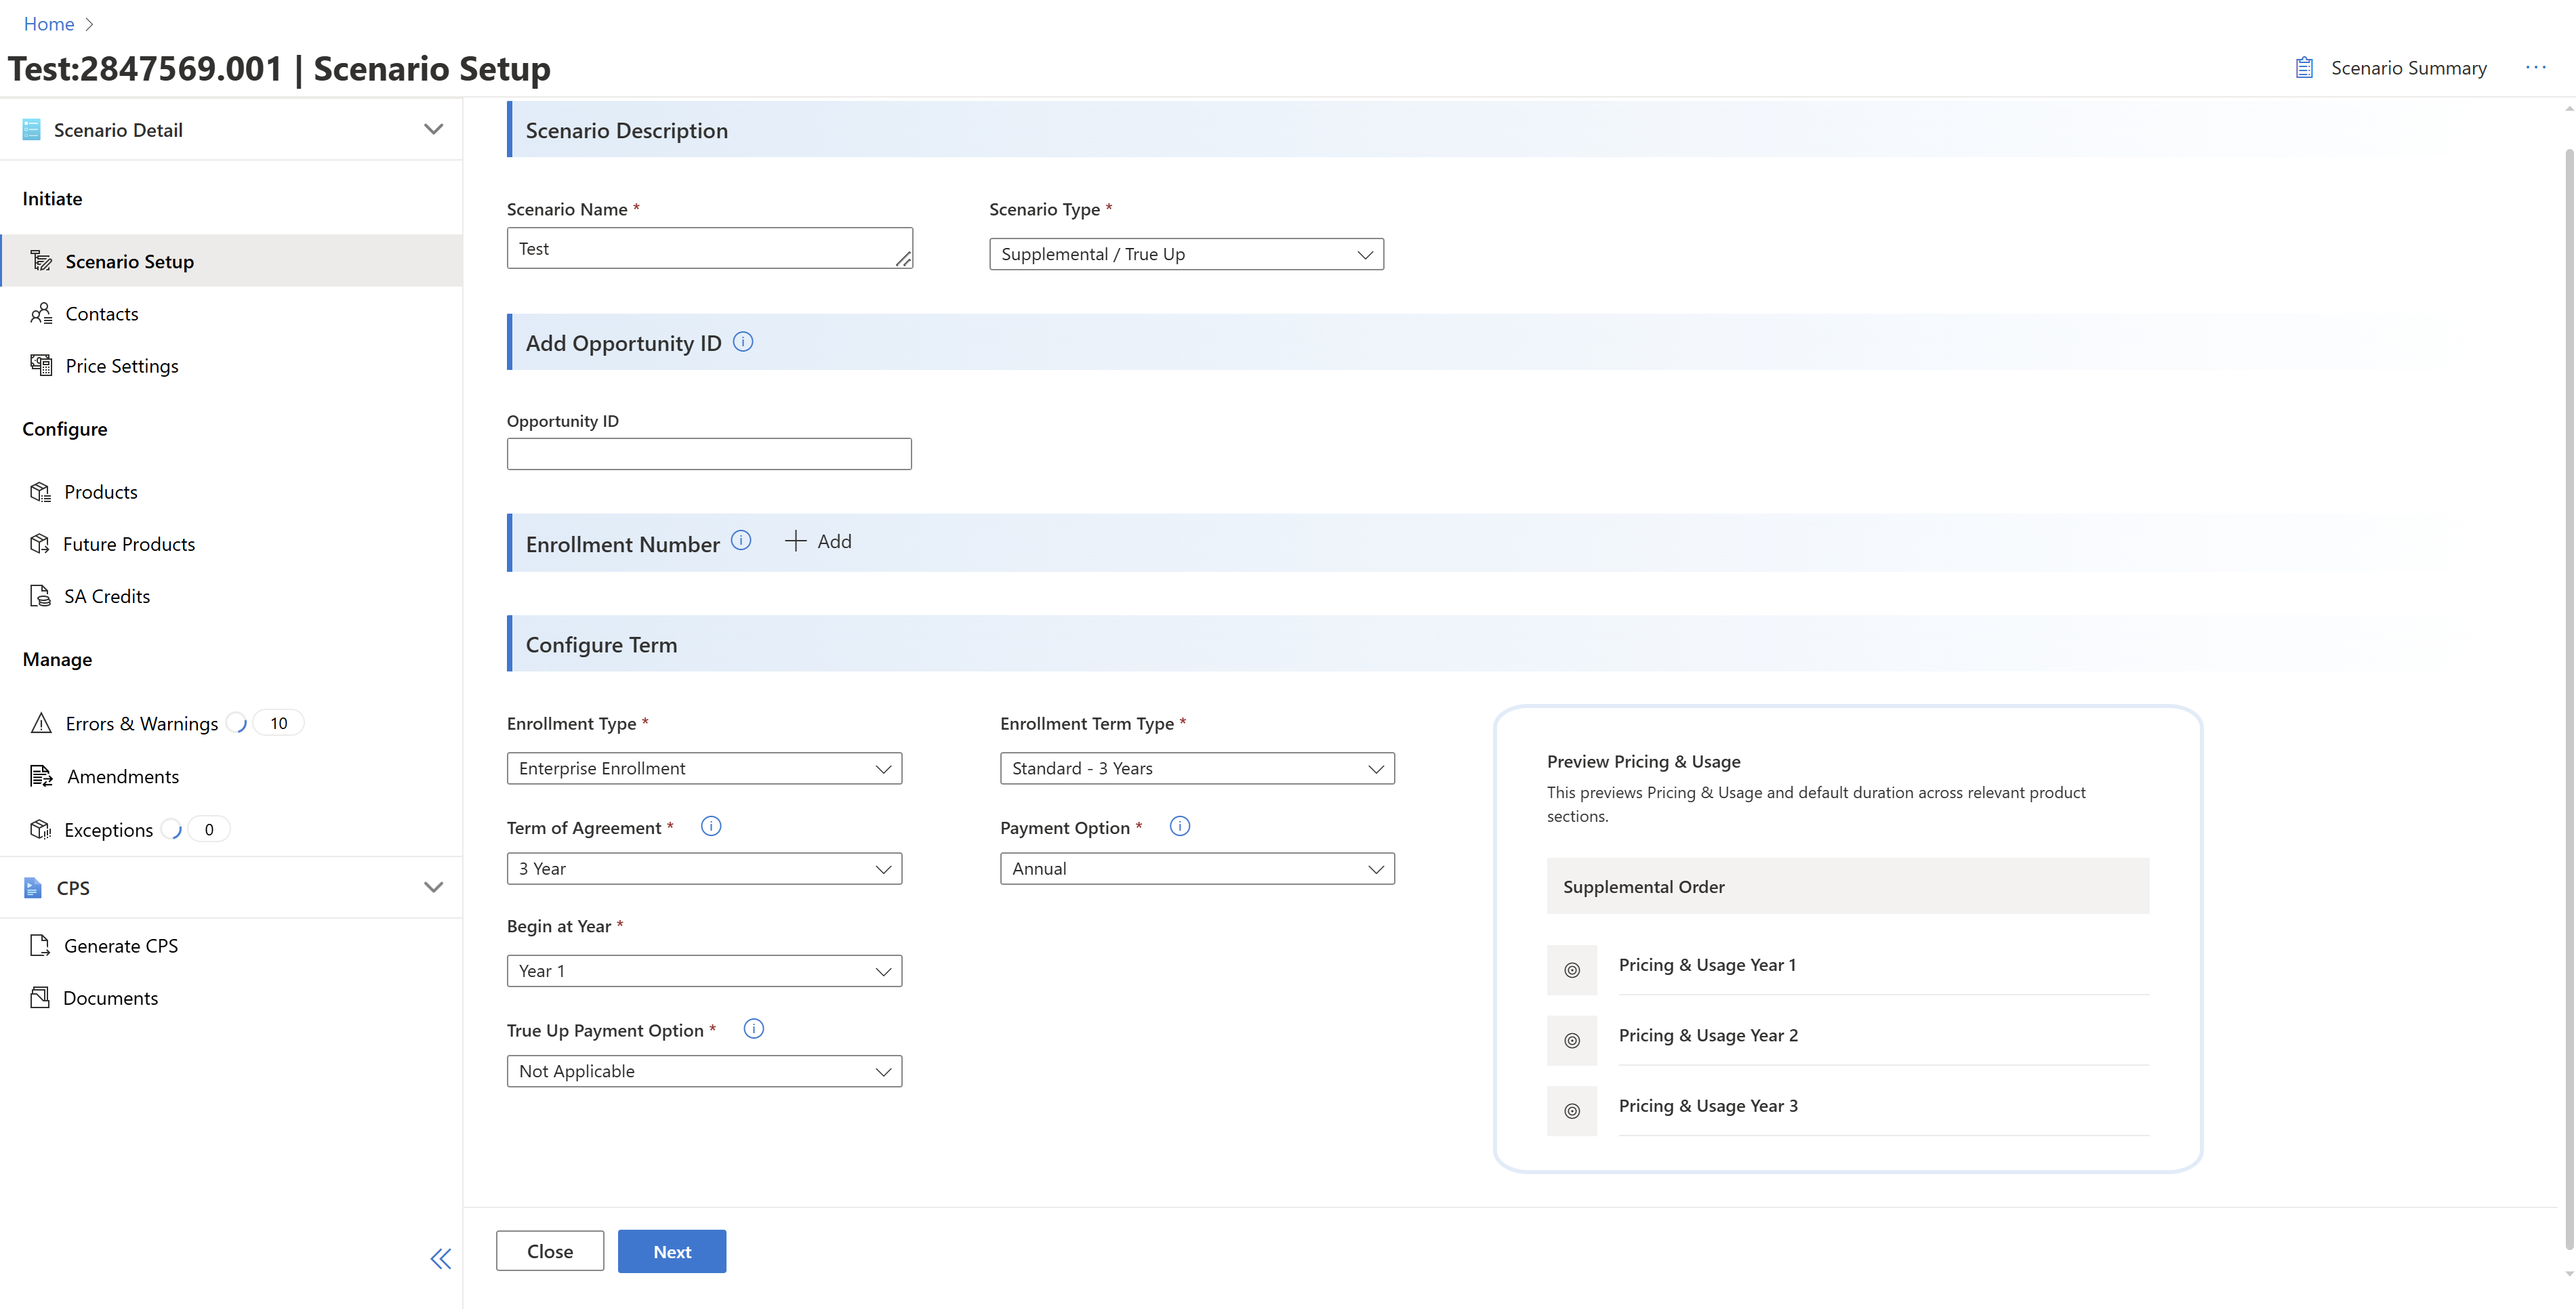
2.Choose the scenario type (New, Supplemental, True Up, or Renewal).
3.Enter optional Opportunity ID and Enrollment Number.
4.Fill out the details in Configure term and click on “Next”
Contacts
1.You're now on the Contacts Page.
2.Add customer, partner, and Microsoft contact details. For customer details, you get option to add the organization.
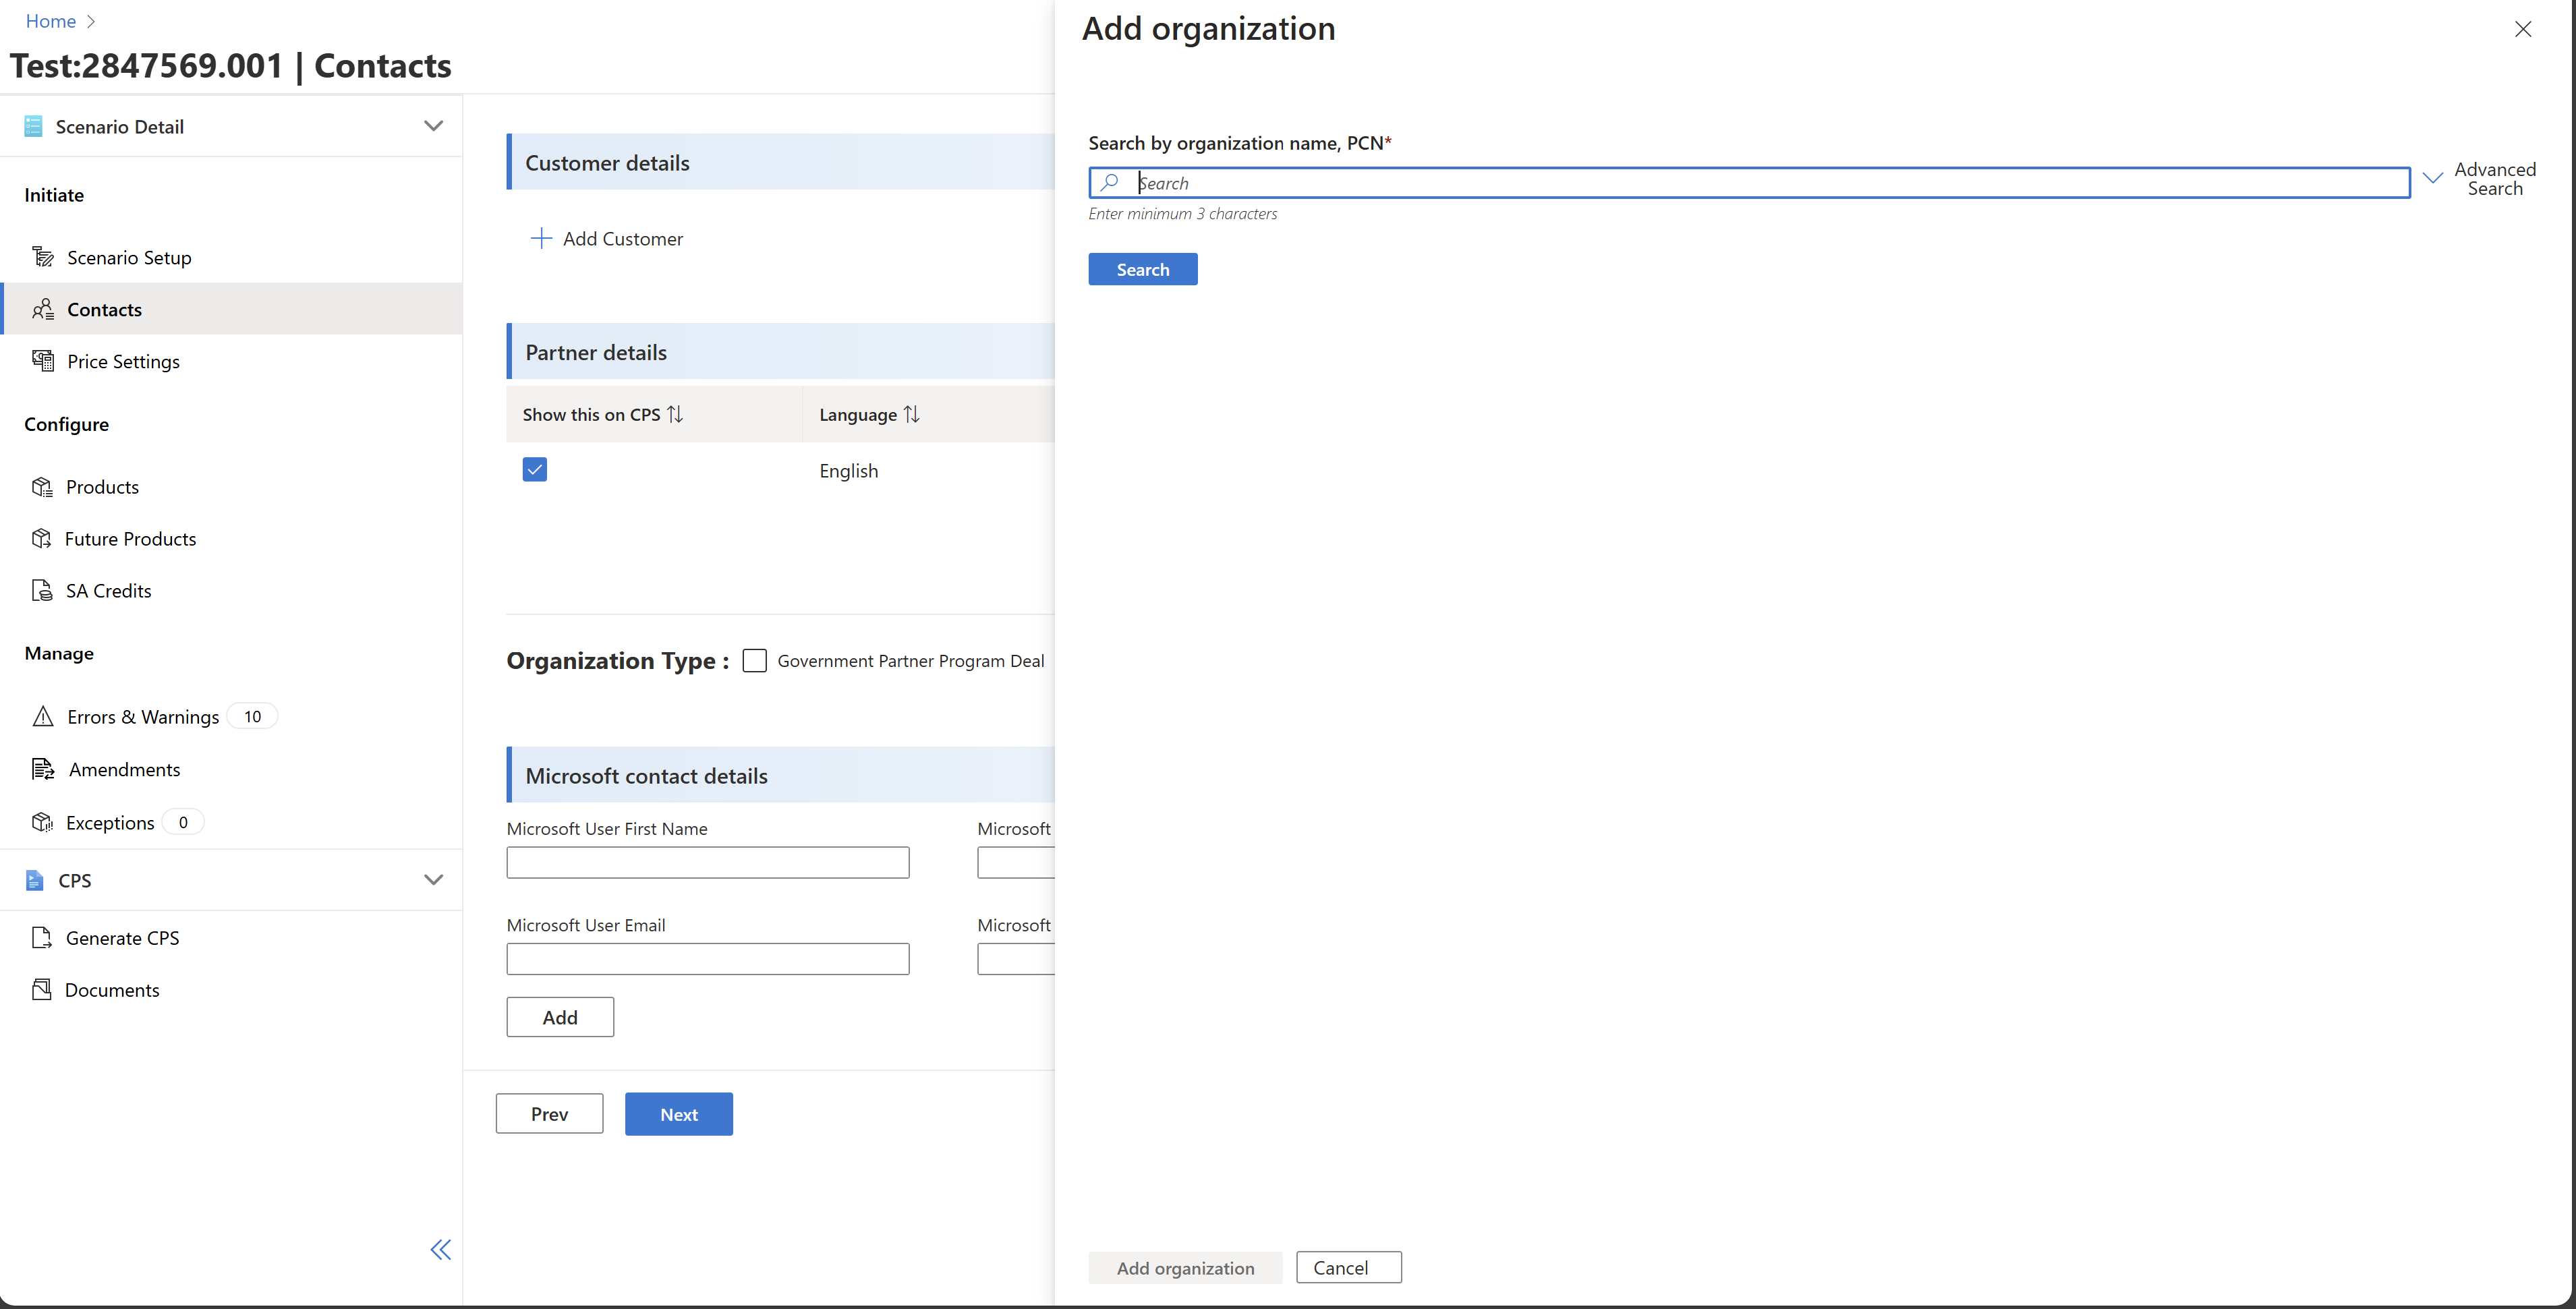
3.Ensure partner details are autopopulated.
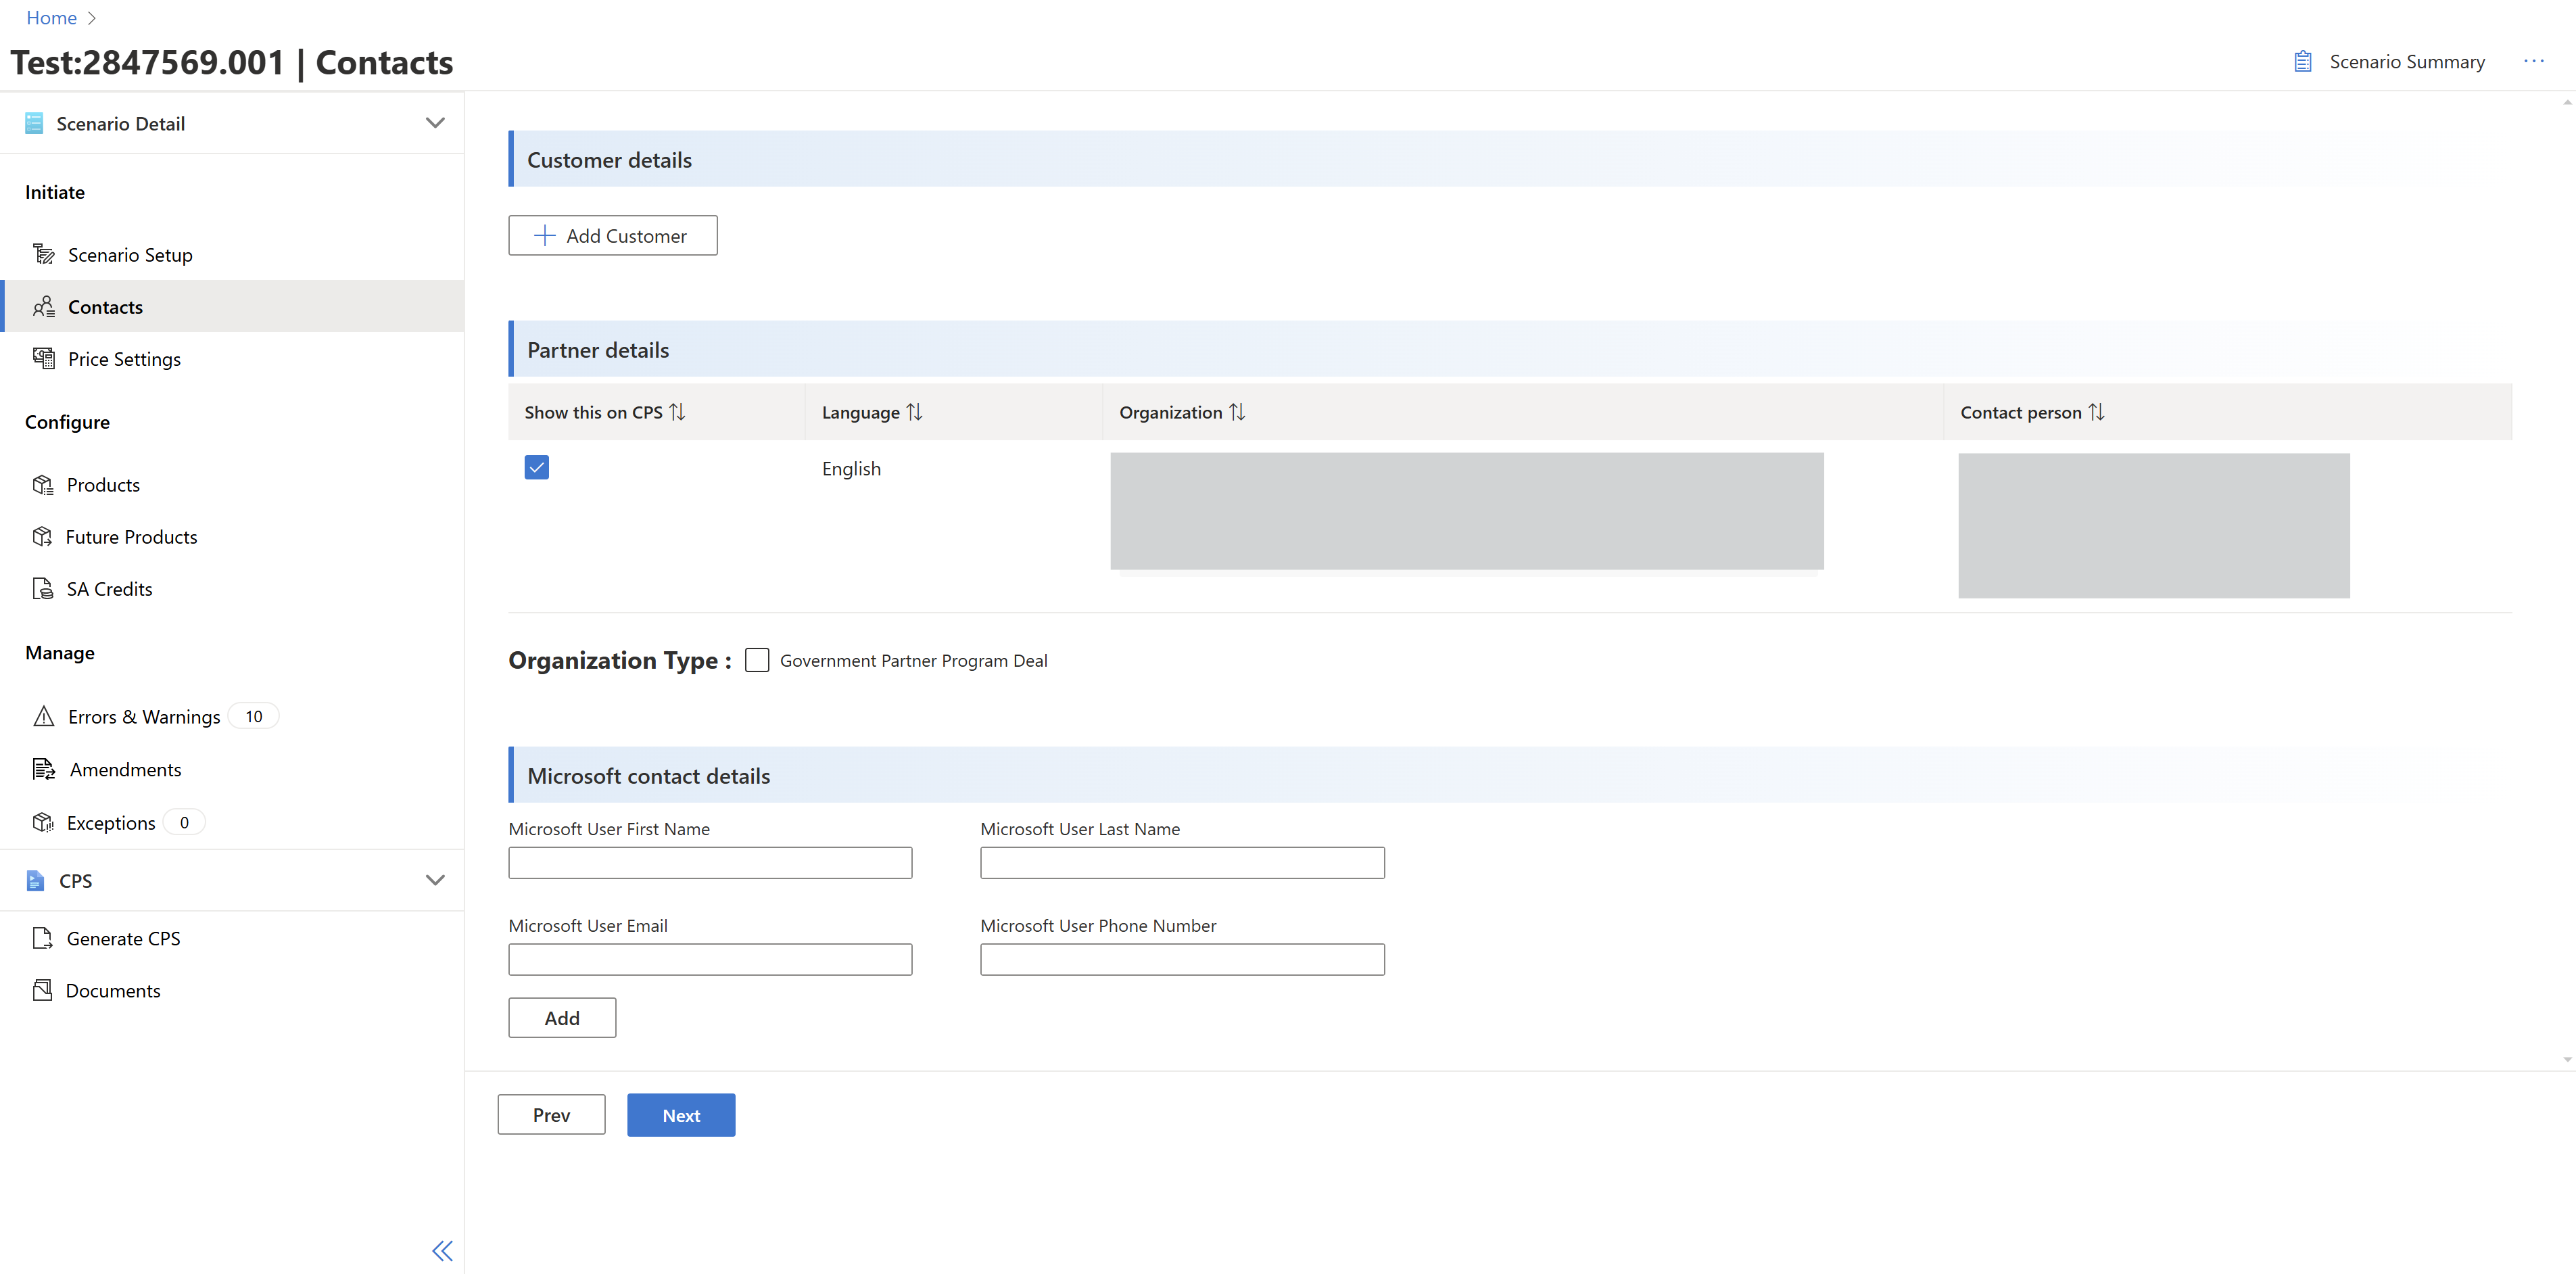
4.Click "Next".
Price settings
1.Select pricing country, licensing agreement type, currency, and channel model.

2.Enter user count and select price levels. Price levels for the corporate license agreement are locked
3.For PCE, a section to add tenants is visible. If a lead enrollment is added in the scenario, you can import all the billing enrollments associated in the scenario.
4.Click "Next" to proceed.
Products
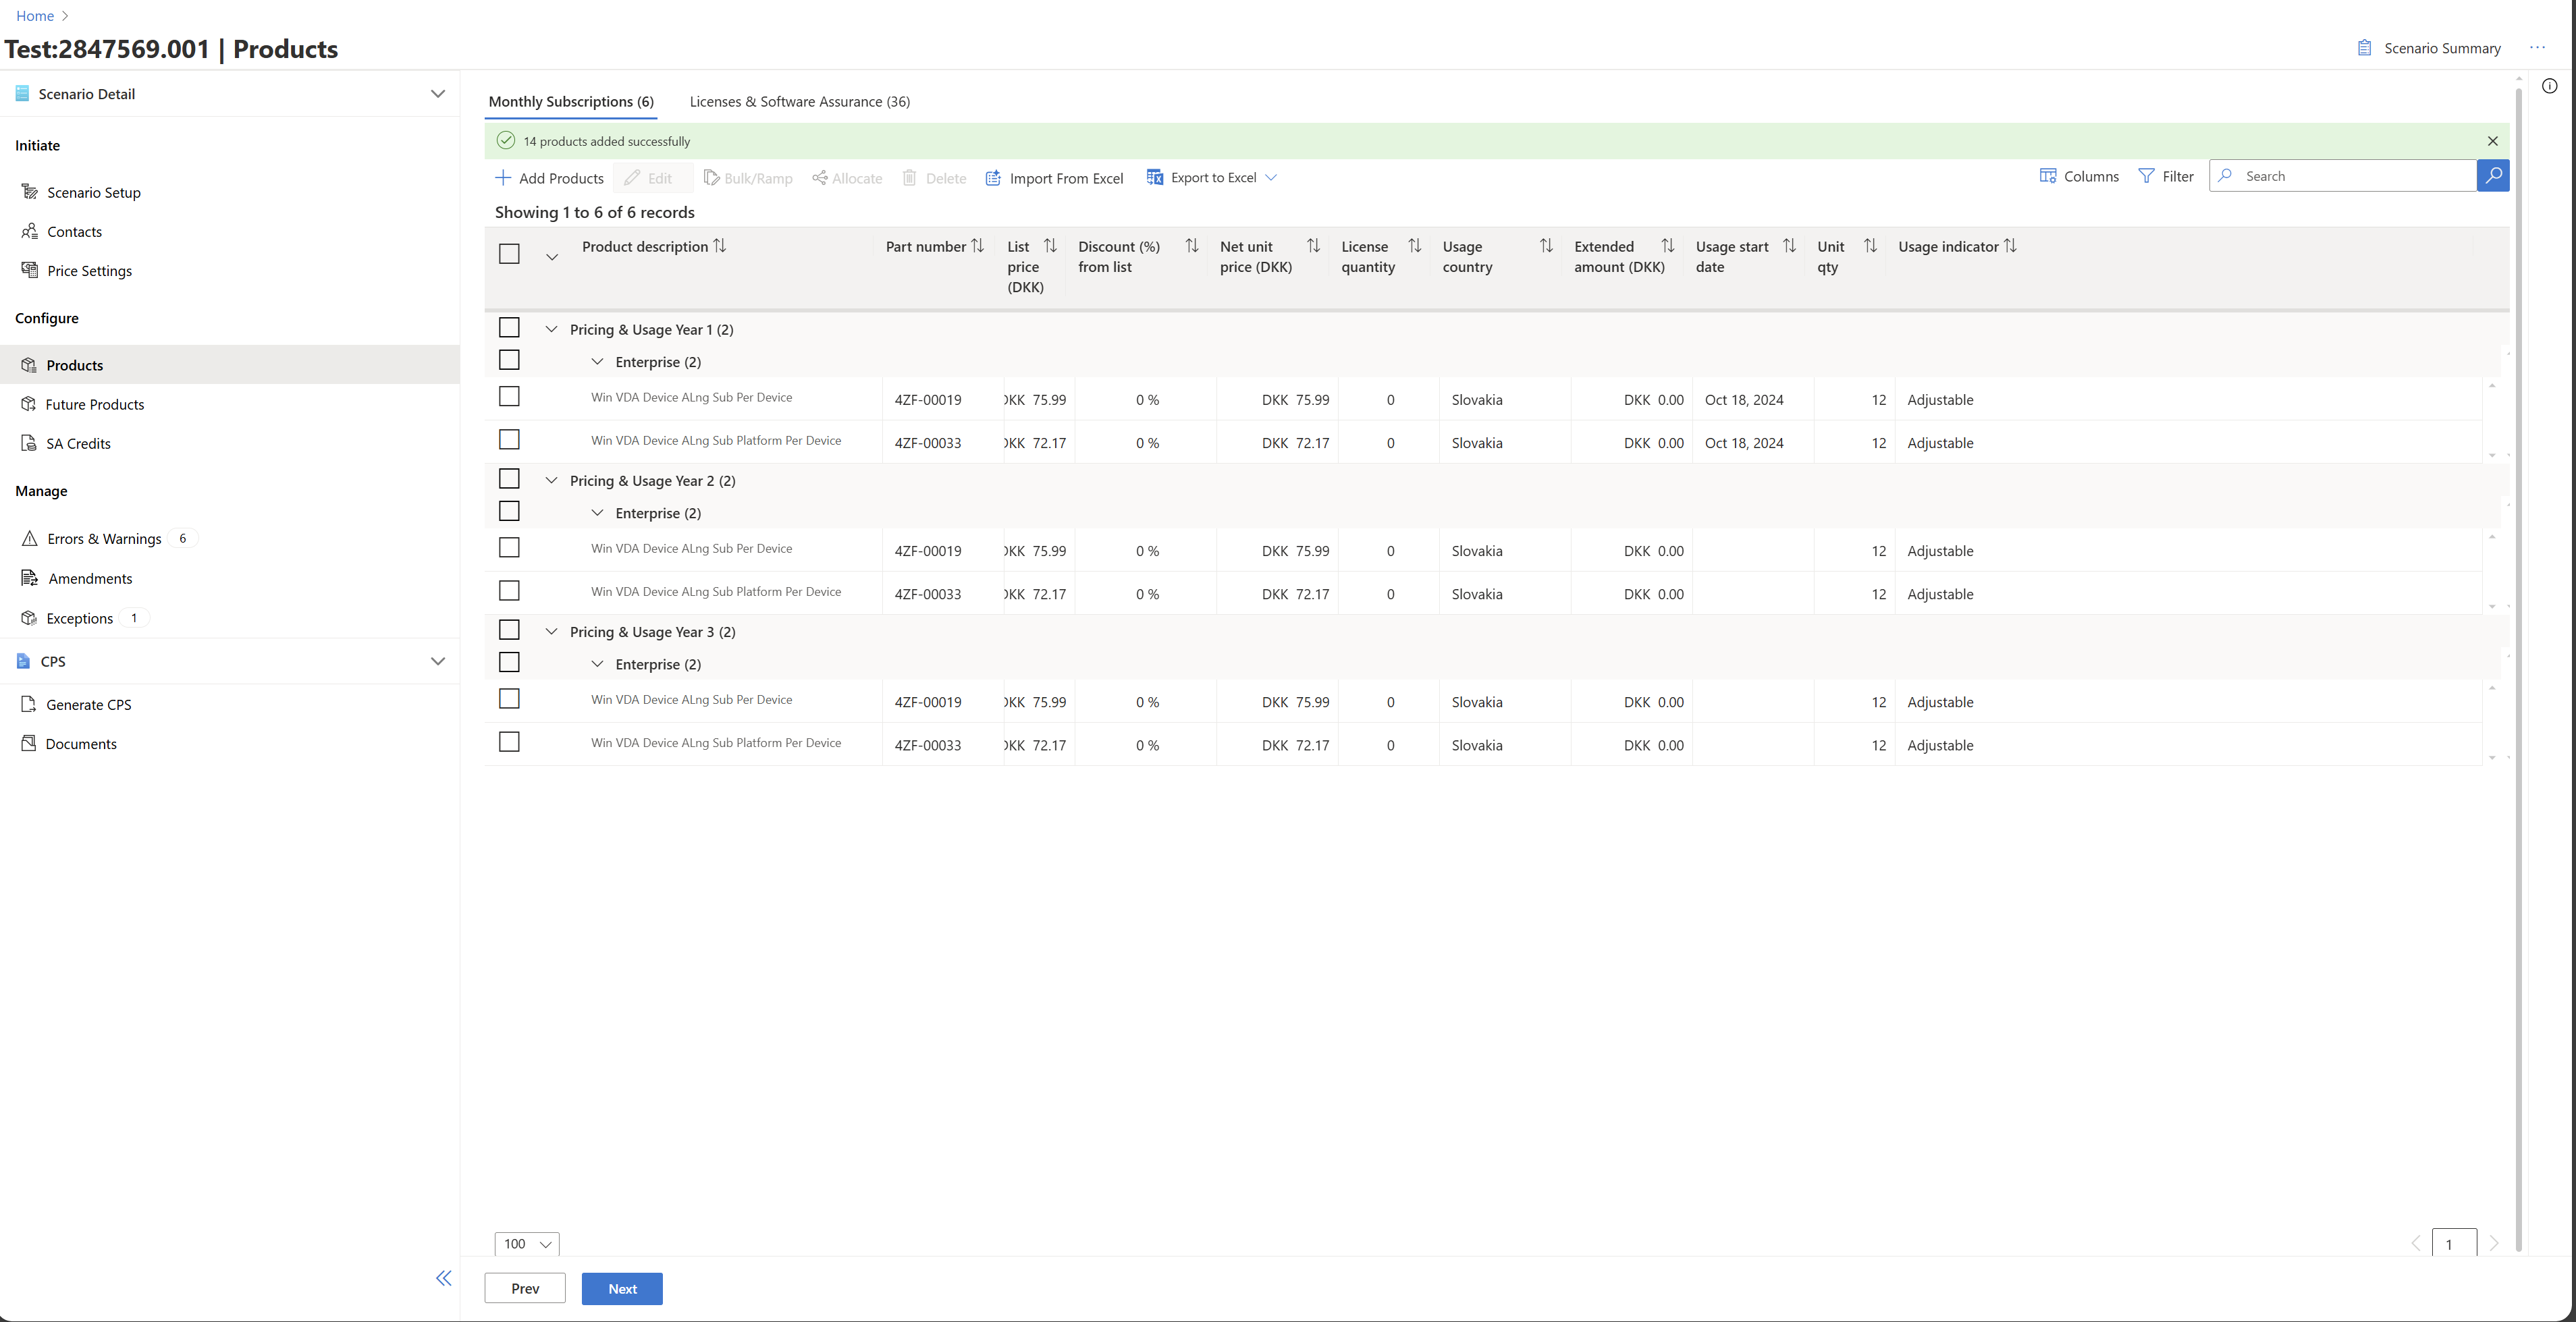
Monthly Subscriptions: The "Monthly Subscriptions" section allows you to configure and manage subscription-based products, including setting discounts and license quantities.
License and Software Assurance: This section allows you to manage and configure licenses and software assurance products that you want to include in your deal.
1.You're now on the page to add Product SKUs/Part Numbers which you want to buy for the customer from Microsoft.
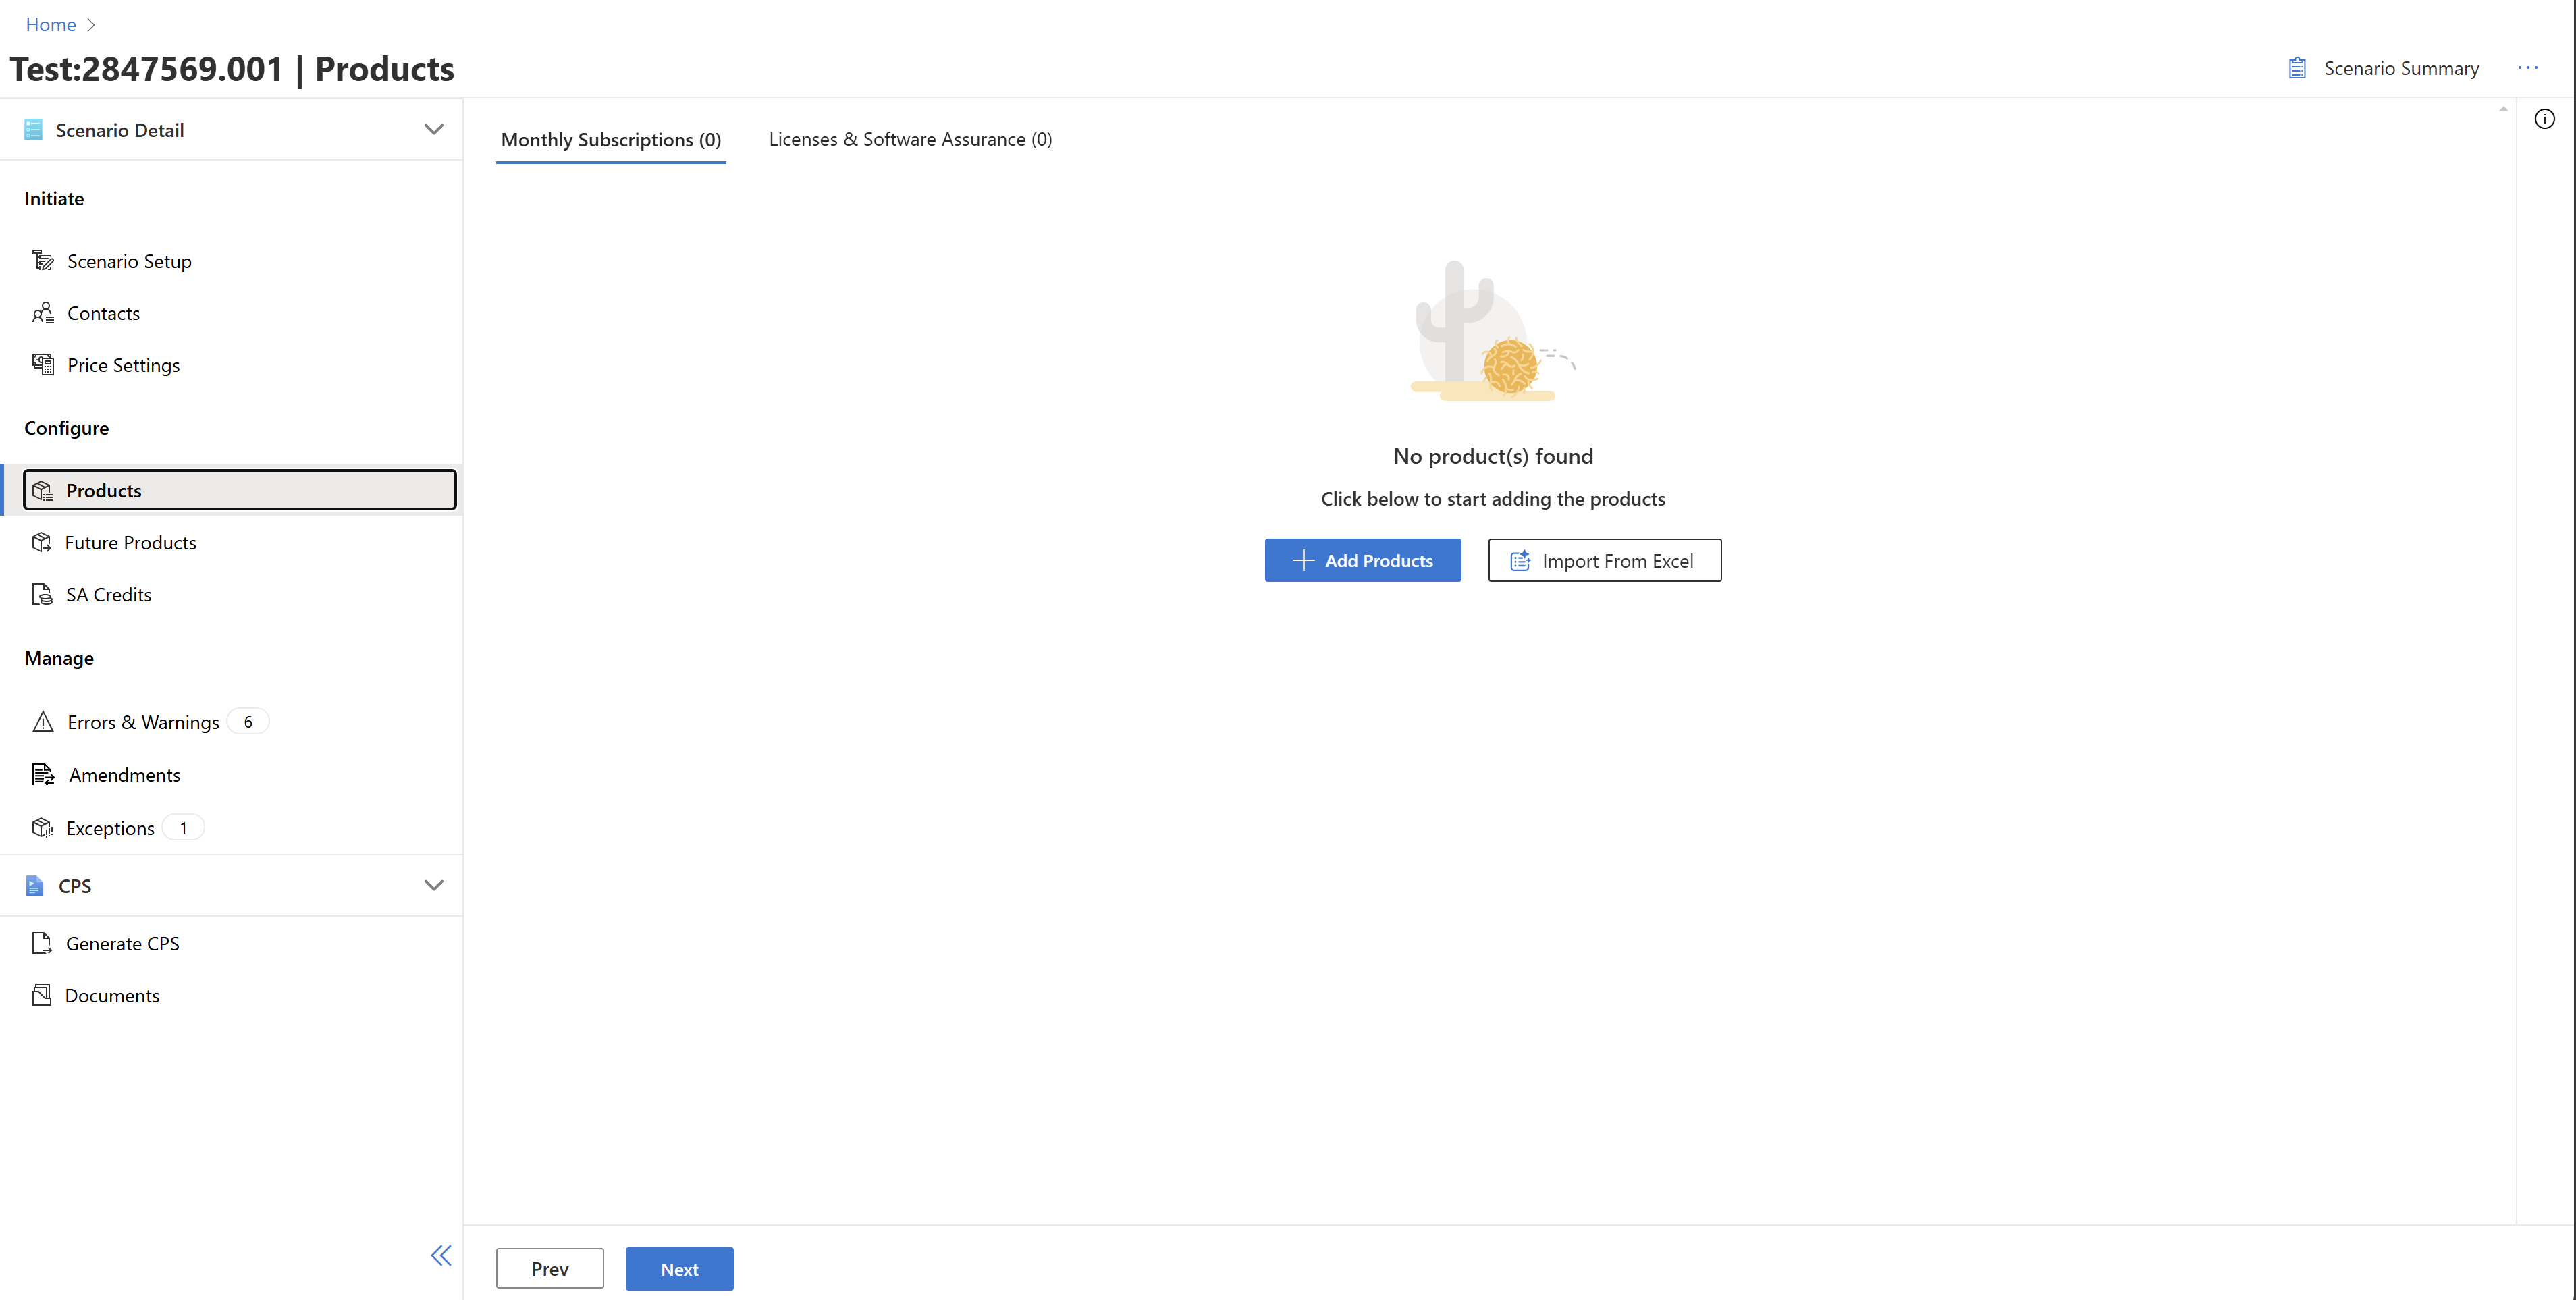
2.Click "Add Products" and select the type of products you want to add.

3.Based on your selection, you are able to see a list of products.
4.Select the relevant products you want to add.
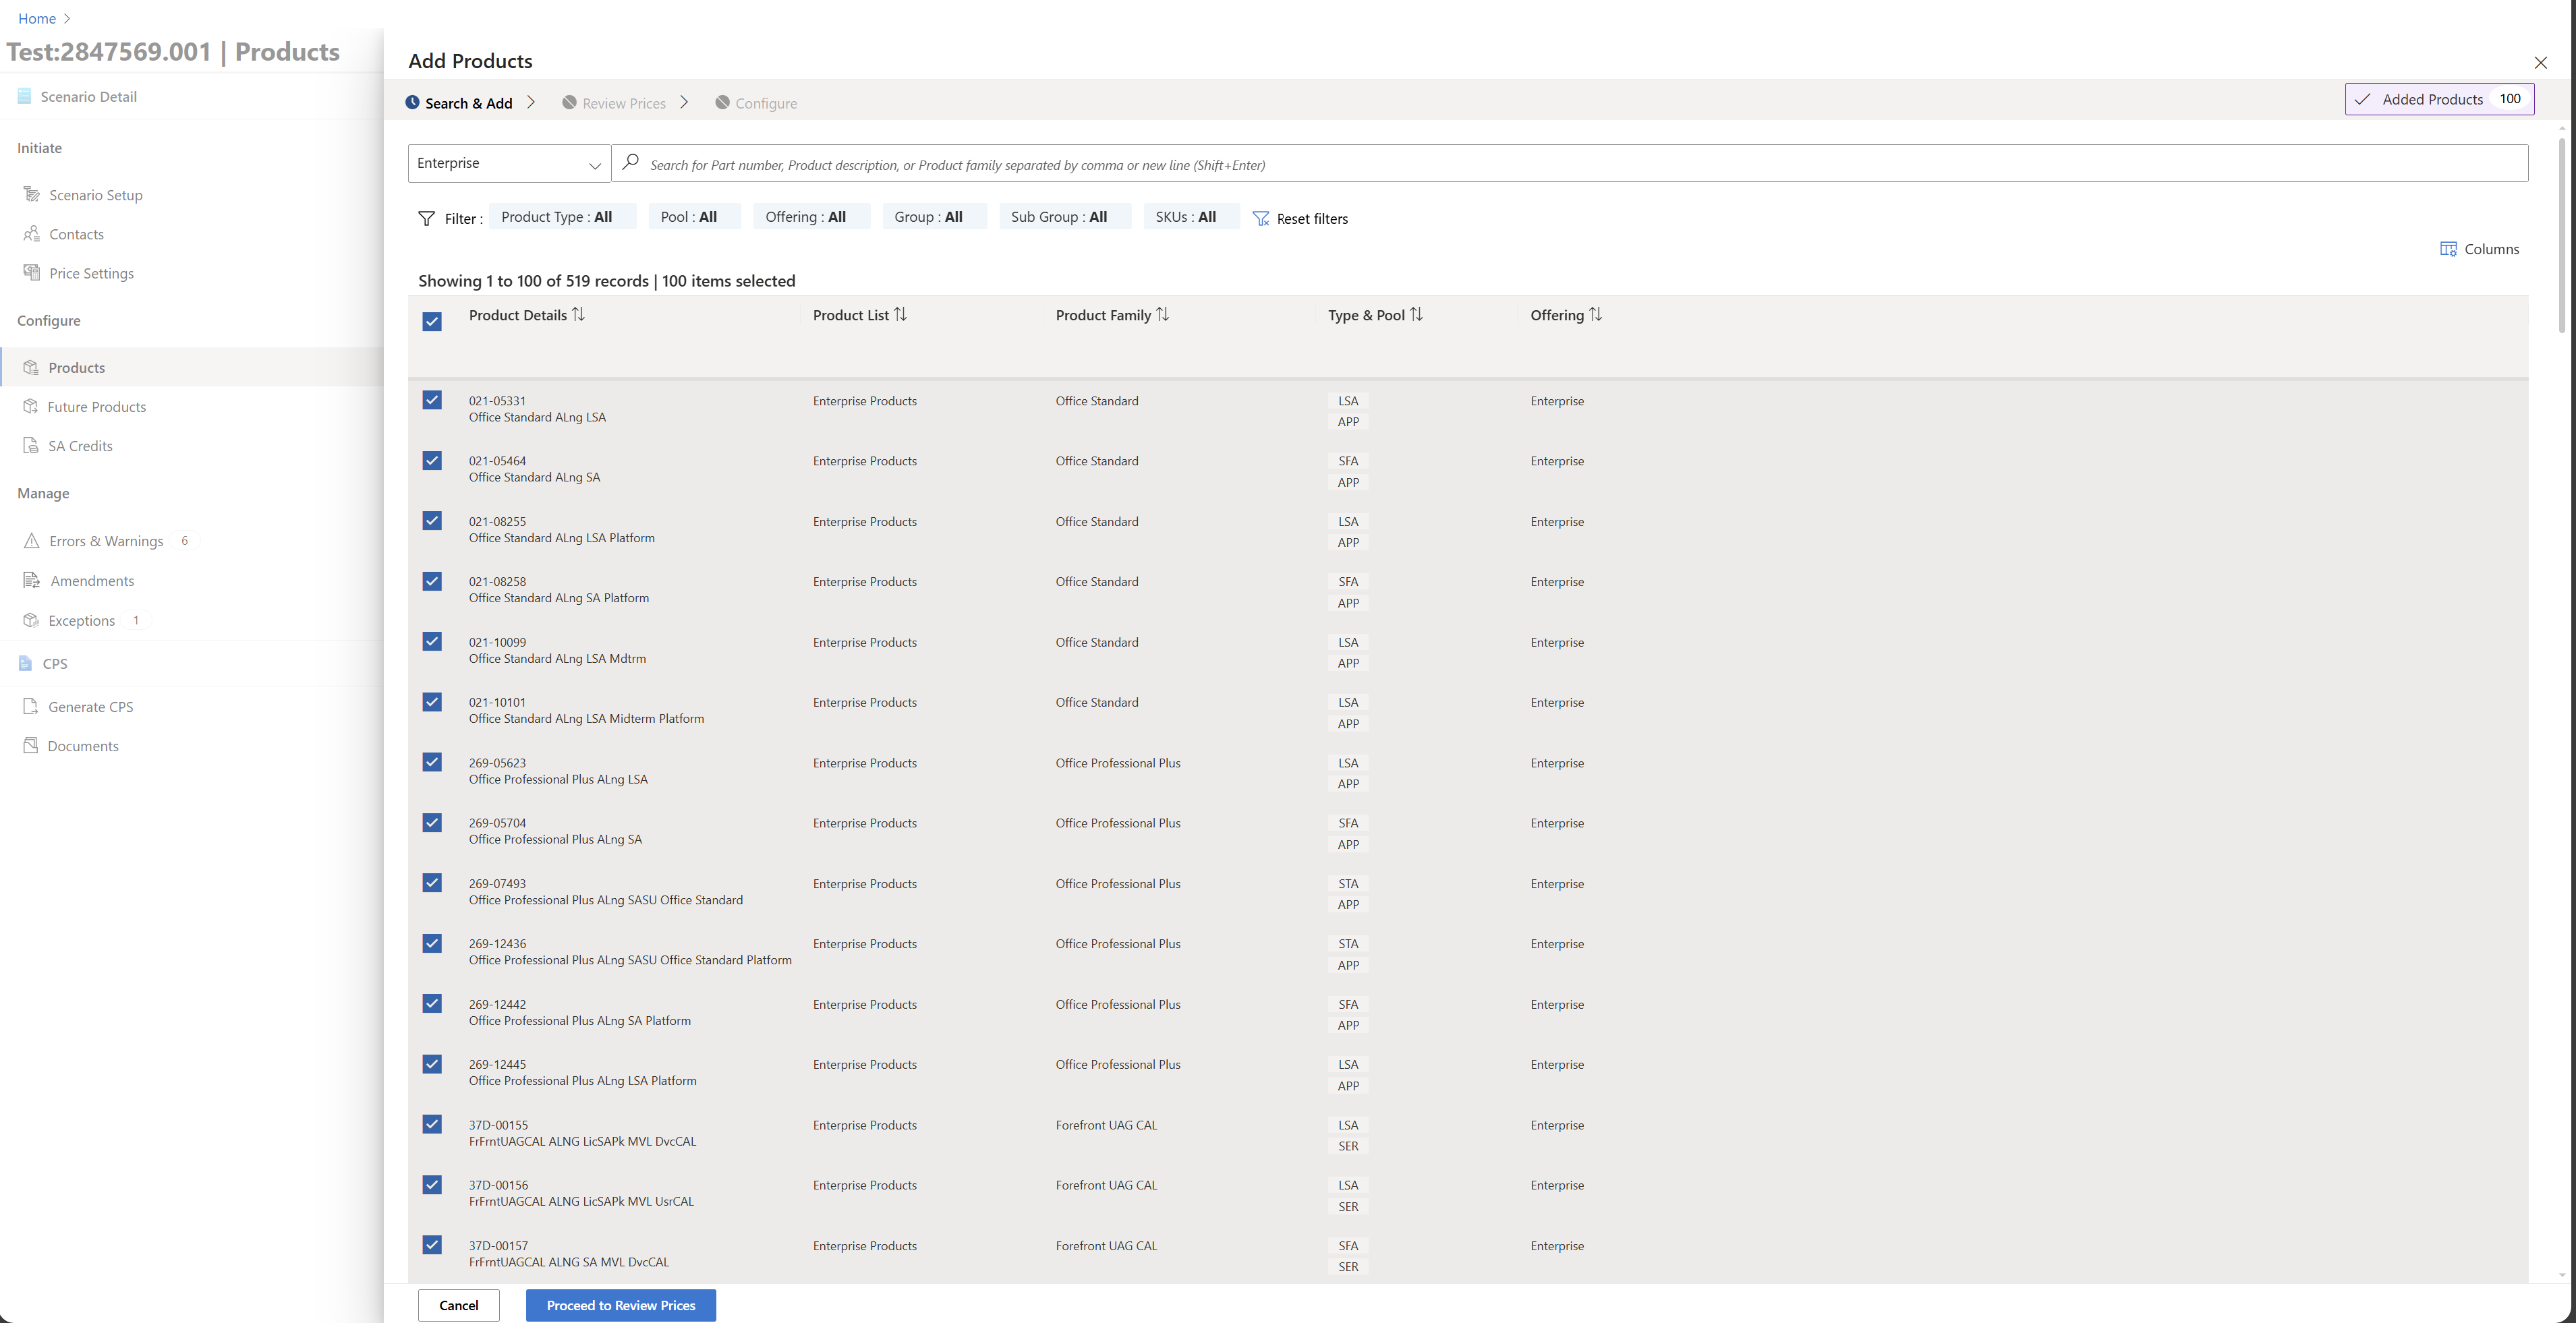
5.Review and configure selected products with price levels & list price.
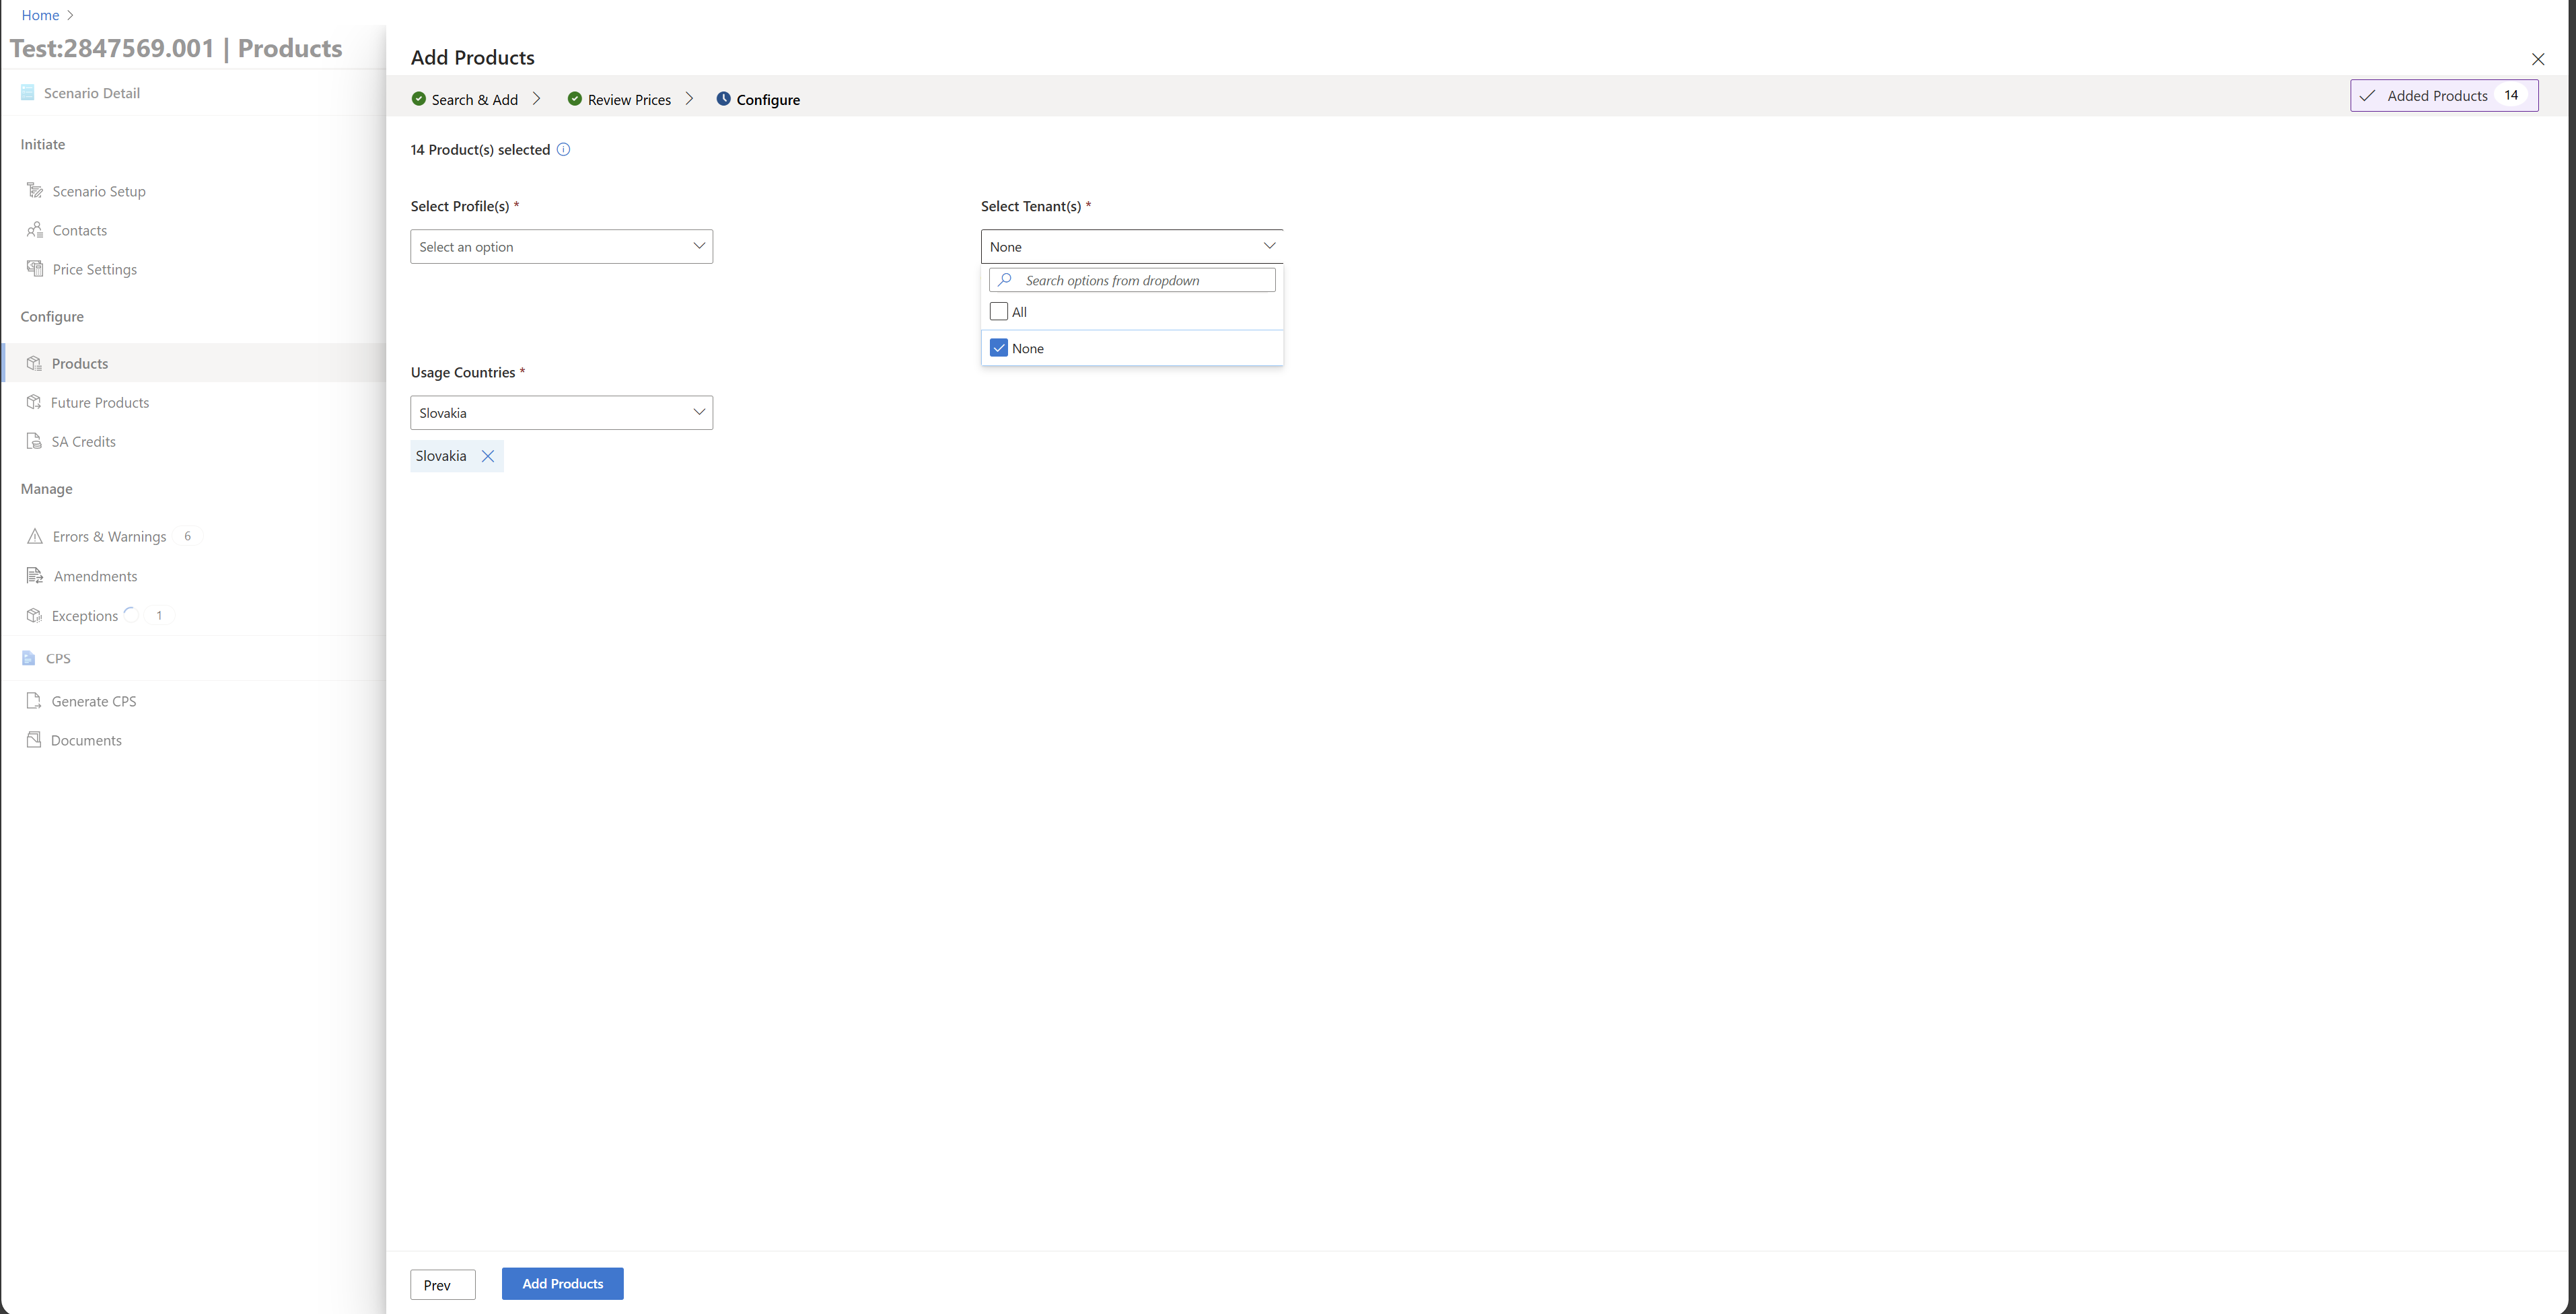
6.Click on Allocate to specify tenants, if added in the Price Settings page.
7.You're able to view the added products.
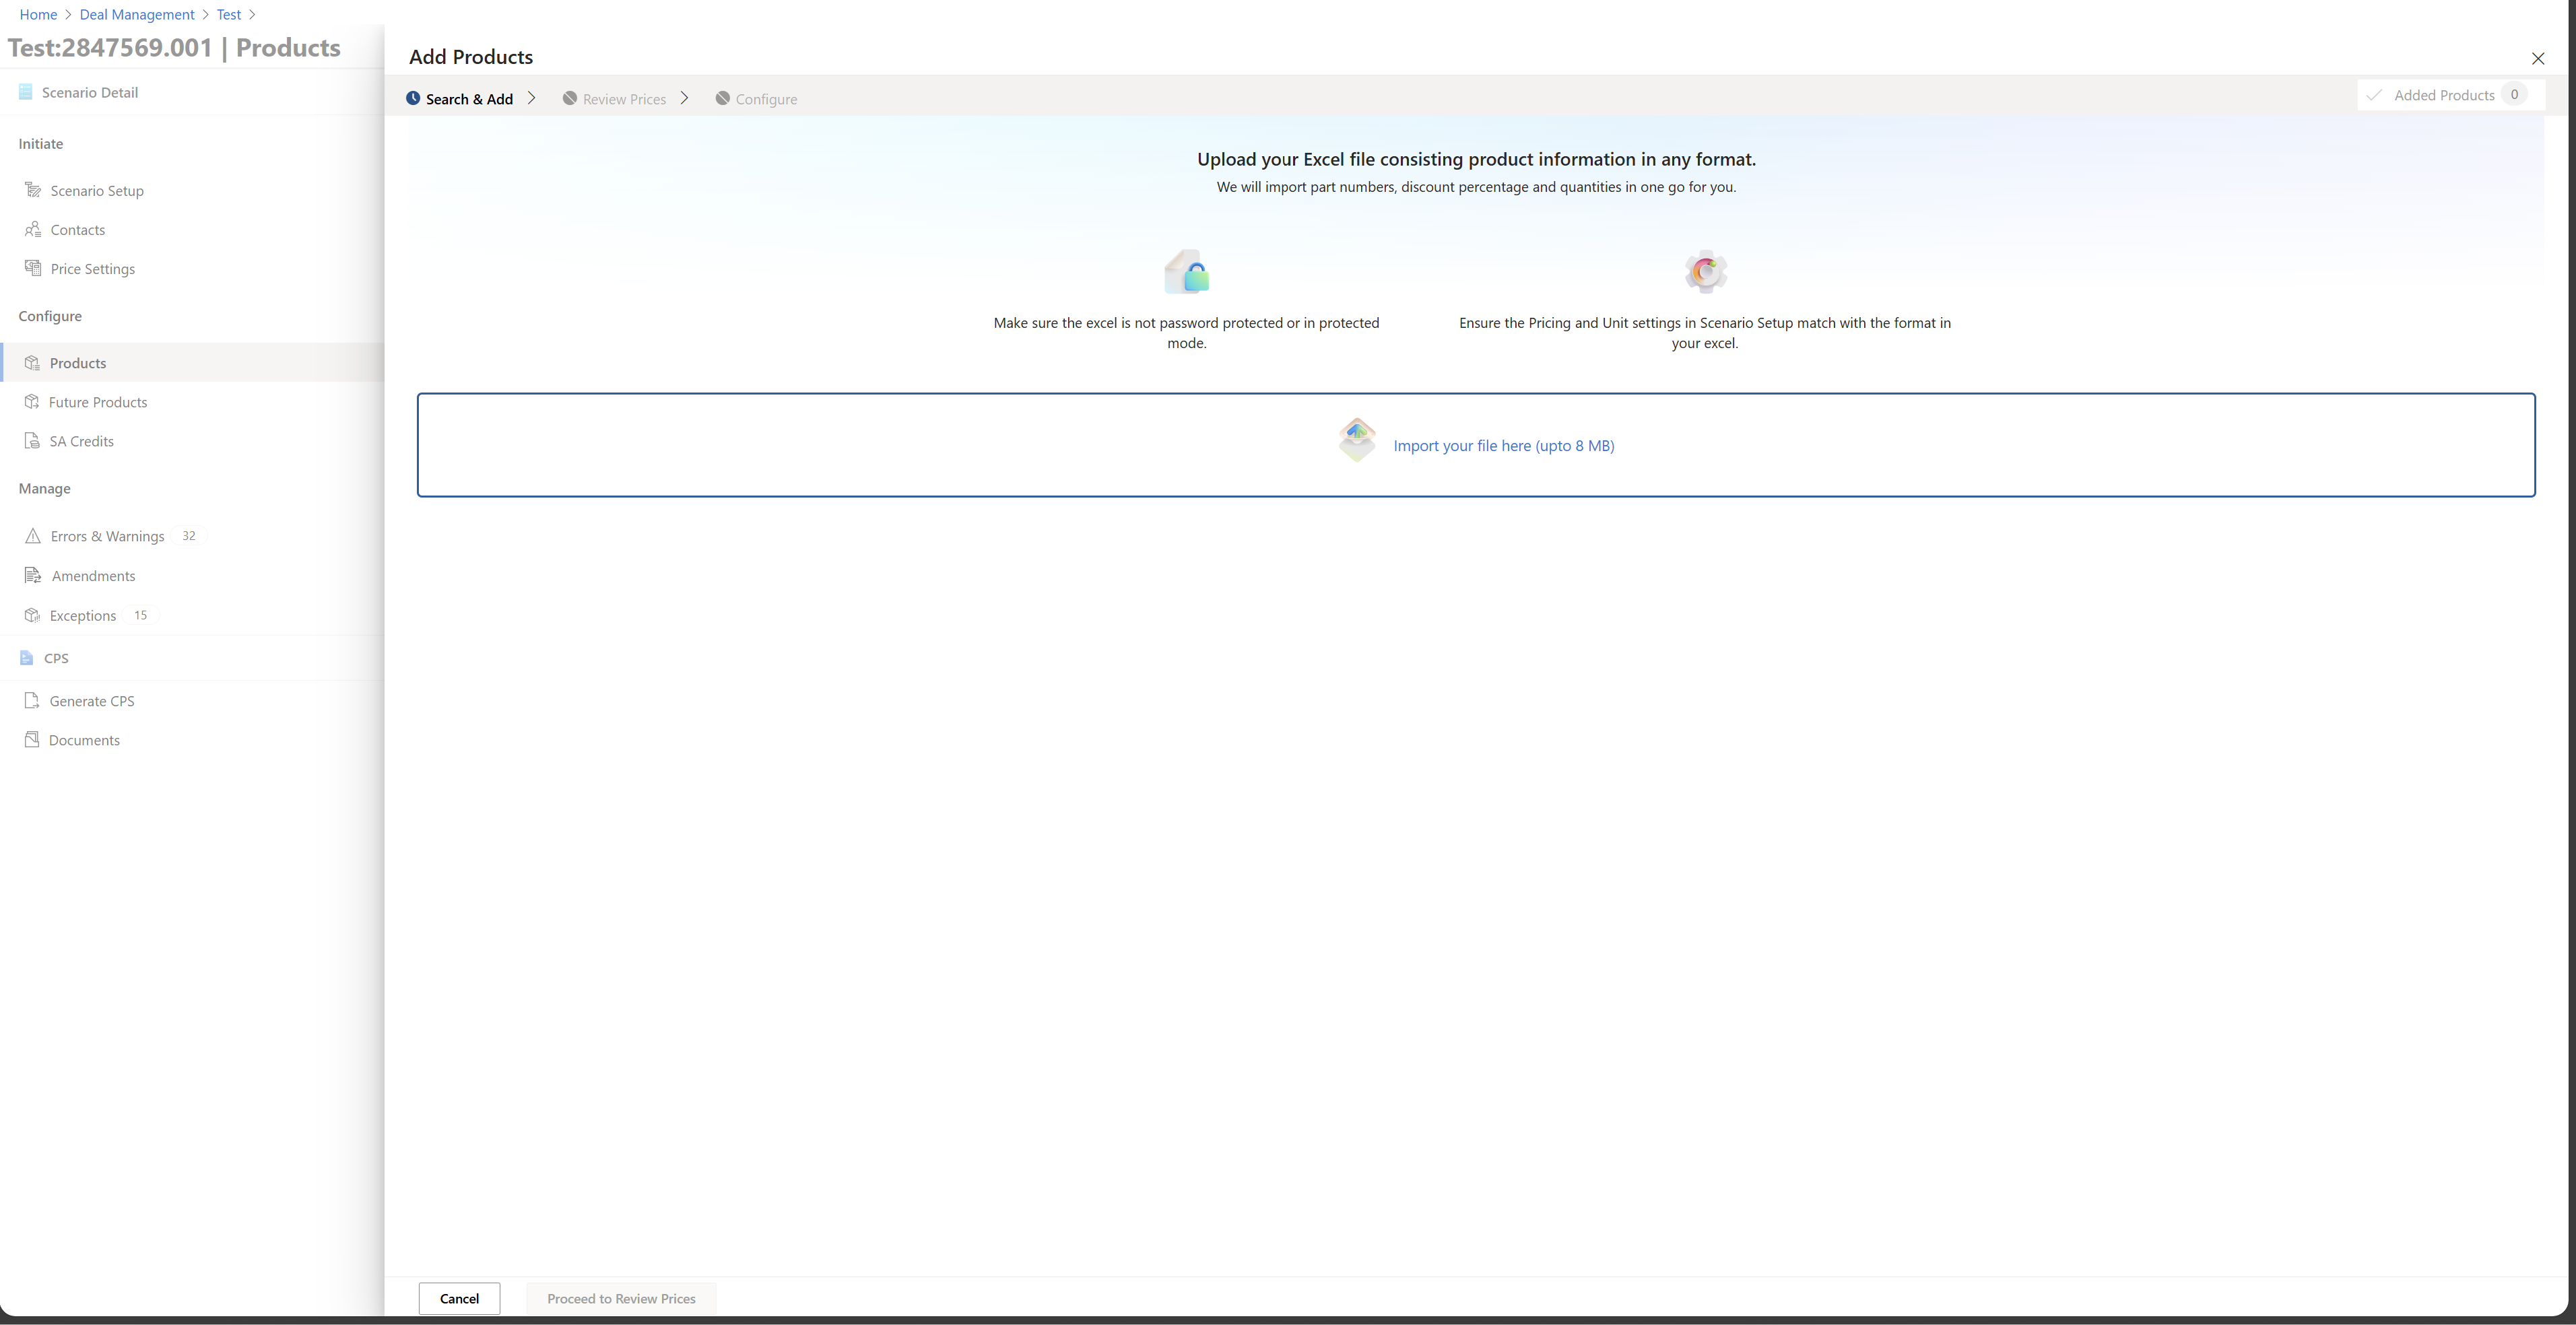
8.You can also add products via “Import from Excel” option on top. Ensure you have part number, quantity, discount & additional information in the excel you import.
9.Click "Save" and then "Next".
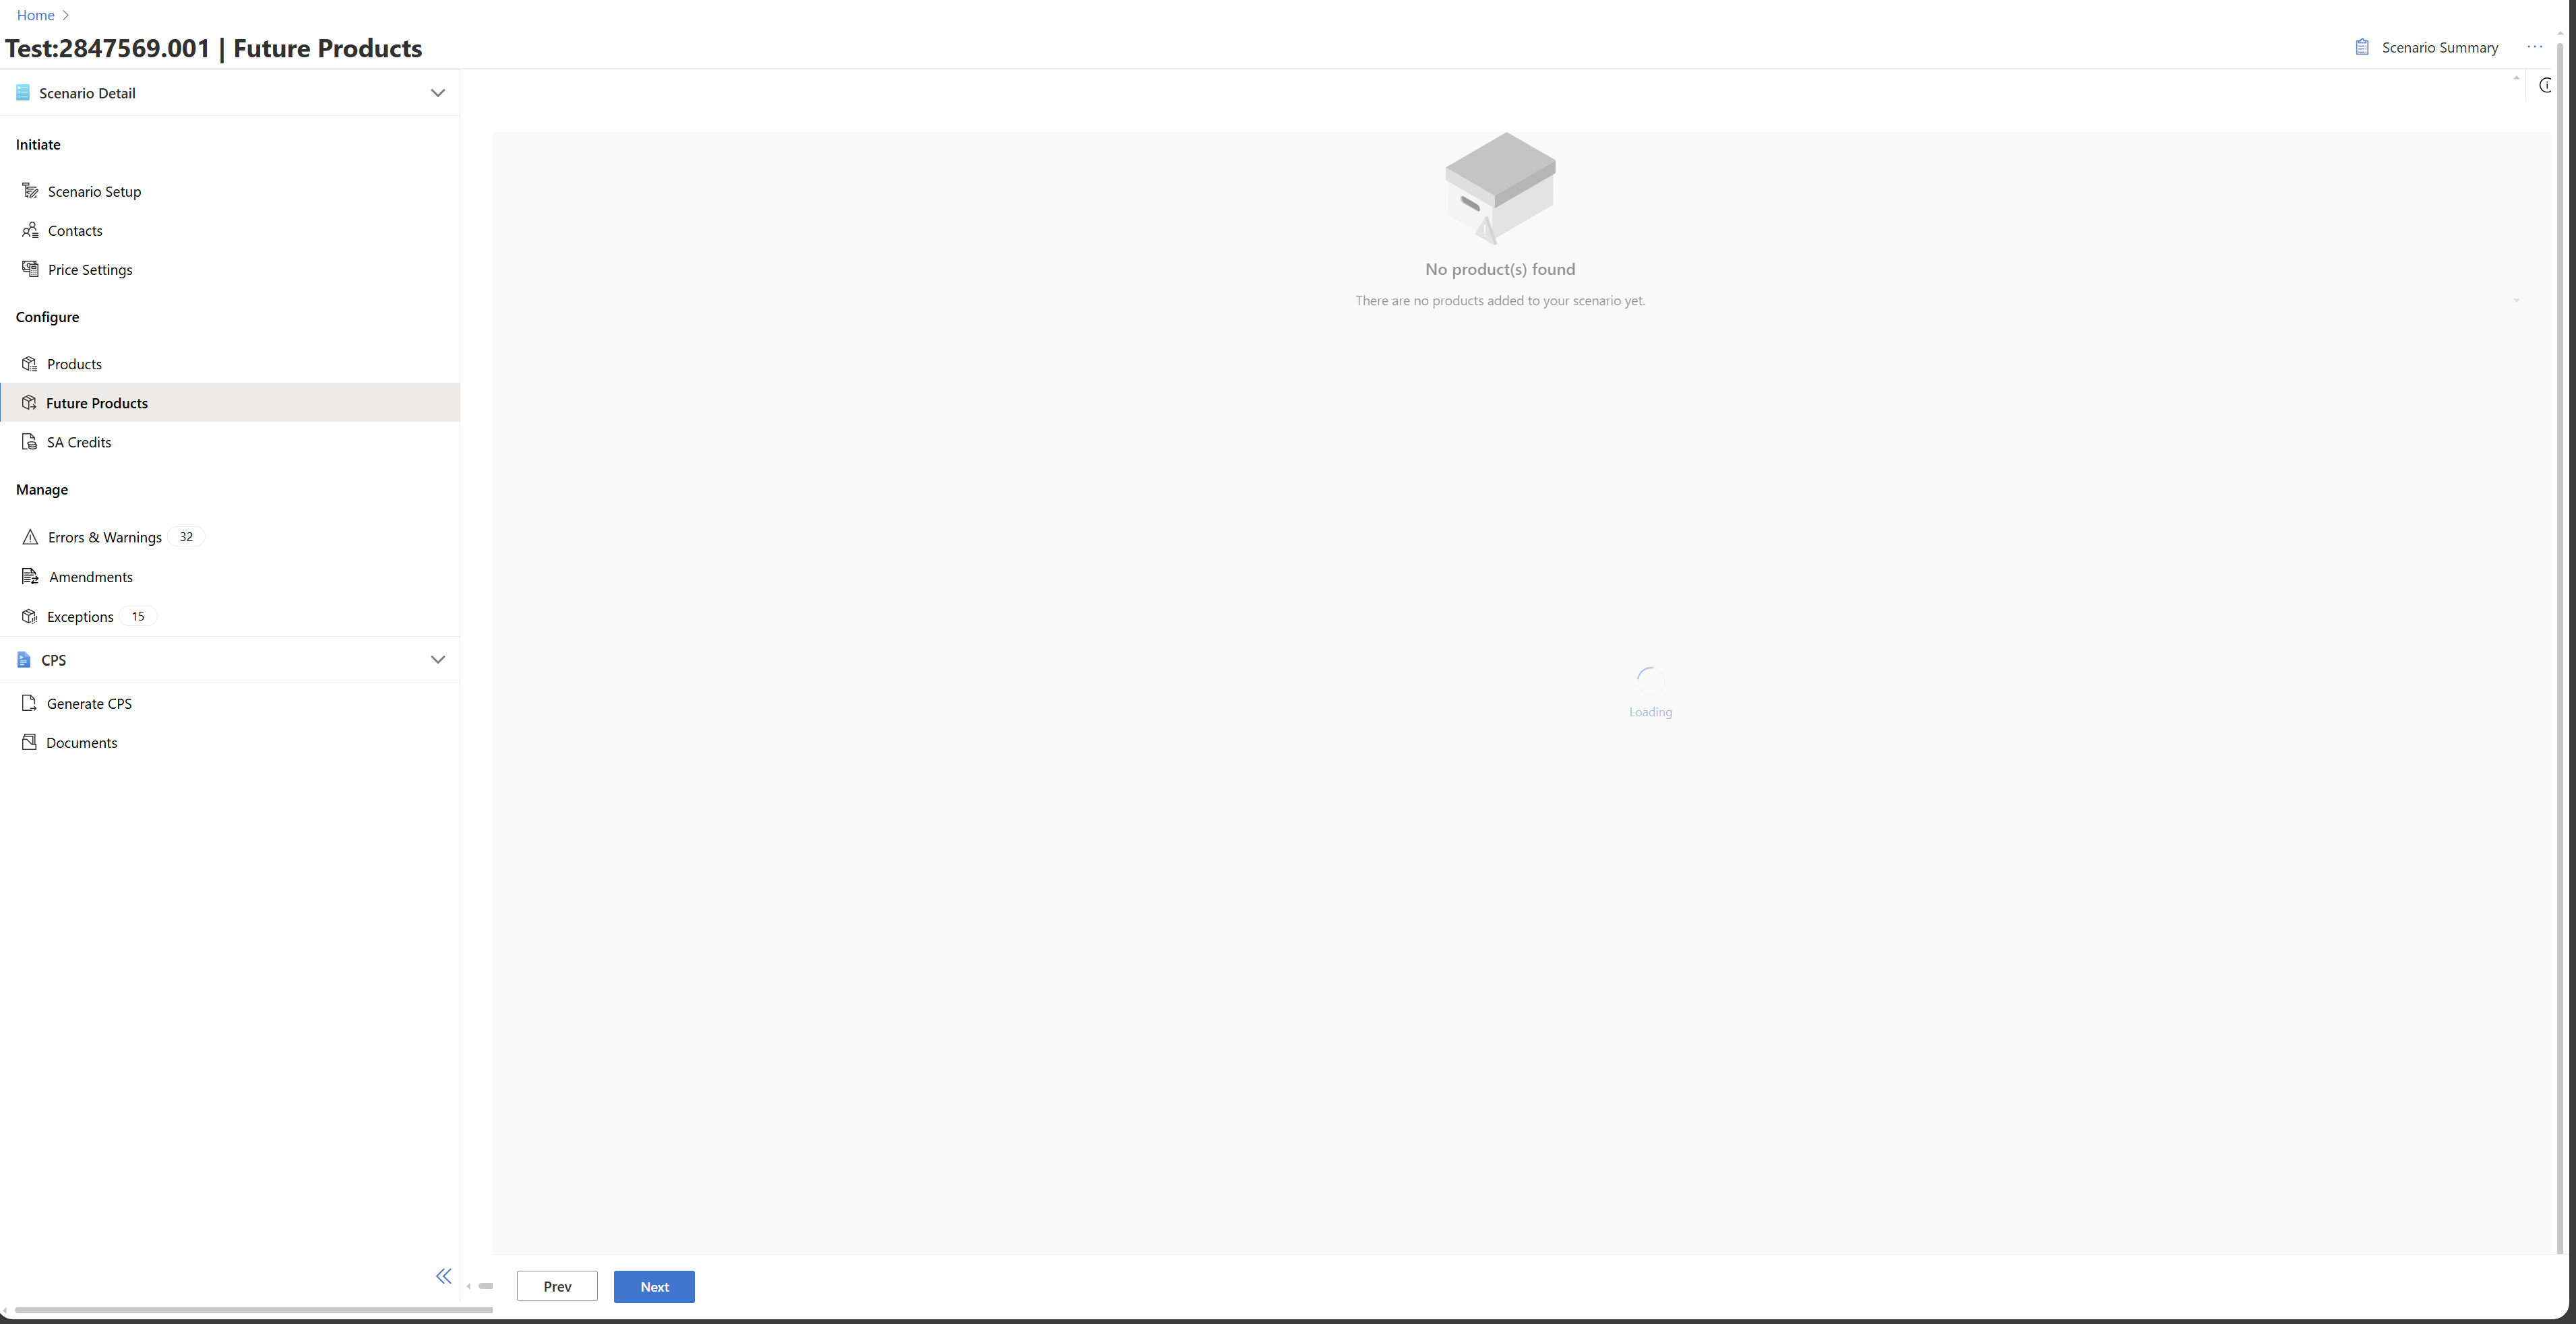
Future products
The "Future Products" section displays additional products that may be relevant to the deal but are not editable within the grid. This section allows you to view the net price and estimated retail price of these products, but you cannot make changes to them. The primary purpose is to provide visibility into potential future offerings as part of the deal.
SA Credits
1.Add enrollment number if applicable.
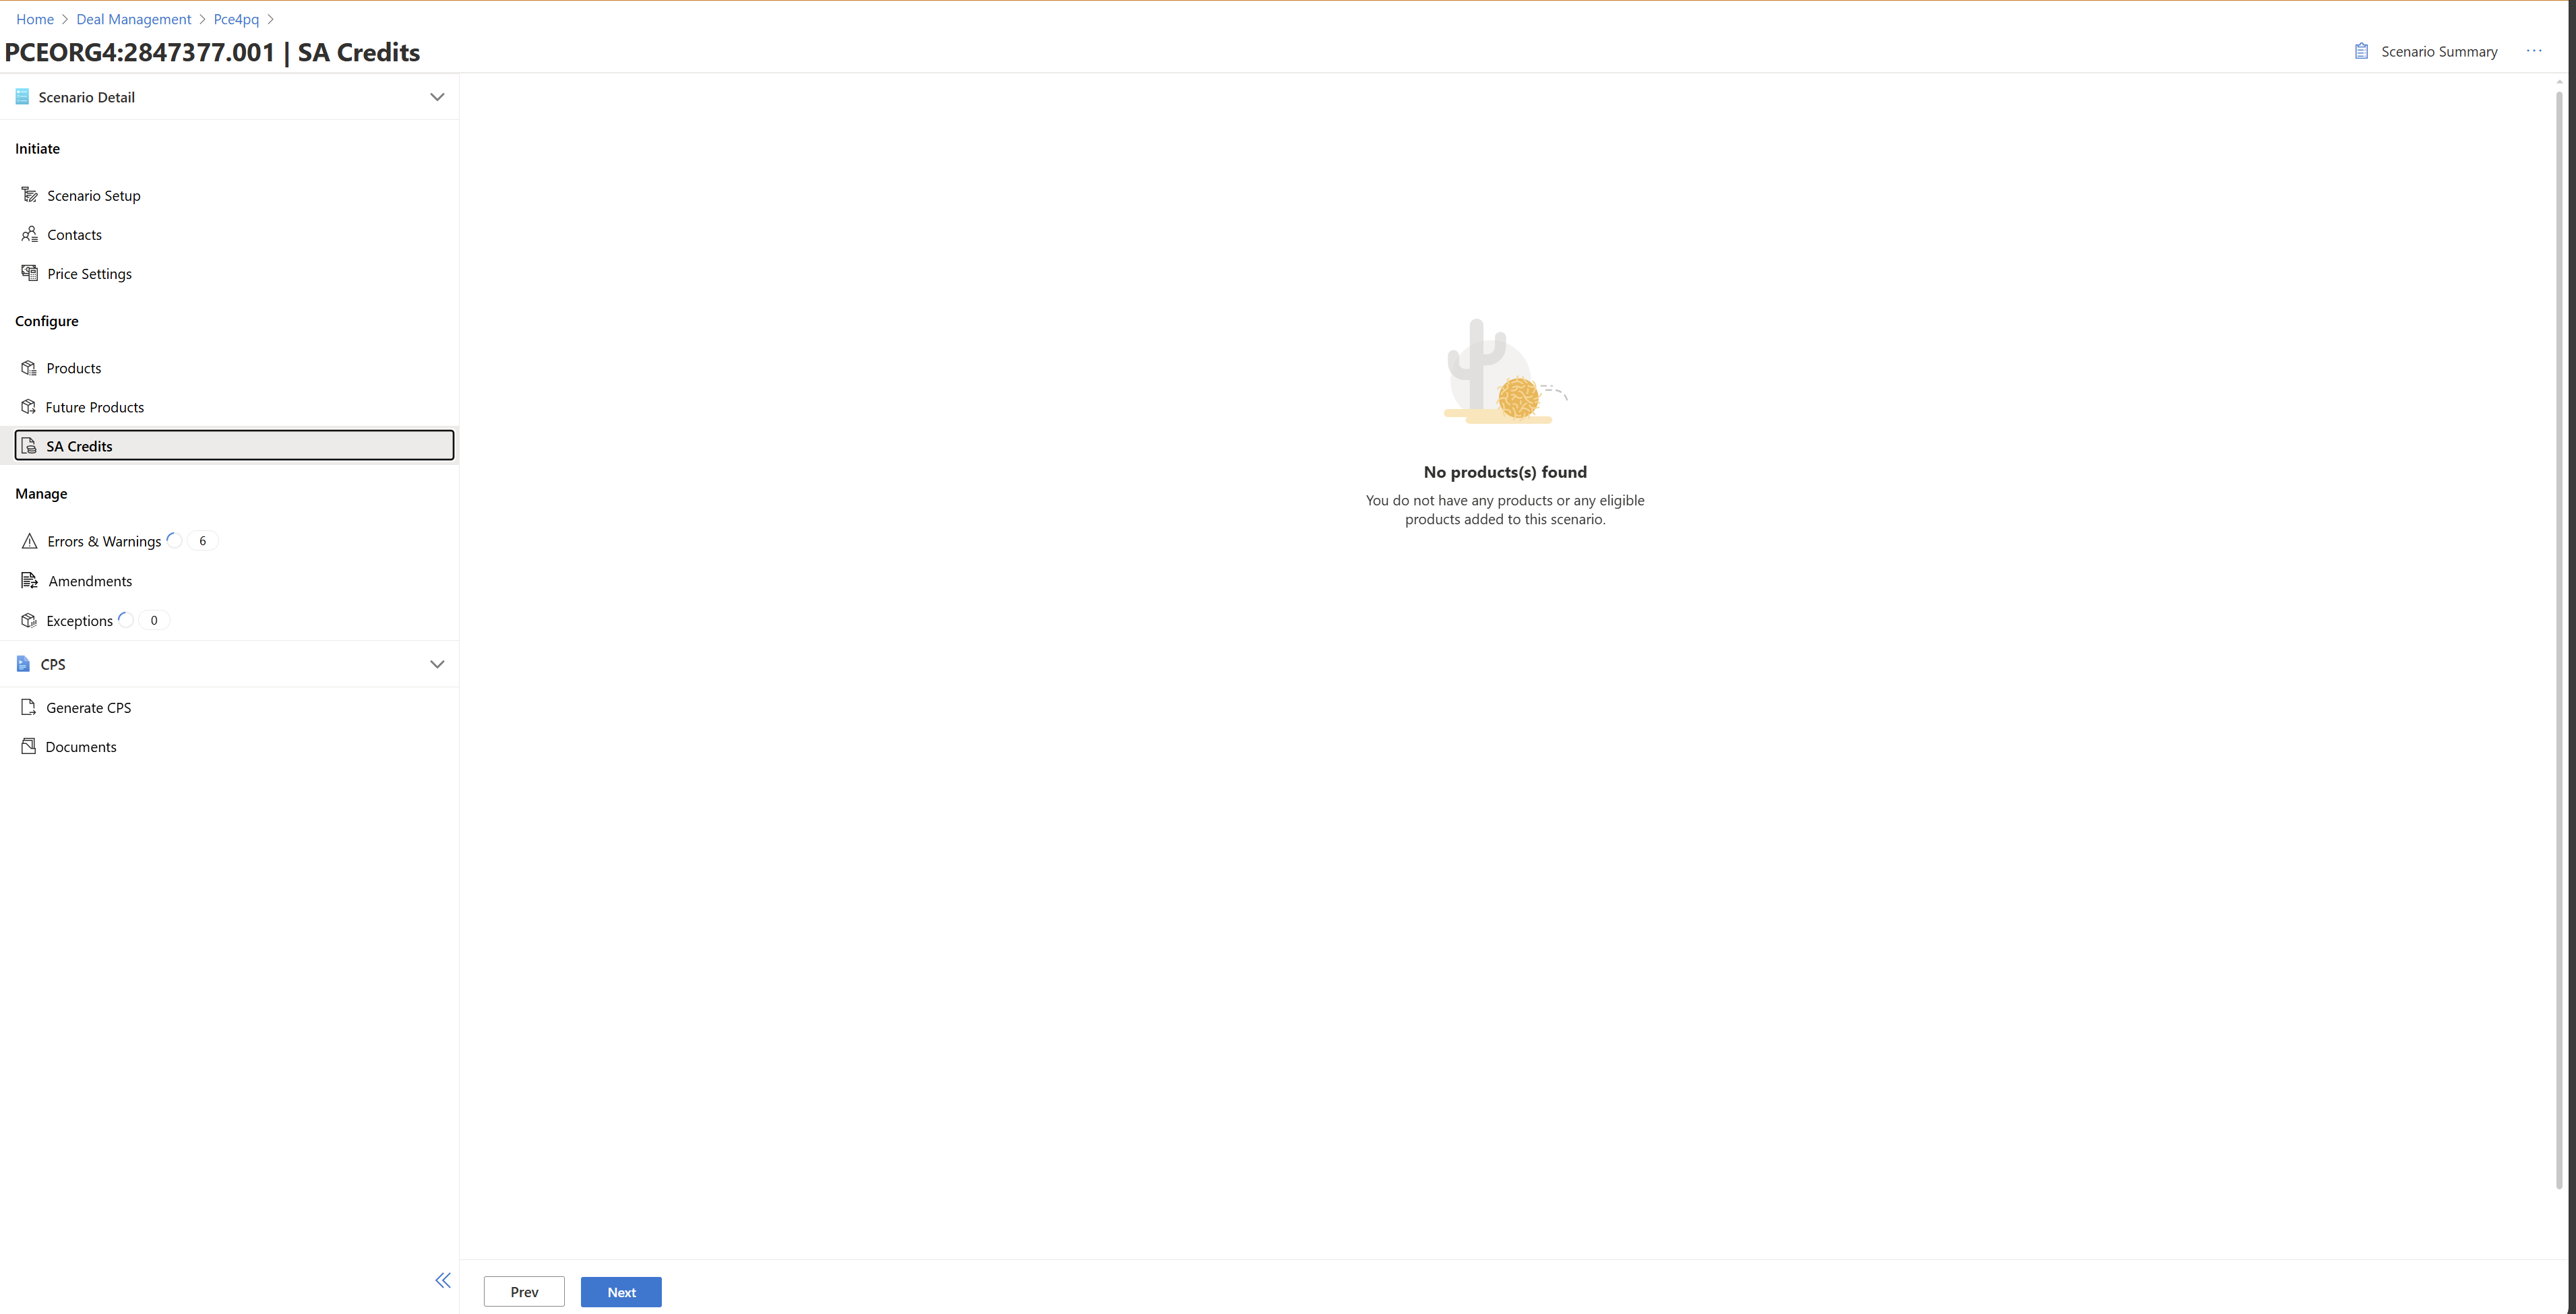
2.If credits are available, they're autopopulated.
3.Click "Next".
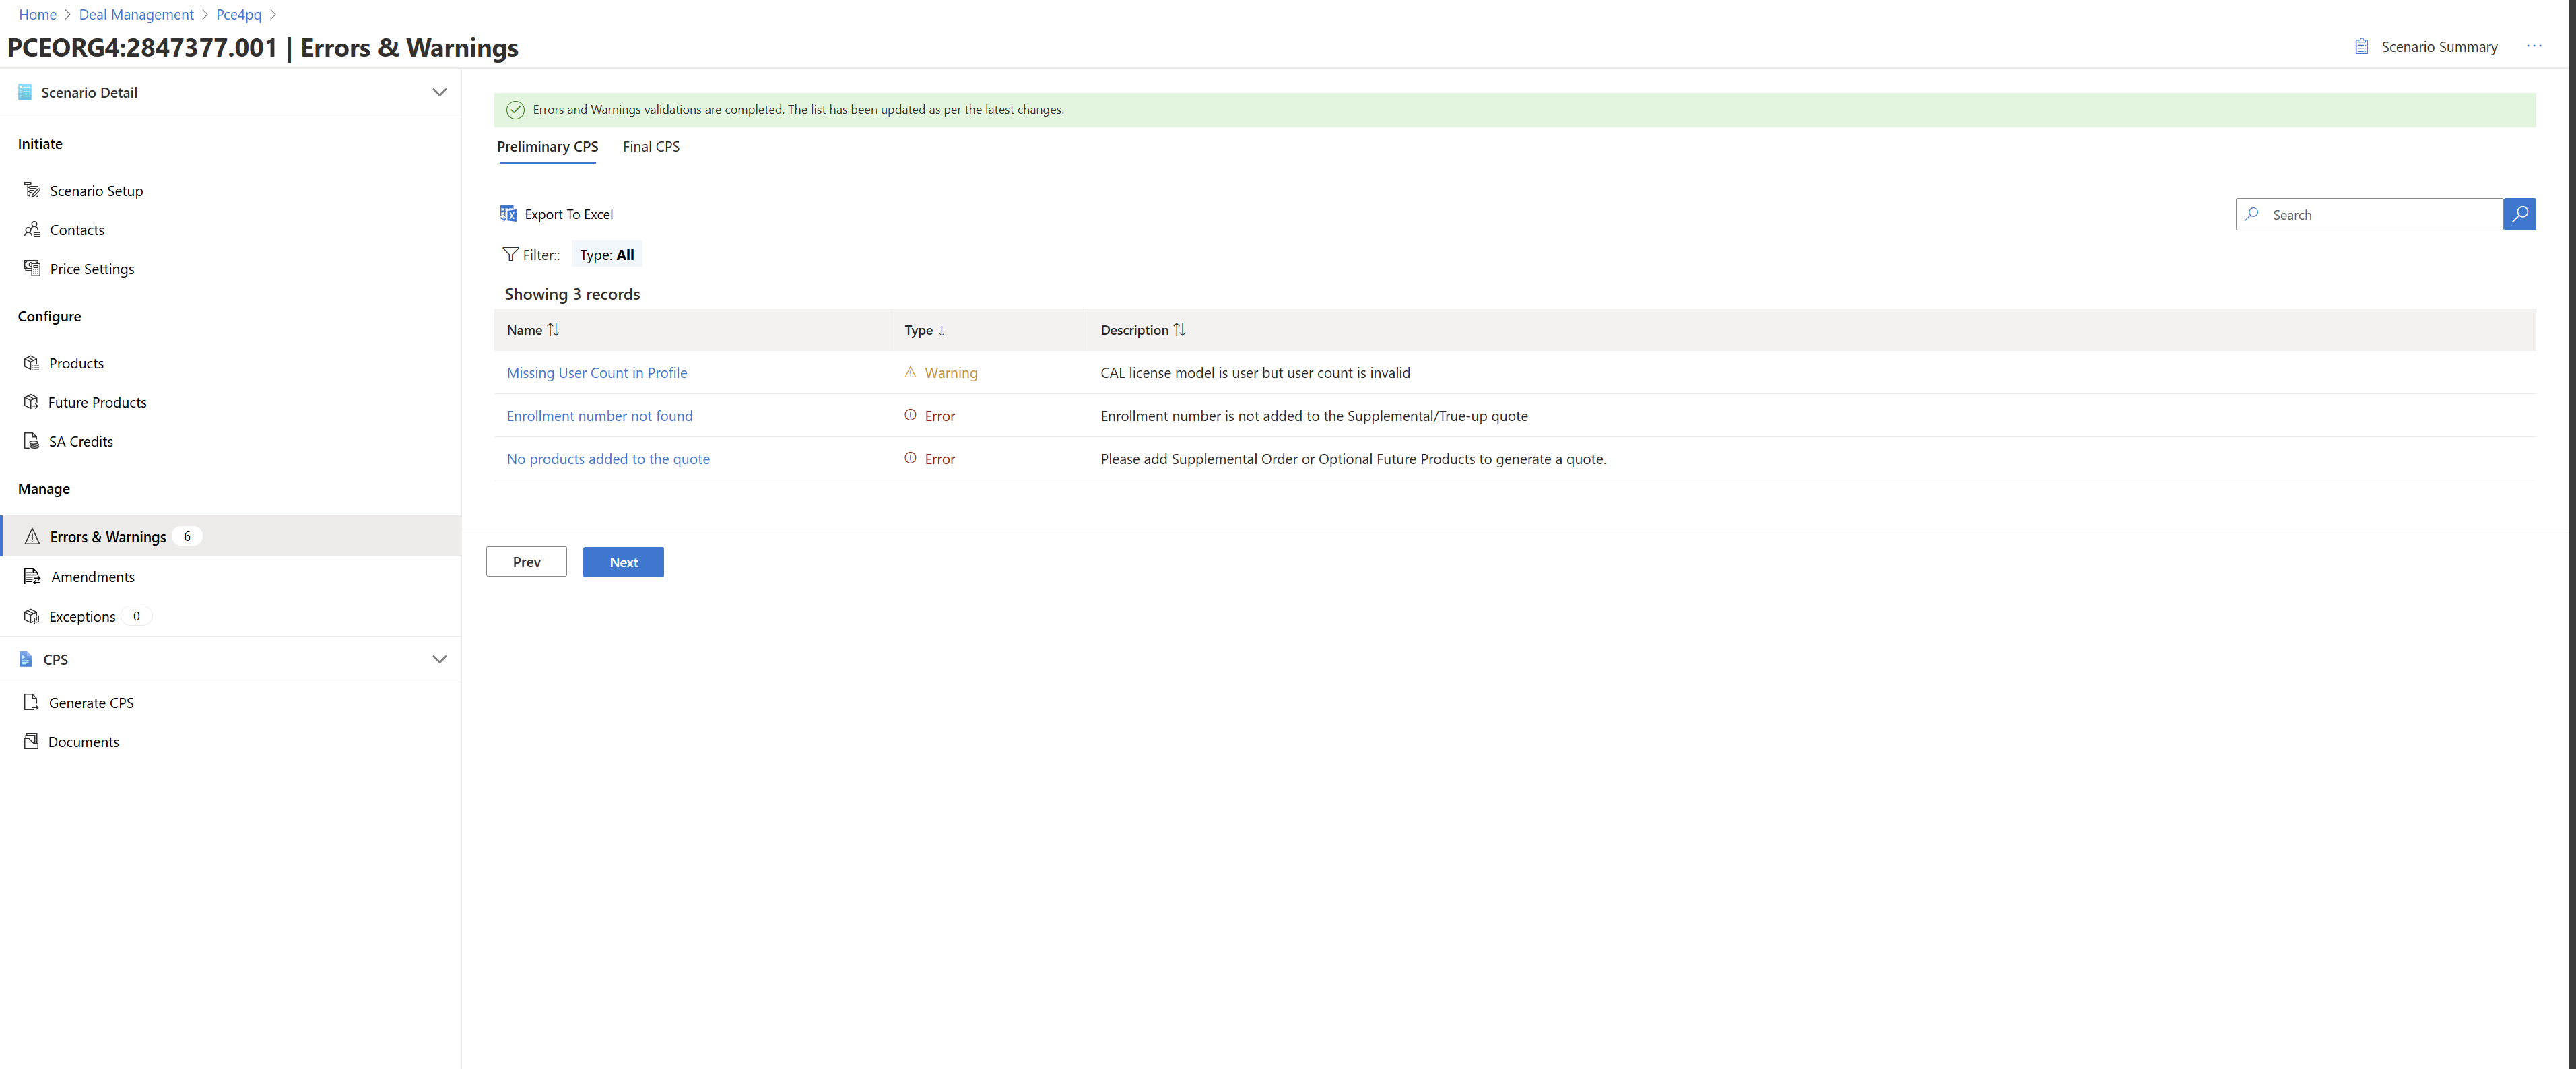
Error & Warnings
1.In this section, review and address any errors and/or warnings that appear.
2.You should address the errors mandatorily to proceed for CPS generation.
Amendments
1.Upload amendments if necessary.
2.Only PCE users have visibility to the amendments section.
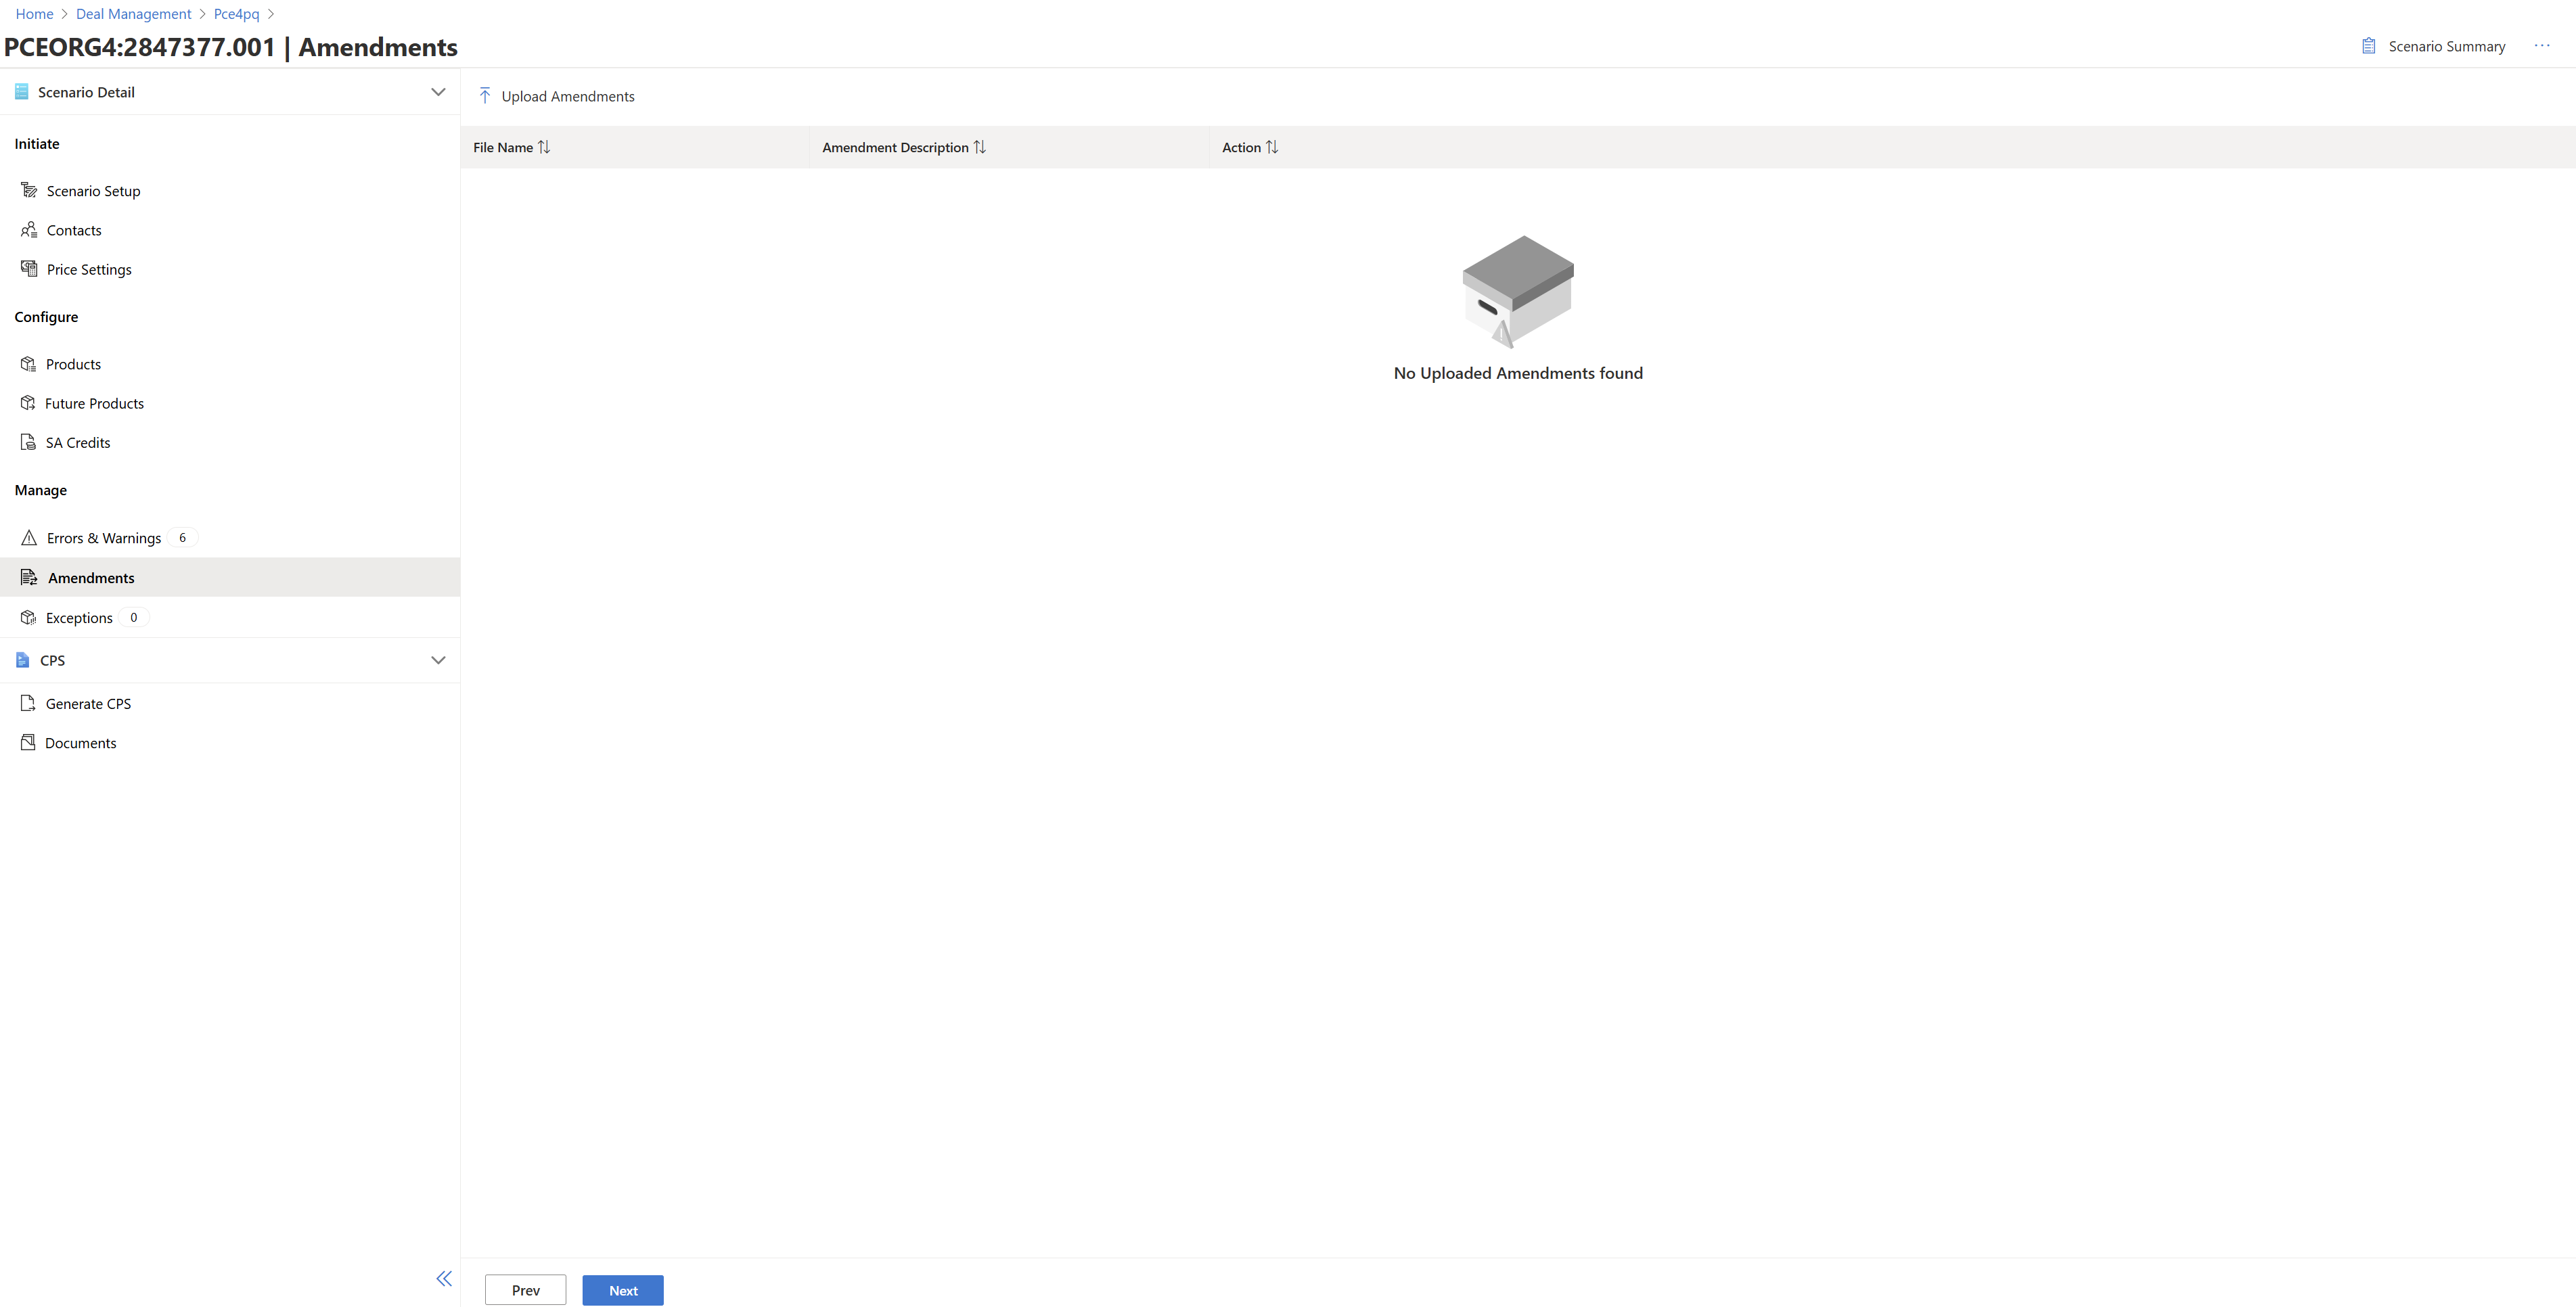
3.Click "Next".
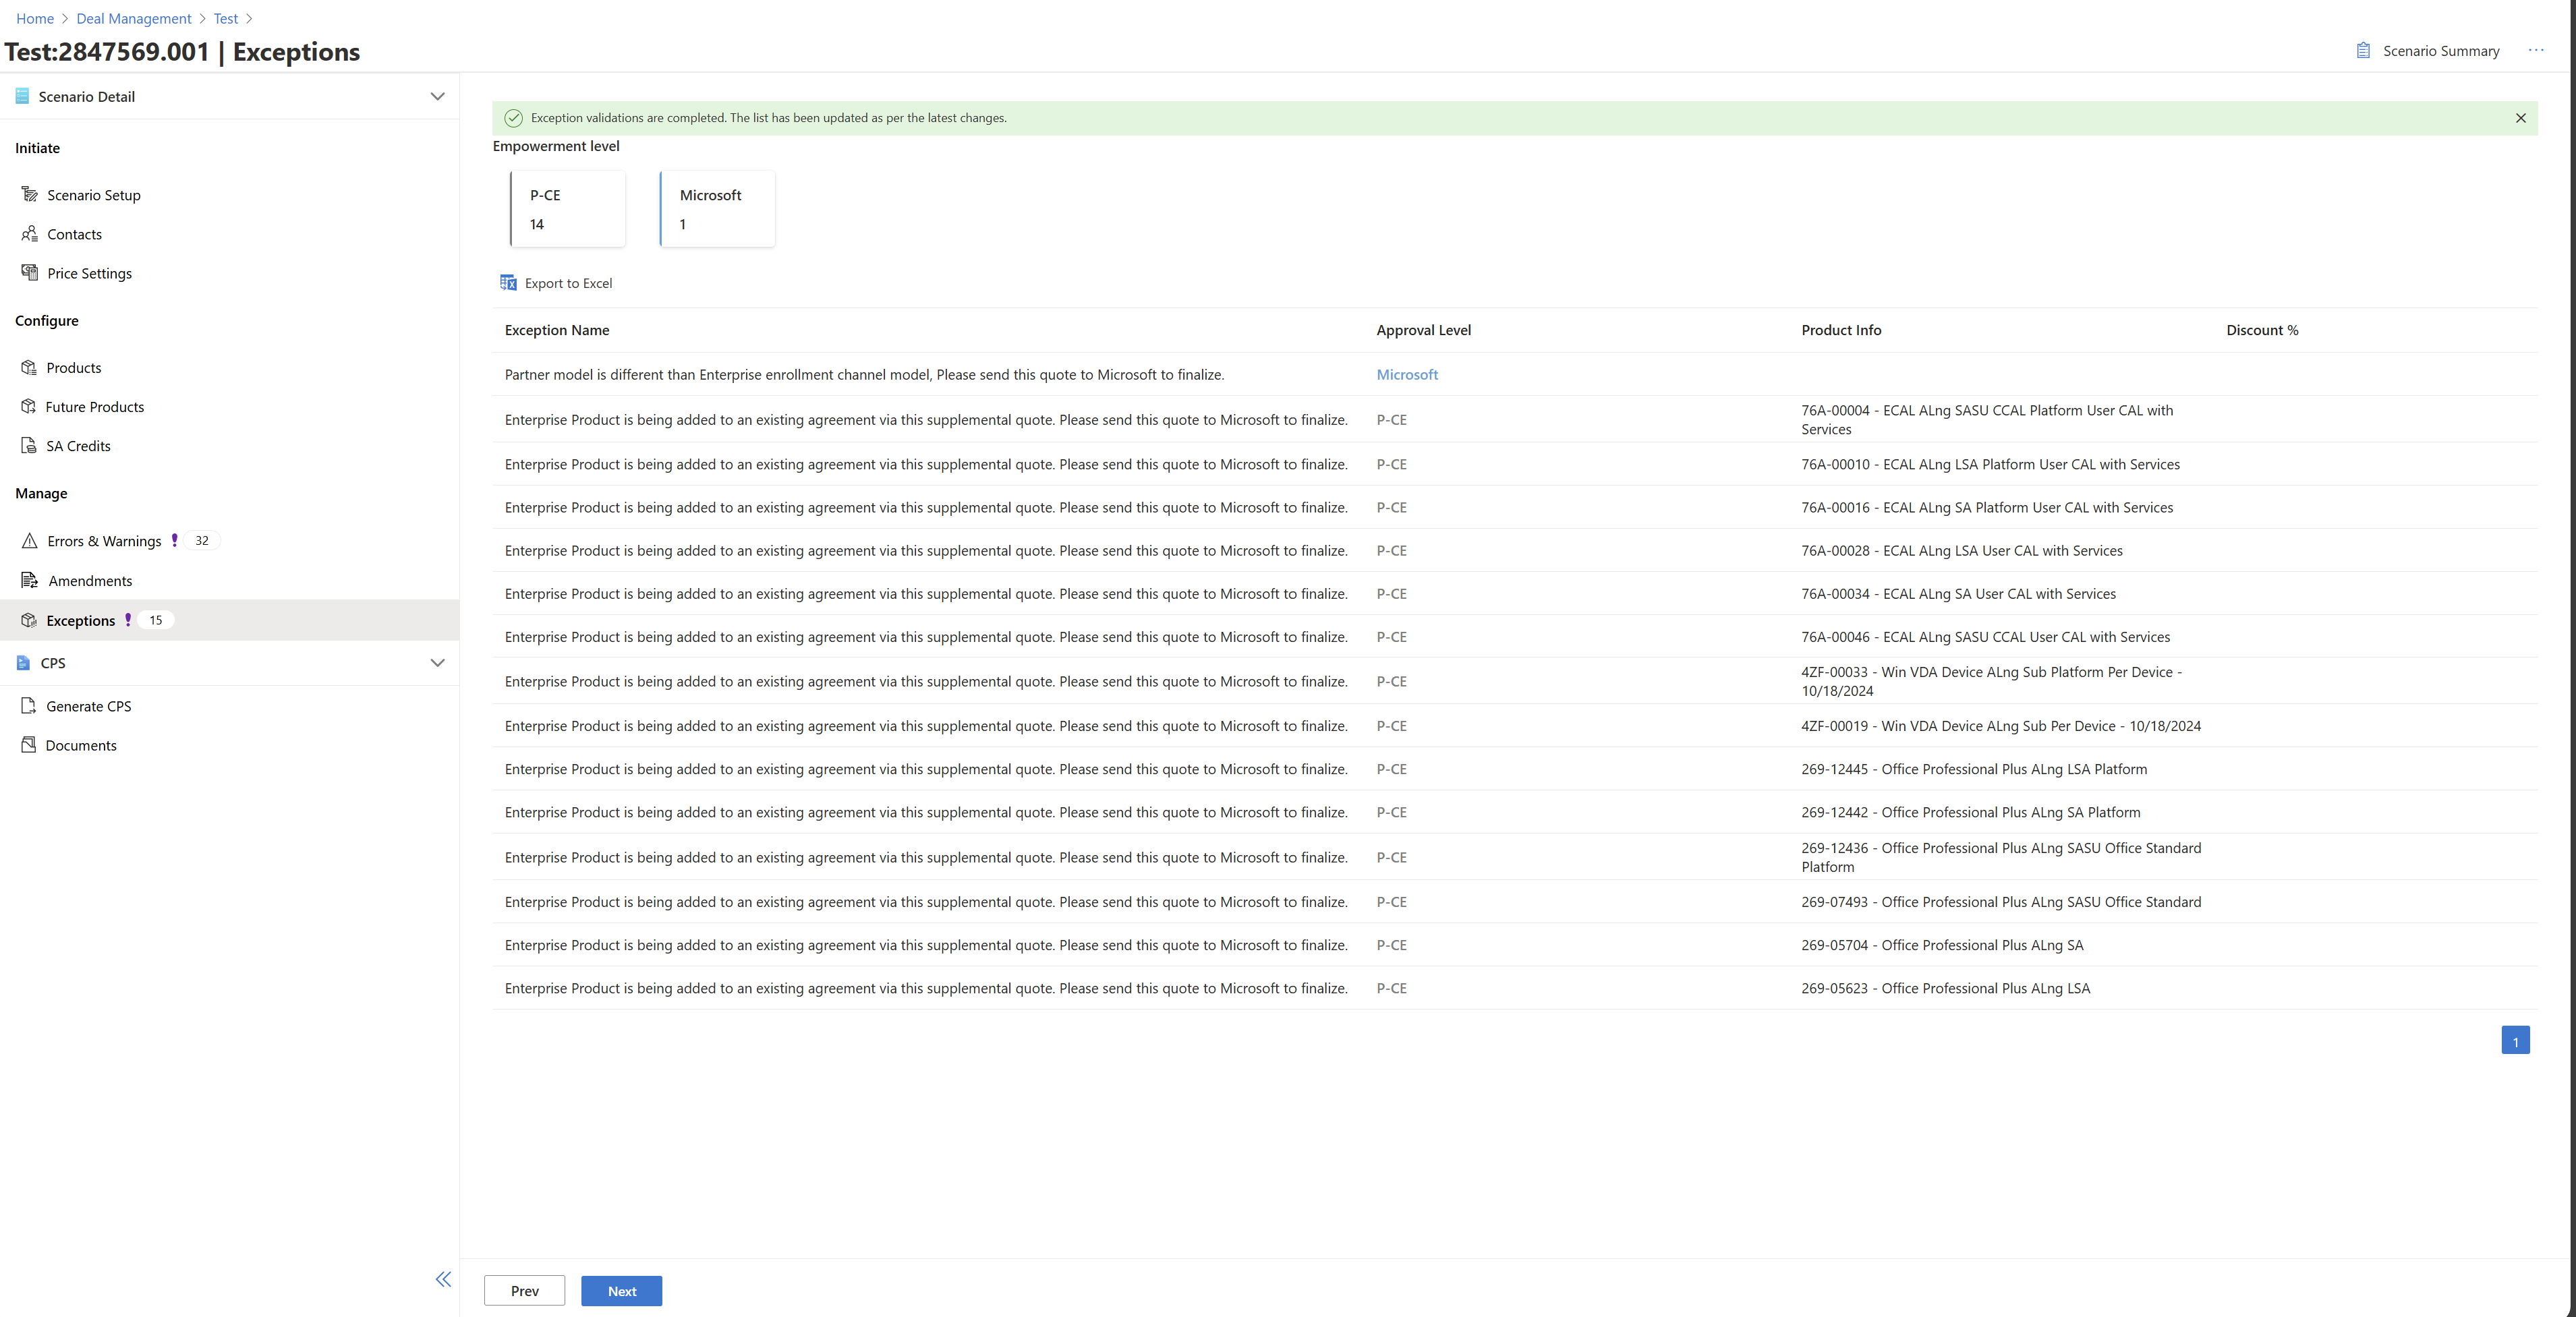
Exceptions
Review exceptions and determine if Microsoft approval is needed.
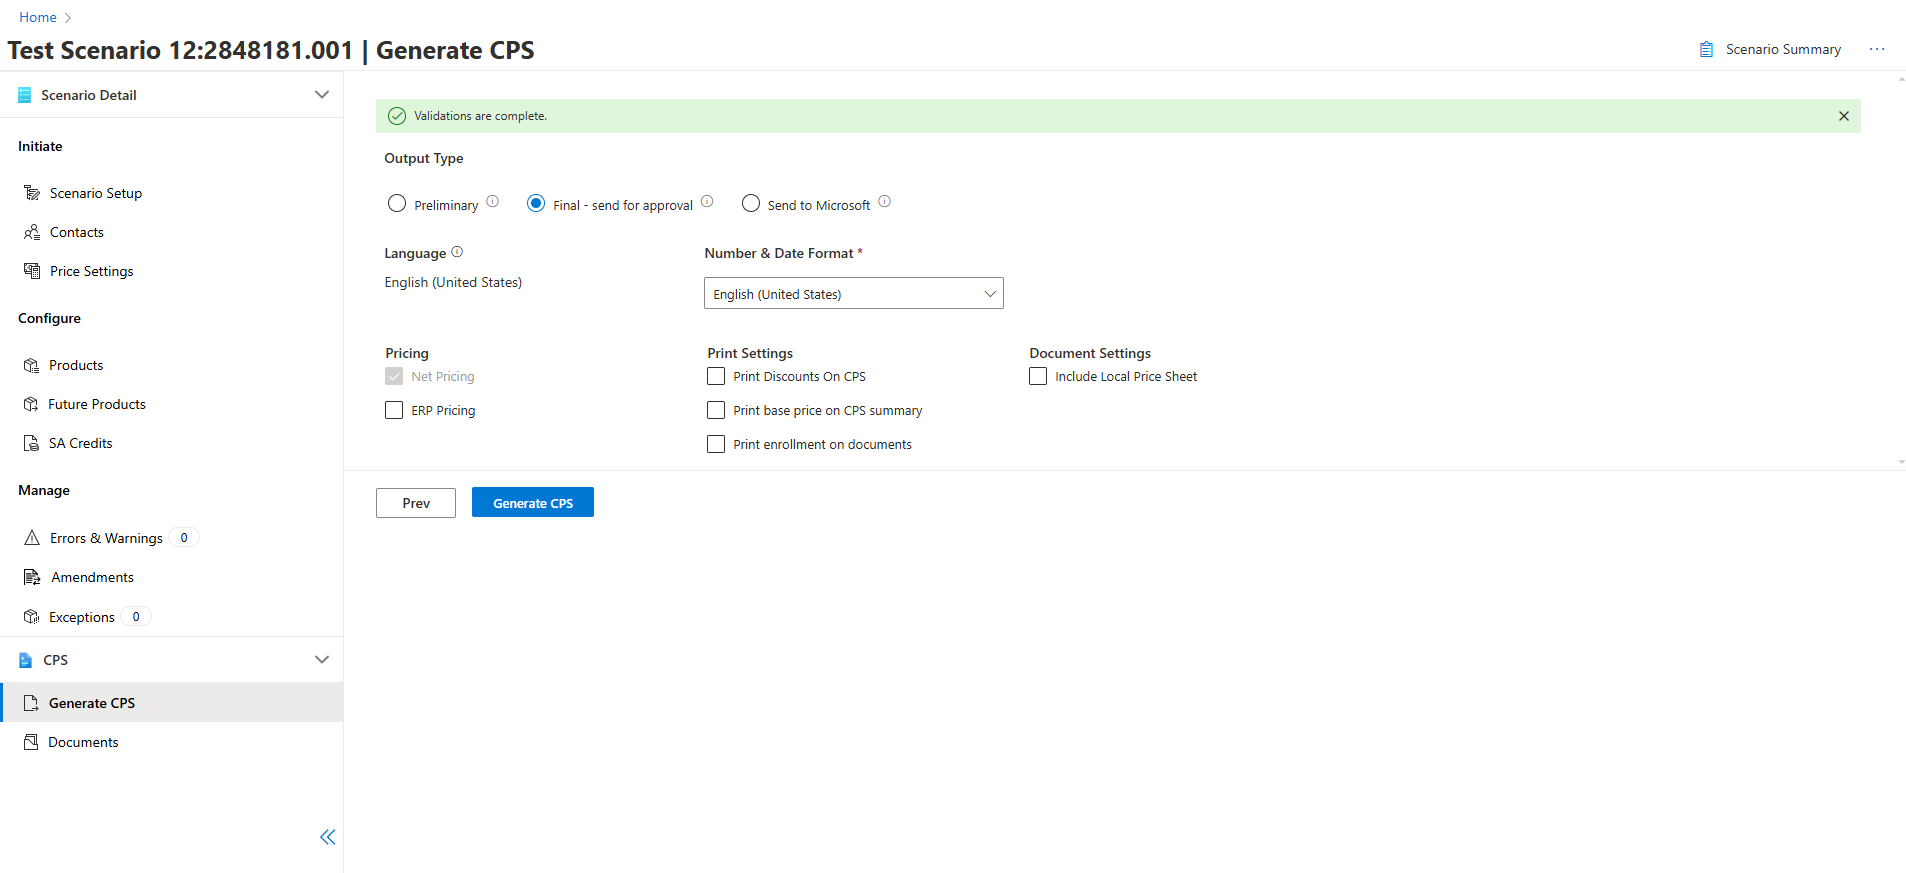
Generate CPS
1.You can generate a preliminary CPS, if needed.
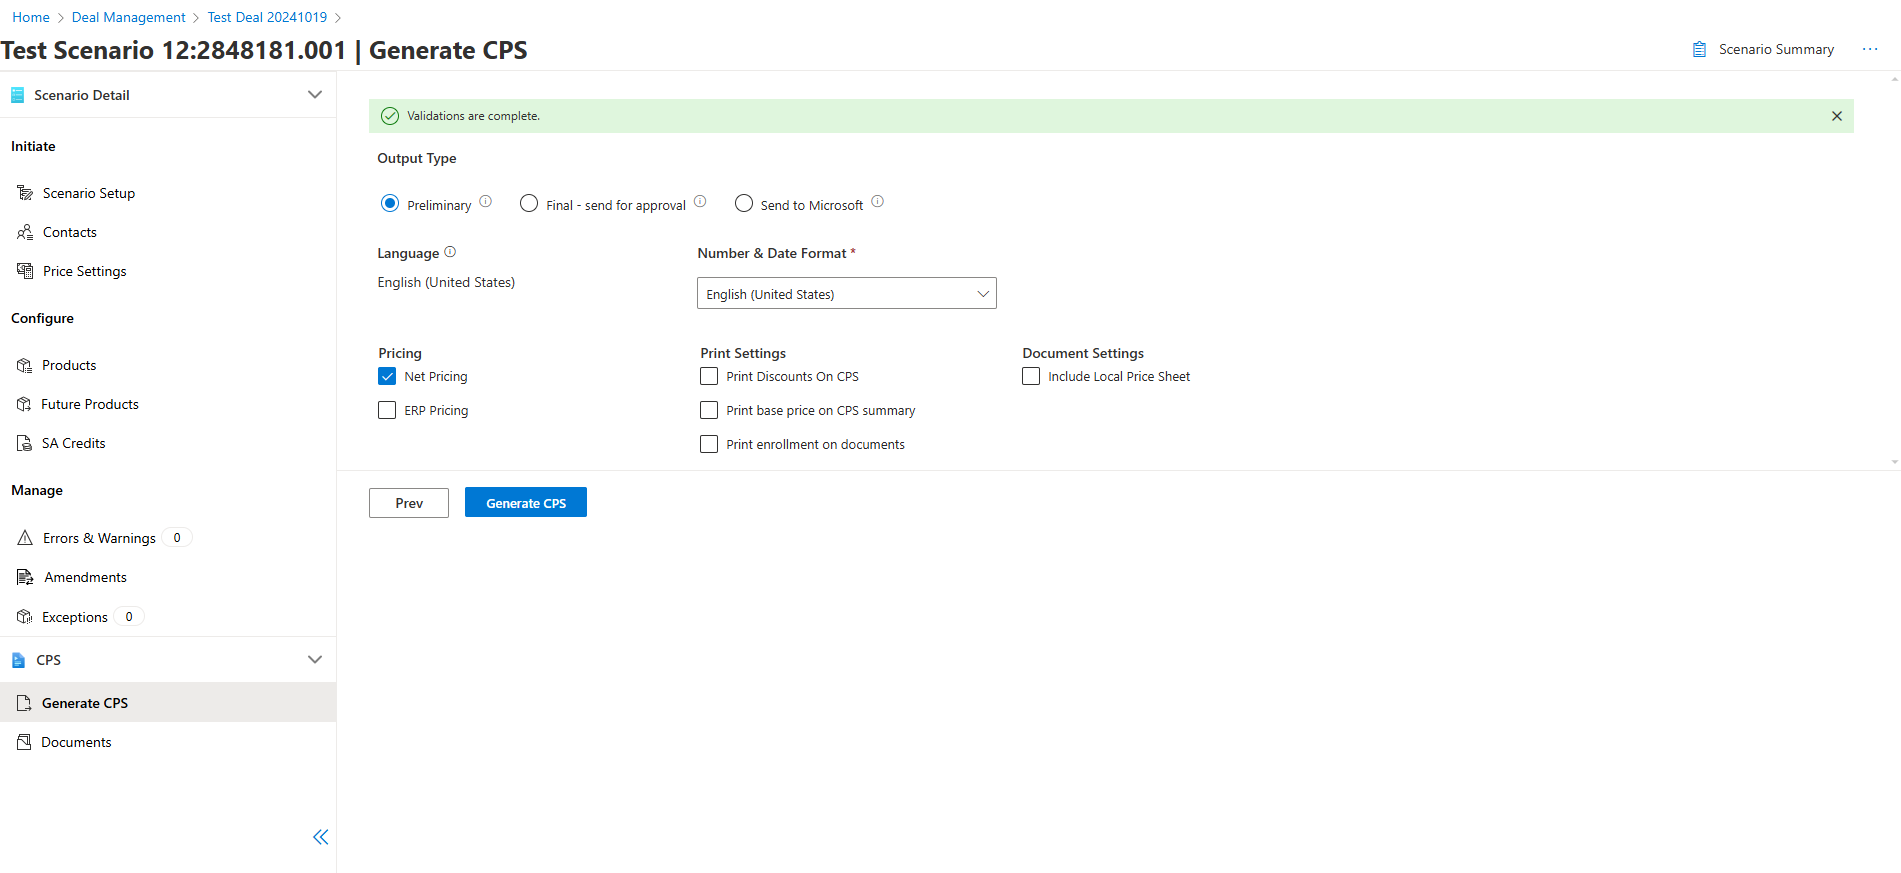
2.If no Microsoft approval is needed, generate CPS.
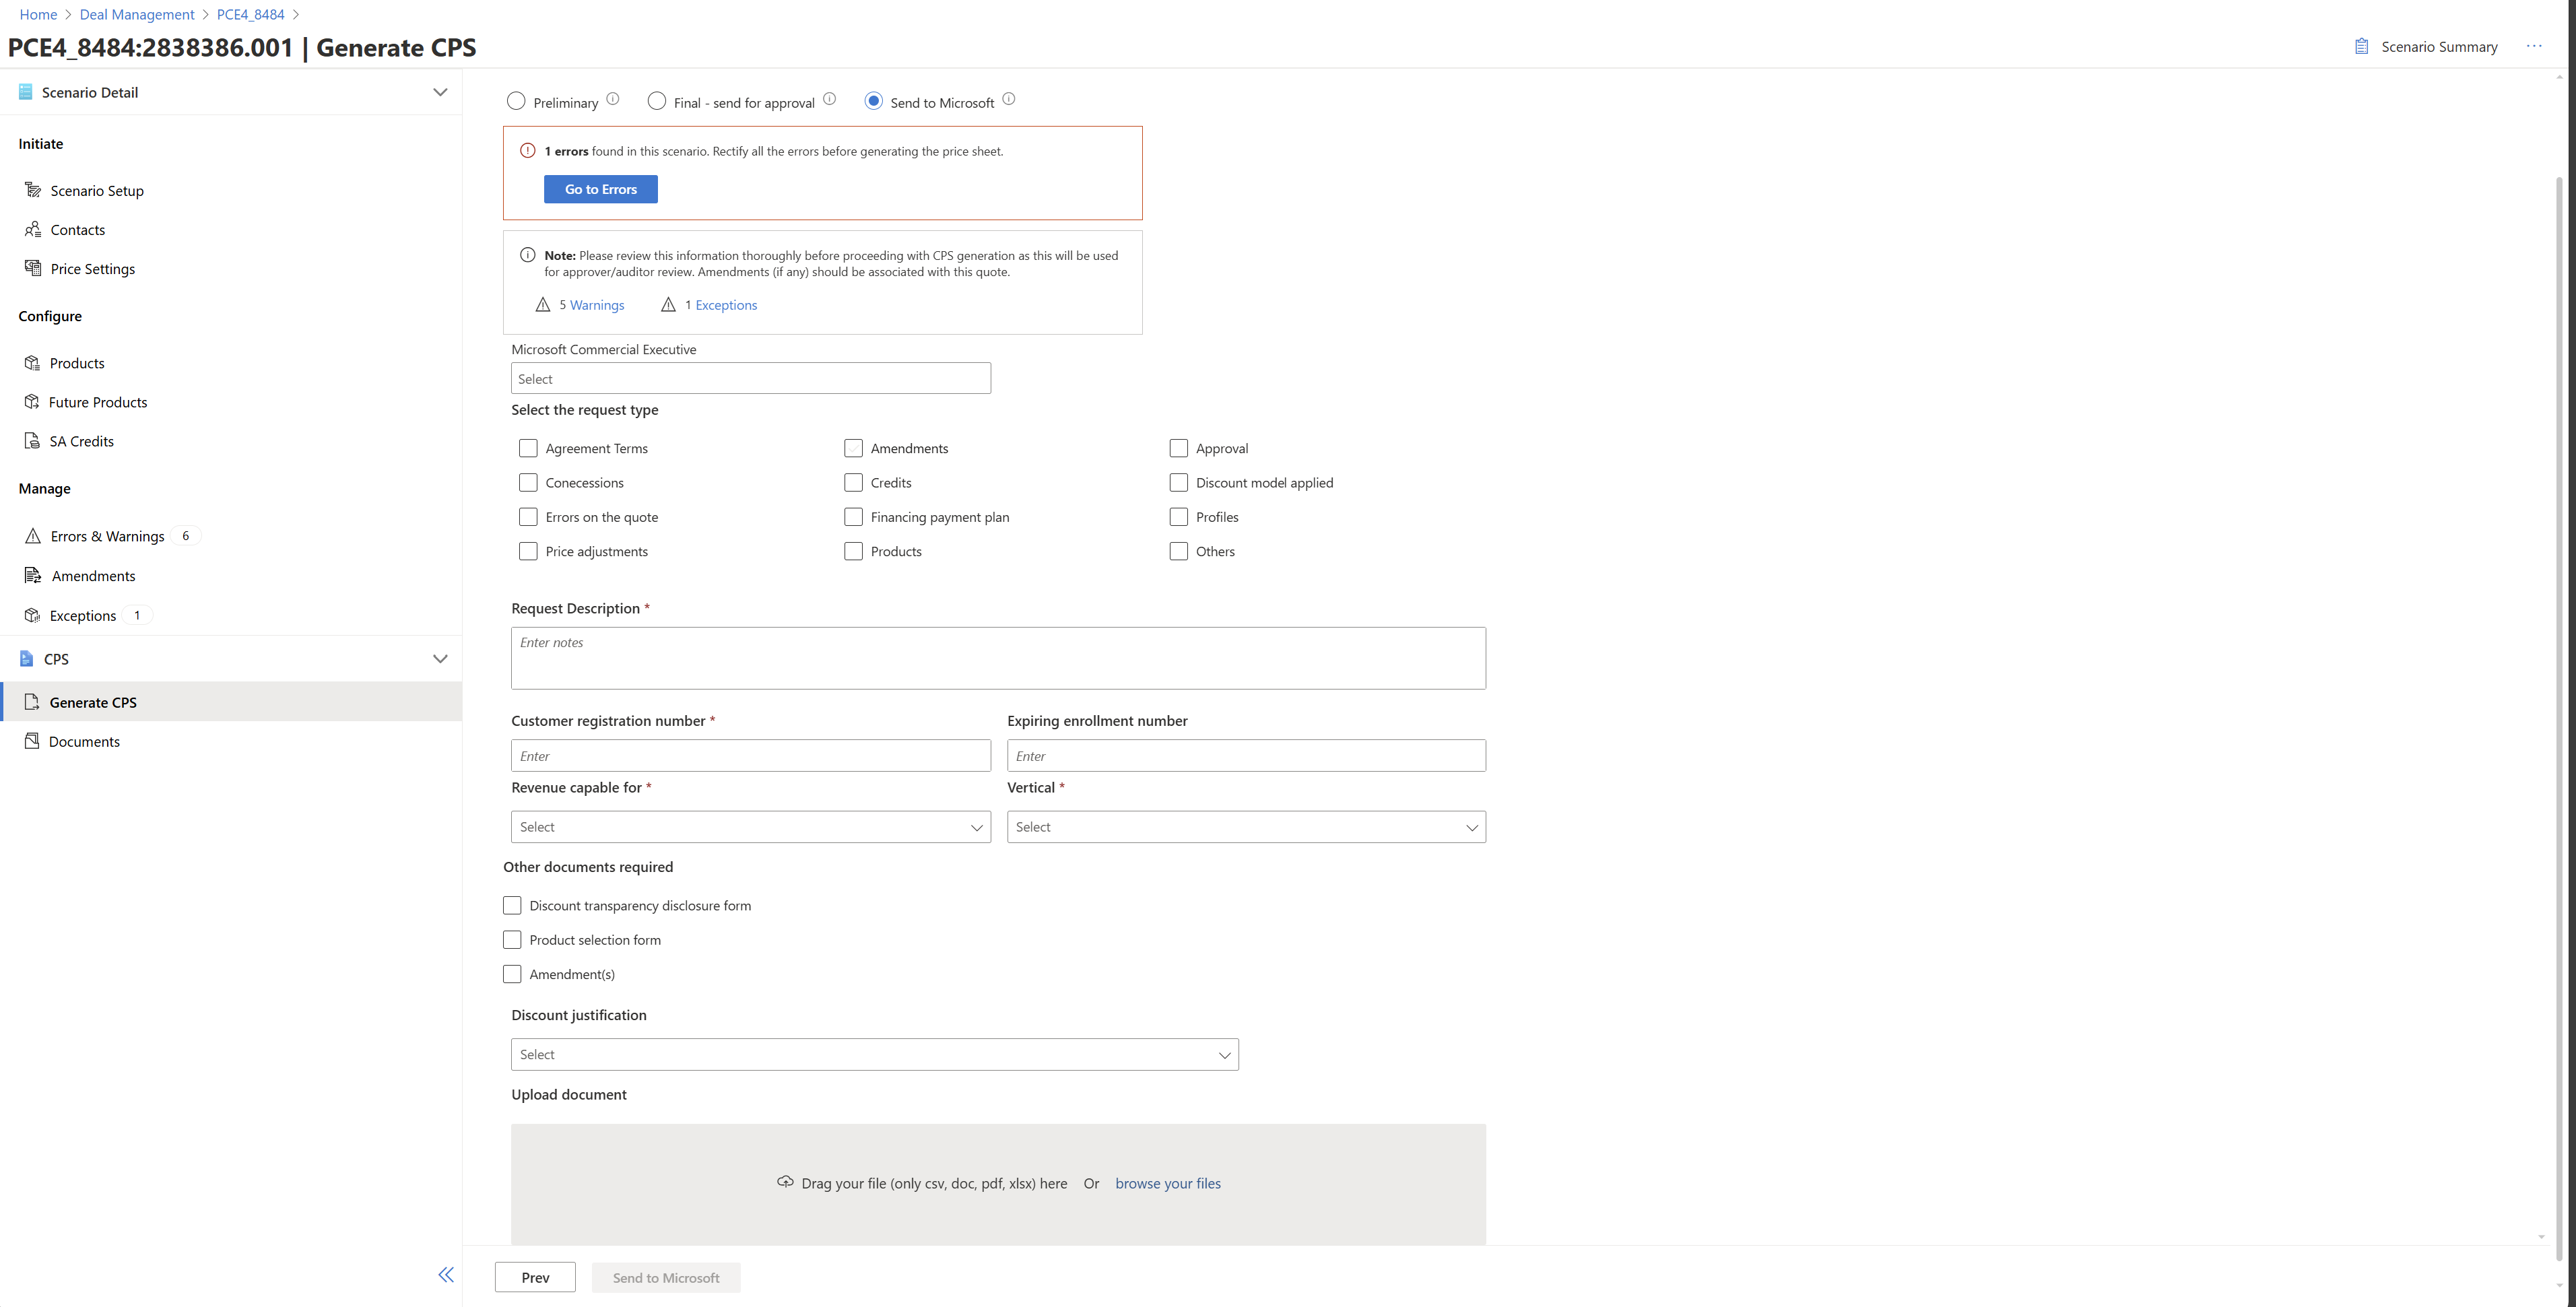
3.If the quote has a PLSS exception, assign the scenario to a P-CE user of the organization. PCE users are able to generate a CPS with PLSS exception.
4.If Microsoft approval is needed, send the deal to Microsoft.
5.If sent to Microsoft and you're awaiting their approval, the scenario is Read-only for you.
6.Once the validations (running in background) are completed, you're able to generate CPS.
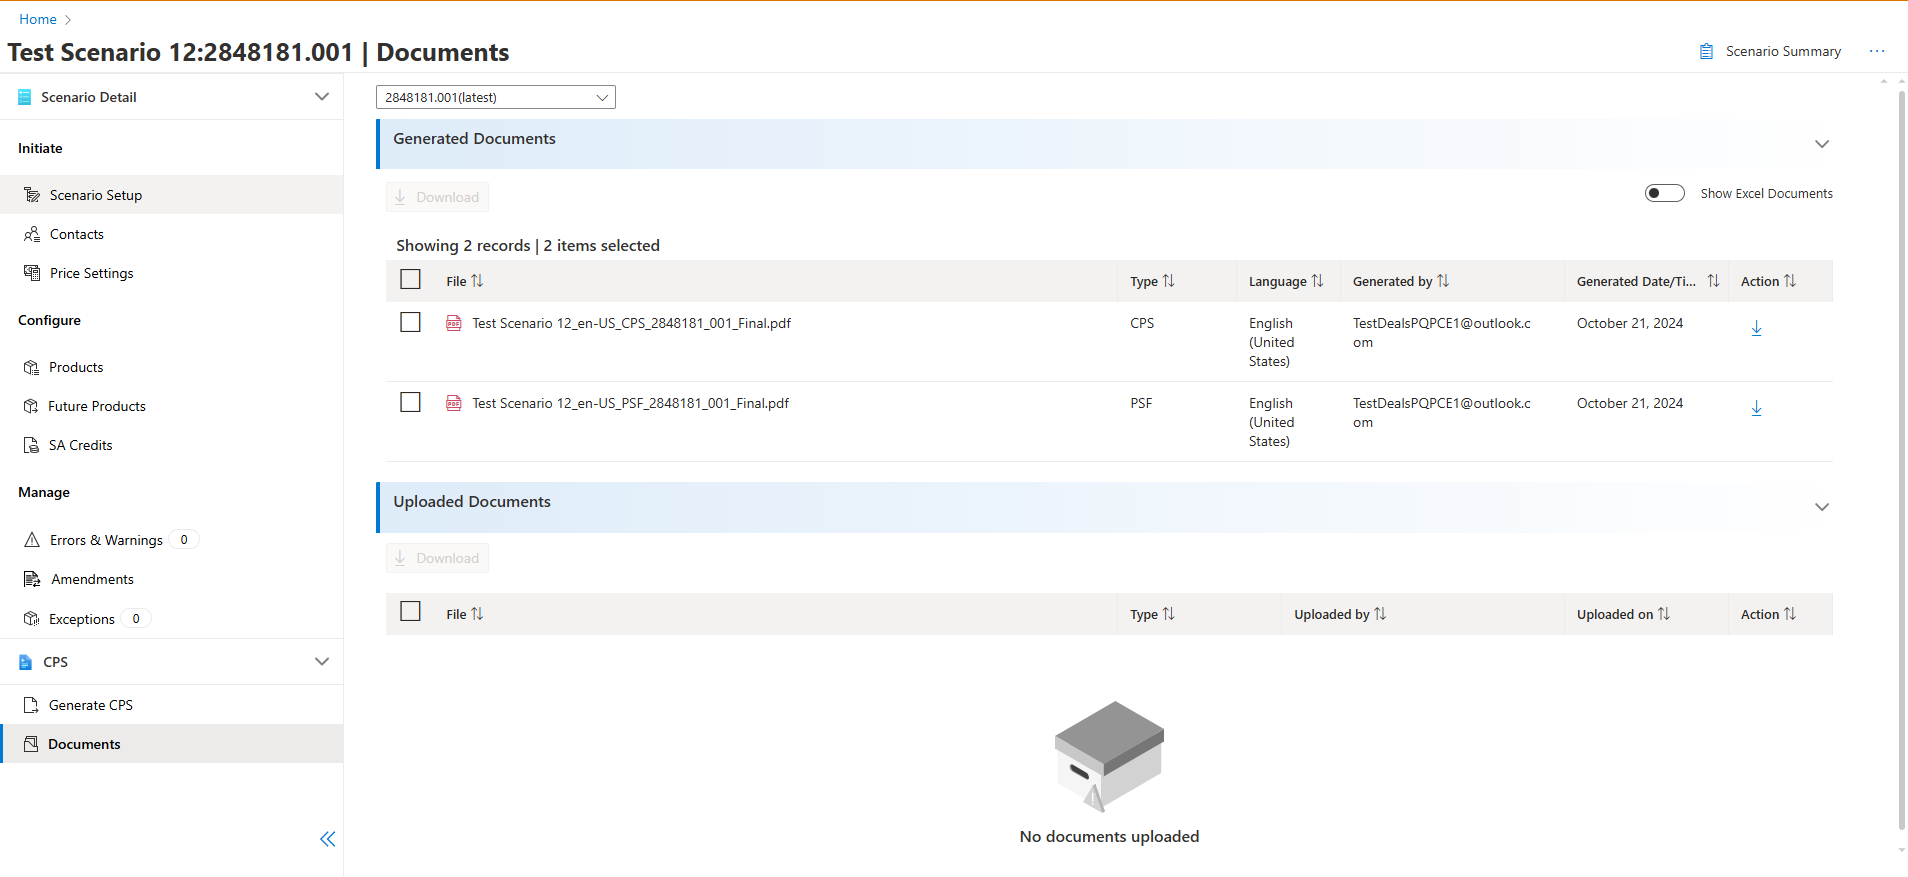
Documents
Once CPS is generated, documents are available in the document section.