Note
Access to this page requires authorization. You can try signing in or changing directories.
Access to this page requires authorization. You can try changing directories.
When to escalate or reactivate a case
Escalate if:
You disagree with a response or advice
You need more support or details
The case is outside the service level agreement (SLA). SLA is 48 hours for queries and 72 hours for transactions. Acknowledgment of the My Cases and Support ticket should be made within 24 hours
Reactivate if:
- The resolution provided is incomplete.
- The resolution is provided on a closed case.
When not to escalate or reactivate a case
Do not escalate if:
- You simply want your request prioritized. Use existing regional processes instead.
- There's no existing My Cases and Support ticket.
Do not reactivate if:
You have secondary additional questions that are unrelated to the original query.
Your case is rejected and you have no extra details to provide.
The case is more than 60 days old.
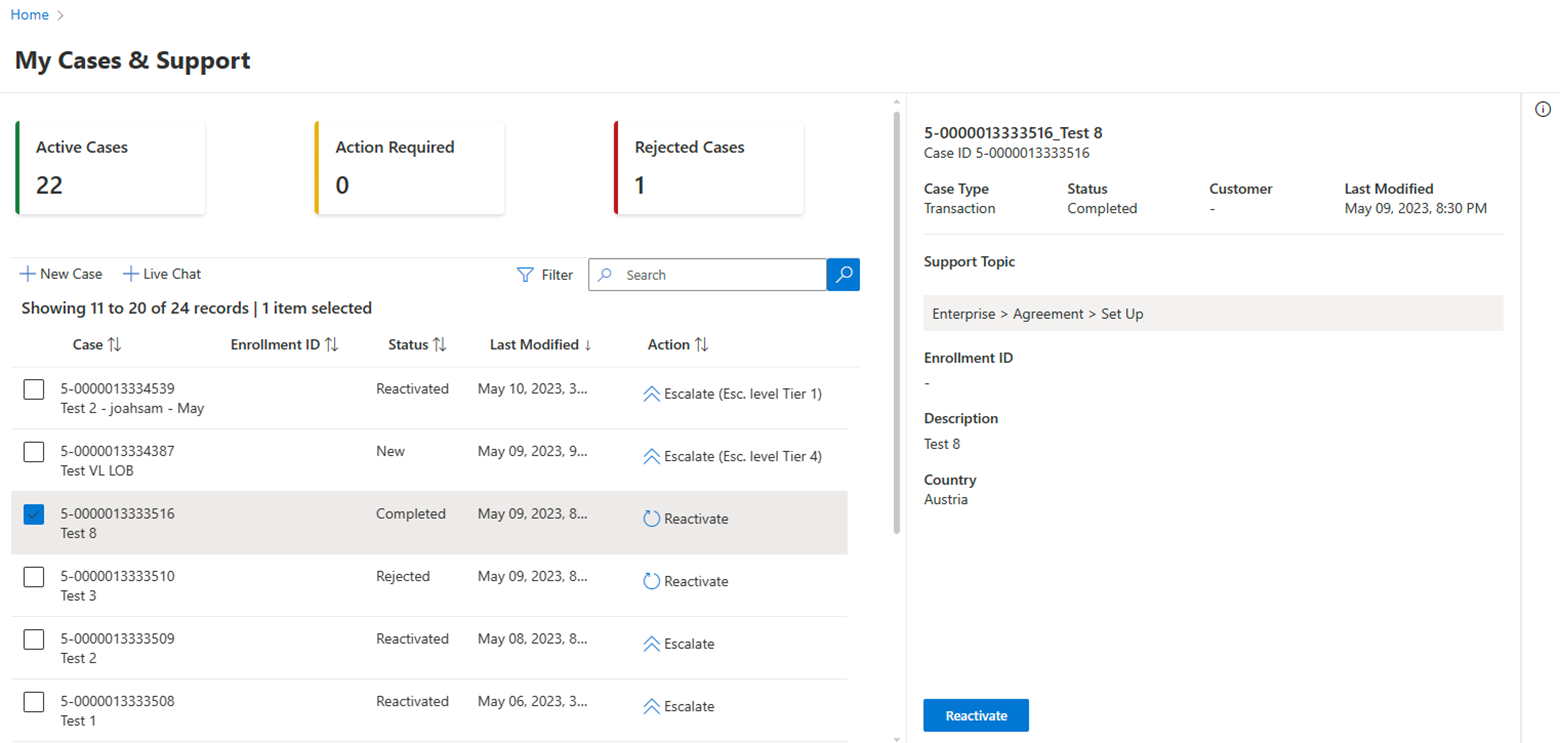
Reactivation of a case
Partners can reactivate the case from VL Central.
The reactivation feature is available until 60 days from the last case closure date.
Steps to reactivate a case:
- Select the Reactivate button under the Action column in the View case section or select the Reactivate button in the Case Details panel.
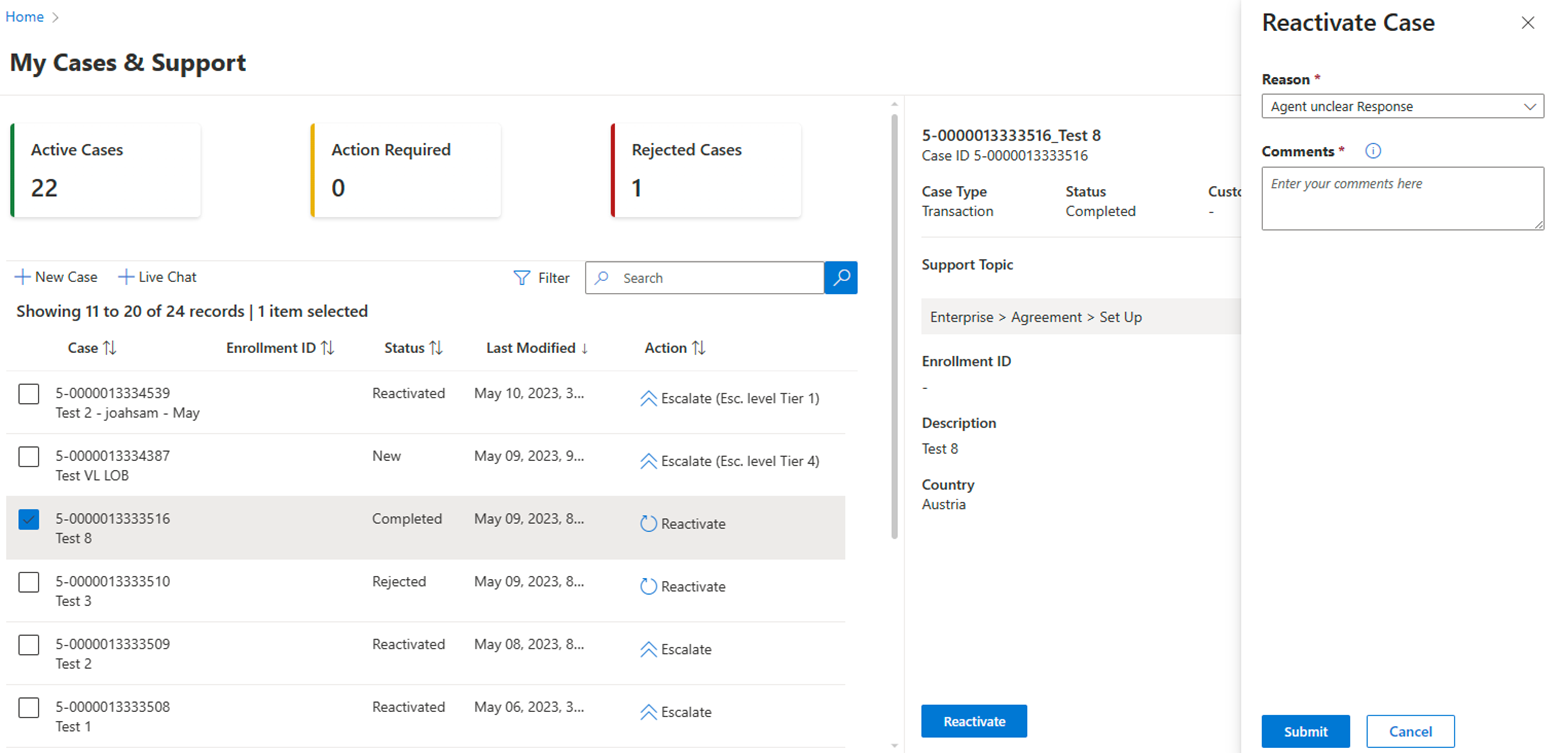
- Select the appropriate reactivation reason
- Add your comments.
- Select Submit.
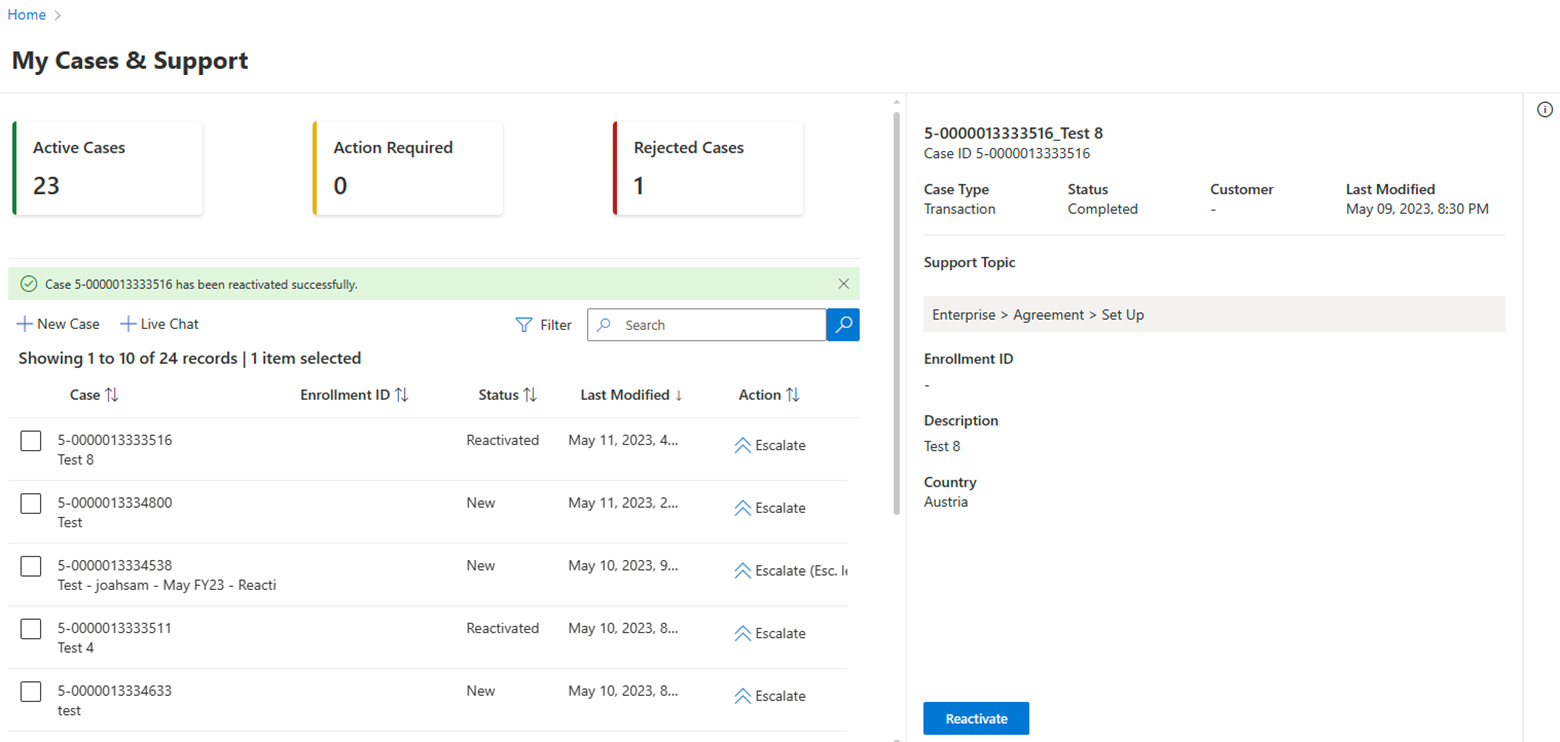
- A message appears to notify you that reactivation was successful.


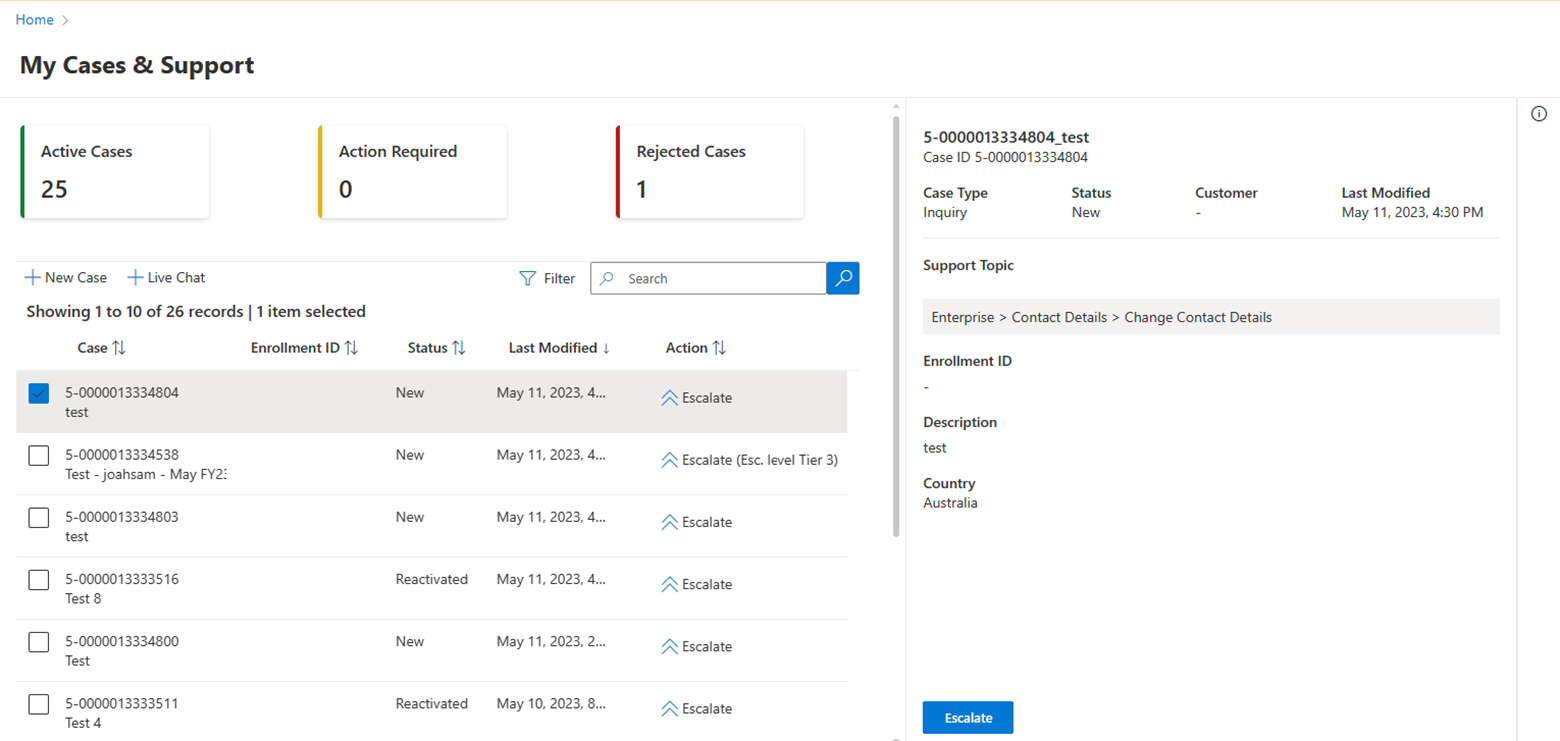
Escalation of a case
Partners can escalate the case from VL Central; the reactivation feature is only available for open cases.
Escalation rules:
- A user can re-escalate only after at least an hour has passed after the previous escalation.
- A user can’t escalate a case if it’s at the highest level of escalation (they can check the escalation level through the UI if they’ve already escalated the case.)
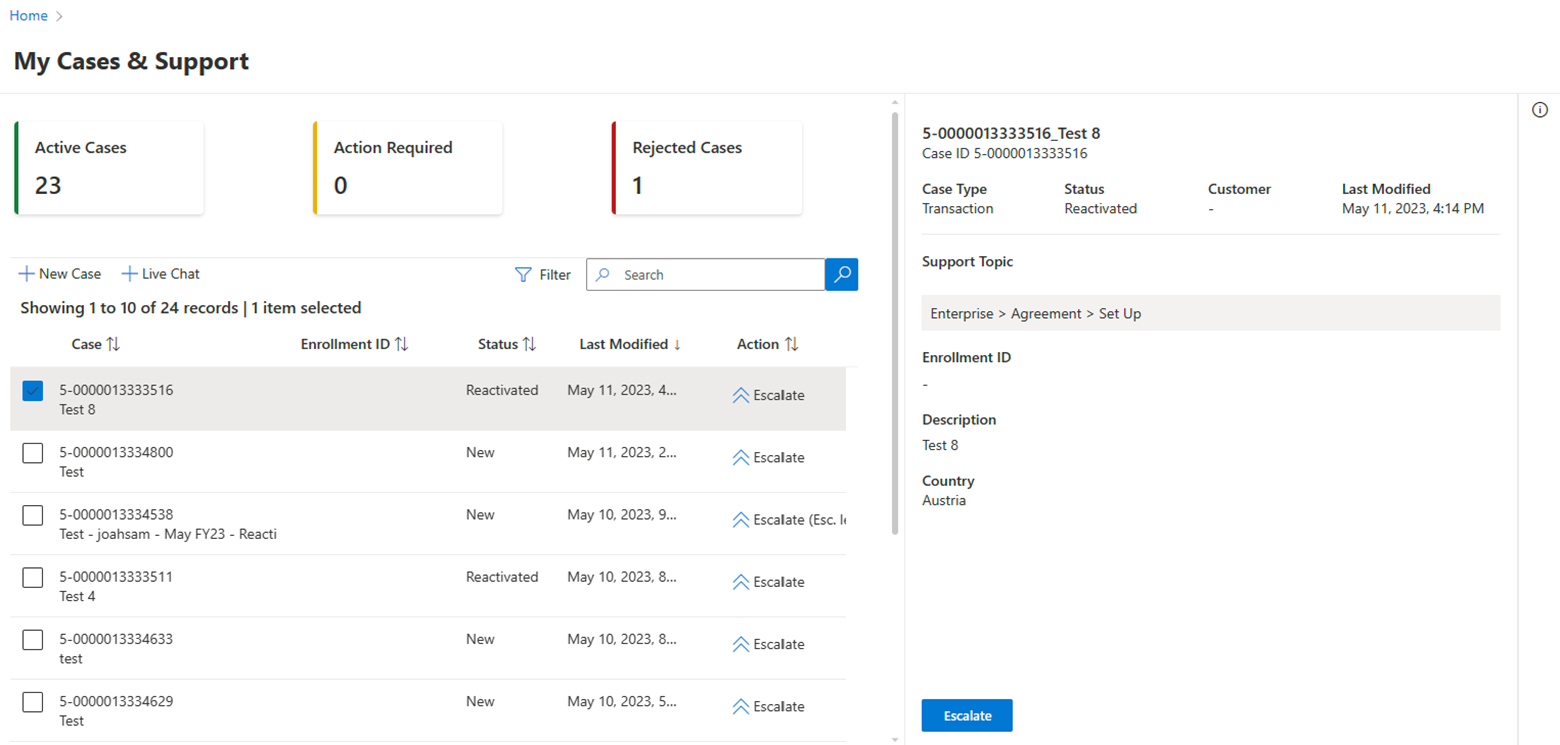
Steps to escalate a case:
Select the Escalate button under the Action column in the View case section or select the Escalate button in the Case Details panel.
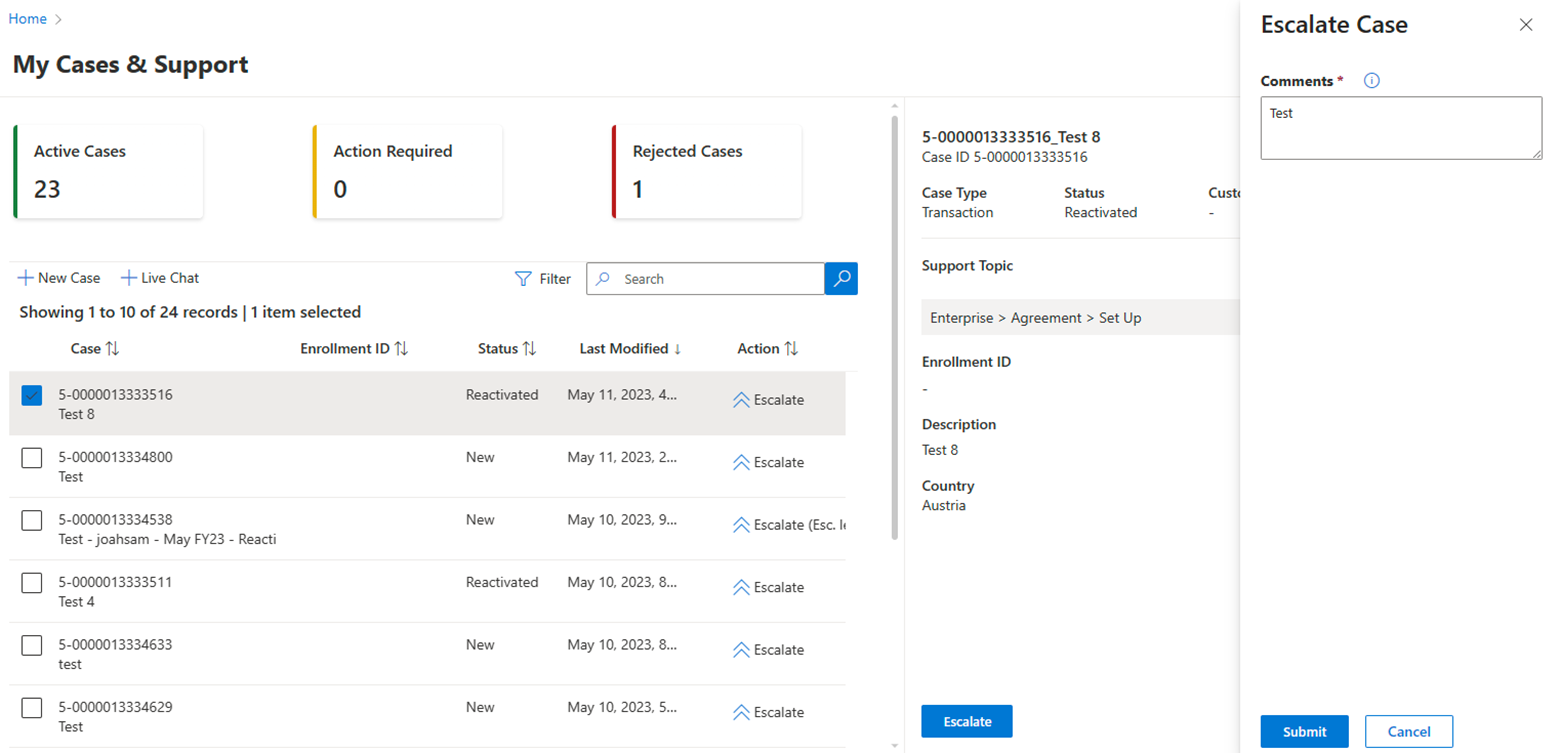
Add your comments.
Select Submit.
Add your comments.
The escalated case appears at the top of the case list.