Create provisioning policies
Cloud PCs are created and assigned to users based on provisioning policies. These policies hold key provisioning rules and settings that let the Windows 365 service set up and configure the right Cloud PCs for your users. After provisioning policies are created and assigned to the Microsoft Entra user security groups or Microsoft 365 Groups, the Windows 365 service:
- Checks for appropriate licensing for each user.
- Configures the Cloud PCs accordingly.
A few things to keep in mind:
Windows 365 Enterprise
- If a user in an assigned group doesn’t have a Cloud PC license assigned, Windows 365 won’t provision their Cloud PC.
- For each Cloud PC license assigned to a user, only one provisioning policy is used to set up and configure the Cloud PC. The Windows 365 service always uses the first assigned policy to provision the Cloud PC.
Windows 365 Frontline
- If you have more users in your Microsoft Entra user group than the number of Cloud PCs available for the selected size, some users might not receive their Cloud PC.
- If you remove users from your Microsoft Entra user group, their Cloud PC is automatically moved into a grace period.
Create a provisioning policy
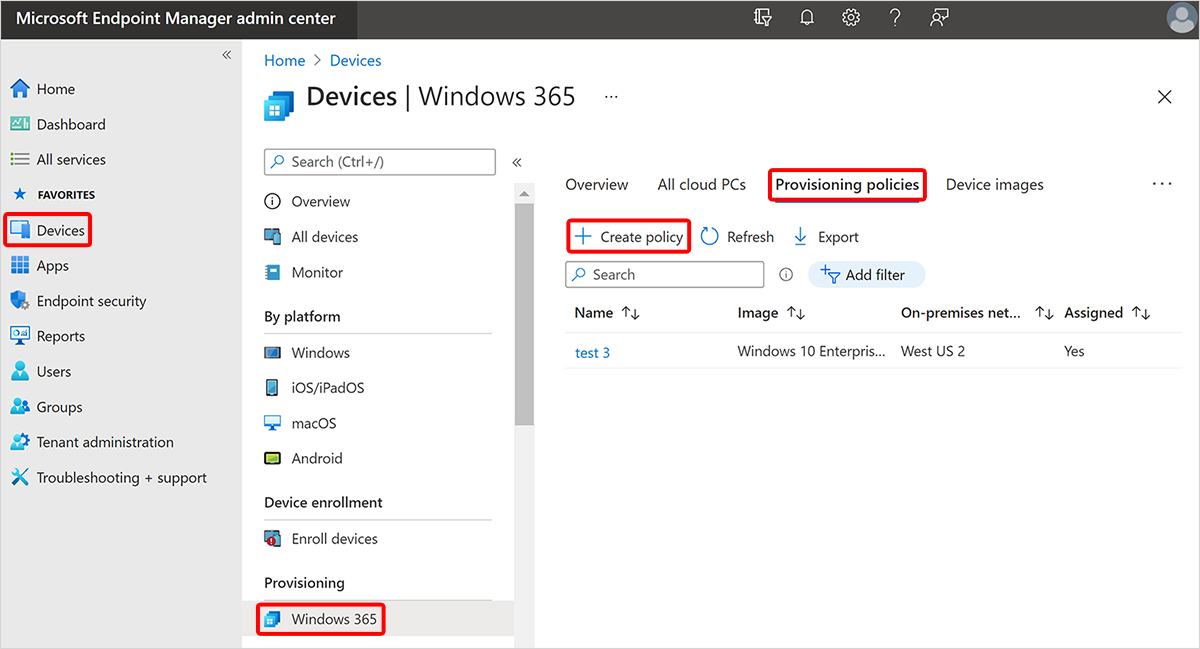
Sign in to the Microsoft Intune admin center, select Devices > Windows 365 (under Provisioning) > Provisioning policies > Create policy.
On the General page, enter a Name and Description (optional) for the new policy.
Tip
Your provisioning policy name cannot contain the following characters: < > & | " ^
On the General page, select a License type:
- Enterprise: Provision Cloud PCs for Windows 365 Enterprise.
- Frontline: Provision Cloud PCs for Windows 365 Frontline.
On the General page, select a Join type:
- Microsoft Entra Join: You have two options for Network:
- Microsoft hosted network: Select a Geography where you want your Cloud PCs provisioned. Then, for Region, you can select:
- Automatic (Recommended): The Windows 365 service automatically chooses a region within the selected geography at the time of provisioning. This automation decreases the chance of provisioning failure.
- A specific region: This option makes sure that your Cloud PCs are only provisioned in the region that you choose.
- Azure network connection: Select an ANC to use for this policy.
- Microsoft hosted network: Select a Geography where you want your Cloud PCs provisioned. Then, for Region, you can select:
- Hybrid Microsoft Entra join: You must select an ANC to use for this policy.
- Microsoft Entra Join: You have two options for Network:
Select an ANC
You must select an ANC for your provisioning policy if you selected either of these two options in the previous section:
- Join type = Hybrid Microsoft Entra Join
- Join type = Microsoft Entra join and Network = Azure network connection
To select an ANC, follow these steps:
On the General page, for Azure network connection, select one or more ANCs. For more information about using multiple ANCs, see Alternate ANCs.
If you select more than one ANC, you can set the priority order for those ANCs. To do so, hover over an ANC > select and drag on the three dots > drag the ANC to a different position in the list.
As long as the first ANC in the list is Healthy, it's always used for provisioning Cloud PCs using this policy. If the first ANC isn't healthy, the policy uses the next ANC in the list that is healthy.
Continue creating a provisioning policy
On the General page, you can check the box so that your users Use Microsoft Entra single sign-on.
Select Next.
On the Image page, for Image type, select one of the following options:
- Gallery image: Choose Select > select an image from the gallery > Select. Gallery images are default images provided for your use.
- Custom image: Choose Select > select an image from the list > Select. The page displays the list of images that you uploaded using the Add device images workflow.
Select Next.
On the Configuration page, under Windows settings, choose a Language & Region. The selected language pack is installed on Cloud PCs provisioned with this policy.
Optional. Select Apply device name template to create a Cloud PC naming template to use when naming all Cloud CPs that are provisioned with this policy. This naming template updates the NETBIOS name and doesn't affect the display name of the Cloud PC. When creating the template, follow these rules:
- Names must be between 5 and 15 characters.
- Names can contain letters, numbers, and hyphens.
- Names can't include blank spaces or underscores.
- Optional. Use the %USERNAME:X% macro to add the first X letters of the username.
- Required. Use the %RAND:Y% macro to add a random string of characters, where Y equals the number of characters to add. Y must be 5 or more. Names must contain a randomized string.
Examples of custom naming templates:
- %RAND:5%
- ABC-%RAND:5%
- ABC-%USERNAME:5%-%RAND:5%
Optional. Under Additional services, choose a service to be installed on Cloud PCs provisioned with this policy:
- Windows Autopatch is a cloud service that automates updates for Windows, Microsoft 365 Apps for enterprise, Microsoft Edge, and Microsoft Teams on both physical and virtual devices. For more information, see What is What is Windows Autopatch? and the Windows Autopatch FAQ.
- Microsoft Managed Desktop is a cloud service that helps with device deployment, service management and operations, and security. For more information, see What is Microsoft Managed Desktop?.
Select Next.
On the Assignments page, choose Select groups > choose the groups you want this policy assigned to > Select. Nested groups aren't currently supported.
For Windows 365 Frontline, you must also select a Cloud PC size for each group in the policy. Choose Select one > select a size under Available sizes > Select. After you've selected a size for each group, select Next.
On the Review + create page, select Create. If you used Microsoft Entra hybrid join as the join type, it can take up to 60 minutes for the policy creation process to complete. The time depends on when the Microsoft Entra Connect sync last happened.
After the provisioning policy is created and assigned, Windows 365 automatically starts to provision Cloud PCs and assigns them to users in the assigned groups.
Windows 365 Frontline
Microsoft Entra group members don't receive Cloud PCs if the number of users in the Microsoft Entra user group exceeds the maximum number of Cloud PCs allowed to be provisioned (based on the number of purchased licenses).
Admins can confirm the list of members who received Cloud PCs by reviewing the Provisioning policy > choose the policy > review the users in the groups under Assignments.
Next steps
Feedback
Coming soon: Throughout 2024 we will be phasing out GitHub Issues as the feedback mechanism for content and replacing it with a new feedback system. For more information see: https://aka.ms/ContentUserFeedback.
Submit and view feedback for