Note
Access to this page requires authorization. You can try signing in or changing directories.
Access to this page requires authorization. You can try changing directories.
After you setup your test server and clients, you're ready to create a project. A project defines what you want to test. The most common project corresponds to the device you want to submit for certification.
You can create large projects that represent a wide range of scenarios. You can also create several smaller projects and merge the results into one package.
Note
For Arm64 Desktop testing, multiple projects are required to form a complete submission package (one for each mode). When testing is complete for each mode, create hlkx packages and then merge the packages together to make a single package for submission.
In the remaining examples, you create a project for a device and run all associated certification tests. Then, you create a single package for submission that contains all of the passing test results.
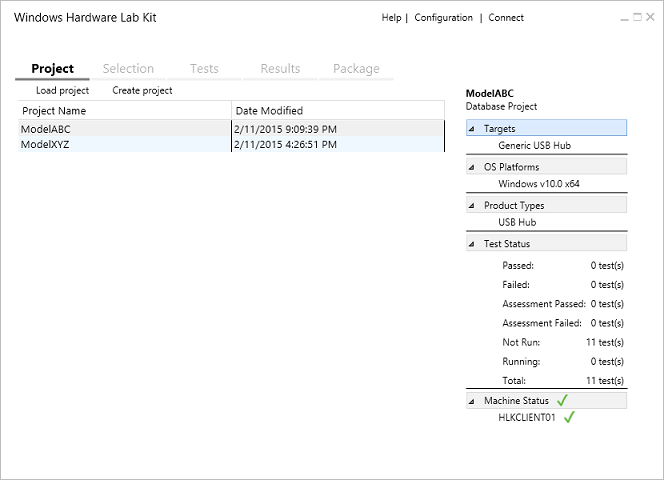
The following image shows the Studio Project tab.
To create a project
In Windows HLK Studio, choose the Project tab, and then choose Create project.
Replace the default project name with the name of your project, and then press Enter.
A project should have a meaningful name that indicates its contents, for example, "Fabrikam Multi-function Device Model Z".
When the project name appears on the page, the project is created.
The right pane displays project details. More information is displayed here once you start testing your device. You can check the status of any project by loading it and referring to this pane.
To learn more about this page, see HLK Studio - Project Tab.