Note
Access to this page requires authorization. You can try signing in or changing directories.
Access to this page requires authorization. You can try changing directories.
Learn how to build a web app signing-in users authenticated by AD FS 2019 and acquiring tokens using MSAL library to call web APIs.
Before reading this article, you should be familiar with the AD FS concepts and Authorization code grant flow
Overview
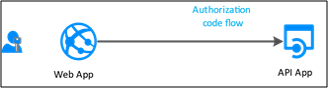
In this flow, you add authentication to your Web App (Server App), which can therefore sign in users and calls a web API. From the Web App, to call the Web API, use MSAL's AcquireTokenByAuthorizationCode token acquisition method. You use the Authorization code flow, storing the acquired token in the token cache. Then the controller acquires tokens silently from the cache when needed. MSAL refreshes the token if needed.
Web Apps that calls Web APIs:
- are confidential client applications.
- registered a secret (application shared secret, certificate or AD account) with AD FS. This secret is passed-in during the call to AD FS to get a token.
To register a Web App in AD FS and to configure it to acquire tokens to call a Web API, let's use a sample available here and walk through the app registration and code configuration steps.
Pre-requisites
- GitHub client tools
- AD FS 2019 or later configured and running
- Visual Studio 2013 or later
App Registration in AD FS
This section shows how to register the Web App as a confidential client and Web API as a Relying Party (RP) in AD FS.
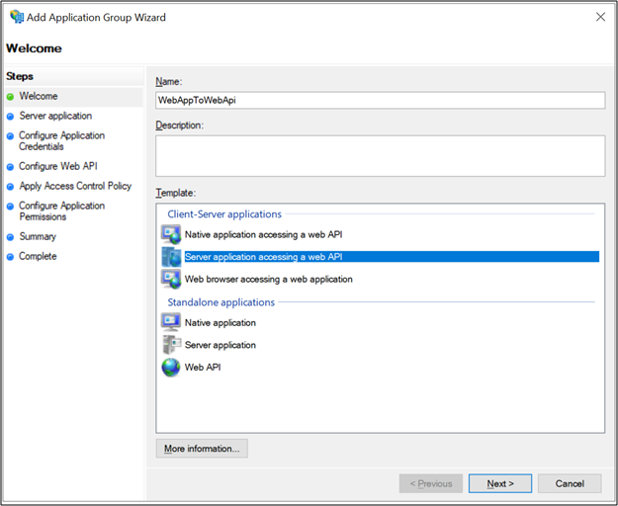
In AD FS Management, right-click on Application Groups and select Add Application Group.
On the Application Group Wizard, for the Name enter WebAppToWebApi and under Client-Server applications select the Server application accessing a Web API template. Click Next.
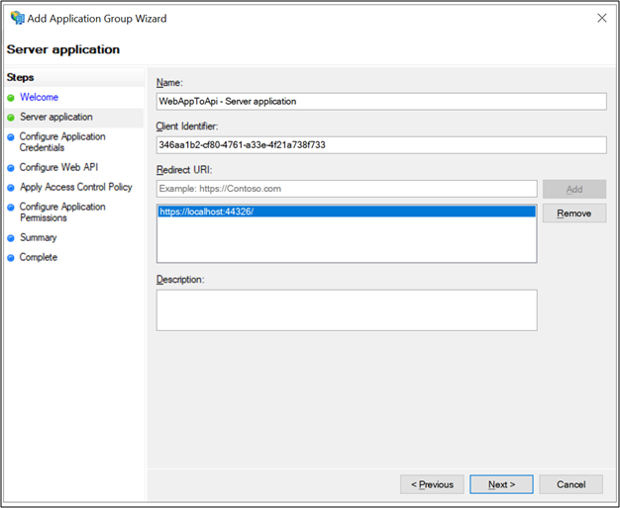
Copy the Client Identifier value. The value is used later as the value for ida:ClientId in the applications Web.config file. Enter the following for Redirect URI: - https://localhost:44326. Click Add. Click Next.
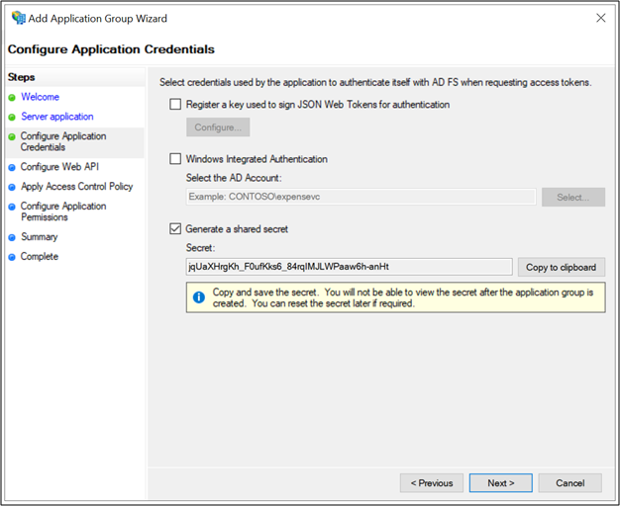
On the Configure Application Credentials screen, place a check-in Generate a shared secret and copy the secret. This secret is used later as the value for ida:ClientSecret in the applications Web.config file. Click Next.
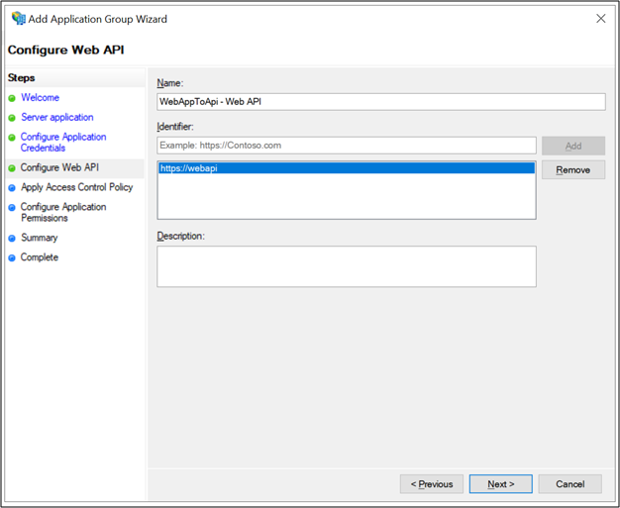
On the Configure Web API screen, enter the Identifier: https://webapi. Click Add. Click Next. This value is used later for ida:GraphResourceId in the applications Web.config file.
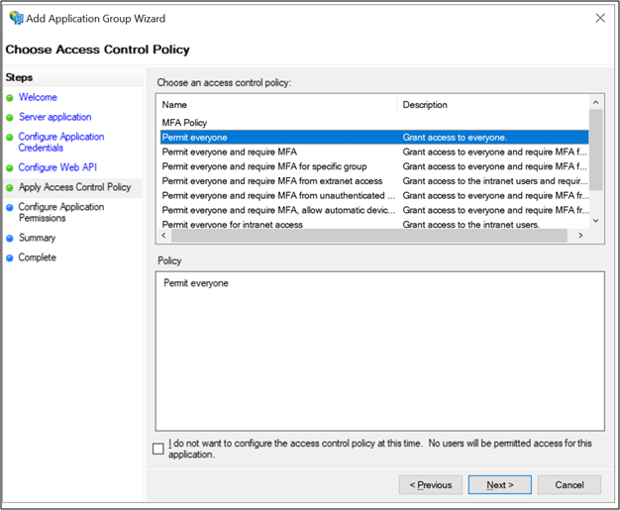
On the Apply Access Control Policy screen, select Permit everyone and click Next.
On the Configure Application Permissions screen, make sure openid and user_impersonation are selected and click Next.

On the Summary screen, click Next.
On the Complete screen, click Close.
Code Configuration
This section shows how to configure a ASP.NET Web App to sign-in user and retrieve token to call the Web API
Download the sample from here
Open the sample using Visual Studio
Open the web.config file. Modify the following:
ida:ClientId- enter the Client Identifier value from #3 in App Registration in AD FS section.ida:ClientSecret- enter the Secret value from #4 in App Registration in AD FS section.ida:RedirectUri- enter the Redirect URI value from #3 in App Registration in AD FS section.ida:Authority- enter https://[your AD FS hostname]/adfs. E.g.,https://adfs.contoso.com/adfsida:Resource- enter the Identifier value from #5 in App Registration in AD FS section.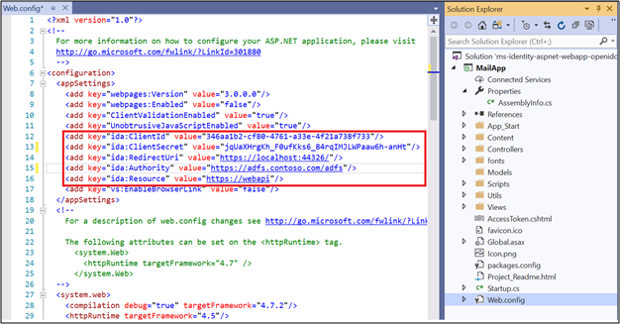
Test the sample
This section shows how to test the sample configured.
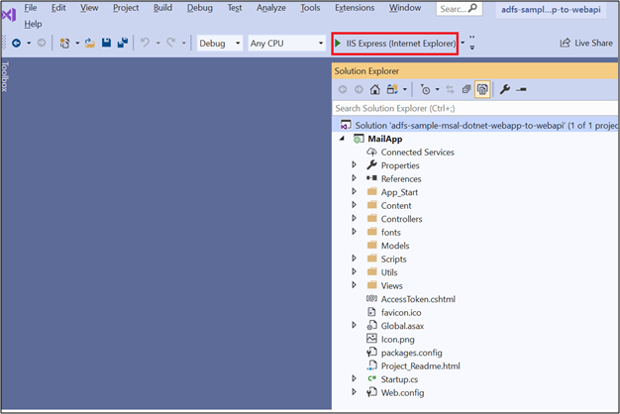
Once the code changes are made rebuild the solution.
At the top of Visual Studio, make sure Internet Explorer is selected and click the green arrow.
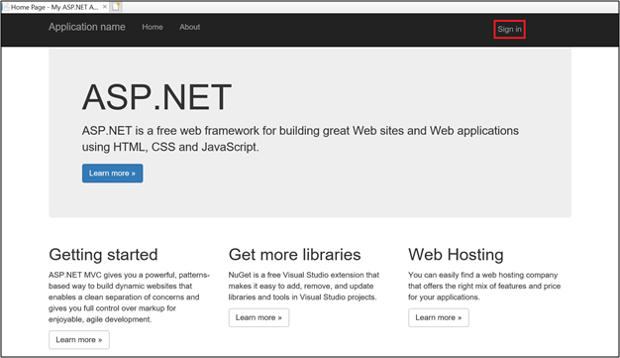
On Home Page, click on Sign-in.
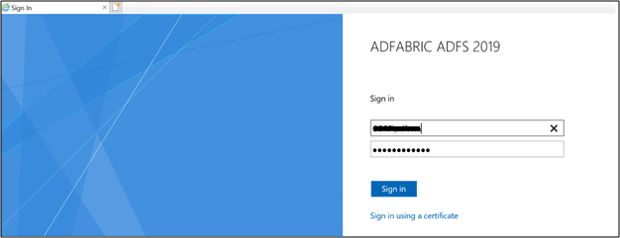
You'll be re-directed to the AD FS sign-in page. Go ahead and sign in.
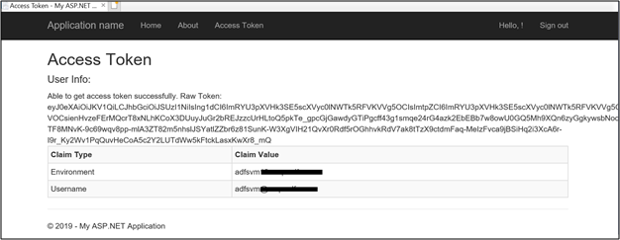
Once signed-in, click on Access Token.
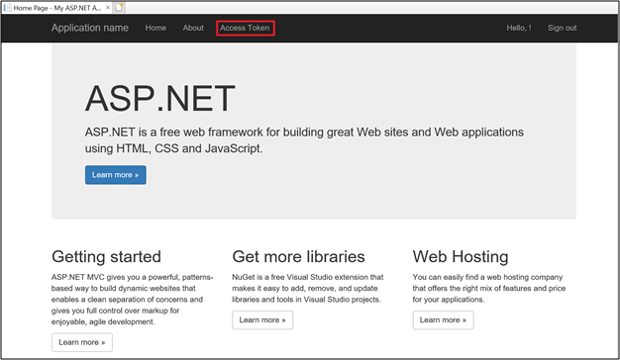
Clicking on Access Token gets the access token info by calling the Web API.