Note
Access to this page requires authorization. You can try signing in or changing directories.
Access to this page requires authorization. You can try changing directories.
Windows Machine Learning can be used to run predictions on tabular datasets, predicting numeric values based on independent input variables. This guide uses a specific dataset in Excel format, but the procedures outlined will work for any related task using a tabular dataset of your choice.
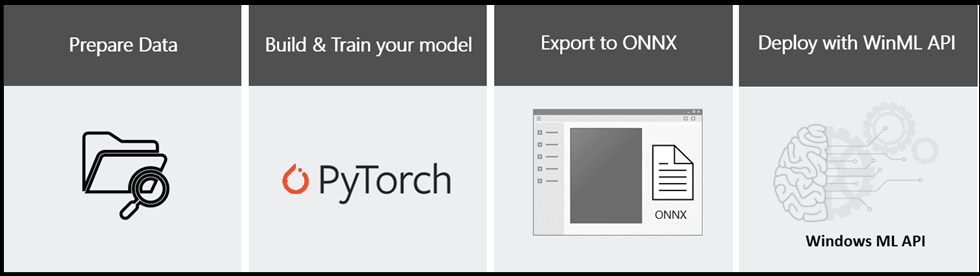
This guide will show you how to solve a classification task with a neural network using the PyTorch library, export the model to the ONNX format, and deploy it in a Windows Machine Learning application running locally on your Windows device.
Basic knowledge in Python and C# programming languages is required. Previous experience in machine learning is preferable but not required.
If you'd like to move straight on to installation, see Install PyTorch.
If you've set up PyTorch already, start the model training process by getting the data.
Once you're ready to go with the data, you can start to train your model, and then convert it to the ONNX format.
If you have an ONNX model and want to learn how to create a WinML app from scratch, navigate to deploy your model.
Note
If you want, you can clone the Windows Machine Learning samples repo and run the completed code for this tutorial. You can find the PyTorch training solution here, or the completed Windows ML app here. If you're using the PyTorch file, make sure you set up the relevant PyTorch interpreter before you run it.
Scenario
In this tutorial, we'll create a machine learning data analysis application to predict the type of iris flowers. For this purpose, you will use Fisher’s iris flower dataset. The model will be trained to recognize certain types of iris patterns and predict the correct type.
Prerequisites for PyTorch - model training:
PyTorch is supported on the following Windows distributions:
- Windows 7 and greater. Windows 10 or greater recommended.
- Windows Server 2008 r2 and greater
To use Pytorch on Windows, you must have Python 3.x installed. Python 2.x is not supported.
Prerequisites for Windows ML app deployment
To create and deploy a WinML app, you'll need the following:
- Windows 10 version 1809 (build 17763) or higher. You can check your build version number by running
winvervia the Run command(Windows logo key + R). - Windows SDK for build 17763 or higher. You can get the SDK here.
- Visual Studio 2017 version 15.7 or later. We recommend using Visual Studio 2019, and some screenshots in this tutorial may be different if you use VS2017 instead. You can get Visual Studio here.
- You'll also need to enable Developer Mode on your PC
Note
Windows ML APIs are built into the latest versions of Windows 10 (1809 or higher) and Windows Server 2019. If your target platform is older versions of Windows, you can port your WinML app to the redistributable NuGet package (Windows 8.1 or higher).
Next Steps
We'll start by installing PyTorch and configuring our environment
Important
PyTorch, the PyTorch logo and any related marks are trademarks of Facebook, Inc.