Note
Access to this page requires authorization. You can try signing in or changing directories.
Access to this page requires authorization. You can try changing directories.
Note
For greater functionality, PyTorch can also be used with DirectML on Windows.
In the previous stage of this tutorial, we discussed the basics of PyTorch and the prerequisites of using it to create a machine learning model. Here, we'll install it on your machine.
Get PyTorch
This tutorial uses an Anaconda environment on 64-bit Windows to train and run your model on the CPU. For the Windows ML application later in the tutorial, you need Windows 10, version 1809 (build 17763), or later. You don't need a GPU or CUDA for these steps.
Important
This is a legacy tutorial. The steps retain Python 3.8 and the PyTorch 1.7.1 package versions shown in the original installation examples, rather than upgrading the downstream training and ONNX export code. Python 3.8 is no longer supported, and PyTorch stopped publishing official Conda packages starting with version 2.6. Use a separate test machine or virtual machine to reproduce this environment, not a production environment. For new projects, follow the current PyTorch installation guidance; newer packages aren't validated with this tutorial.
Download the 64-bit Windows installer
Anaconda3-2020.11-Windows-x86_64.exefrom the Anaconda installer archive and install it on your test machine. Anaconda 2020.11 includes Python 3.8.5 and the data analysis packages used later in the tutorial.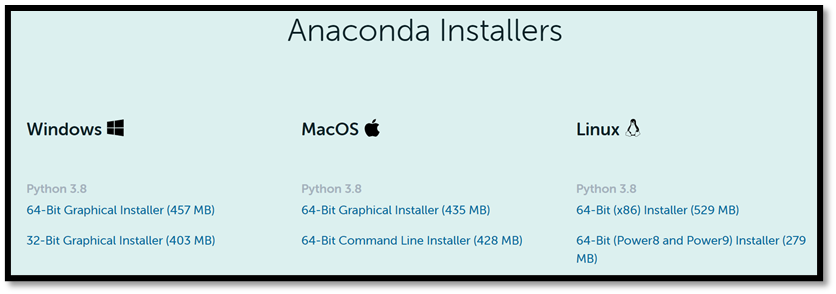
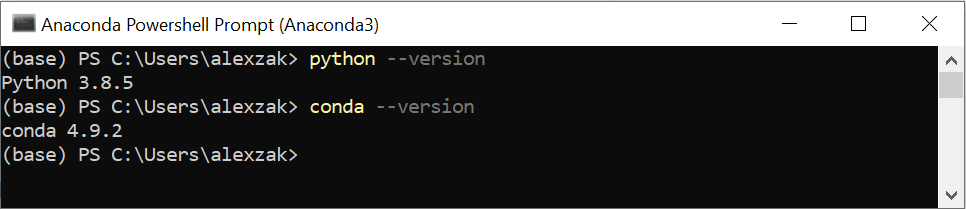
Open Start > Anaconda3 > Anaconda PowerShell Prompt. Check your Python and Conda versions:
python --version
conda --version
Verify that Python reports version 3.8 before continuing.
Review the v1.7.1 > Conda > Linux and Windows > CPU Only instructions on the previous PyTorch versions page. This tutorial uses the Windows, Conda, Python, and CPU options, not the current stable release selector. CUDA builds are available for compatible NVIDIA GPUs, but GPU setup isn't part of this procedure.
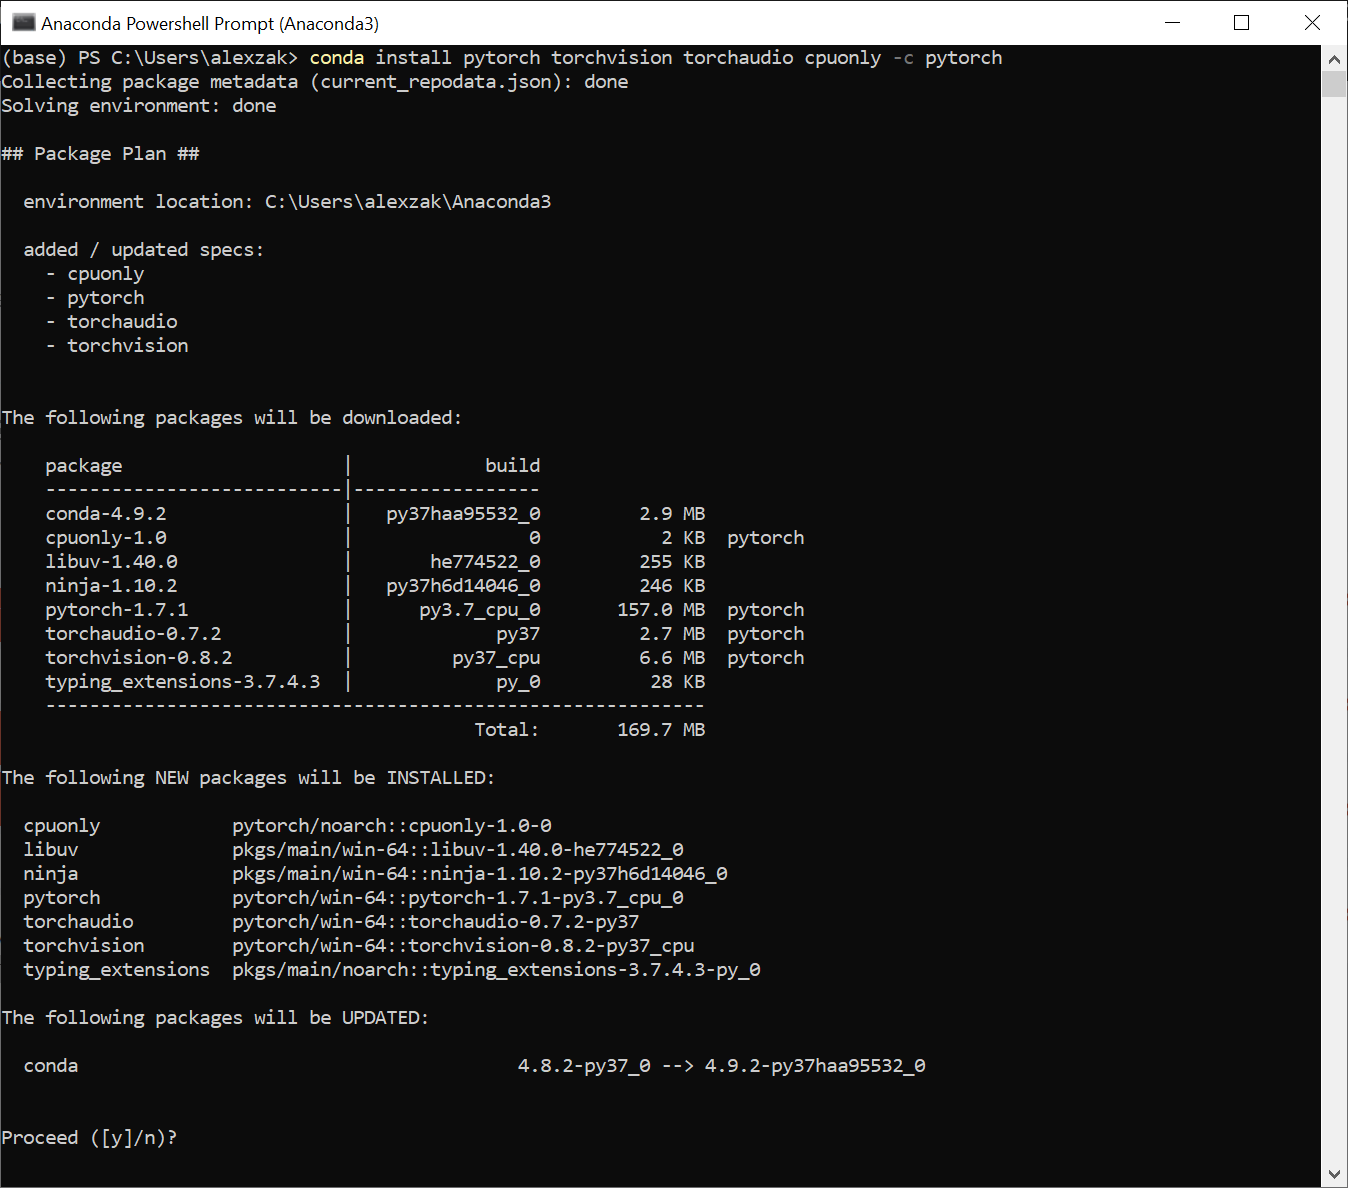
In the same Anaconda PowerShell Prompt, install the CPU packages. The versions are pinned to avoid selecting a newer PyTorch release:
conda install pytorch==1.7.1 torchvision==0.8.2 torchaudio==0.7.2 cpuonly -c pytorch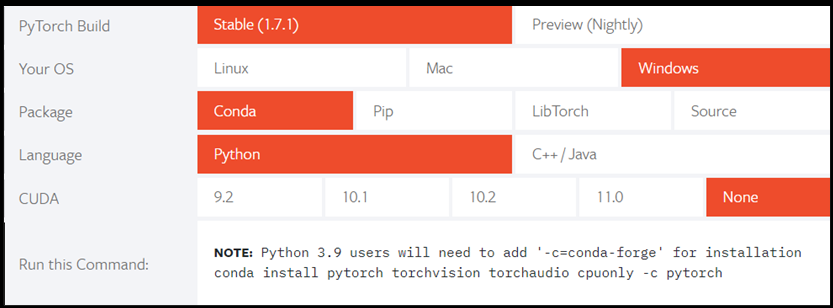
The screenshots are historical examples; their Python versions and unpinned commands can differ. Follow the commands in the text.
Review the package plan, enter
ywhen prompted, and wait for installation to finish. If Conda can't resolve the legacy packages, don't substitute the latest PyTorch release and assume that the later tutorial steps are compatible.In the same prompt, start Python:
pythonEnter the following code to construct a randomly initialized tensor:
import torch

x = torch.rand(2, 3)

print(x)
The output should be a random 2x3 tensor (two rows and three columns). Your numbers will differ, but the shape should match this example:
tensor([[0.5343, 0.7362, 0.8390],
        [0.4758, 0.2399, 0.1936]])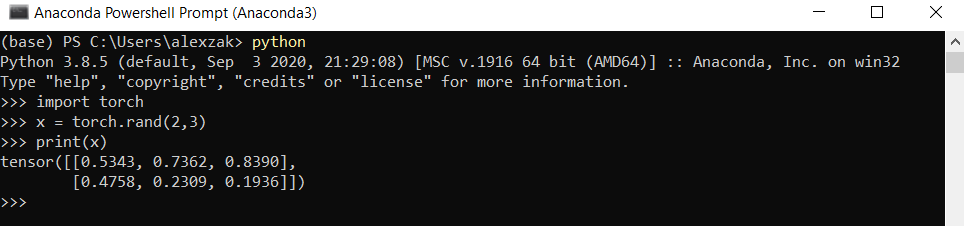
Enter
exit()to return to the Anaconda PowerShell Prompt. Use this same Anaconda environment when you select the Python interpreter in the next stage of the tutorial.
Note
Interested in learning more? Visit the PyTorch official website.
Next Steps
Now that we've installed PyTorch, we're ready to set up the data for our model.