Enrolling Windows IoT Core devices in Microsoft Intune
Your company can manage IoT Core devices alongside all of your other managed devices. This gives you a consistent way to manage IoT Core, IoT Enterprise, and other Windows devices using Intune.
How do I enroll an IoT Core device into Intune?
Intune enrollment of an IoT Core device is accomplished by using the Windows IoT Core Dashboard to prepare the device, and then using Windows Configuration Designer to create a provisioning package.
Change the Intune MDM user scope in Azure AD
Sign in to the Azure portal, and then select Azure Active Directory.
Select Mobility (MDM and MAM).
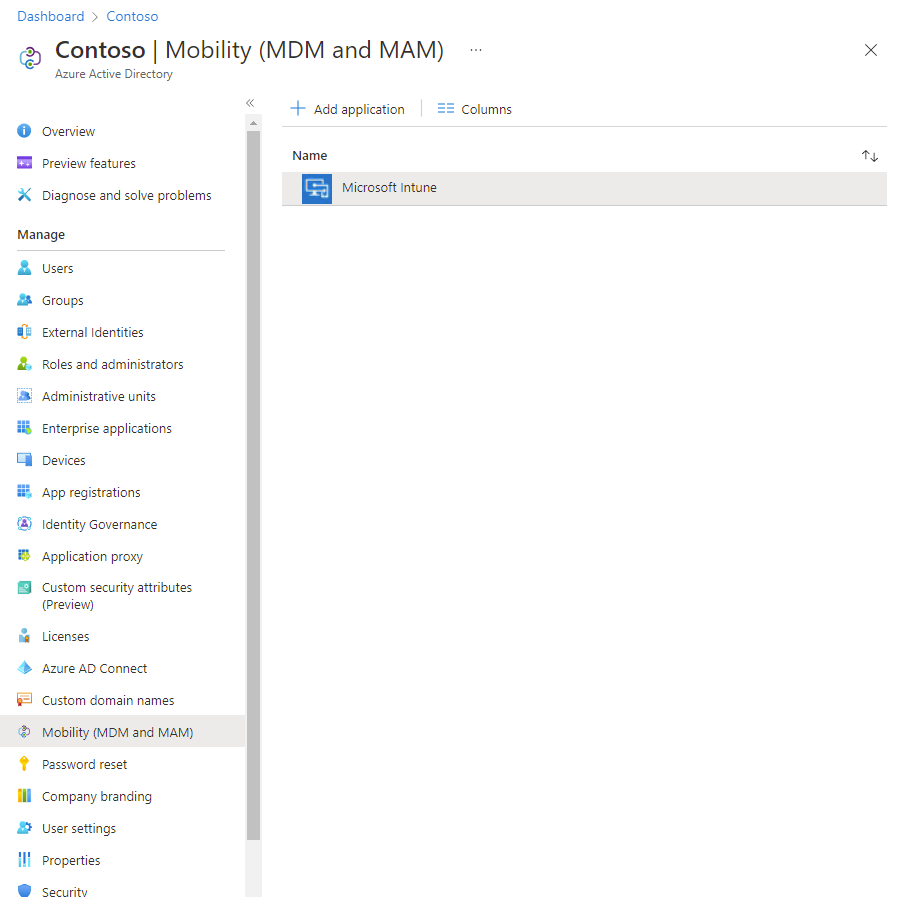
Select Microsoft Intune. On the Configure Microsoft Intune page, next to MDM user scope, select All. This will allow your IoT Core device user to be enrolled in Intune after joining Azure AD.
Create a setup SD card for the IoT Core device
Insert a microSD card into the card reader on your PC.
Note
The microSD card will be formatted during this process, so any data on the card will be deleted.
Go to Windows IoT Core Dashboard to download and install the dashboard.
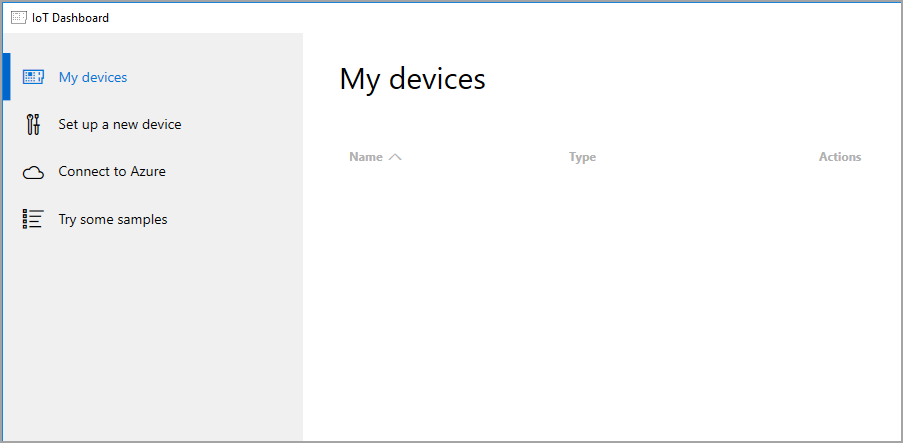
After the dashboard installs, open it and select Set up a new device.
Type a Device name.
Enter a new administrator password.
If you want to enable Wi-Fi for the device, select the Wi-Fi Network Connection checkbox. Skip this if the device will use an ethernet network connection only.
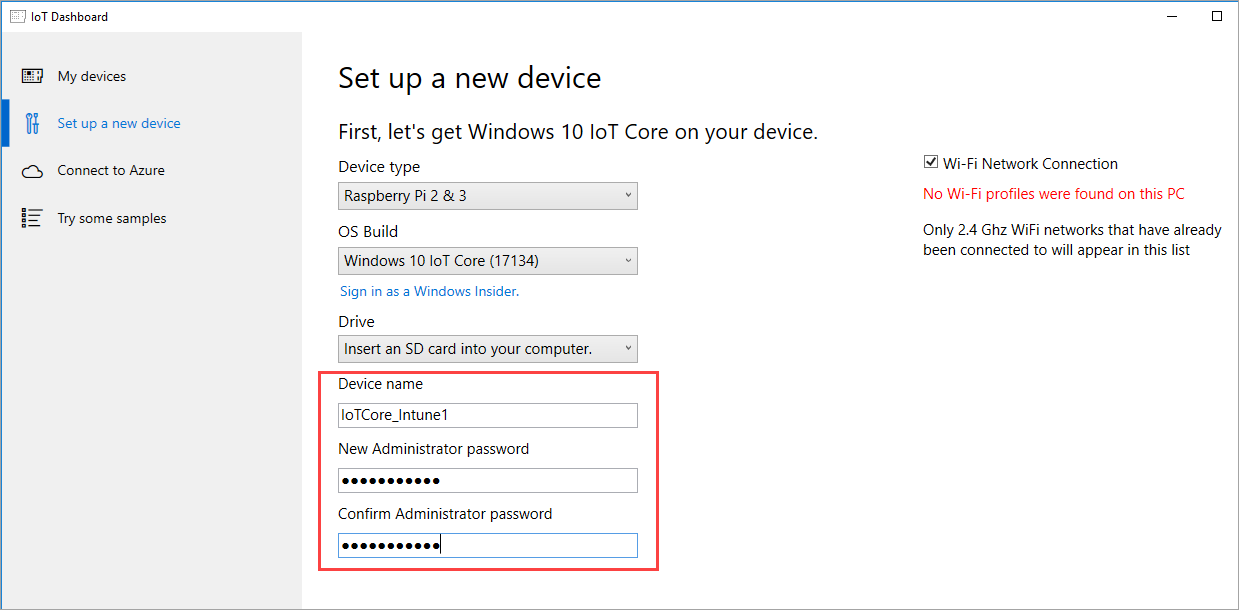
Select the I accept the software license terms checkbox, and then select Download and Install.
When the confirmation message appears, select the option to Format the SD Card.
Note
Watch for the Format confirmation message during setup. The message could be hidden by another open application, but it’s important to select the Format option. If the drive isn't properly formatted, boot will fail.
The message Your SD card is ready appears.
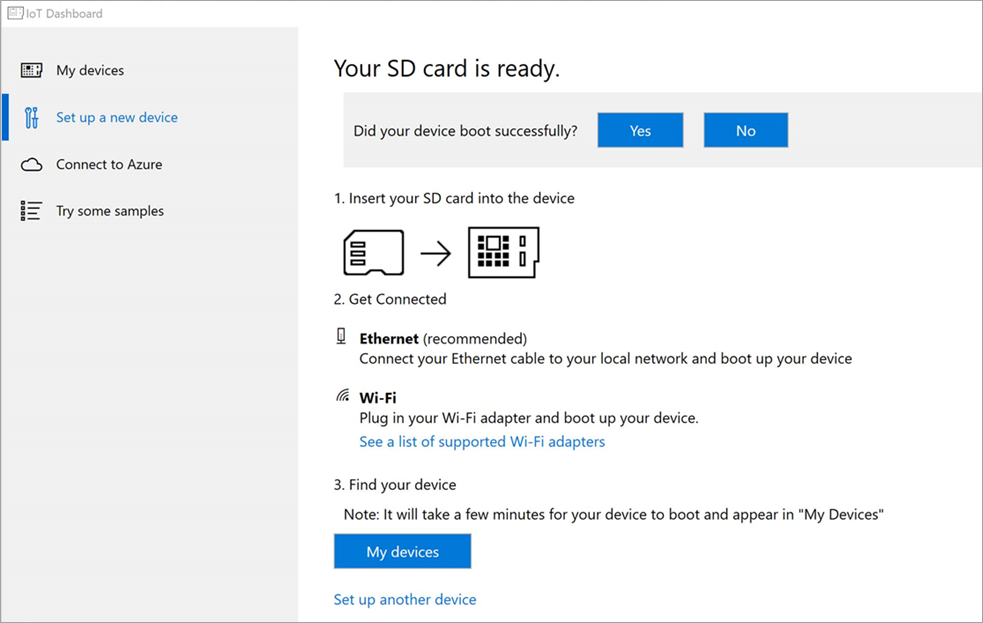
Minimize this page. You'll come back to it later.
Create a provisioning package for Intune enrollment
Install the Windows Configuration Design app by following the steps in Install Windows Configuration Designer.
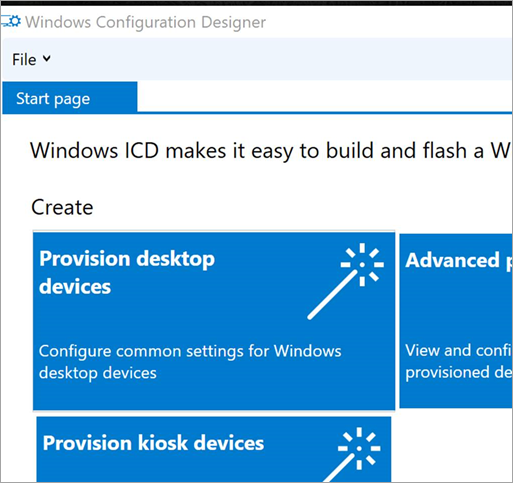
Open the Windows Imaging and Configuration Designer.
Choose Provision desktop devices to create a project.
Enter the Project Details as desired. Then select Finish.
Go to the Account Management page and select Enroll in Azure AD.
Note
Installing the app from either the Microsoft Store or the Windows Assessment and Deployment Kit (ADK) is fine.
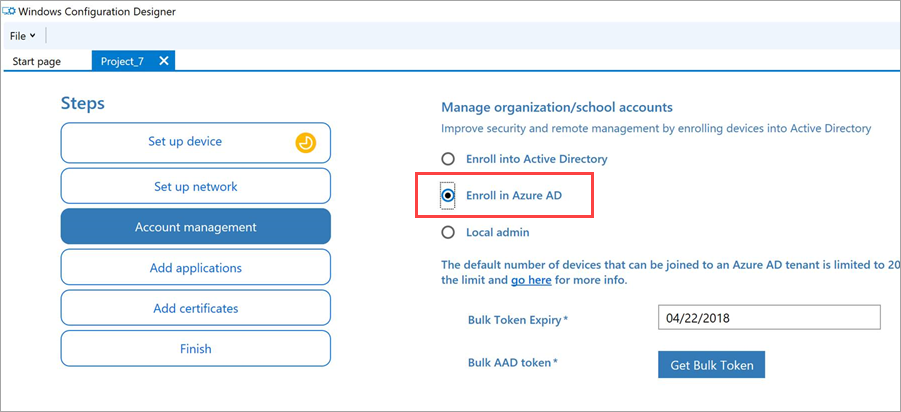
Next to Bulk Token Expiry, enter a bulk token expiry date.
Select Get Bulk Token. A sign-in message appears for connecting to Azure AD.
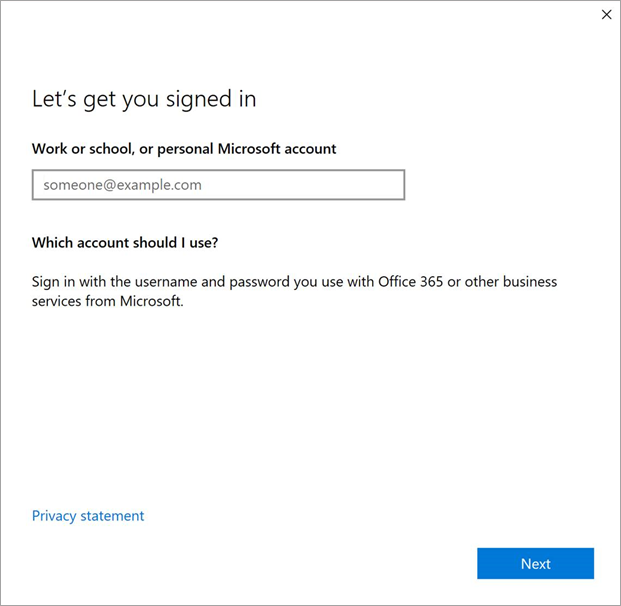
Enter your tenant username (for example, john@mycompany.onmicrosoft.com) and your password.
Agree to allow the Windows Configuration Design app to access your Azure AD information.
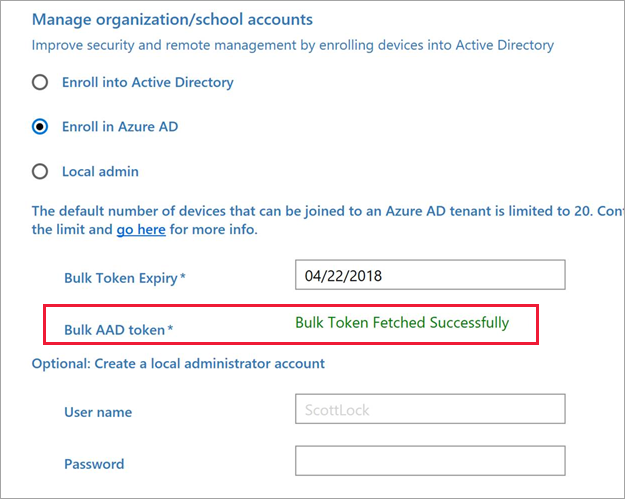
A message on the page shows that the Bulk Azure AD token was fetched successfully.
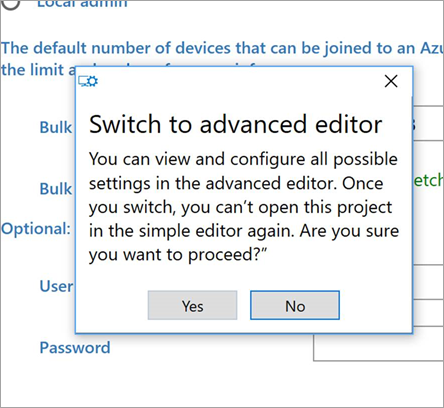
Select Switch to advanced editor, and then select Yes.
Under Selected customizations, Leave the Account settings, but remove all other settings:
Select OOBE, and then select Remove.
If SharedPC is listed, select it, and then select Remove.

Select Export, and then choose Provisioning package.

On the next page, accept the default settings and select Next.
Again, on the next page, accept the default settings and select Next.
Change the Provisioning Package destination or leave the default path, and then select Next.
Select Build.
Select the Output Location link so that you can locate the .ppkg file when it's ready.

Select Finish.
Go to File Explorer and copy the provisioning package to your IoT Core device. Save it to the microSD card under the MainOS drive in the c:\windows\provisioning\packages folder. You'll have to grant permissions to save the file in this folder.
Provision and enroll the IoT Core device in Intune
Insert the microSD card into your IoT Core device.
Turn on your IoT Core device and allow time for it to start up and display the standard screen.
Return to the Microsoft Intune console in the Azure portal. Your device should appear in the list of devices.
Note
Enrollment could take 15 minutes or more to complete.
