Setting up an NXP i.MX6/i.MX7 device
Overview
Important
When the "format this disk" pop up comes up, do not format the disk. We are working on a fix for this issue.
Note
Set up for the NXP is nearly identical to setting up a Raspberry Pi.
When setting up an NXP device for prototyping, we recommend using the Windows 10 IoT Core Dashboard. However, if you're looking to manufacture with an NXP device, please refer to the IoT Core Manufacturing Guide. You cannot use maker images for manufacturing.
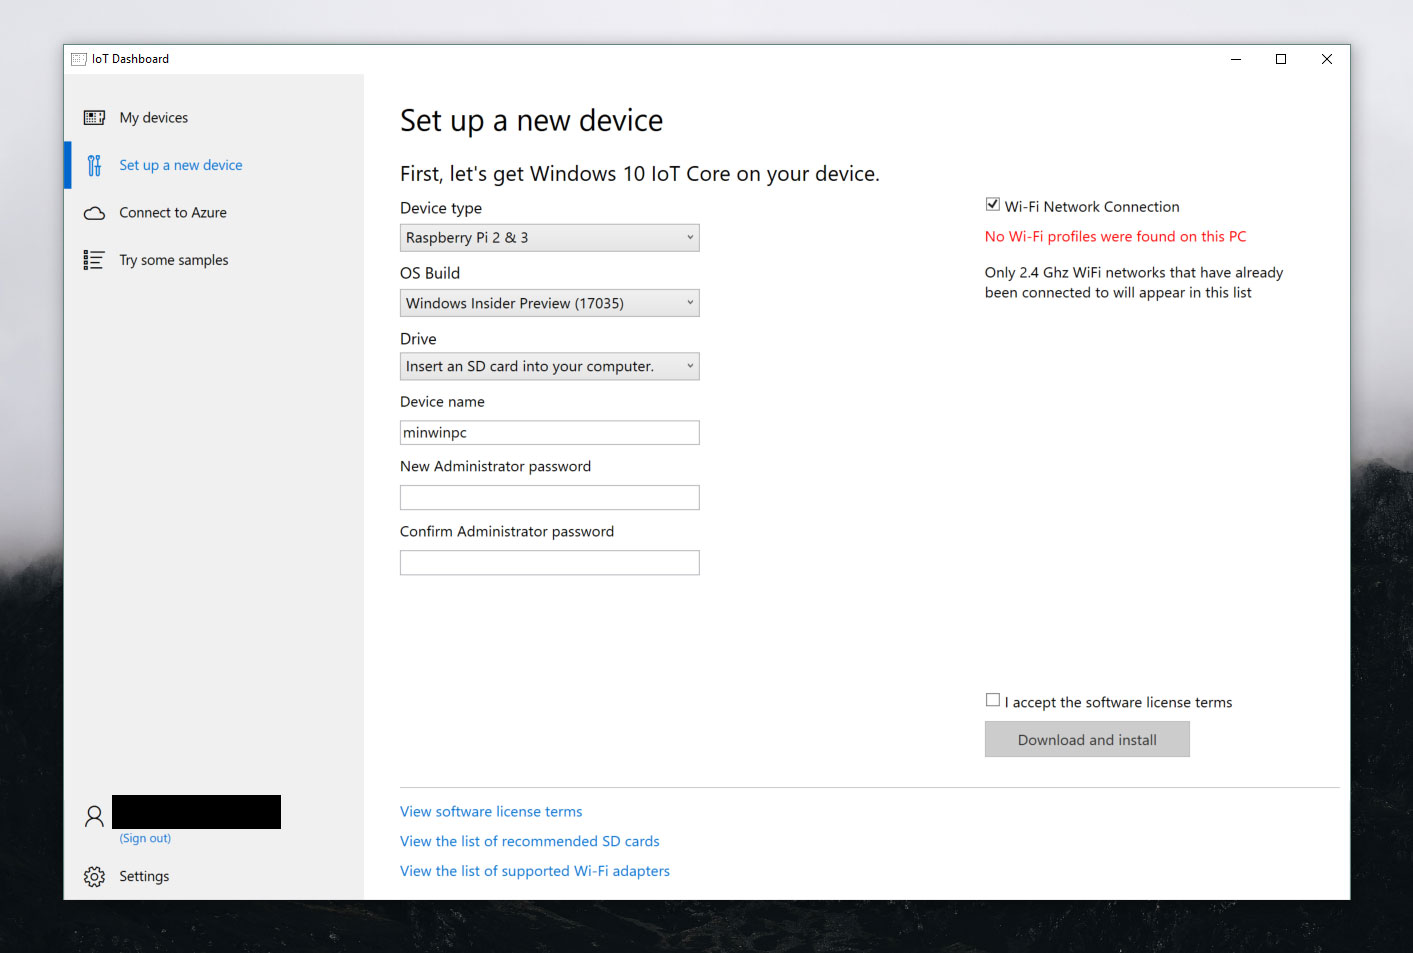
Using the Dashboard
To flash, or download, IoT Core onto your NXP device, you'll need:
- A computer running Windows 10
- Windows 10 IoT Core Dashboard
- A high-performance SD card, such as a SanDisk SD card
- An external display
- Any other peripherals (e.g. mouse, keyboard, etc.)
Instructions
Run the Windows 10 IOT Core Dashboard and click on Set up a new device and insert an SD card into your computer.
Hook up your NXP device to an external display.
Fill out the fields. Select "NXP [i.MX6/i.MX7]" as the device type. Make sure to give your device a new name and password. Otherwise the default credentials will remain as:
Device: minwinpc
Password: p@ssw0rd
Upload your pre-downloaded image file using the "Browse" function. For more information, see our NXP documentation.
Accept the software license terms and click Download and Install. If all goes well, you'll see that Windows 10 IoT Core is now flashing your SD card.
Connect to a network
Wired connection
If your device comes with an Ethernet port or USB Ethernet adapter support to enable a wired connection, attach an Ethernet cable to connect it to your network.
Wireless connection
If your device supports Wi-Fi connectivity and you've connected a display to it, you'll need to:
- Go into your default application and click the settings button next to the clock.
- On the settings page, select Network and Wi-Fi.
- Your device will begin scanning for wireless networks.
- Once your network appears in this list, select it and click Connect.
If you haven't connected a display and would like to connect via Wi-Fi, you'll need to:
- Go to the IoT Dashboard and click on My Devices.
- Find your unconfigured board from the list. Its name will begin with "AJ_"... (e.g. AJ_58EA6C68). If you don't see your board appear after a few minutes, try rebooting your board.
- Click on Configure Device and enter your network credentials. This will connect your board to the network.
Note
Wifi on your computer will need to be turned on in order to find other networks.
Connect to Windows Device Portal
Use the Windows Device Portal to connect your device through a web browser. The device portal makes valuable configuration and device management capabilities available.