Note
Access to this page requires authorization. You can try signing in or changing directories.
Access to this page requires authorization. You can try changing directories.
The WinGet command line tool enables users to discover, install, upgrade, remove and configure applications on Windows 10 and Windows 11 devices. This tool is the client interface to the Windows Package Manager service.
In this tutorial, you learn how to install and utilize WinGet on Windows IoT Enterprise. This guide is useful for Windows IoT Enterprise LTSC versions as they don't support the Microsoft Store application itself, which is commonly used to install WinGet. The documentation is all tested on Windows 10 IoT Enterprise LTSC 2021.
Download WinGet
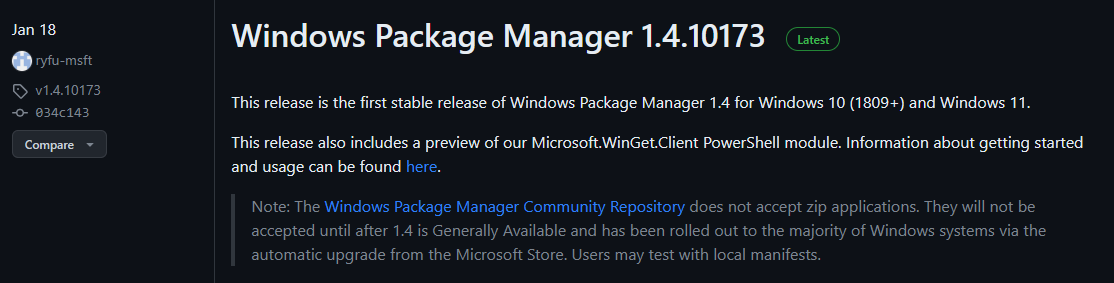
Download WinGet bundle files from WinGet CLI Repo Releases.
Choose the latest version that isn't "Prerelease" (It should have the Latest tag.)
In my case, this version is version 1.4.10173
Download the
msixbundlefile and theLicense1.xmlfile.Download the VCLibs Desktop framework package associated with your processor architecture.
For ARM64 architecture, download Microsoft.VCLibs.arm64.14.00.Desktop.appx
For x64 architecture, download Microsoft.VCLibs.x64.14.00.Desktop.appx
For more information, see How to install and update Desktop framework packages
WinGet CLI has a dependency on
Microsoft.UI.Xaml.2.8.Download the
Microsoft.UI.Xaml.2.8NuGet package from Microsoft UI NuGet Org. The download link is located on the right side at Download Package.Change the file extension from
.nupkgto.zip. To change the file extension, Open Command Prompt, navigate to the directory where the nupkg file was downloaded and run the following command to rename the file:
ren Microsoft.UI.Xaml.2.8.6.nupkg Microsoft.UI.Xaml.2.8.6.zipNote
The latest version of Microsoft.UI.Xaml was 2.8.6 at time of this article. Replace the version 2.8.6 in the above command with the latest version downloaded from the Microsoft UI Xaml NuGet gallery.
- Open the
.zipfolder renamed in the previous step usingFile Explorerand copy the filetools\AppX\<your architecture>\release\Microsoft.UI.Xaml.2.8.appxto your downloads folder. This file will be installed to your device in a future step.- For more information about working with
.zip files, see zipping and unzipping files.
- For more information about working with
Install WinGet Client
Launch PowerShell as Administrator
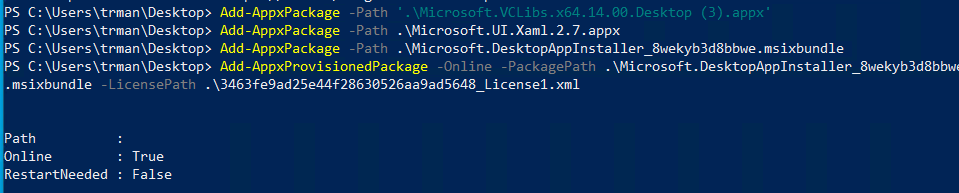
Install the Desktop Framework Package using the PowerShell command Add-AppxPackage.
Add-AppxPackage -Path <path to VCLibs .appx file>Where
<path to VCLibs .appx file>is the fully qualified path to the VC++ v14 Desktop Framework Package you downloaded earlier.
Install Microsoft UI Xaml using the PowerShell command Add-AppxPackage.
Add-AppxPackage -Path <path to UI xaml.appx file>Where
<path to UI xaml.appx file>is the fully qualified path to the Microsoft UI Xaml 2.8.6 package you downloaded earlier.
Caution
Without the VCLibs and UI Xaml dependencies installed, the WinGet installer fails (without any error/warning messages). Specifically, the "winget.exe" file isn't added to "C:\Users\[Username]\AppData\Local\Microsoft\WindowsApps"
Install the WinGet client using the PowerShell command Add-AppxPackage.
Add-AppxPackage -Path <path to .msixbundle file>Where
<path to .msixbundle file>is the fully qualified path to the WinGet bundle file you downloaded earlier.
Configure the WinGet client with the correct license file using the PowerShell command Add-AppxProvisionedPackage
Add-AppxProvisionedPackage -Online -PackagePath <path to .msixbundle file> -LicensePath <path to xml file>Where
<path to .msixbundle file>is the fully qualified path to the WinGet bundle file<path to xml file>is the fully qualified path to the License1.xml file you downloaded earlier.
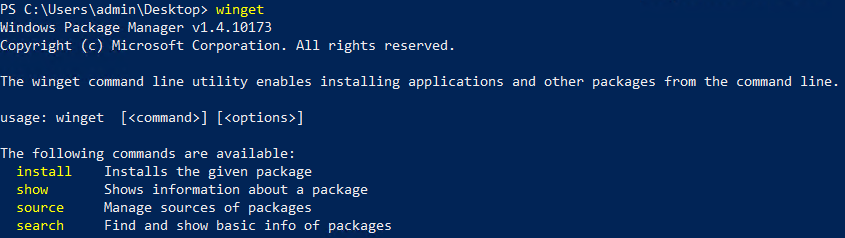
Now, you should see the winget.exe file appear at C:\Users\[Username]\AppData\Local\Microsoft\WindowsApps. Furthermore, it should also be automatically added to your path. You should also be able to use WinGet in the PowerShell terminal.
Tip
If the winget command is not recognized in PowerShell, try restarting PowerShell first, and if unsuccessful again, try restarting your computer.
Install Applications with WinGet
First, search the WinGet repository for the application you want to install. For example, to search for the 'Windows Camera' application, use the
searchcommand:winget search "Windows Camera"Next, learn more about the application with the
showcommand:winget show "Windows Camera"Next, install the application with the
installcommand:winget install "Windows Camera"For more detail on how to search, install, configure, and uninstall applications with WinGet, see Use WinGet.
Note
These instructions are adapted from the original WinGet documentation targeting Windows desktop editions for Windows IoT Enterprise LTSC which does not have a Windows Store user experience. These instructions also incorporate guidance Zamiell's WinGet CLI repository discussion and from MuradBuyukasik's WinGet Scripts repository.