Note
Access to this page requires authorization. You can try signing in or changing directories.
Access to this page requires authorization. You can try changing directories.
Learn how to prepare a scene, and add some basic 3D elements to it.
In this tutorial, learn how to:
- Create a scene
- Add a camera
- Add light
- Add basic 3D elements
Before you begin
In previous tutorial step a basic web page was created. Have the web page open for editing.
<html>
    <head>
        <title>Babylon.js sample code</title>
        <script src="https://cdn.babylonjs.com/babylon.js"></script>
        <style>
            body,#renderCanvas { width: 100%; height: 100%;}
        </style>
    </head>
<body>
    <canvas id="renderCanvas"></canvas>
</body>
</html>
Create a scene
A scene is where all the contents will be displayed. There might be multiple scenes and it is possible to switch between scenes. Read more about Babylon.js Scene.
Add the script tag after the canvas html element and add the following code to create a scene filled in black color:
<script type="text/javascript">
    const canvas = document.getElementById("renderCanvas");
    const engine = new BABYLON.Engine(canvas, true);

    const createScene = function() {
        const scene = new BABYLON.Scene(engine);
        scene.clearColor = new BABYLON.Color3.Black;
        return scene;
    }

    const sceneToRender = createScene();
</script>
In the code above we have to create an instance of Babylon.js web rendering engine that renders a scene and hooks events on the canvas. For more information about the engine, check the documentation page babylon.engine
The scene is not rendered by default. Remember, there might be multiple scenes and you control which scene is displayed. To render the scene repeatedly on every frame, execute the following code after the call to createScene function:
engine.runRenderLoop(function () {
    sceneToRender.render();
});
Add basic 3D element
Let's add our first 3D shape. In the 3D virtual world shapes are built from meshes, lots of triangular facets joined together, each facet made from three vertices. You can either use a predefined mesh or create your own custom mesh. Here we will be using a predefined box mesh, i.e. a cube. To create the box use BABYLON.MeshBuilder.CreateBox. The parameters are name, and options (options are different according to the type of mesh). Append the following code to the function createScene:
const box = BABYLON.MeshBuilder.CreateBox("box", {});
box.position.x = 0.5;
box.position.y = 1;
Open the web page in the Microsoft Edge browser and check the output. The browser window shows a blank page. Open DevTools by using the keyboard and select F12 or Control+Shift+I (Windows, Linux) or Command+Option+I (macOS). After opening the Console tab, you can start looking for errors. There will be an error displayed: 'Uncaught Error: No camera defined'. Now we have to add a camera to the scene.
Add a camera
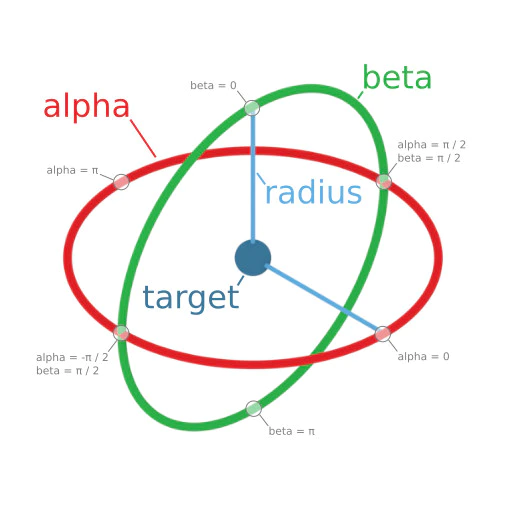
In order to view the virtual world and interact with it, a camera must be attached to the canvas. Let's add the camera of type BABYLON.ArcRotateCamera, which can be rotated around a target. The parameters required to create an instance of the camera are:
- name: name of the camera
- alpha: angular position along the longitudinal axis (in radians)
- beta: angular position along the latitudinal axis (in radians)
- radius: distance from the target
- target: the point that the camera would always face towards (defined by x-y-z coordinates)
- scene: the scene that the camera is in
Alpha, beta, radius, and target together define the camera's position in the space, as shown in the diagram below:
Add the following code to the createScene function:
const alpha =  Math.PI/4;
const beta = Math.PI/3;
const radius = 8;
const target = new BABYLON.Vector3(0, 0, 0);

const camera = new BABYLON.ArcRotateCamera("Camera", alpha, beta, radius, target, scene);
camera.attachControl(canvas, true);
If you check the output in the browser, you will see a black canvas. We are missing the light.
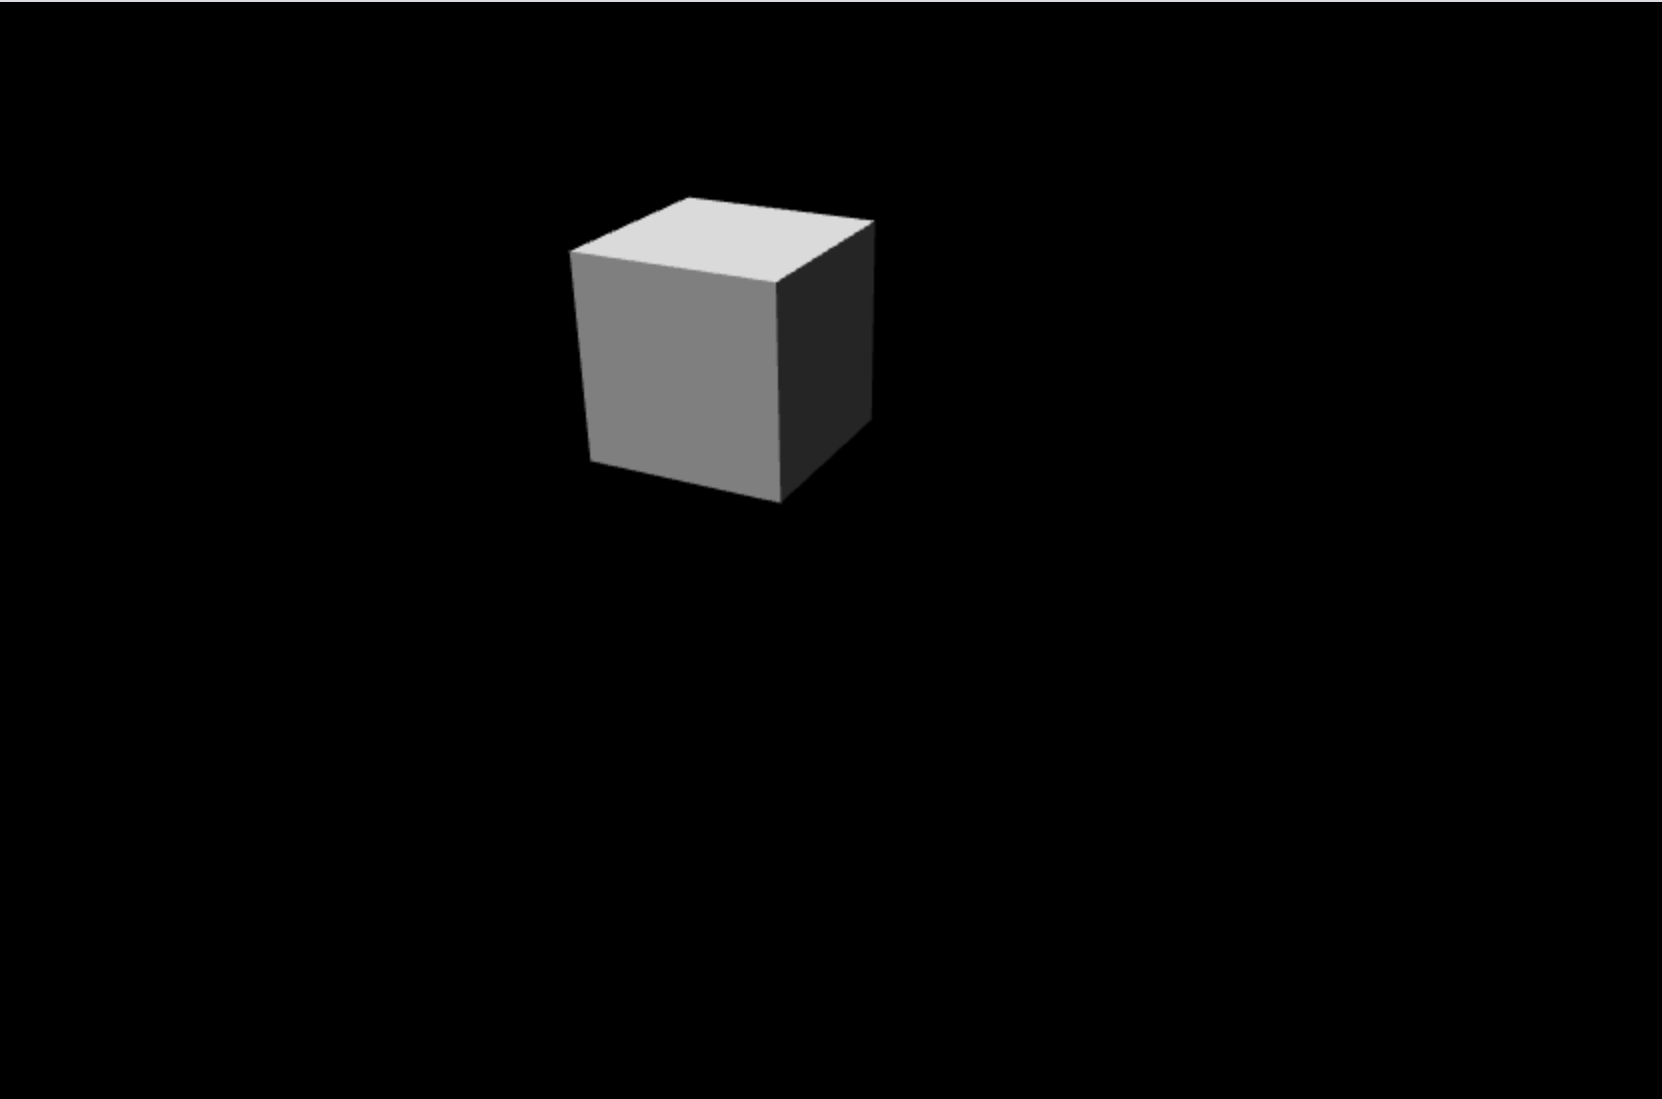
Add light
There are four types of lights that can be used with a range of lighting properties: Point, Directional, Spot and Hemispheric Light. Let's add the ambient light HemisphericLight, as follows:
const light = new BABYLON.HemisphericLight("light", new BABYLON.Vector3(1, 1, 0));The final code of the web page will look as follows:
<html>
<head>
    <script src="https://cdn.babylonjs.com/babylon.js"></script>
    <style>
        body,#renderCanvas { width: 100%; height: 100%;}
    </style>
</head>
<body>
    <canvas id="renderCanvas"></canvas>
    <script>
        const canvas = document.getElementById("renderCanvas");
        const engine = new BABYLON.Engine(canvas, true);

        const createScene = function() {
            const scene = new BABYLON.Scene(engine);
            scene.clearColor = new BABYLON.Color3.Black;

            const alpha =  Math.PI/4;
            const beta = Math.PI/3;
            const radius = 8;
            const target = new BABYLON.Vector3(0, 0, 0);

            const camera = new BABYLON.ArcRotateCamera("Camera", alpha, beta, radius, target, scene);
            camera.attachControl(canvas, true);

            const light = new BABYLON.HemisphericLight("light", new BABYLON.Vector3(1, 1, 0));

            const box = BABYLON.MeshBuilder.CreateBox("box", {});
            box.position.x = 0.5;
            box.position.y = 1;

            return scene;
        };

        const sceneToRender = createScene();
        engine.runRenderLoop(function(){
            sceneToRender.render();
        });
    </script>
</body>
</html>
Check the output in the browser. You should see the cube and using the mouse you can rotate the camera around the cube and see the different faces of the cube: