Note
Access to this page requires authorization. You can try signing in or changing directories.
Access to this page requires authorization. You can try changing directories.
In this tutorial, you will learn how to share the movements of objects so that all participants of a shared experience can collaborate and view each other's interactions.
Objectives
- Configure your project to share the movements of objects
- Learn how to build a basic multi-user collaborative app
Preparing the scene
In this section, you will prepare the scene by adding the tutorial prefab.
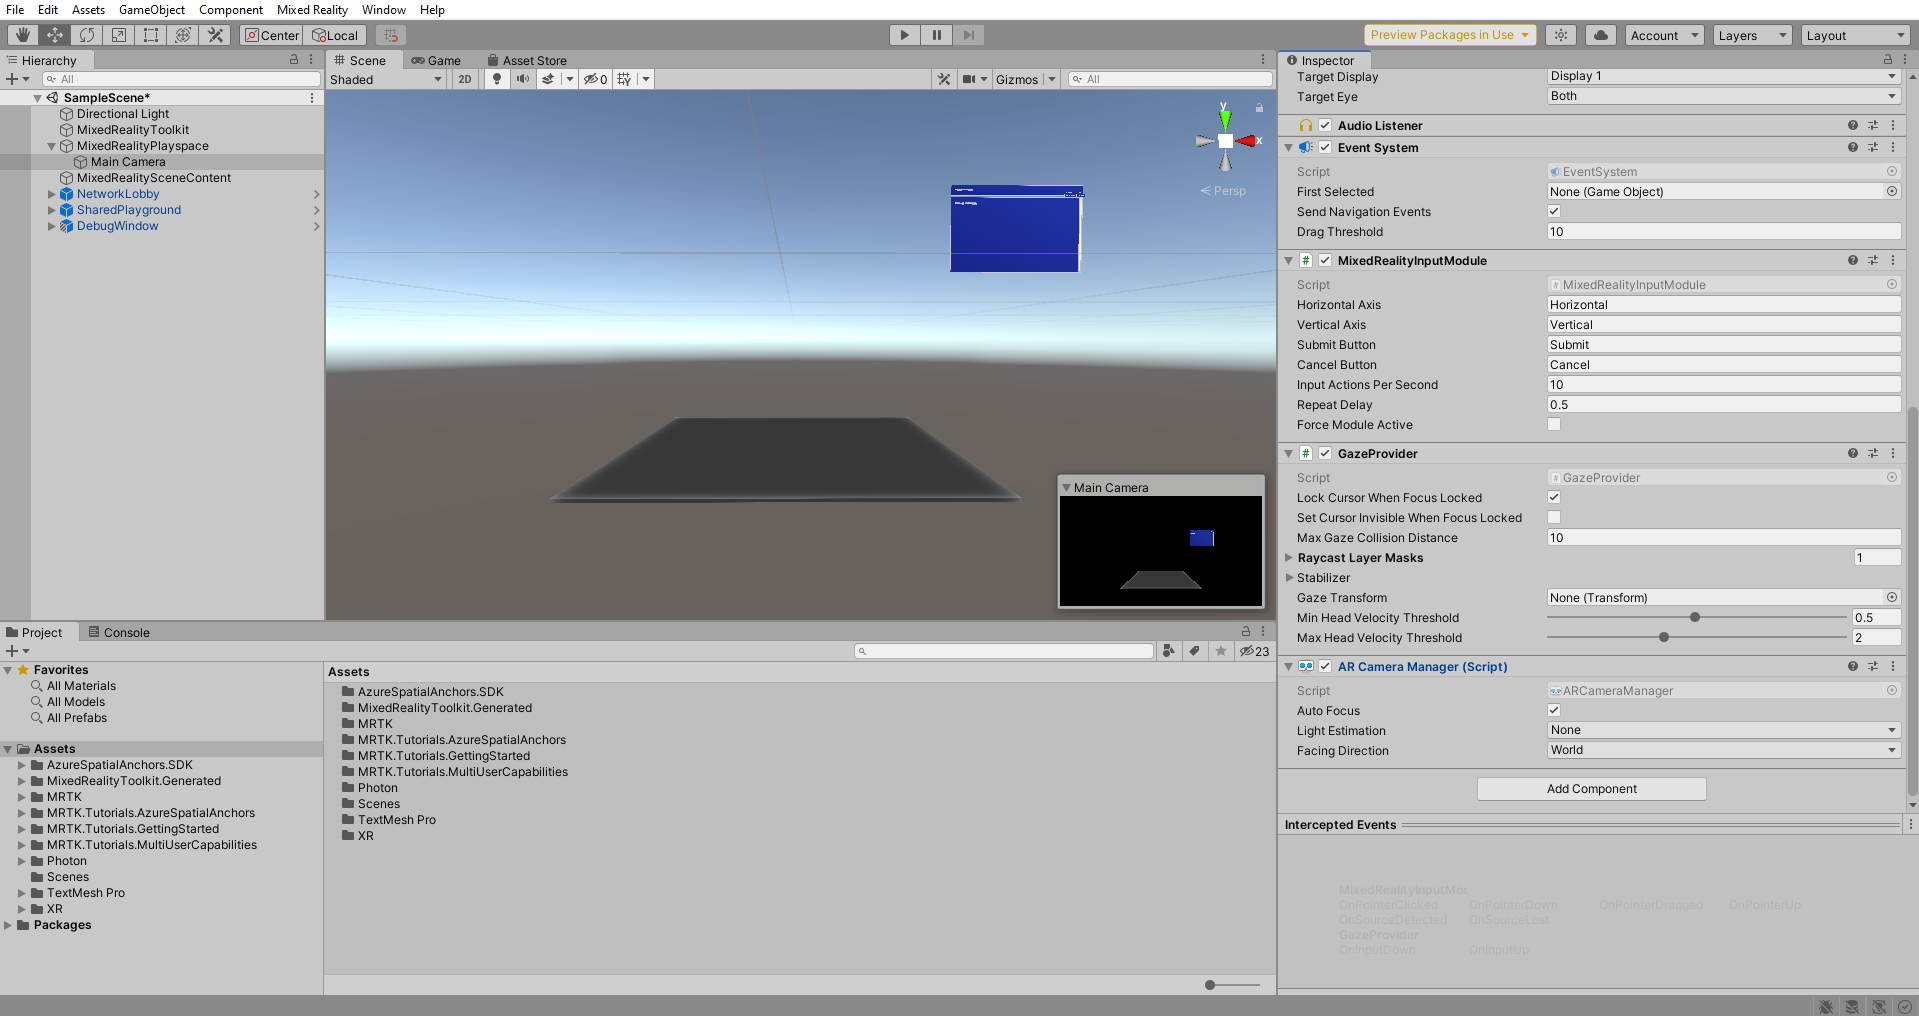
In the Hierarchy window, expand the MixedRealityPlayspace object and select the Main Camera child object, then in the Inspector window, use the Add Component button to add the AR Camera Manager (Script) component to the Main Camera object:
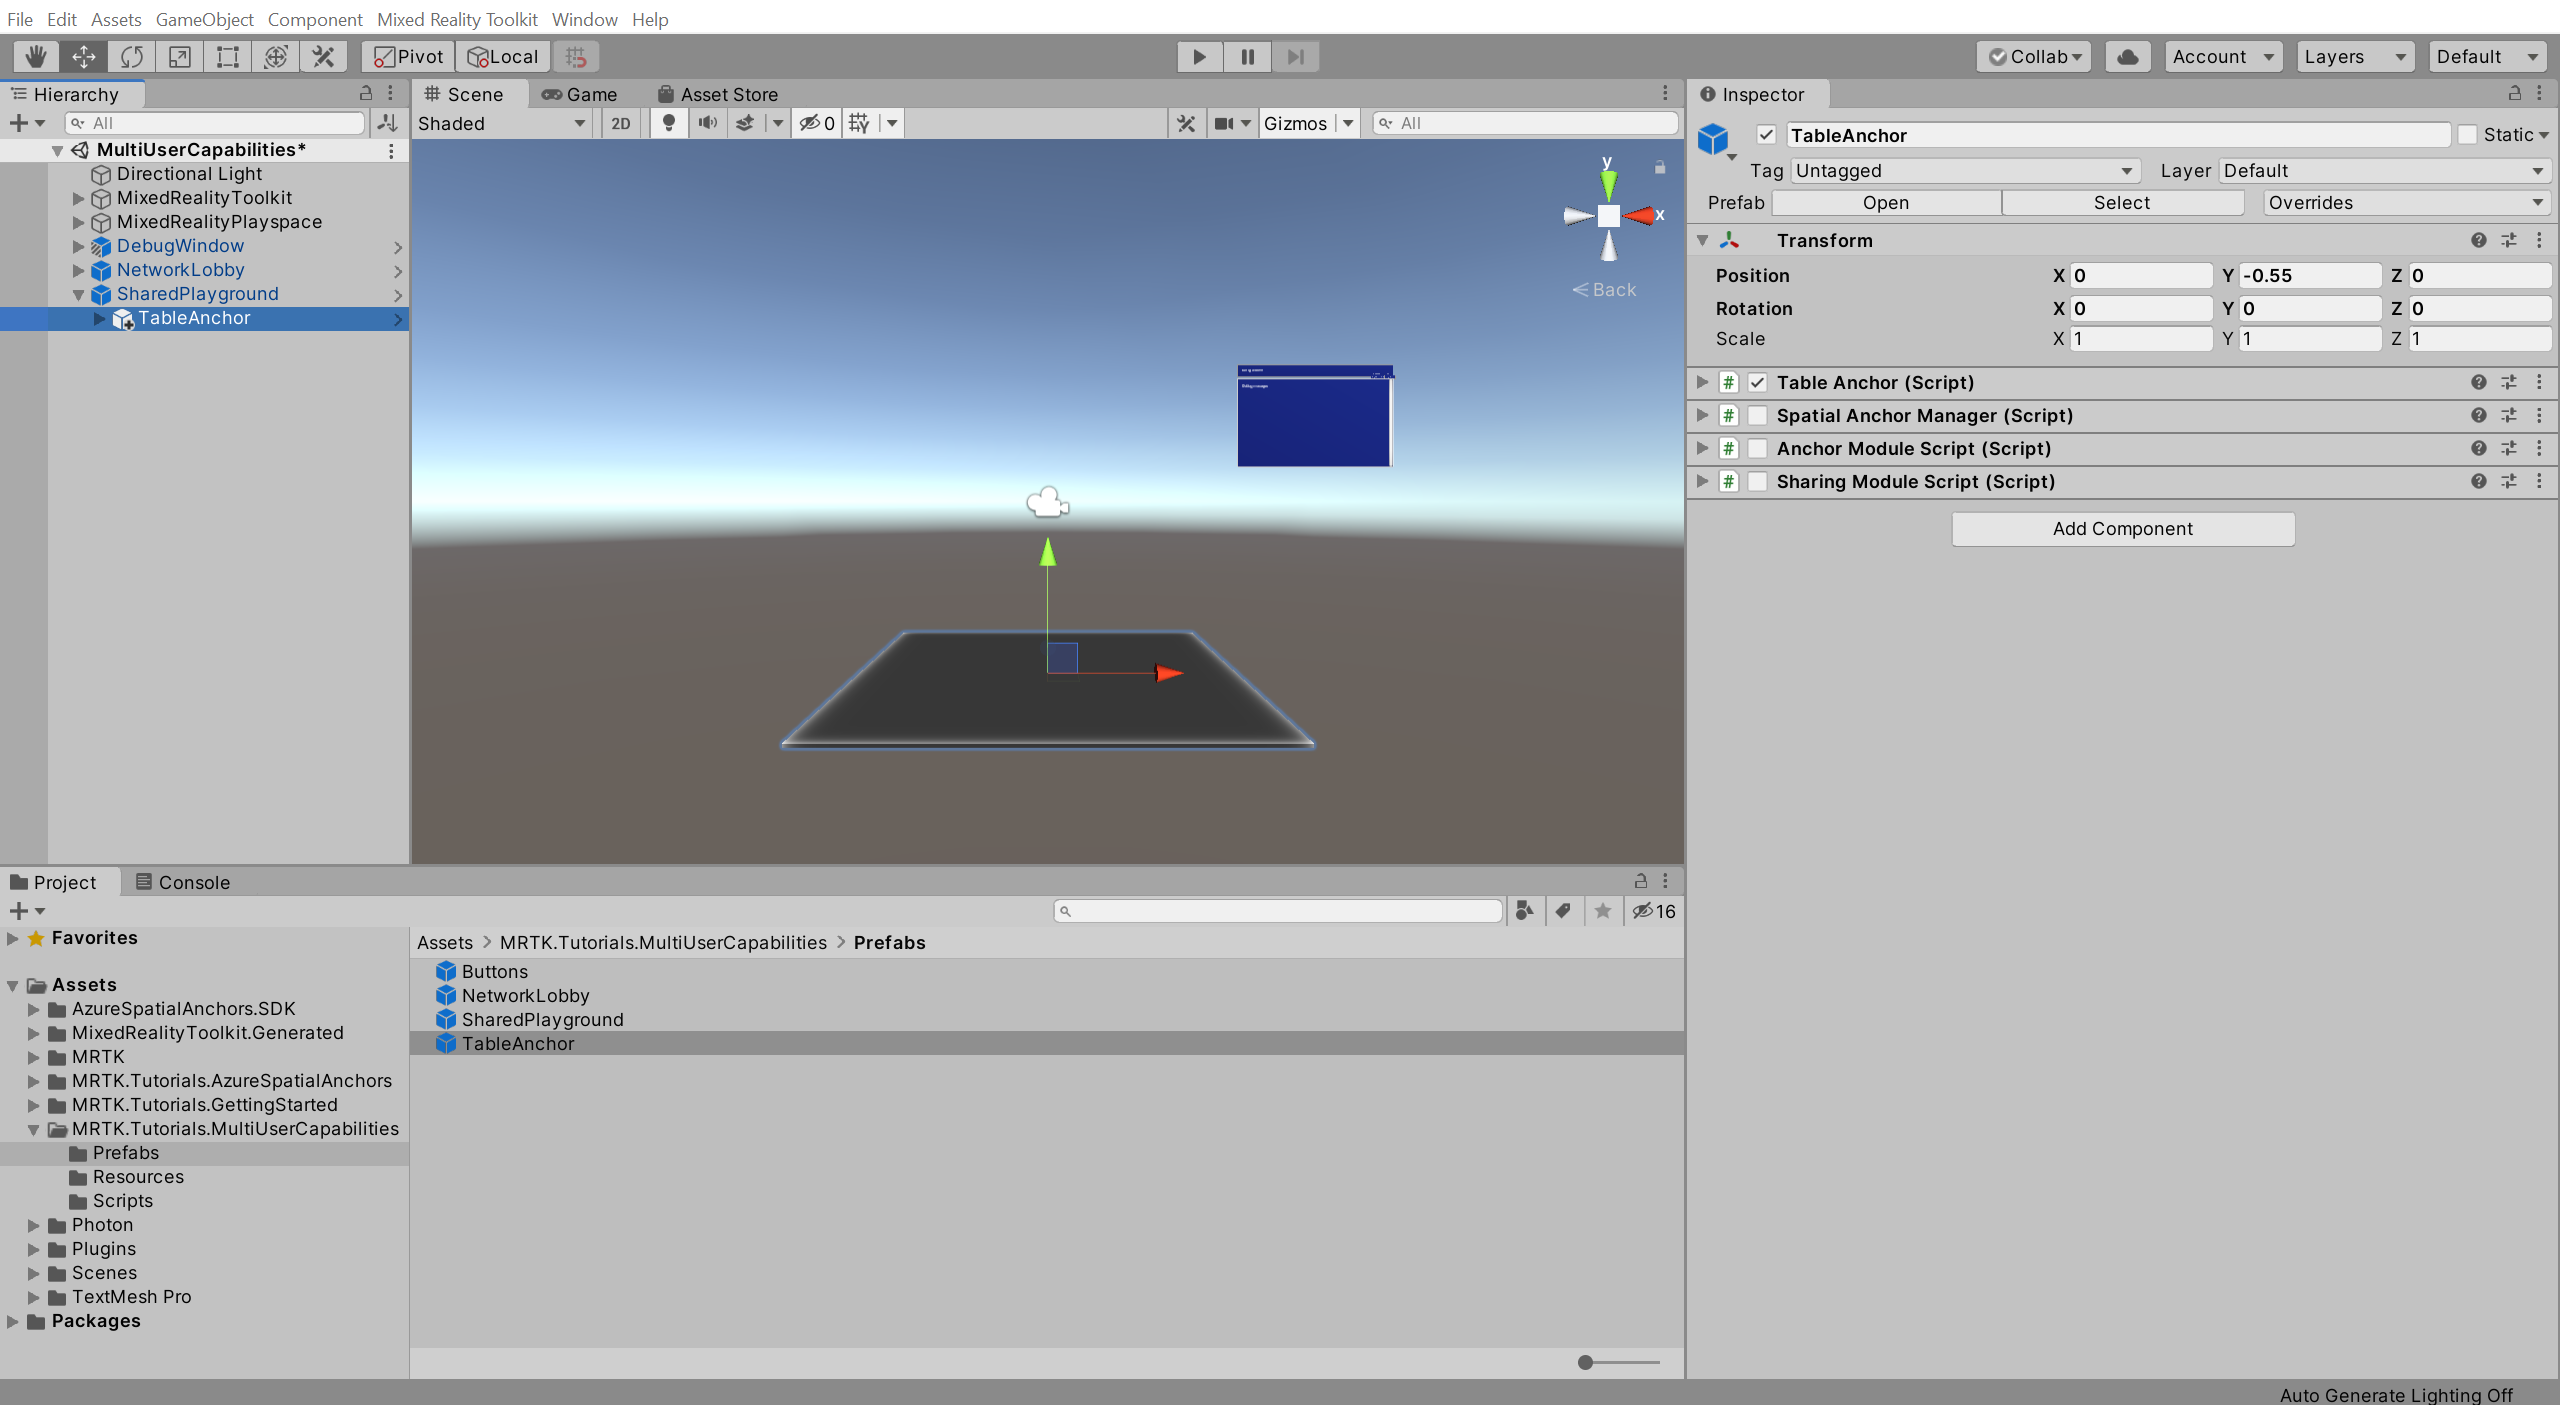
In the Project window, navigate to the Assets > MRTK.Tutorials.MultiUserCapabilities > Prefabs folder and drag the TableAnchor prefab onto the SharedPlayground object in the Hierarchy window to add it to your scene as a child of the SharedPlayground object:
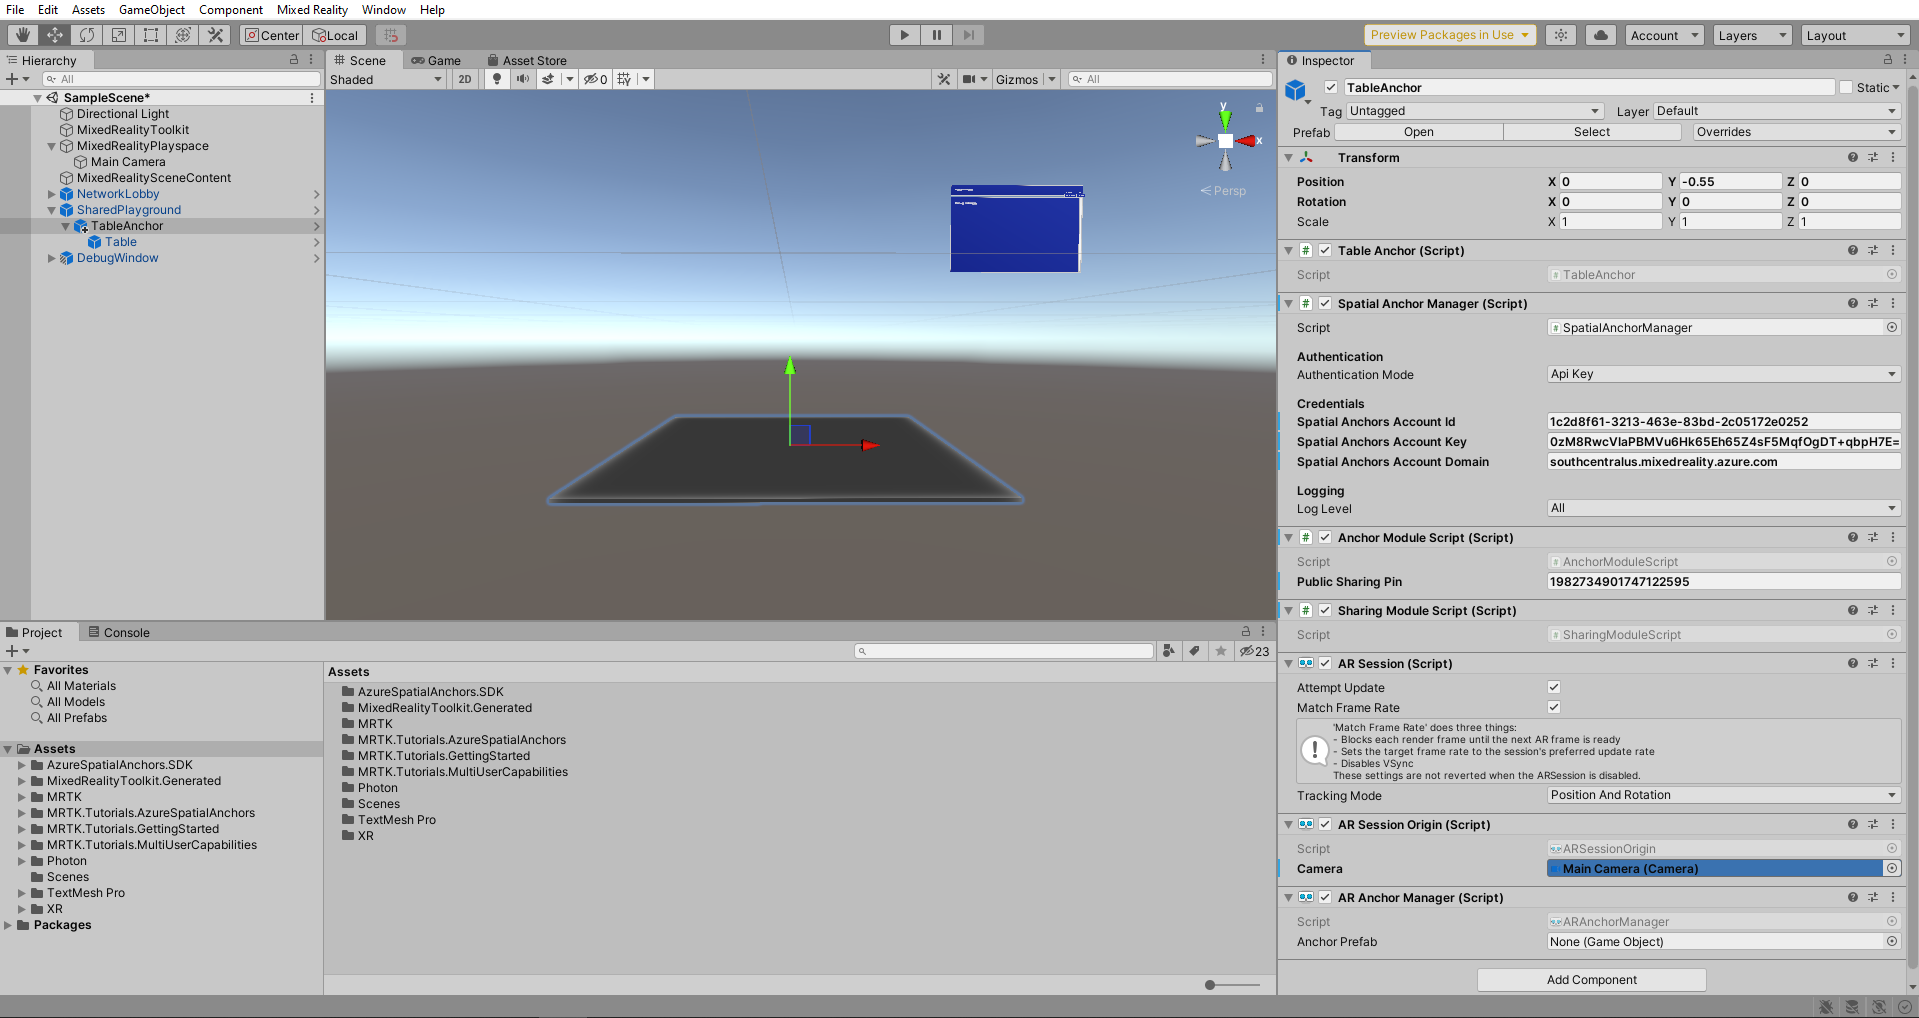
In the Hierarchy window, ensure the MixedRealityPlayspace object is expanded and the TableAnchor object is selected. Drag the Main Camera component into the Camera field of the TableAnchor's AR Session Origin component:
Configuring PUN to instantiate the objects
In this section, you will configure the project to use the Rover Explorer experience created during the Getting started tutorials and define where it will be instantiated.
In the Project window, navigate to the Assets > MRTK.Tutorials.MultiUserCapabilities > Resources folder.
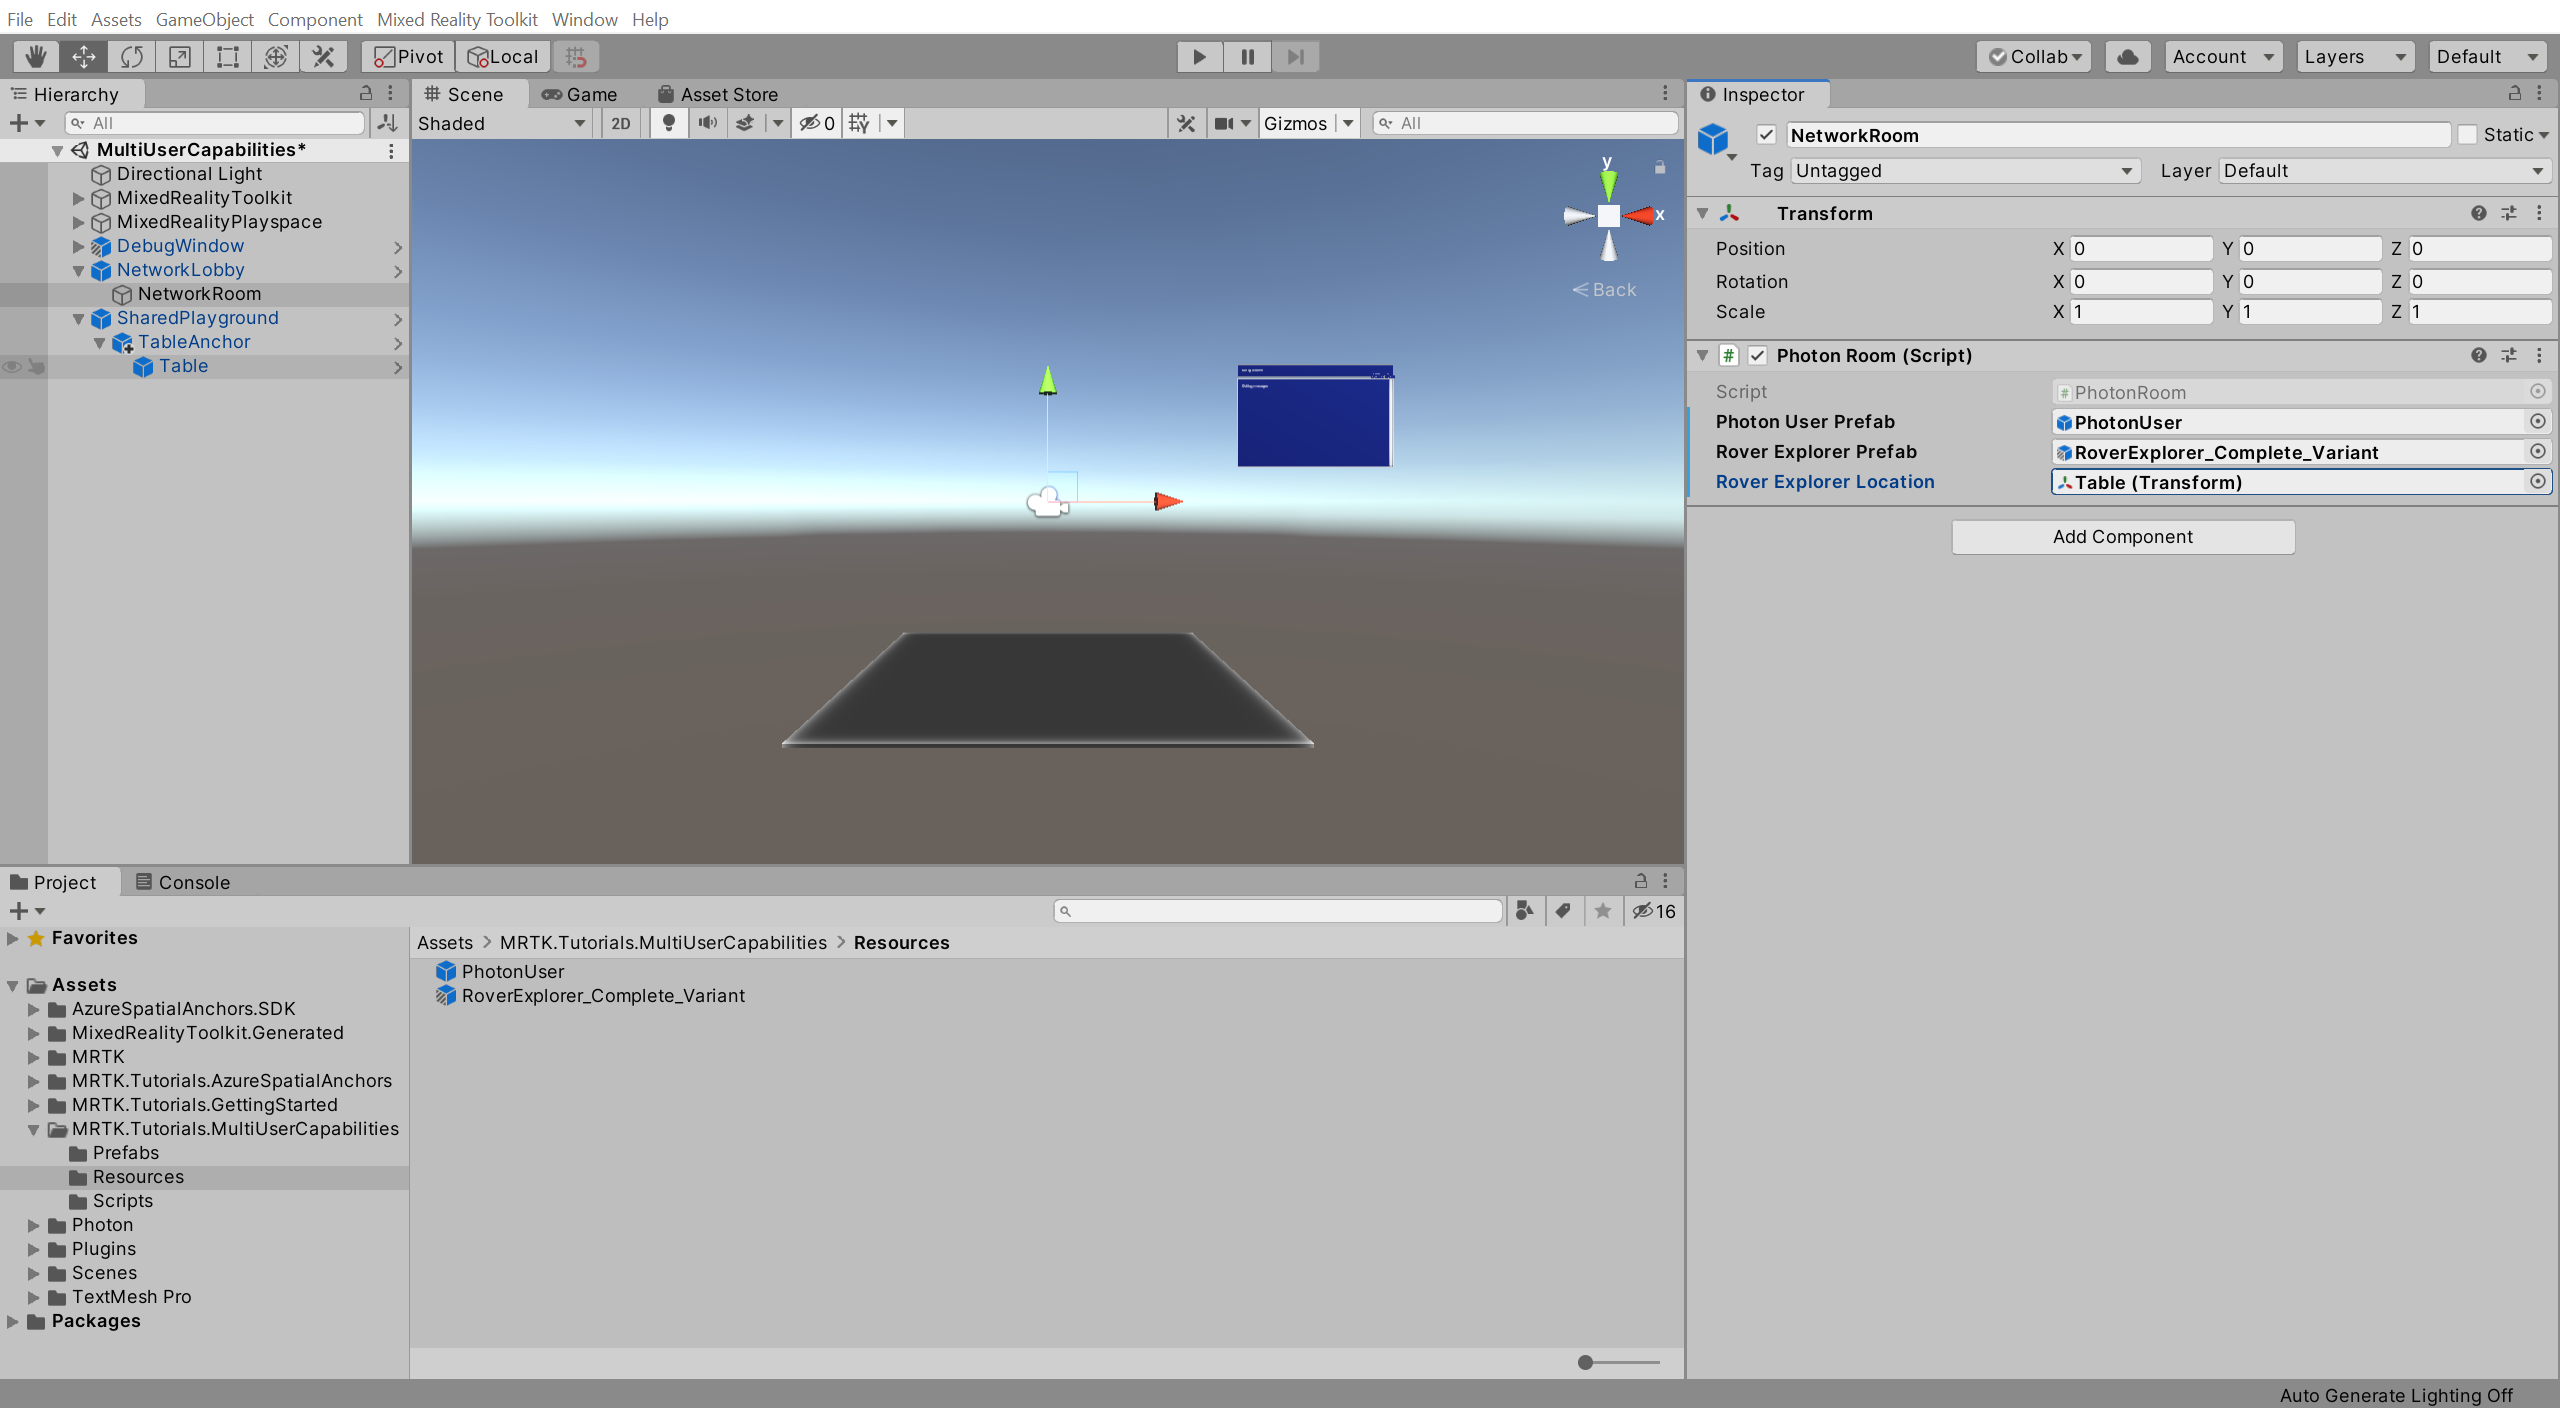
In the Hierarchy window, expand the NetworkLobby object and select the NetworkRoom child object, then in the Inspector window, locate the Photon Room (Script) component and configure it as follows:
- To the Rover Explorer Prefab field, assign the RoverExplorer_Complete_Variant prefab from the Resources folder

With the NetworkRoom child object still selected, in the Hierarchy window, expand the TableAnchor object, then in the Inspector window, locate the Photon Room (Script) component and configure it as follows:
- To the Rover Explorer Location field, assign the TableAnchor > Table child object from the Hierarchy window
Trying the experience with shared object movement
If you now build and deploy the Unity project to your HoloLens, and then, back in Unity, press the Play button to enter Game mode while the app is running on your HoloLens, you will see the object move in Unity when you move the object in HoloLens:
Congratulations
You have successfully configured your project to synchronize object movements so users can see the objects move when other users move them. This will ensure that the users see each other in their actual physical locations. It will also ensure that objects appear in the same physical position and rotation for all users.
In this multi-user capabilities tutorial series you learned how to set up a Photon account, create a PUN app, integrate PUN into the Unity project, and configure user avatars and shared objects. This tutorial concludes the series.