Note
Access to this page requires authorization. You can try signing in or changing directories.
Access to this page requires authorization. You can try changing directories.
This guide will walk you through getting your first Mixed Reality app running on the HoloLens in Unreal Engine. In the tradition of "Hello World", you'll create a simple app that displays a cube on the screen. To make it more useful, you'll also create your first gesture to rotate the cube and quit the application.
Objectives
- Start a HoloLens Project
- Enable the correct plugins
- Create an ARSessionConfig Data Asset
- Set up gesture inputs
- Build a basic level
- Implement a pinch gesture
Creating a new project
The first thing you need is a project to work with. If you're a first-time Unreal developer, you'll need to download supporting files from the Epic Launcher.
- Launch Unreal Engine
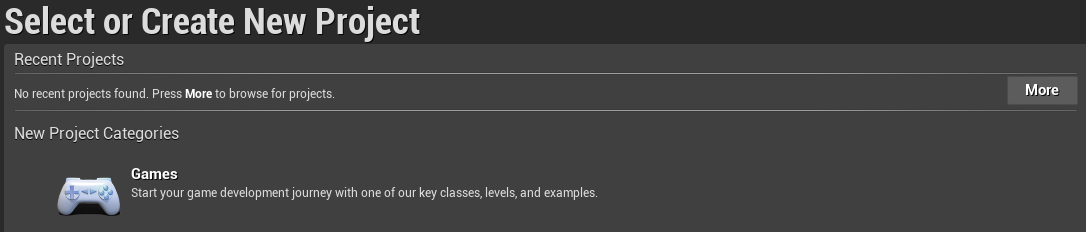
- In the New Project Categories, select Games and click Next:
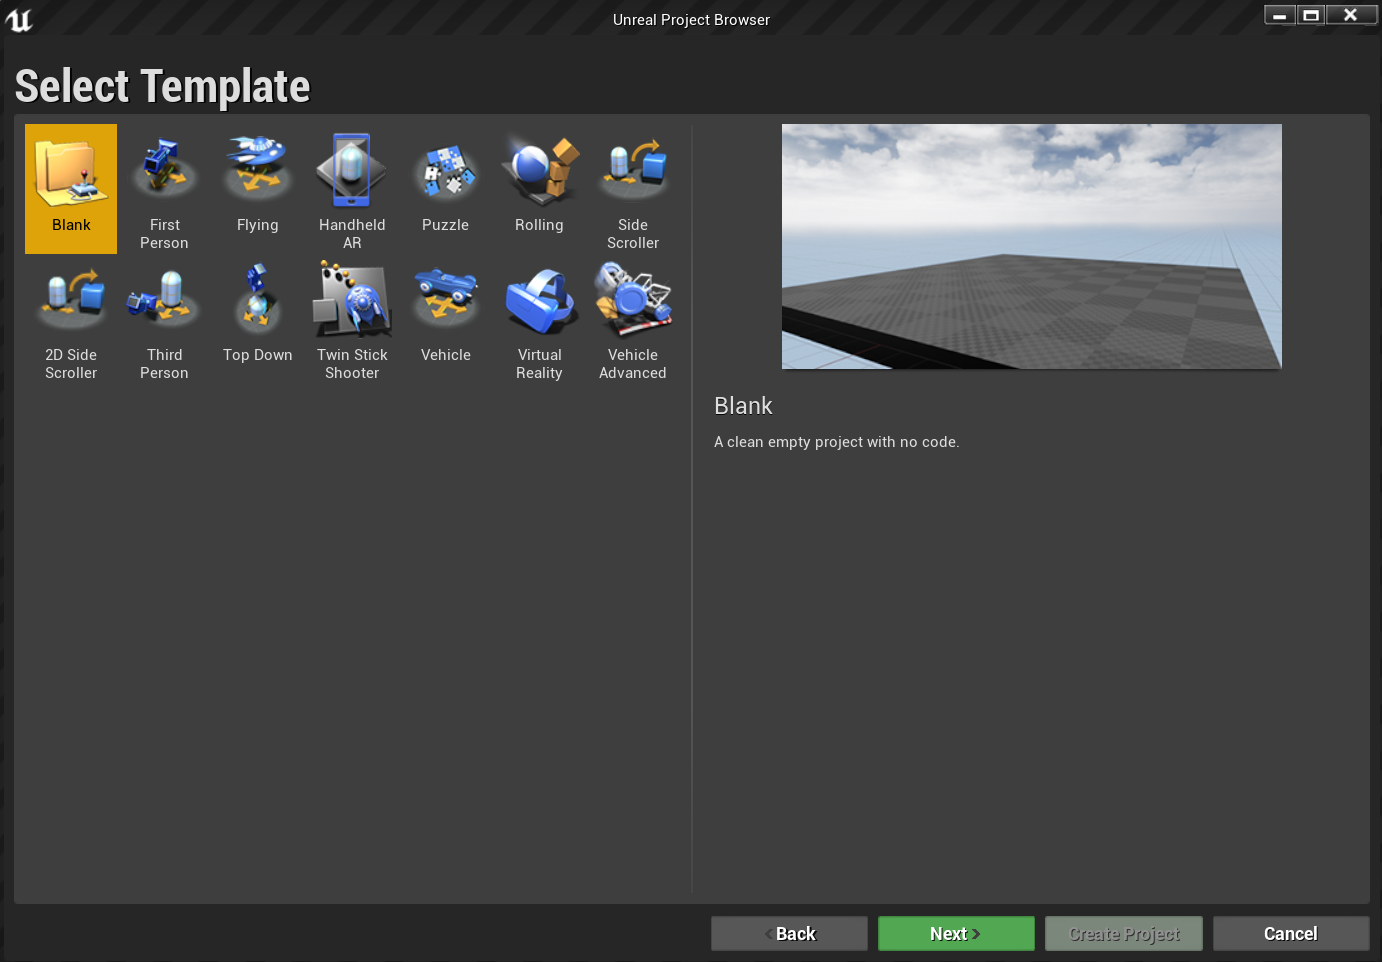
- Select the Blank template and click Next:
- In the Project Settings, set C++, Scalable 3D or 2D, Mobile/Tablet, and No Starter Content, then choose a save location and click Create Project
Note
You're using a C++ rather than a Blueprint project in order to be ready to use the OpenXR plugin later. This QuickStart uses the default OpenXR plugin that comes with Unreal Engine. However, downloading and using the official Microsoft OpenXR plugin is recommended. That requires the project to be a C++ project.

Your new project should open up automatically in the Unreal editor, which means you're ready for the next section.
Enabling required plugins
You'll need to enable two plugins before you can start adding objects to the scene.
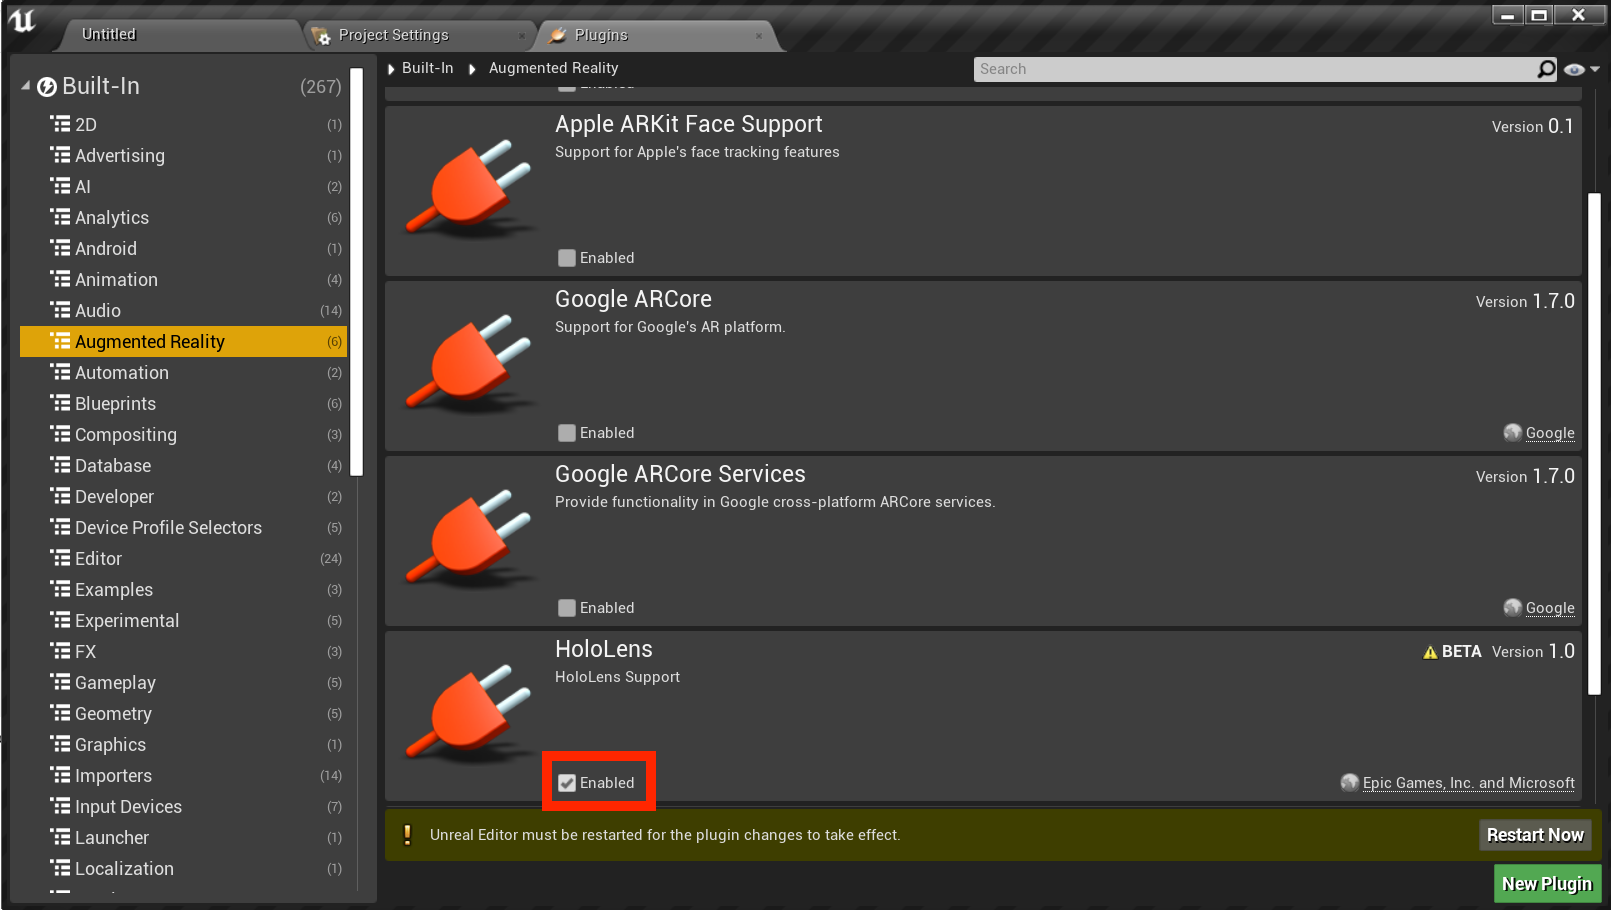
- Open Edit > Plugins and select Augmented Reality from the built-in options list.
- Scroll down to HoloLens and check Enabled
- Type OpenXR in the search box at the top right and enable the OpenXR and OpenXRMsftHandInteraction plugins:


- Restart your editor
Note
This tutorial uses OpenXR, but the two plugins you've installed above don't currently provide the full feature set for HoloLens development. The HandInteraction plugin will suffice for the "Pinch" gesture you'll use later, but if you want to go beyond the basics you'll need to download the Microsoft OpenXR plugin.
With the plugins enabled, you can focus on filling it with content.
Creating a level
Your next task is to create a player setup with a starting point and a cube for reference and scale.
- Select File > New Level and choose Empty Level. The default scene in the viewport should now be empty
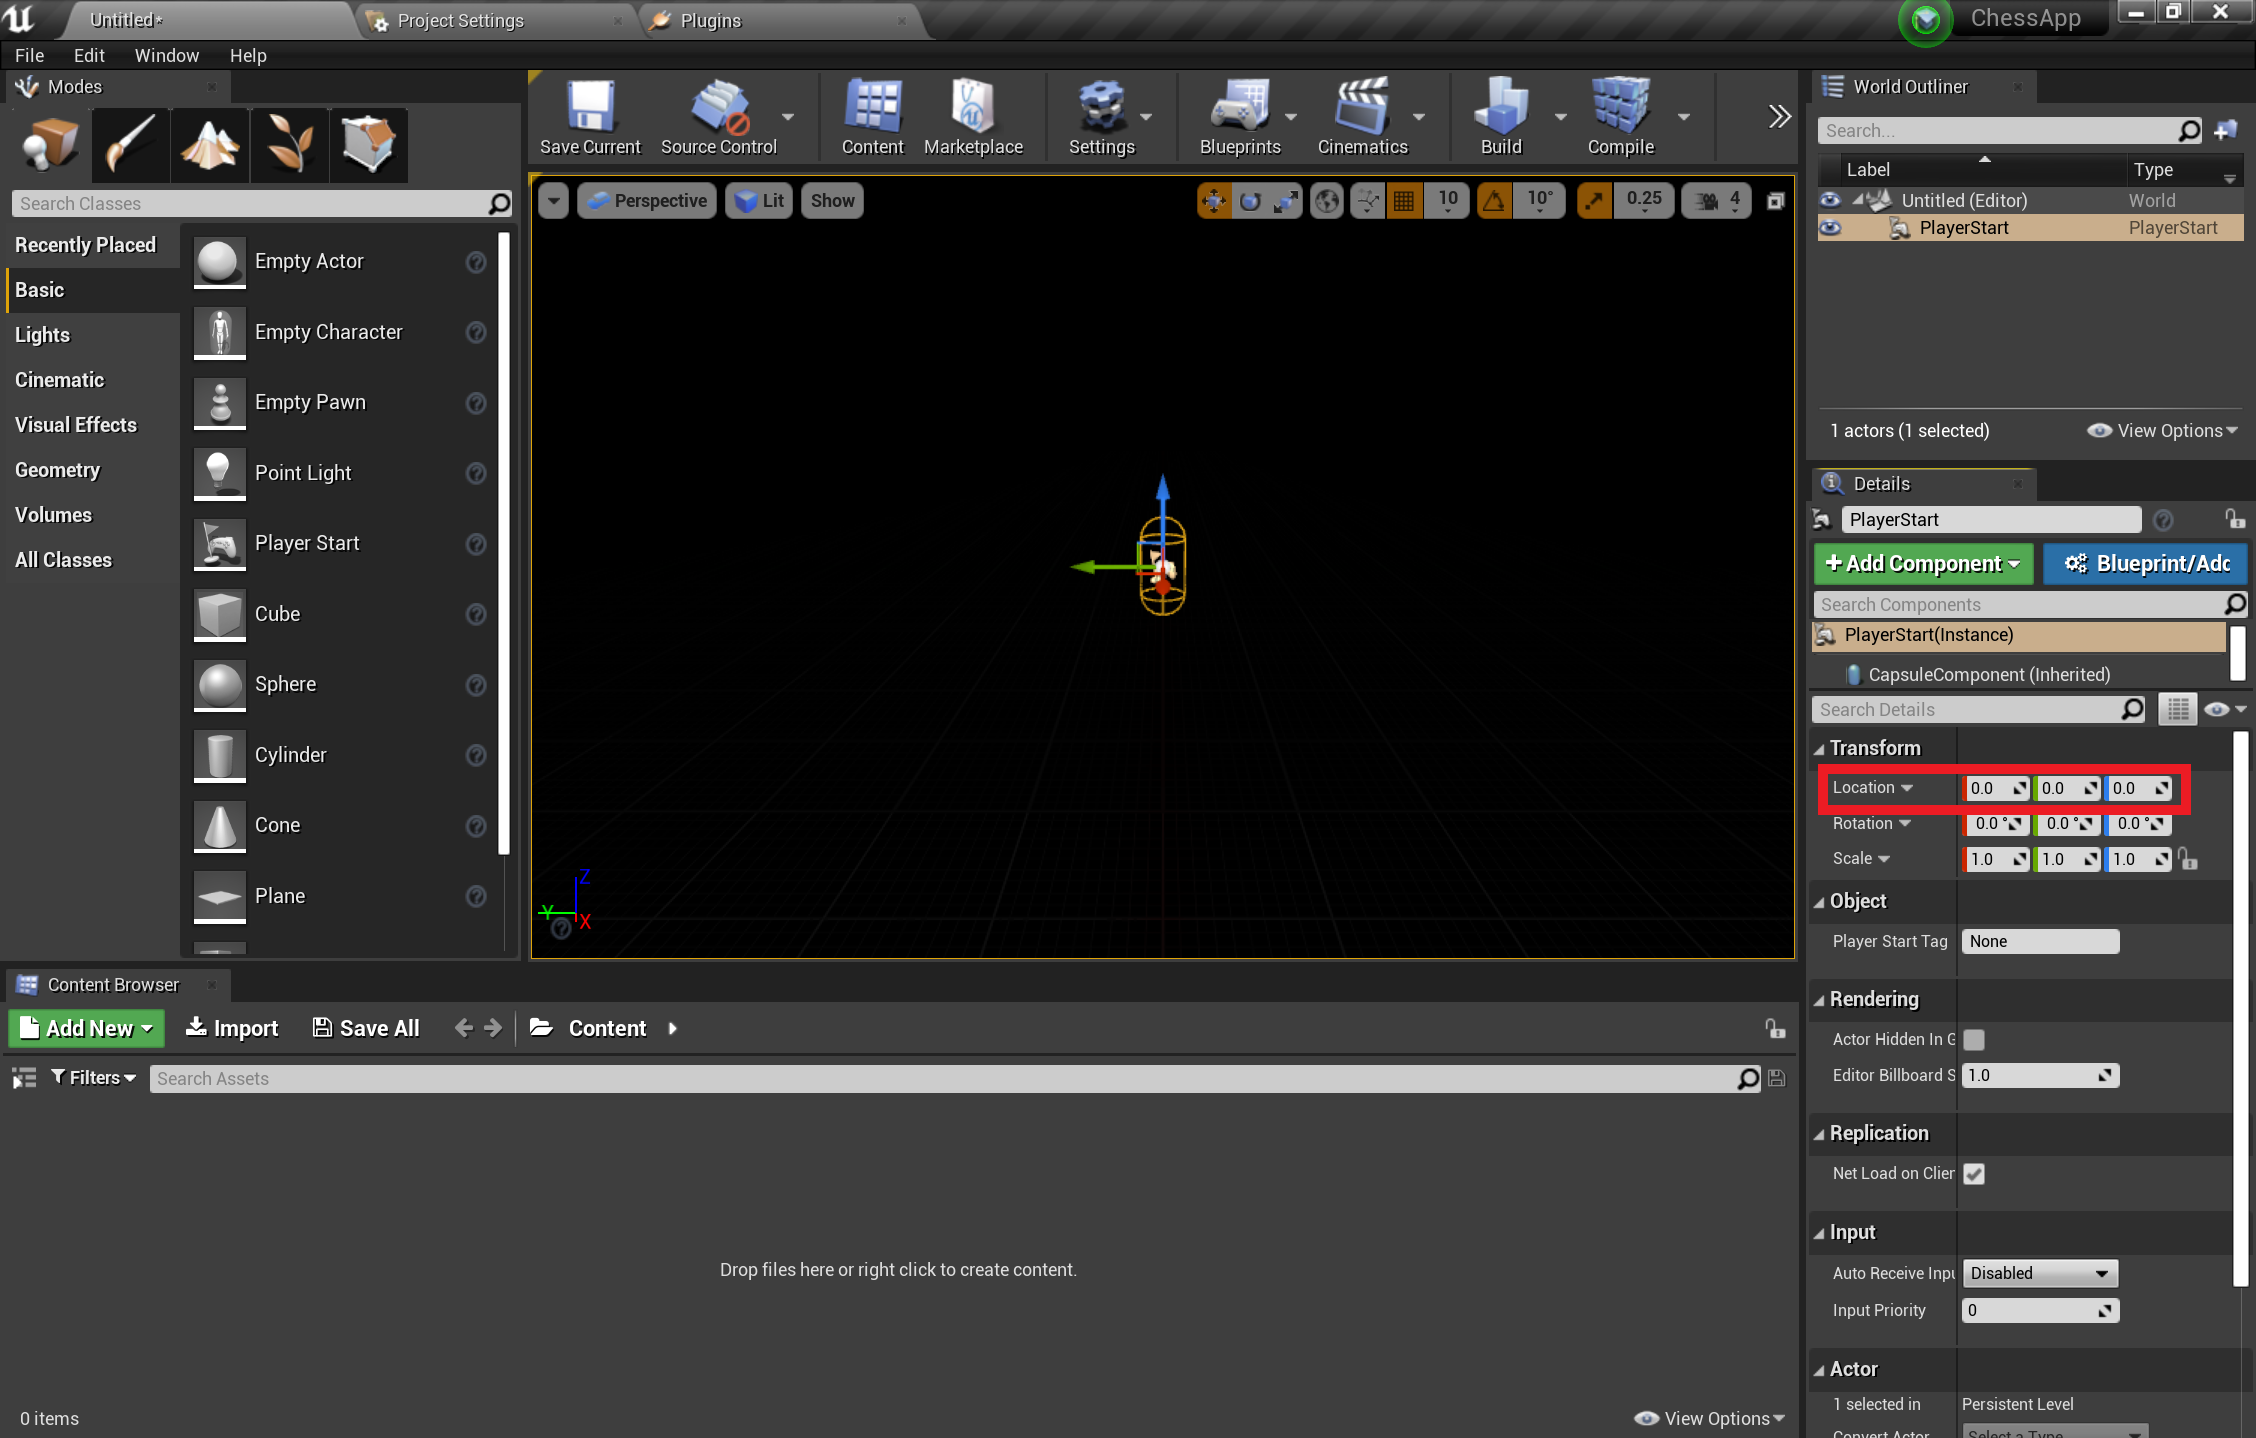
- From the Modes tab, select Basic and drag PlayerStart into the scene
- In the Details tab, set Location to X = 0, Y = 0, and Z = 0 to place the user at the center of the scene when the app starts
- From the Basic tab, drag a Cube into the scene
- Set the cube's Location to X = 50, Y = 0, and Z = 0 to position the cube 50 cm away from the player at start
- Change the cube's Scale to X = 0.2, Y = 0.2, and Z = 0.2
You can't see the cube unless you add a light to your scene, which is your last task before testing the scene.
- In the Modes panel, switch to the Lights tab and drag a Directional Light into the scene
- Position the light above PlayerStart so you can see it
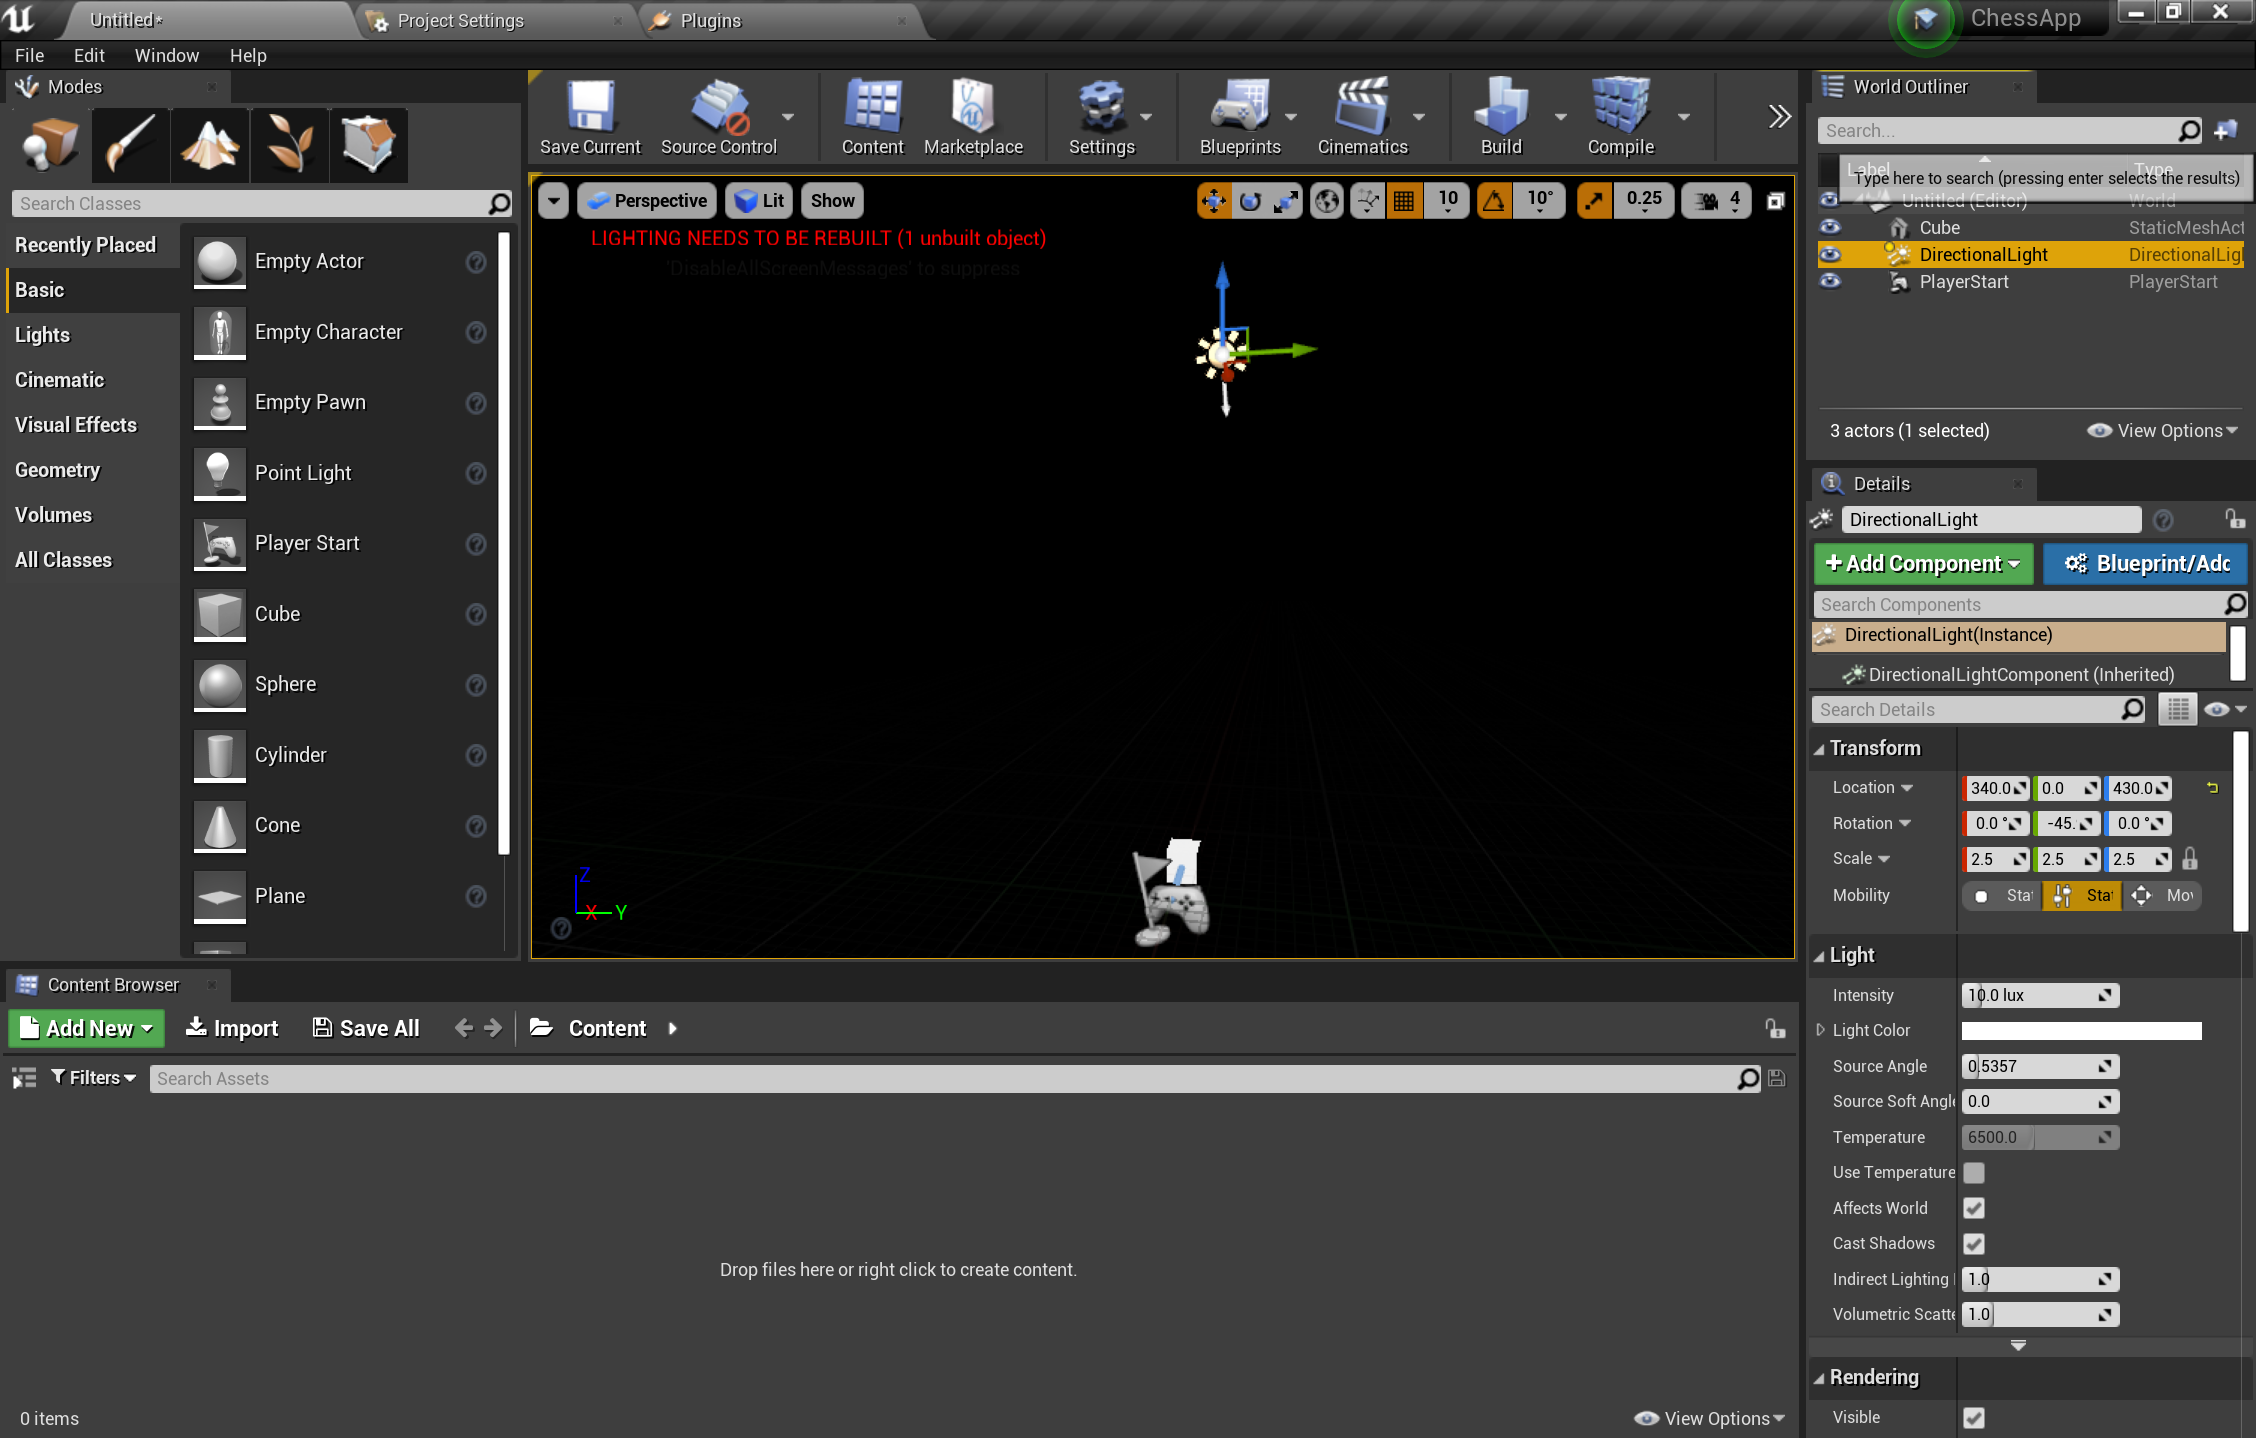
- Go to File > Save Current, name your level Main, and select Save
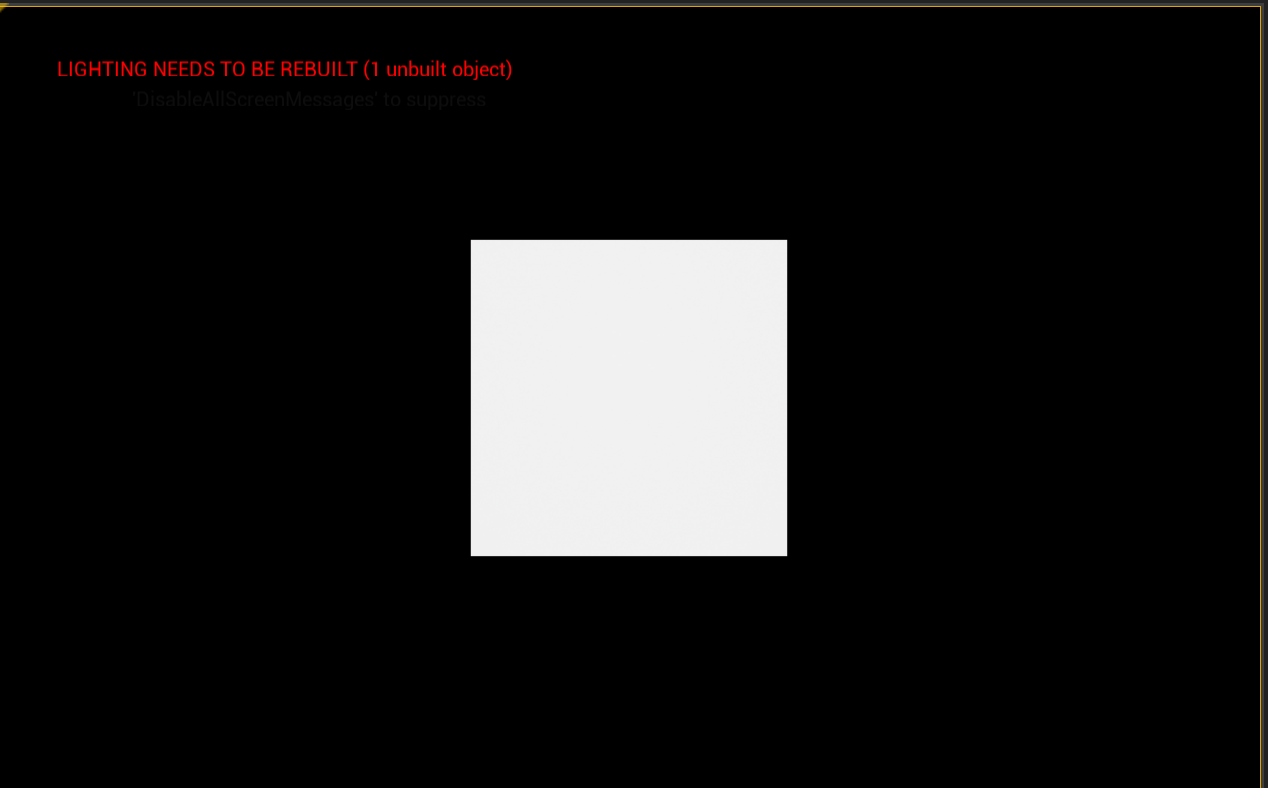
With the scene set, press Play in the toolbar to see your cube in action! When you're finished admiring your work, press Esc to stop the application.
Now that the scene is set up, lets get it ready for some basic interactions in AR. First, you need to create an AR Session and can add blueprints to enable hand interaction.
Adding a session asset
AR sessions in Unreal don't happen by themselves. To use a session, you need an ARSessionConfig data asset to work with, which is your next task:
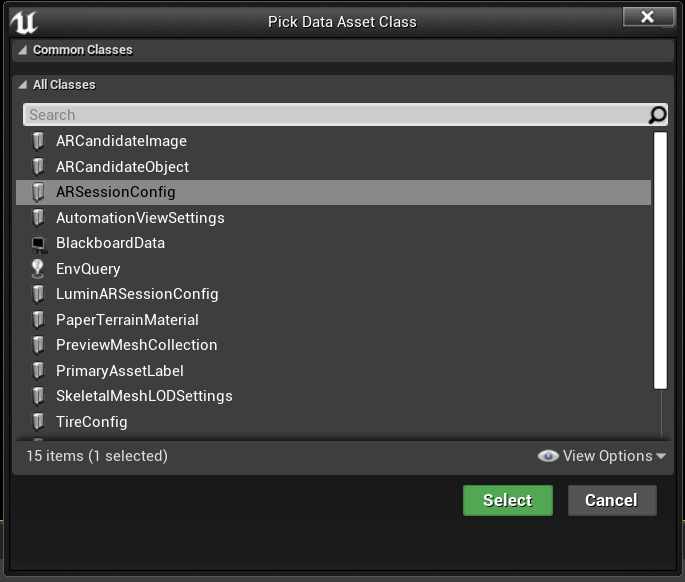
- In the Content Browser, select Add New > Miscellaneous > Data Asset and make sure you're at the root Content folder level
- Select ARSessionConfig, click Select, and name the asset ARSessionConfig:
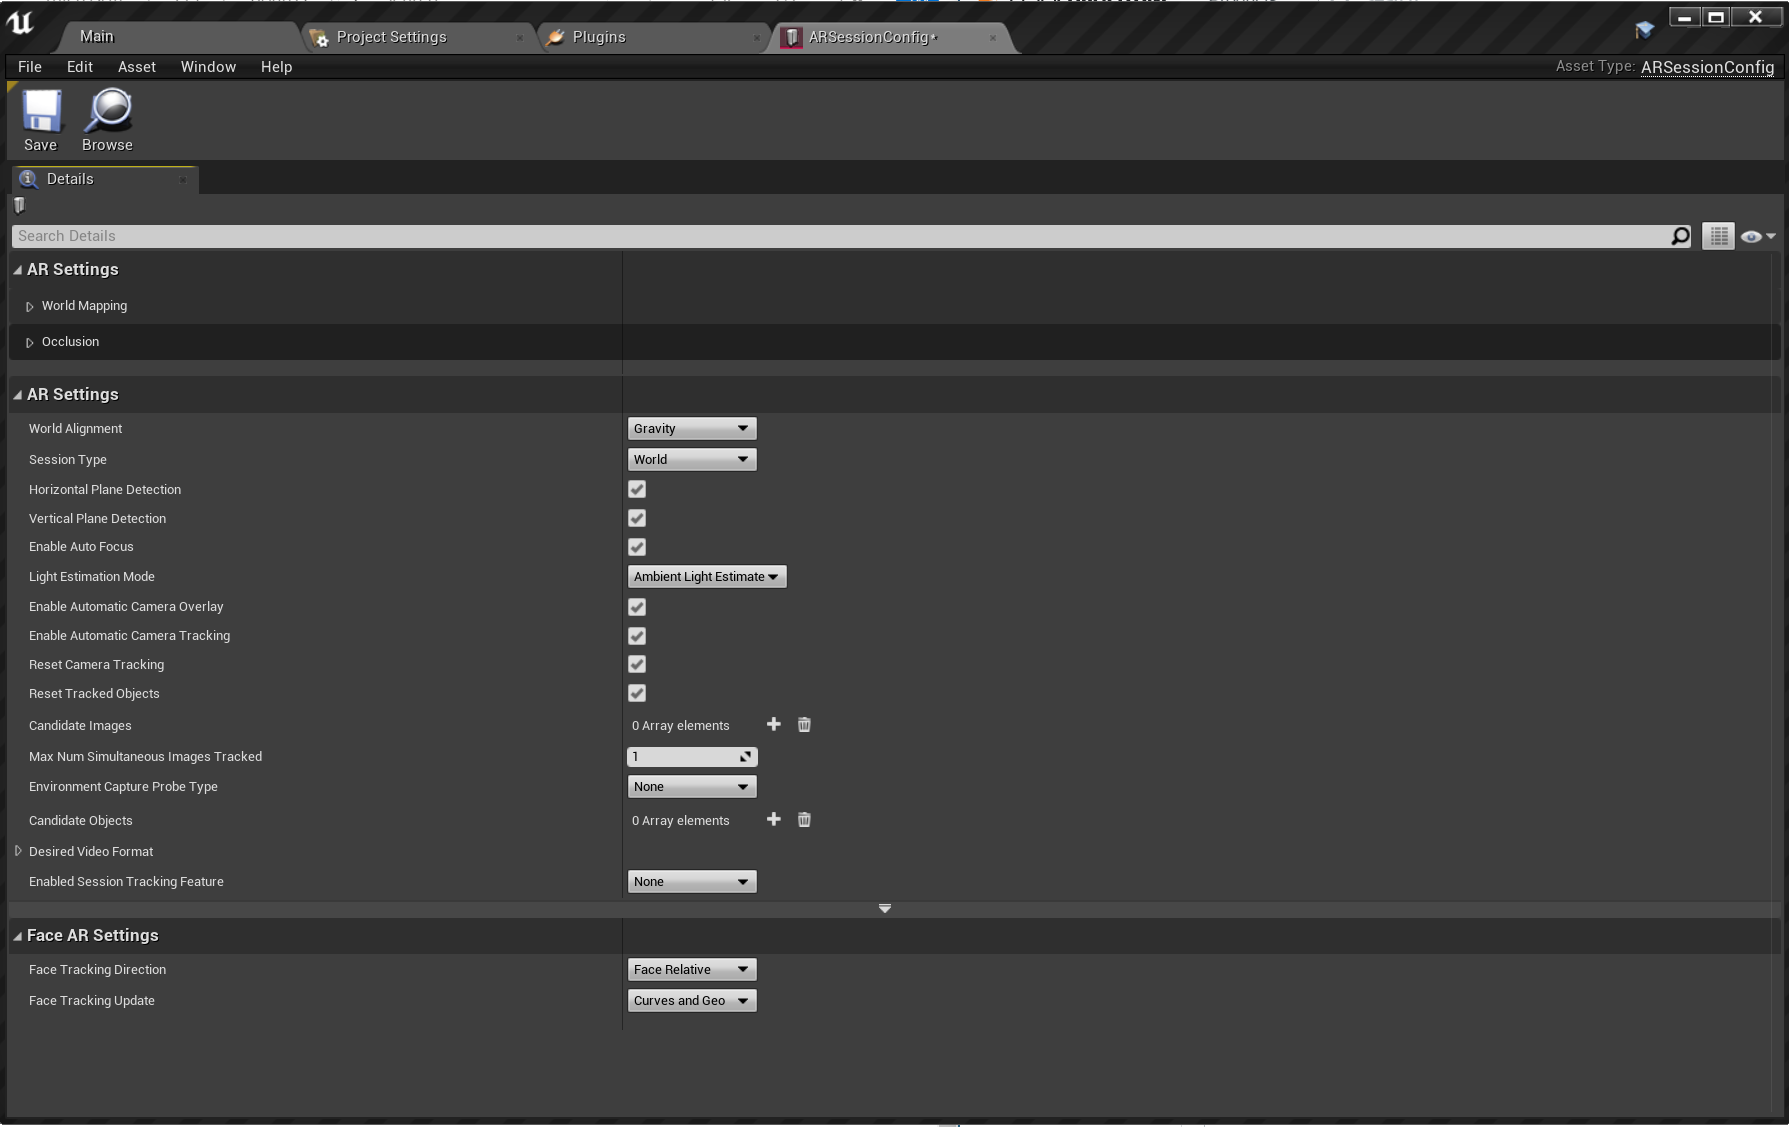
- Double-click ARSessionConfig to open it, Save with all default settings, and return to the Main window:
With that done, your next step is to make sure the AR session starts and stops when the level loads and ends. Luckily, Unreal has a special blueprint called a Level Blueprint that acts as a level-wide global event graph. Connecting the ARSessionConfig asset in the Level Blueprint guarantees the AR session will fire right when the game starts playing.
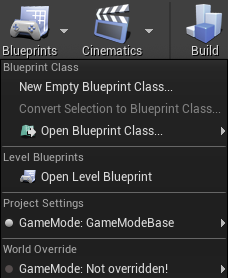
- From the editor toolbar, select Blueprints > Open Level Blueprint:
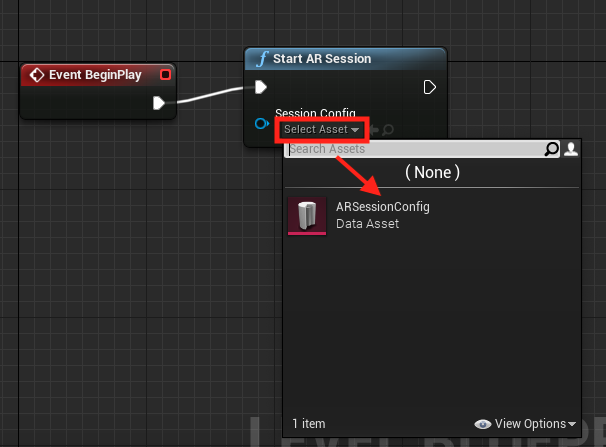
- Drag the execution node (left-facing arrow icon) off Event BeginPlay and release
- Search for the Start AR Session node and hit enter
- Click the Select Asset dropdown under Session Config and choose the ARSessionConfig asset
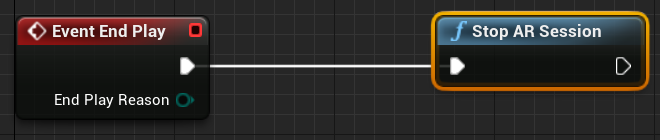
- Right-click anywhere in the EventGraph and create a new Event EndPlay node.
- Drag the execution pin and release, then search for a Stop AR Session node and hit enter
- Hit Compile, then Save and return to the Main window
Important
If the AR session is still running when the level ends, certain features may stop working if you restart your app while streaming to a headset.
Setting up inputs
- Select Edit > Project Settings and go to the Engine > Input
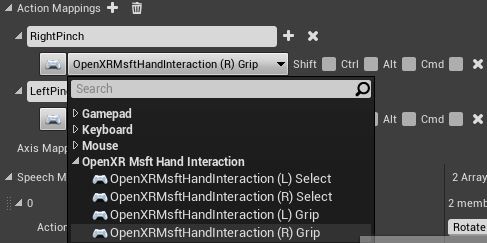
- Select the + icon next to Action Mappings and create RightPinch and LeftPinch actions:
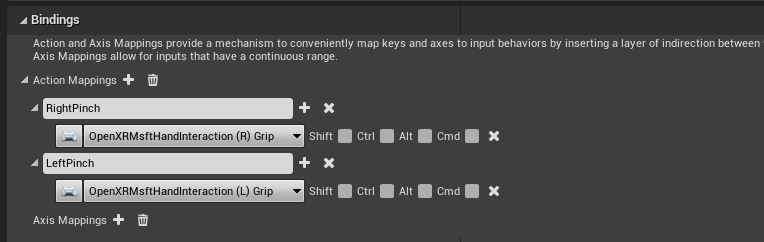
- Map the RightPinch and LeftPinch actions the to the respective OpenXR Msft Hand Interaction actions:
Setting up gestures
Now that we have setup the inputs, we can get to the exciting part: Adding gestures! Lets rotate the cube on the right pinch and quit the application on left pinch.
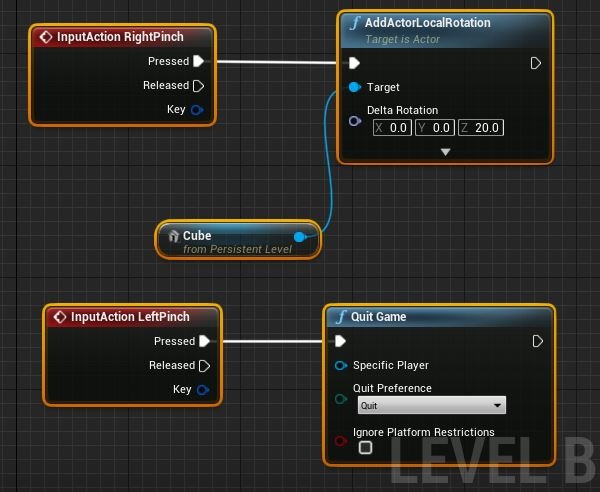
- Open the Level Blueprint and add an InputAction RightPinch and InputAction LeftPinch
- Connect the right pinch event to an AddActorLocalRotation with your Cube as the target and Delta Rotation set to X = 0, Y = 0, and Z = 20. The cube will now rotate by 20 degrees every time you pinch
- Connect the left pinch event to Quit Game
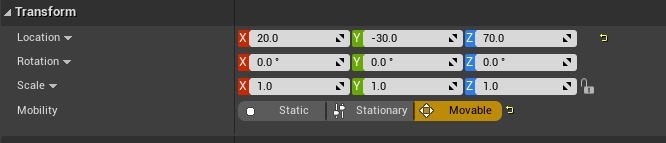
- In the cube's Transform settings, set Mobility to Movable so it can move dynamically:
At this point, you're ready to deploy and test the application!