Note
Access to this page requires authorization. You can try signing in or changing directories.
Access to this page requires authorization. You can try changing directories.
This topic describes how to use the File Type Verifier that is provided in the Windows 7 SDK. If your program creates file types that users are expected to interact with from the Windows Shell (typically stored in a user's known folder such as My Documents), it is very important to test your application and verify that the files it creates are properly registered and provide a high-quality user experience when browsing and searching files. This is especially important if you expect users to run your applications on Windows 7, which relies on high-quality file type handlers for many of the Shell features.
To verify your file type using the File Type Verifier, follow these steps.
Instructions
Step 1:
Install the application on your test environment, and copy the File Type Verifier to that environment. The File Type Verifier is available in the Windows 7 SDK.
Step 2:
Use your application to create a file to be tested.
Step 3:
Start the File Type Verifier.
Step 4:
Select the category for your file type, as shown in the following screen shot.
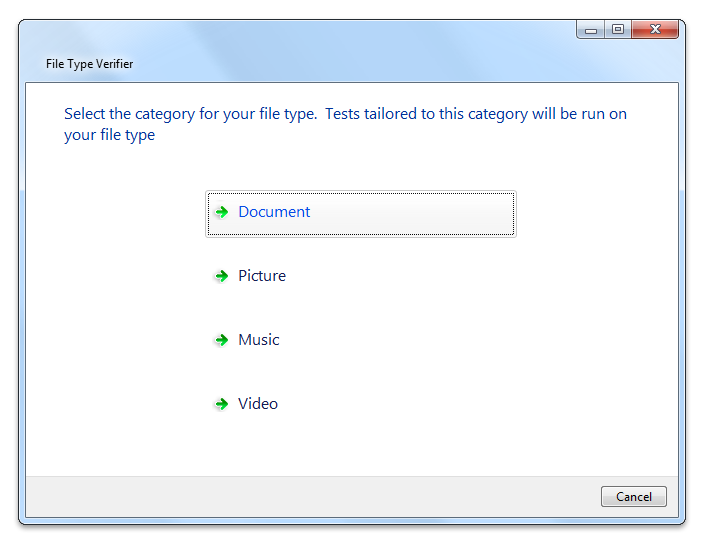
The category selection determines the set of tests that will be run by the tool. If your type could fall under more than one category (for example, a TIF file might be a Picture or a Document depending on the content), run the tool again with each appropriate category.
Step 5:
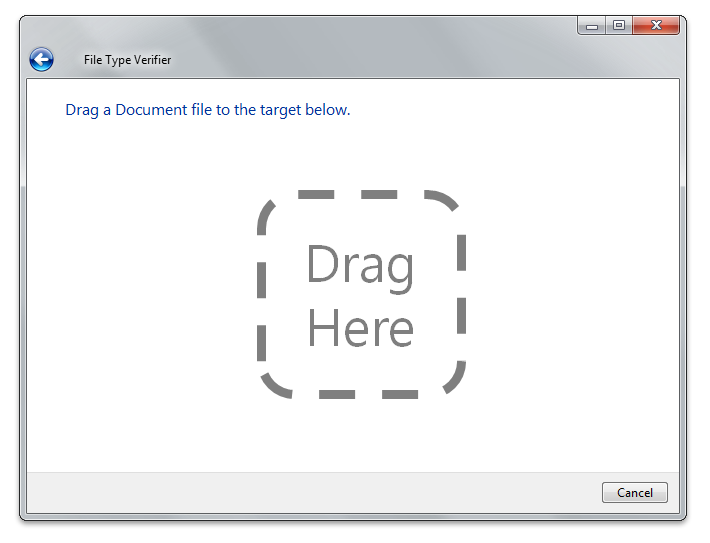
Using Windows Explorer, locate a file to be tested and use the mouse to drag it to the target in File Type Verifier, as shown in the following screen shot.
Step 6:
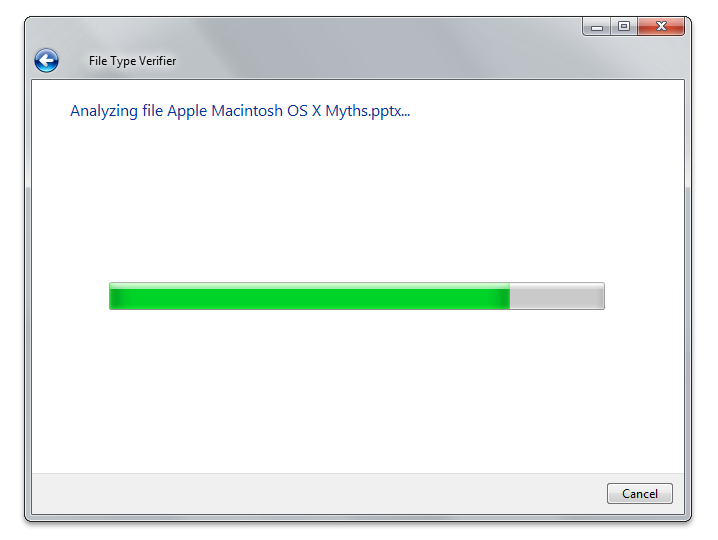
Wait for the File Type Verifier tool to proceed through a series of tests. The progress of the testing is shown by the progress bar, as in the following screen shot.
Step 7:
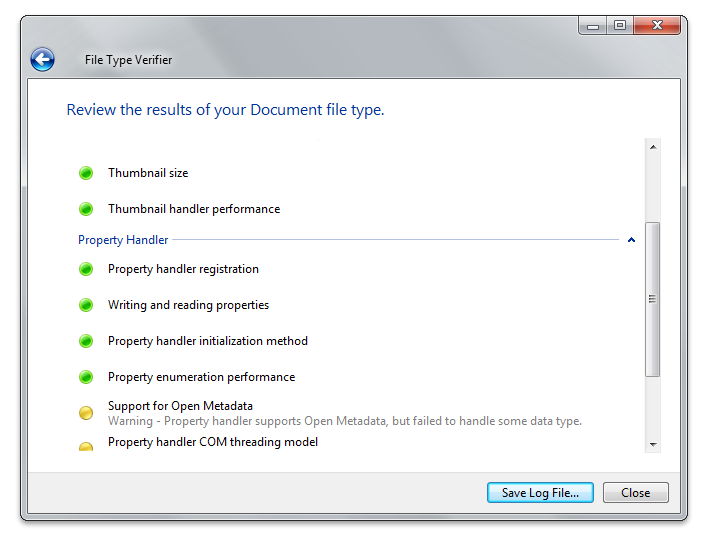
Review the results summary of your Document file type tests, as shown in the following screen shot.
Step 8:
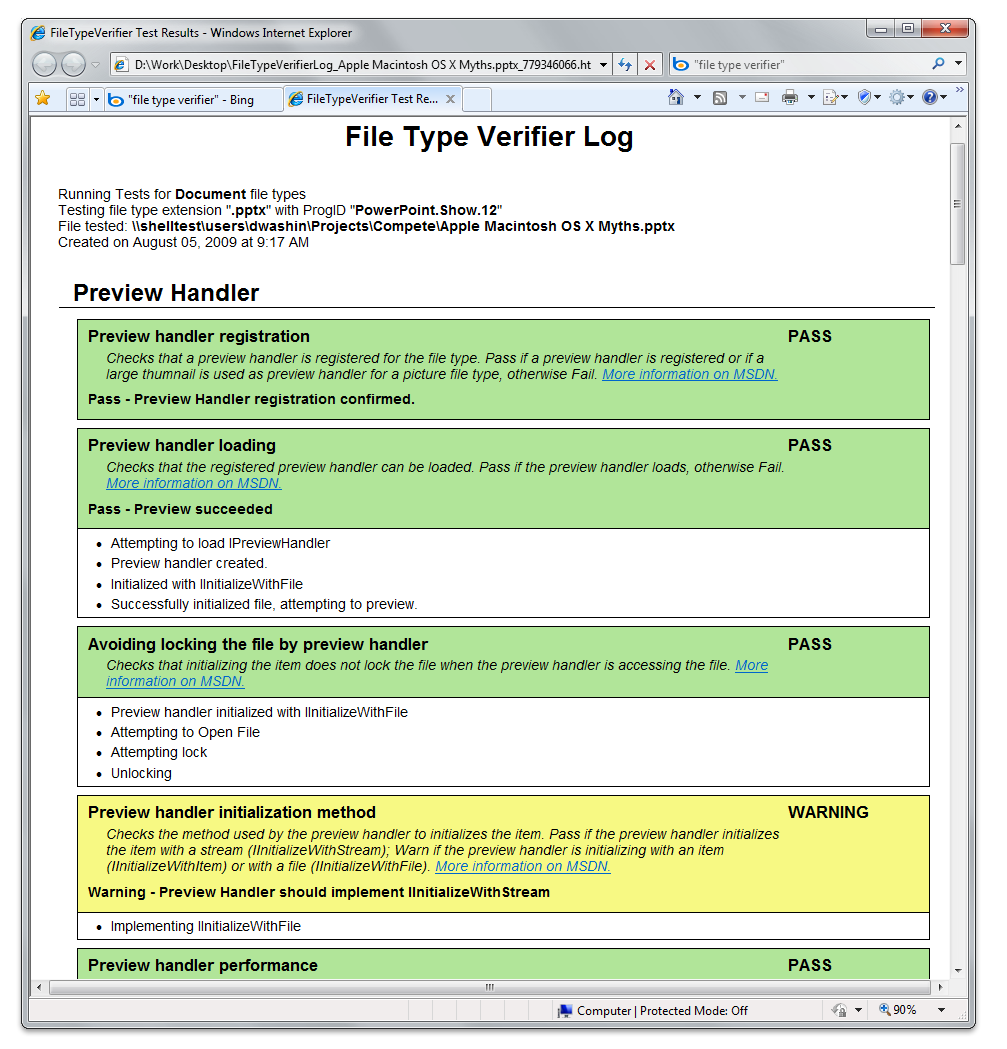
Click any of the results on the summary page to view the detailed log. An example log for a preview handler is shown in the following screen shot.
Step 9:
To save a copy of the log file, click Save Log File at the bottom of the log display and choose an appropriate location for storing it on your computer.
Step 10:
If failures are reported, make the appropriate changes in your application and run the tool again to verify that the failures are no longer showing up in the tests. If warnings are reported, evaluate them and decide whether they are relevant for your particular file type and make the appropriate changes to your application as necessary.
Related topics