Note
Access to this page requires authorization. You can try signing in or changing directories.
Access to this page requires authorization. You can try changing directories.
Adding capabilities to an application often requires additional provisioning setup. This guide explains the setup needed for App Group capabilities.
An App Group allows different applications (or an application and its extensions) to access a shared file storage location. App Groups can be used for data like:
Configure a new App Group
The shared location is configured using an App Group, which is configured in the Certificates, Identifiers & Profiles section on Apple Developer Center. This value must also be referenced in each project's Entitlements.plist.
The app group will have an identifier, which is typically the Bundle ID with a group. prefix. For example, the Bundle ID com.xamarin.WatchSettings would have the app group group.com.xamarin.WatchSettings.
To create a new App Group, do the following:
Visit Apple's iOS Developer Center, open your Account and log in.
Select Certificates, IDs & Profiles.
Under Identifiers select App Groups and click the + button to create a new group.
Enter a Name and an Identifier for the new group and click the Continue button:
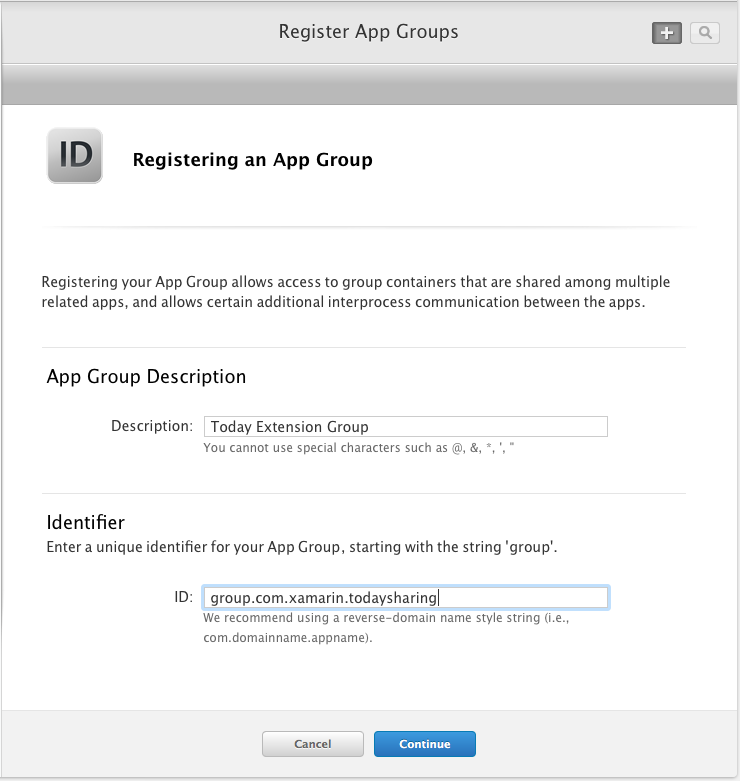
Click the Register button to create the group and the Done to return to the list of registered App Groups.
Configure an App to use App Groups
With the App Group created, configure the App IDs so that the apps can use it.
Do the following:
Visit Apple's iOS Developer Center, and log in with an Apple Developer Account.
From the Program Resources menu, select Certificates, IDs & Profiles.
Under Identifiers select App IDs and click the + button to create a new ID.
Enter a Name for the App ID and give it an Explicit App ID.
Under App Services enable App Groups, then click the Continue button:
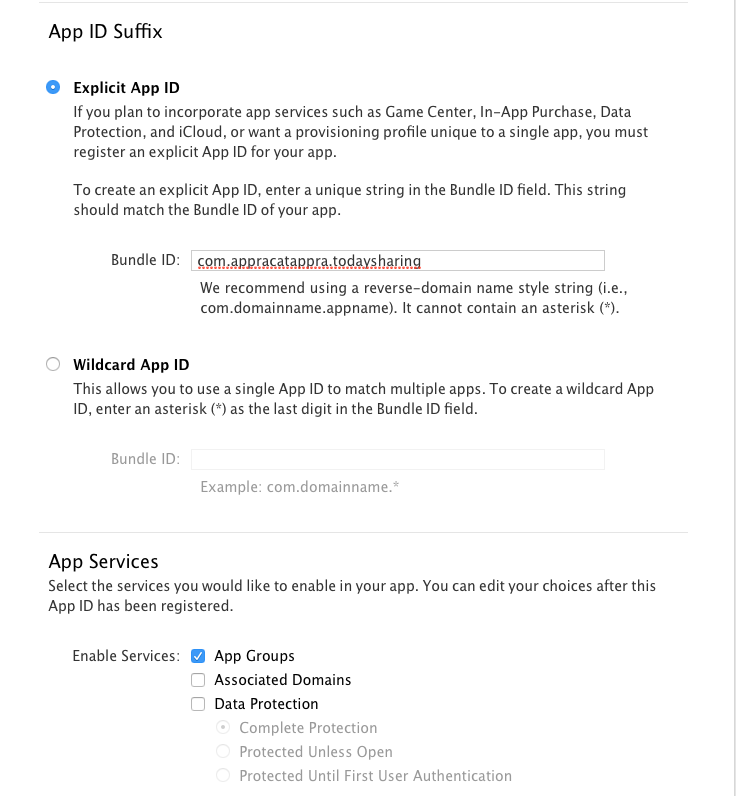
Verify the settings and click the Register button to create the App ID.
Click the Done button to return to the list of registered App IDs.
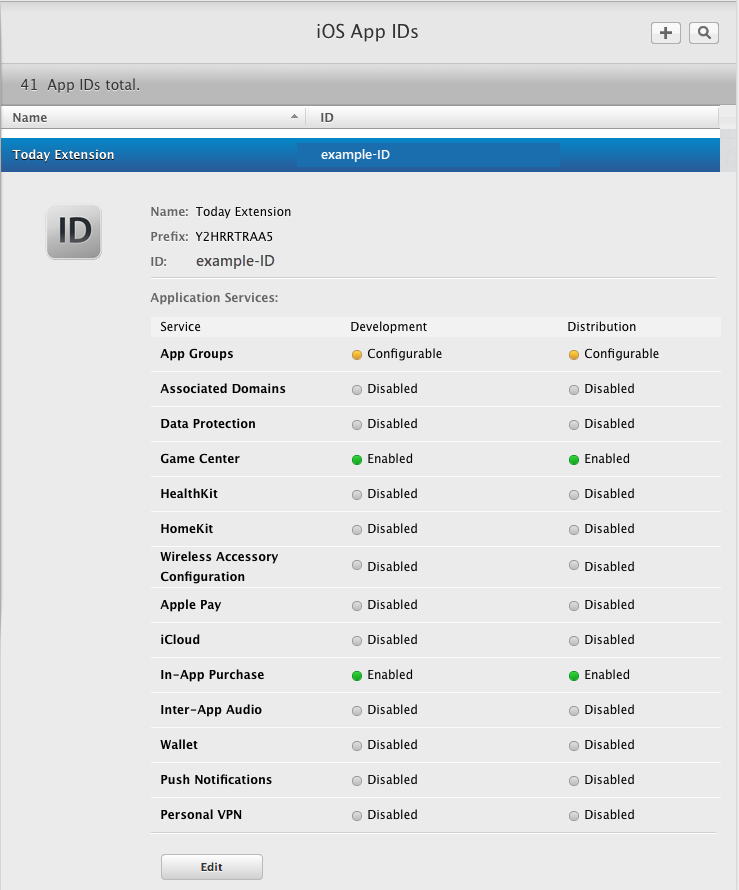
Select the newly created App ID from the list and click the Edit button:
Under Service App Group, click the Edit button:
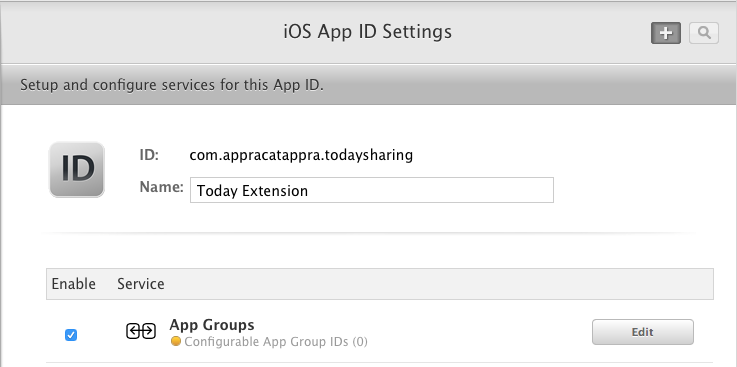
Select the App Group that was created above and click the Continue button:
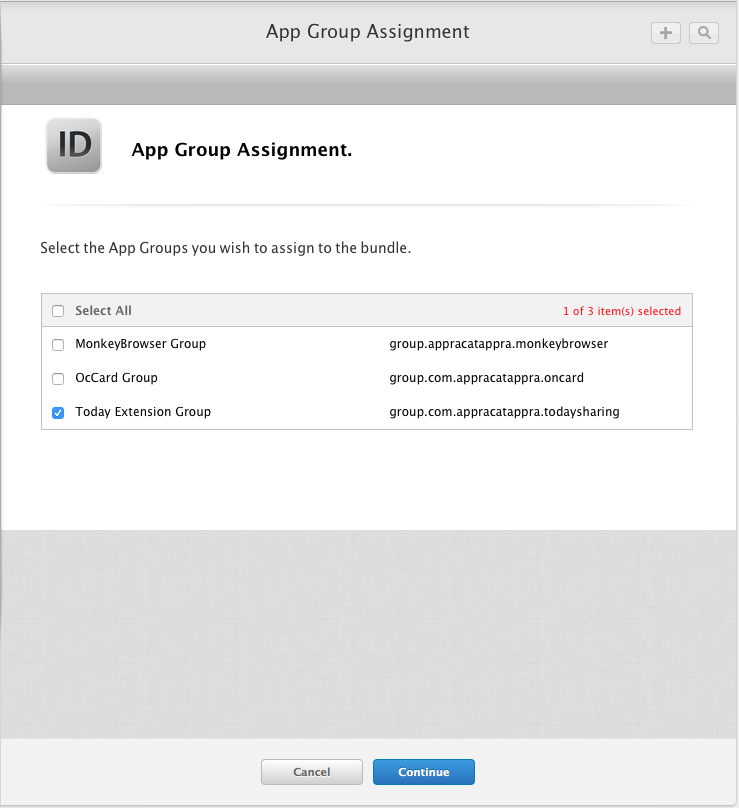
Click the Assign button, then the Done button to return to the list of registered App IDs.
Repeat these steps for any Apps (or Extensions) that will be using the App Group.
Next Steps
The list below describes additional steps that may need to be taken:
- Use the framework namespace in your app.
- Add the required entitlements to your App. Information on the entitlements required and how to add them is detailed in the Working with Entitlements guide.
- In the App's iOS Bundle Signing, ensure that the Custom Entitlements is set to Entitlements.plist. This is not the default setting for Debug and iOS Simulator builds.
If you encounter issues with app services, refer to the Troubleshooting section of the main guide.