Note
Access to this page requires authorization. You can try signing in or changing directories.
Access to this page requires authorization. You can try changing directories.
Important
Items marked (preview) in this article are currently in public preview. This preview is provided without a service-level agreement, and we don't recommend it for production workloads. Certain features might not be supported or might have constrained capabilities. For more information, see Supplemental Terms of Use for Microsoft Azure Previews.
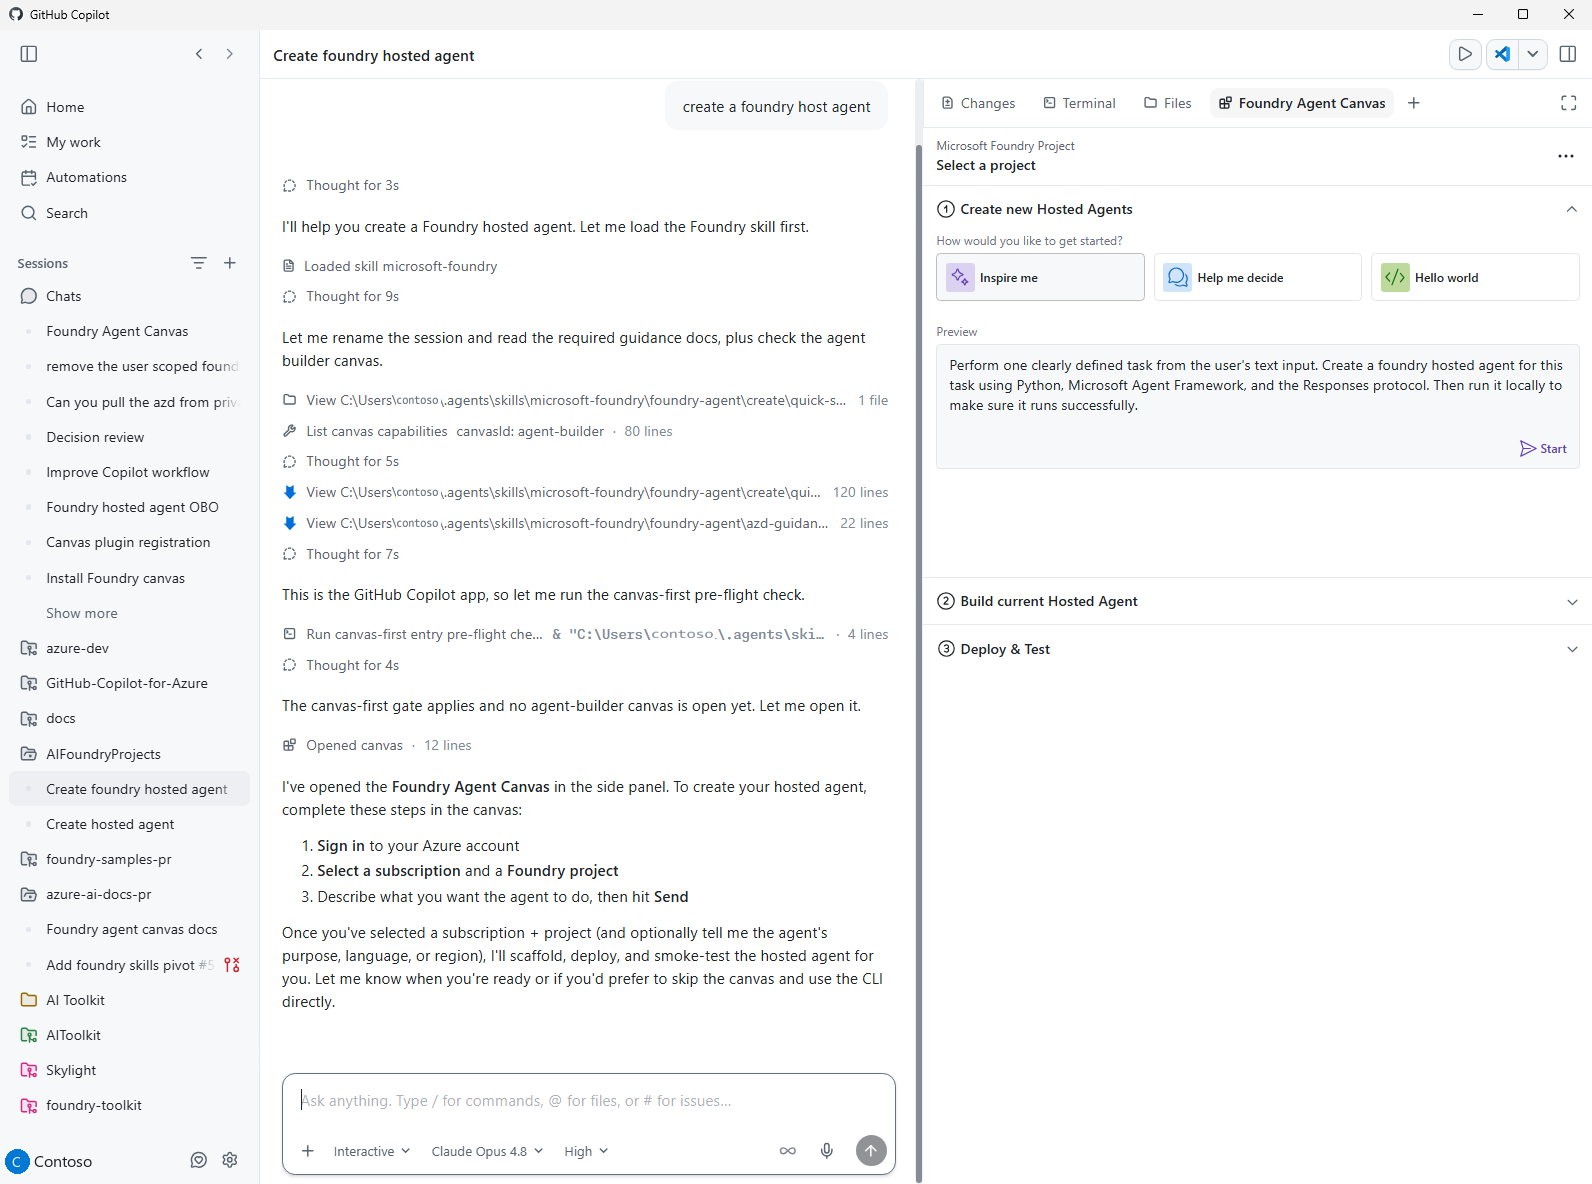
Microsoft Foundry Canvas is a GitHub Copilot App extension that you use to design, configure, test, and deploy Foundry hosted agents from a side panel. It pairs a visual canvas with the Copilot chat session, so you can browse your Foundry project resources, assemble an agent, and hand off each step to Copilot without leaving your editor.
The canvas is for developers who want a guided, visual way to build hosted agents while keeping the flexibility of a Copilot-driven, code-based workflow.
How the canvas fits your workflow
You open the canvas from a Copilot conversation. When you ask Copilot to create a Foundry hosted agent, the canvas opens in the right panel and connects to your Foundry project. As you make choices in the canvas, such as picking a model or connecting a toolbox, the canvas sends a ready-to-run prompt to your current Copilot session with the project, subscription, and endpoint already attached. Copilot then scaffolds and edits the agent code in your workspace.
This split keeps the visual experience and the code in sync: the canvas surfaces what's available in your project, and Copilot does the file edits and command runs. You stay in control of the generated code the whole time.
What you can do with the canvas
If you're new to building hosted agents on Foundry, the canvas guides you through the process so you can assemble a working agent without piecing together the workflow yourself. It puts the whole path, from an idea to a deployed agent, in one guided surface.
With the canvas, you can:
- Start an agent in seconds. Scaffold a working hosted agent from a generated idea with Inspire me, or from a Hello world sample prompt, with no boilerplate to write yourself.
- Build from your own project resources. Browse the deployed models, Foundry Toolboxes and tools, skills, and guardrails that already exist in your Foundry project, and add them to the agent.
- Stay grounded in your project. The canvas signs you in to Azure, finds your subscriptions and Foundry projects, and keeps your selection so every choice targets the right project.
- Keep Copilot in the loop. Each choice you make becomes a ready-to-run prompt for Copilot, which writes and edits the agent code in your workspace, so you keep full control of the generated code.
- Test before you ship. Run the agent locally in an embedded Agent Inspector, and send any errors straight back to Copilot as fix requests.
- Deploy without leaving the editor. Publish the finished agent to Foundry Agent Service with Deploy to Foundry.
Install Microsoft Foundry Canvas
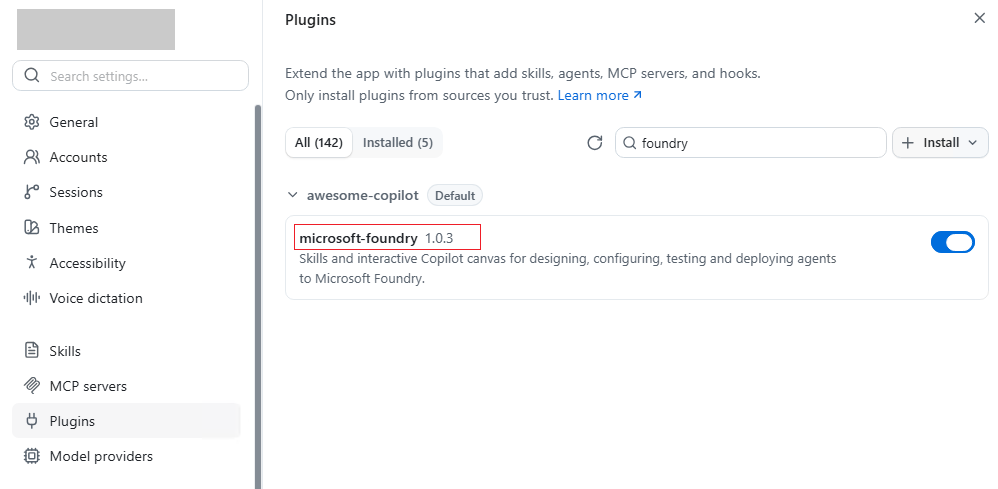
To install the canvas, in the GitHub Copilot App, open Settings > Plugins, search for microsoft-foundry, and select Install.
How agent building works
After you install the canvas, you build a hosted agent by moving through a few stages in the side panel. The canvas surfaces the choices, and Copilot makes the matching code and command changes in your workspace.
- Start the canvas. Ask Copilot to create a Foundry hosted agent. The canvas opens in the right panel and connects to Foundry.
- Choose a project. Sign in to Azure, then select a subscription and Foundry project. The canvas keeps this selection when you reopen it.
- Scaffold the agent. Generate a starting point by using Inspire me, or begin from the Hello world sample prompt.
- Configure the agent. Wire a deployed model, and connect any toolboxes, skills, and guardrails from the project.
- Test locally. Select Inspect Locally to run the agent and open the embedded Agent Inspector. Send any errors back to Copilot as fix requests.
- Deploy. Select Deploy to Foundry to publish the agent to Foundry Agent Service.
Because Inspect Locally and Deploy to Foundry run the underlying Azure Developer CLI (azd) commands, you can drop back to the terminal at any point.
For the full step-by-step walkthrough, see Quickstart: Deploy your first hosted agent.