Note
Access to this page requires authorization. You can try signing in or changing directories.
Access to this page requires authorization. You can try changing directories.
Overview
The new bulk operations experience in Microsoft Entra ID provides enhanced capabilities for managing Groups, Devices, Administrative Unit and Role assignments. This service enables bulk actions including create, update, and delete operations. The improved service delivers better performance, reduces timeouts, and removes scaling limitations for large tenants.
Note
The new bulk operations service currently only supports Groups, Devices, Users export, Administrative Unit and Role assignment. Support for additional entities like Enterprise applications will be added in a future update. Localization for templates is partially supported (exported CSV doesn't have a localization template, but import and remove are supported). Additionally, guest users cannot initiate bulk operations. The new bulk operations service doesn't support exporting hidden memberships.
For information about limitations and to learn more about the previous Bulk Operations experience, see Bulk operations service limitations.
Bulk download groups
To download all groups in your organization:
Sign in to the Microsoft Entra admin center and in the left-hand navigation pane, select the Groups tab and then All groups.
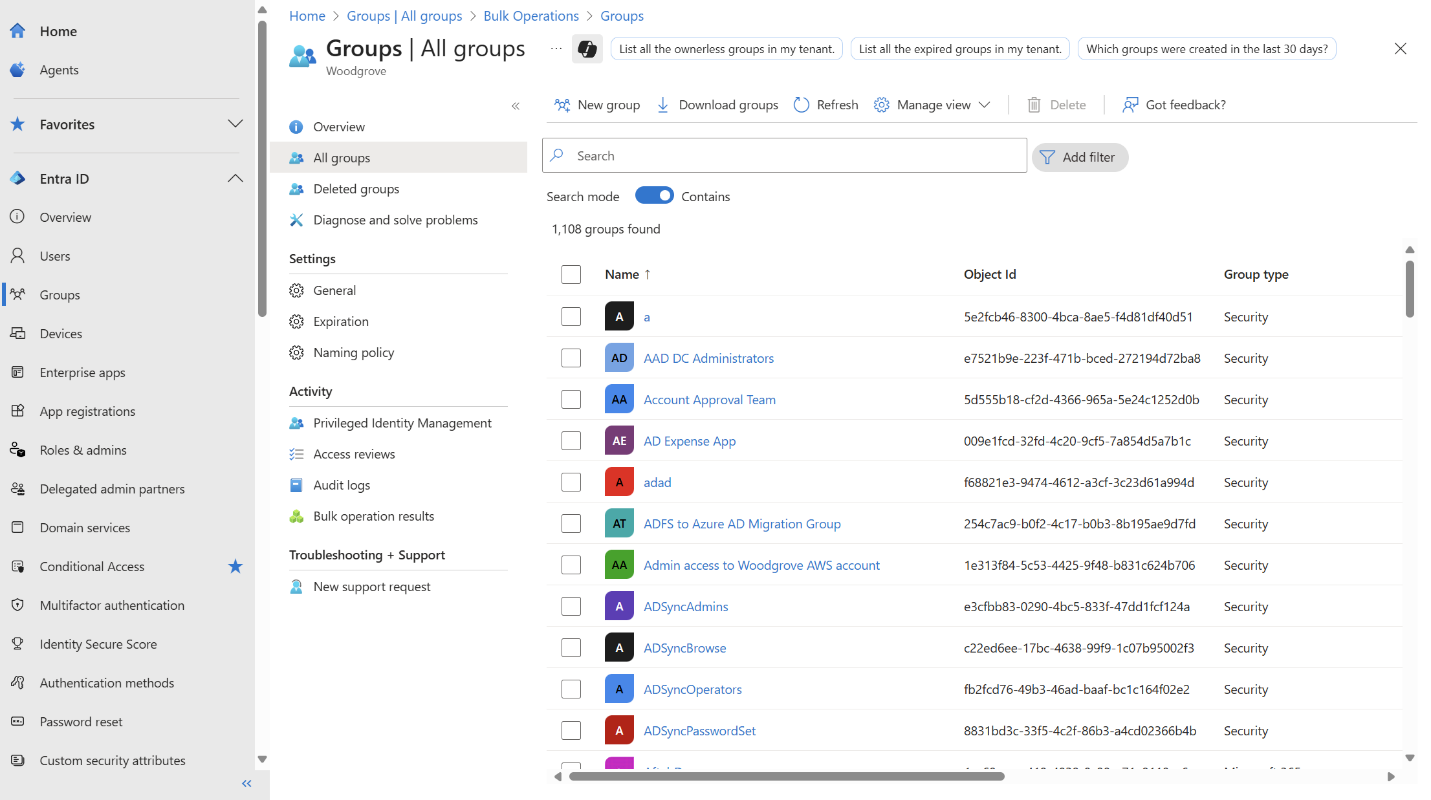
Select Download groups.
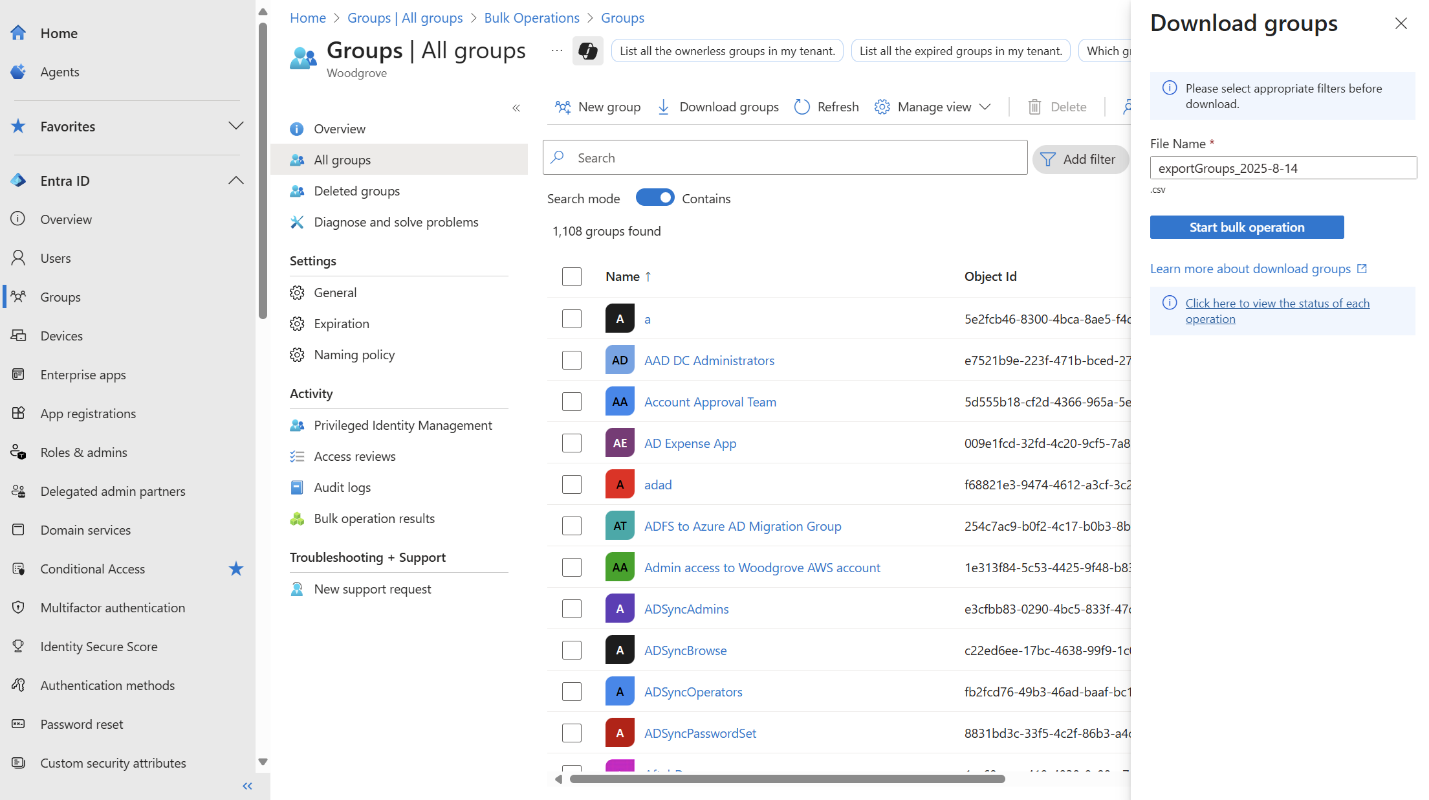
Enter a filename and select Start bulk operation.
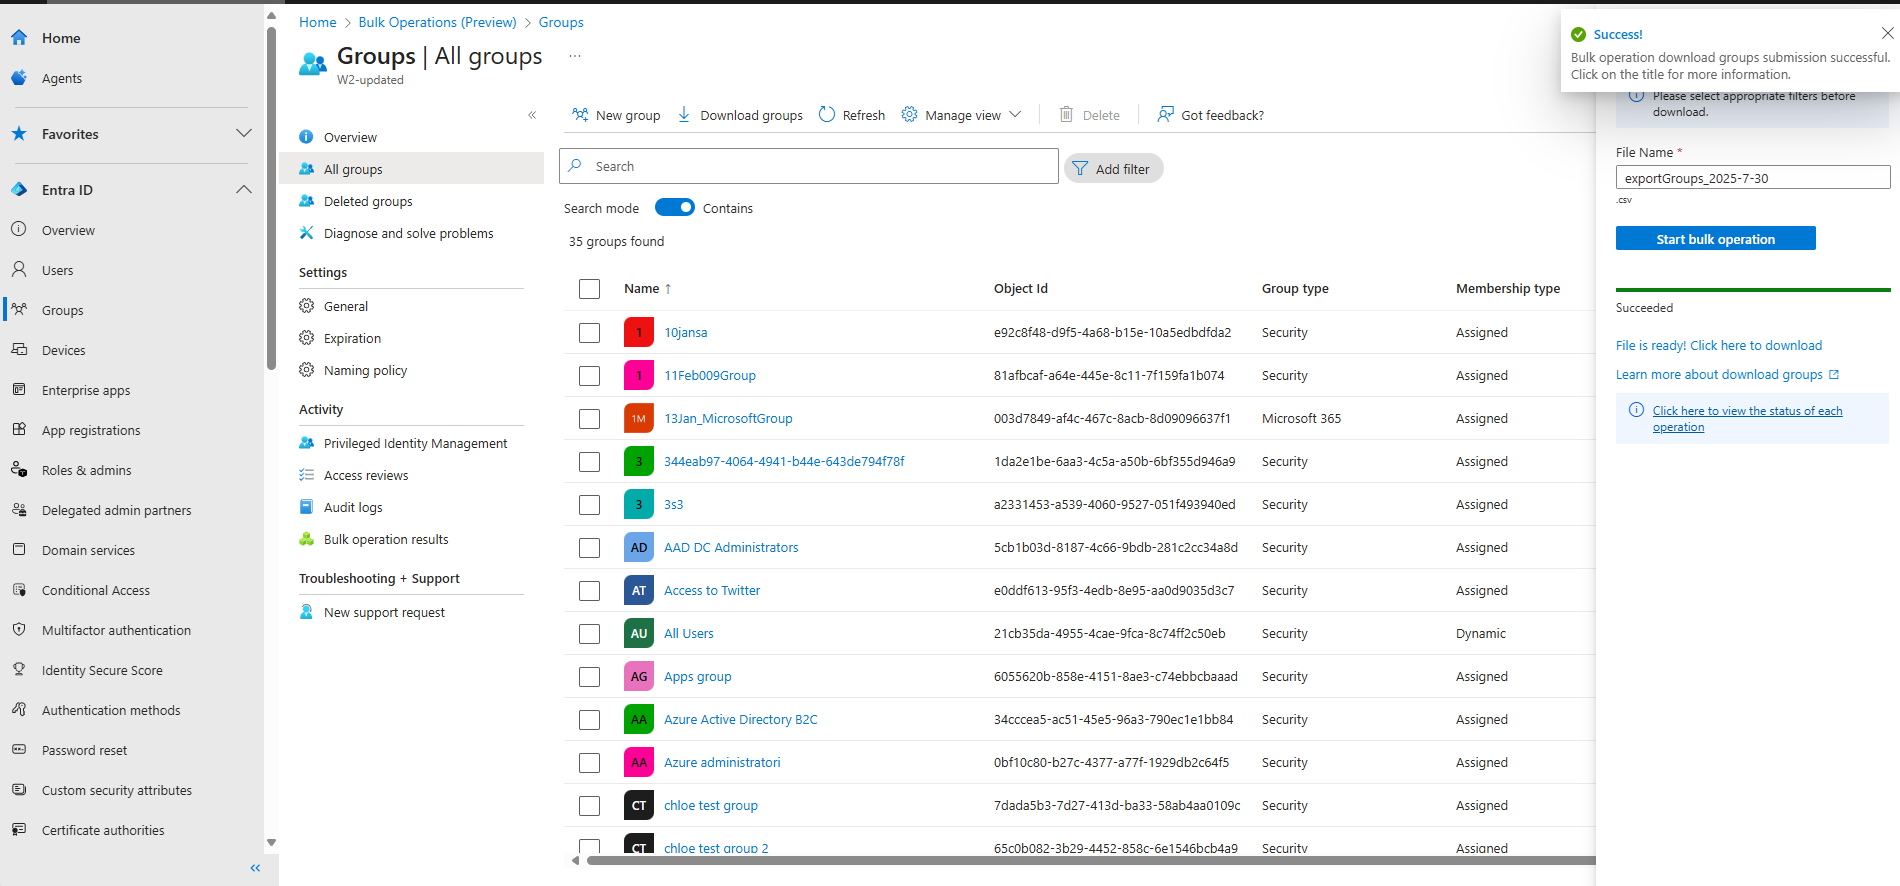
Select the Click here to view the status of each operation link to navigate to the Bulk operations blade.
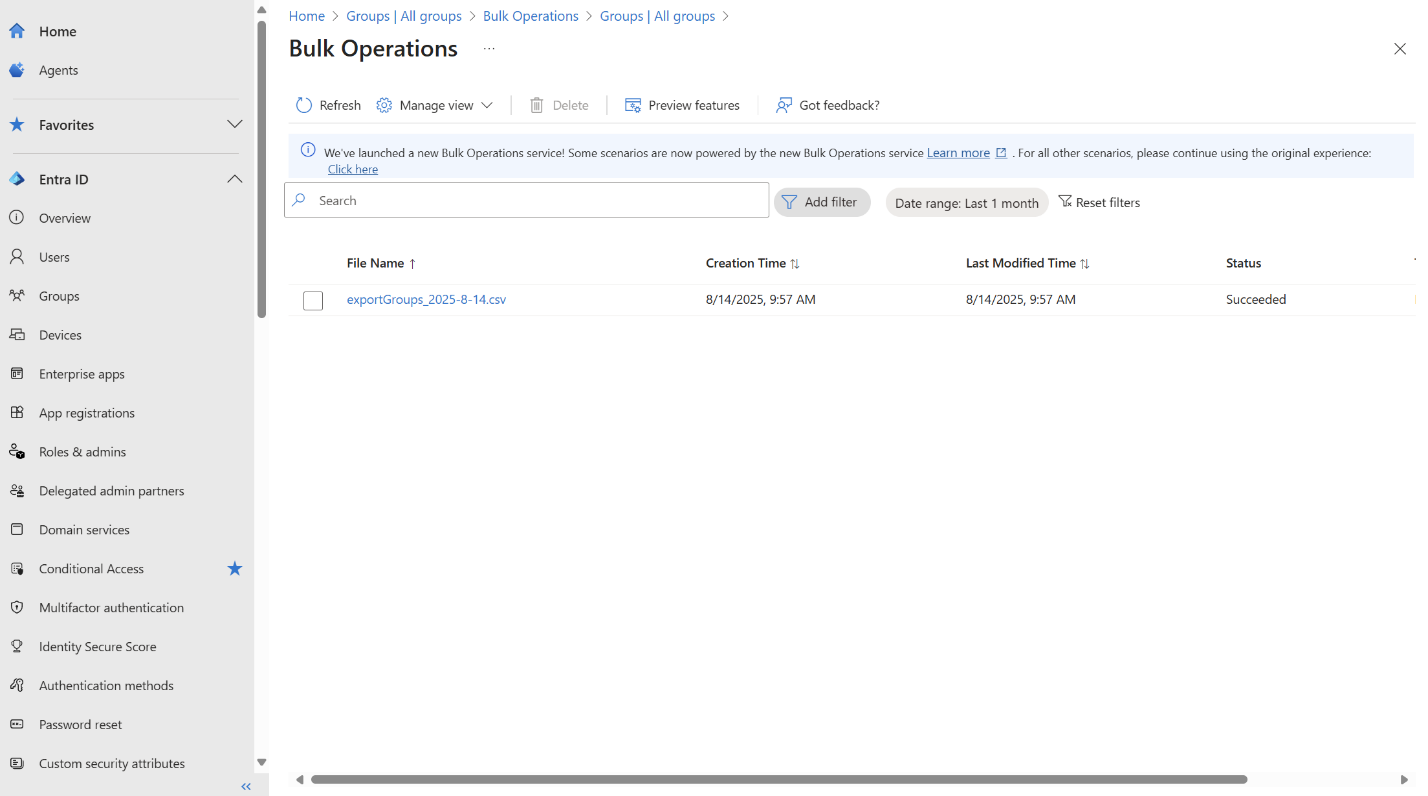
Select the filename to download the CSV file containing all groups with the specified columns.
Download filtered groups
To download a filtered subset of groups:
Sign in to the Microsoft Entra admin center and in the left-hand navigation pane, select the Groups tab.
Select Add filter to open the Manage filters panel. Apply desired filters to narrow down the group list. Only selected columns appear in the CSV file.
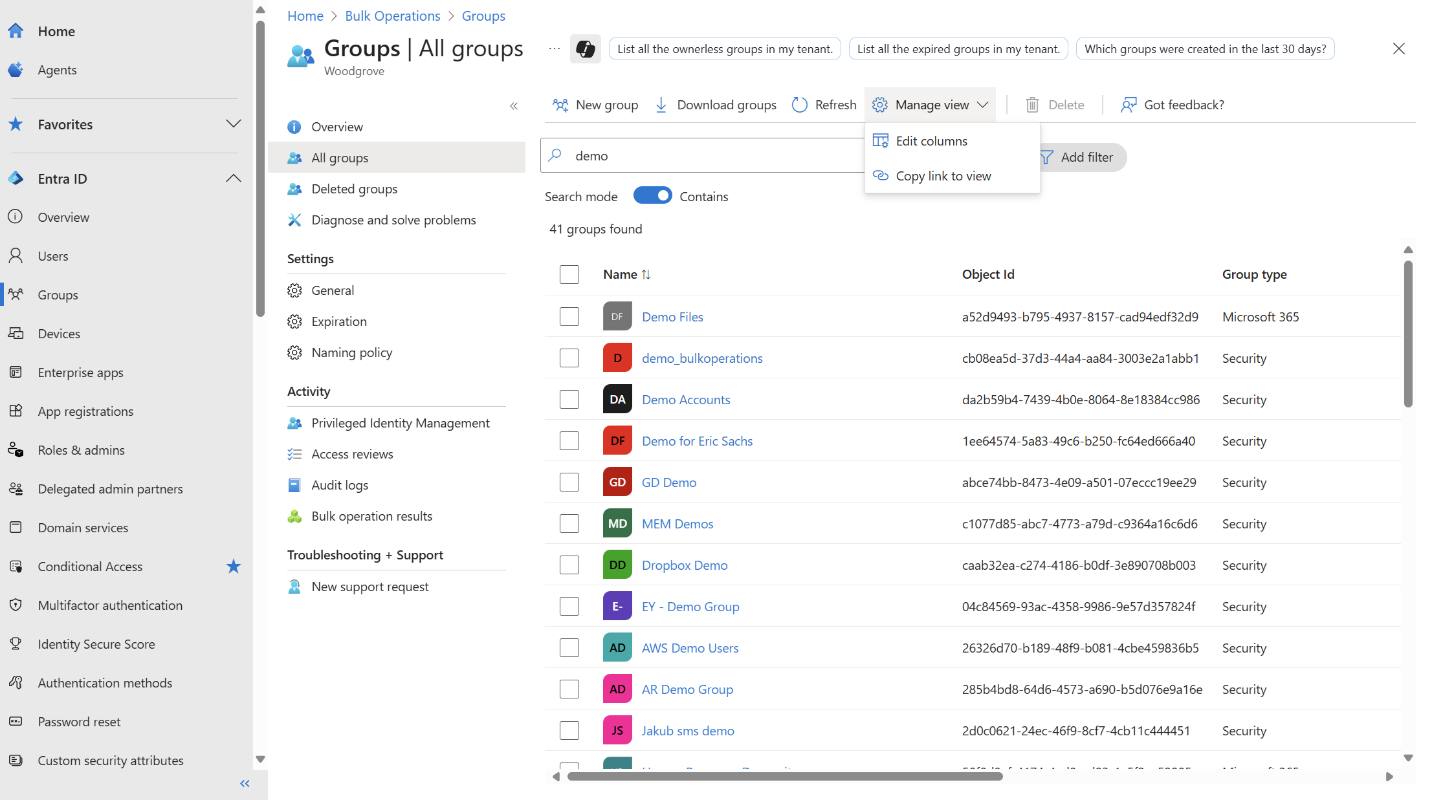
Select Download groups.
Follow steps 3-5 from Bulk download groups.
Bulk download group members
To download all members of a specific group:
Sign in to the Microsoft Entra admin center and in the left-hand navigation pane, select the Groups tab.
Select a group from the list and navigate to the Members tab.
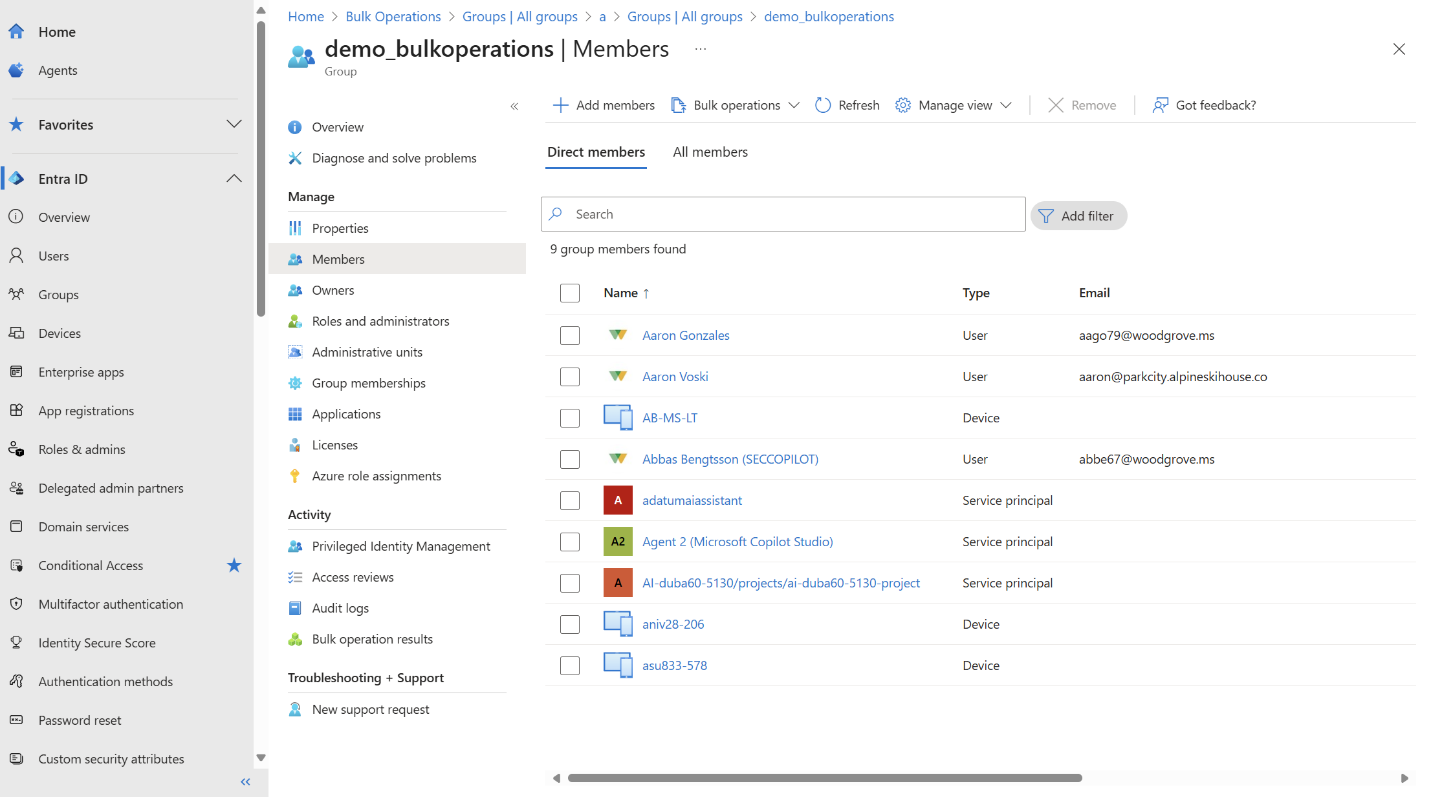
Select Bulk operations > Download members.

Enter a filename and select Start bulk operation.
Follow the download process as described in Bulk download groups.
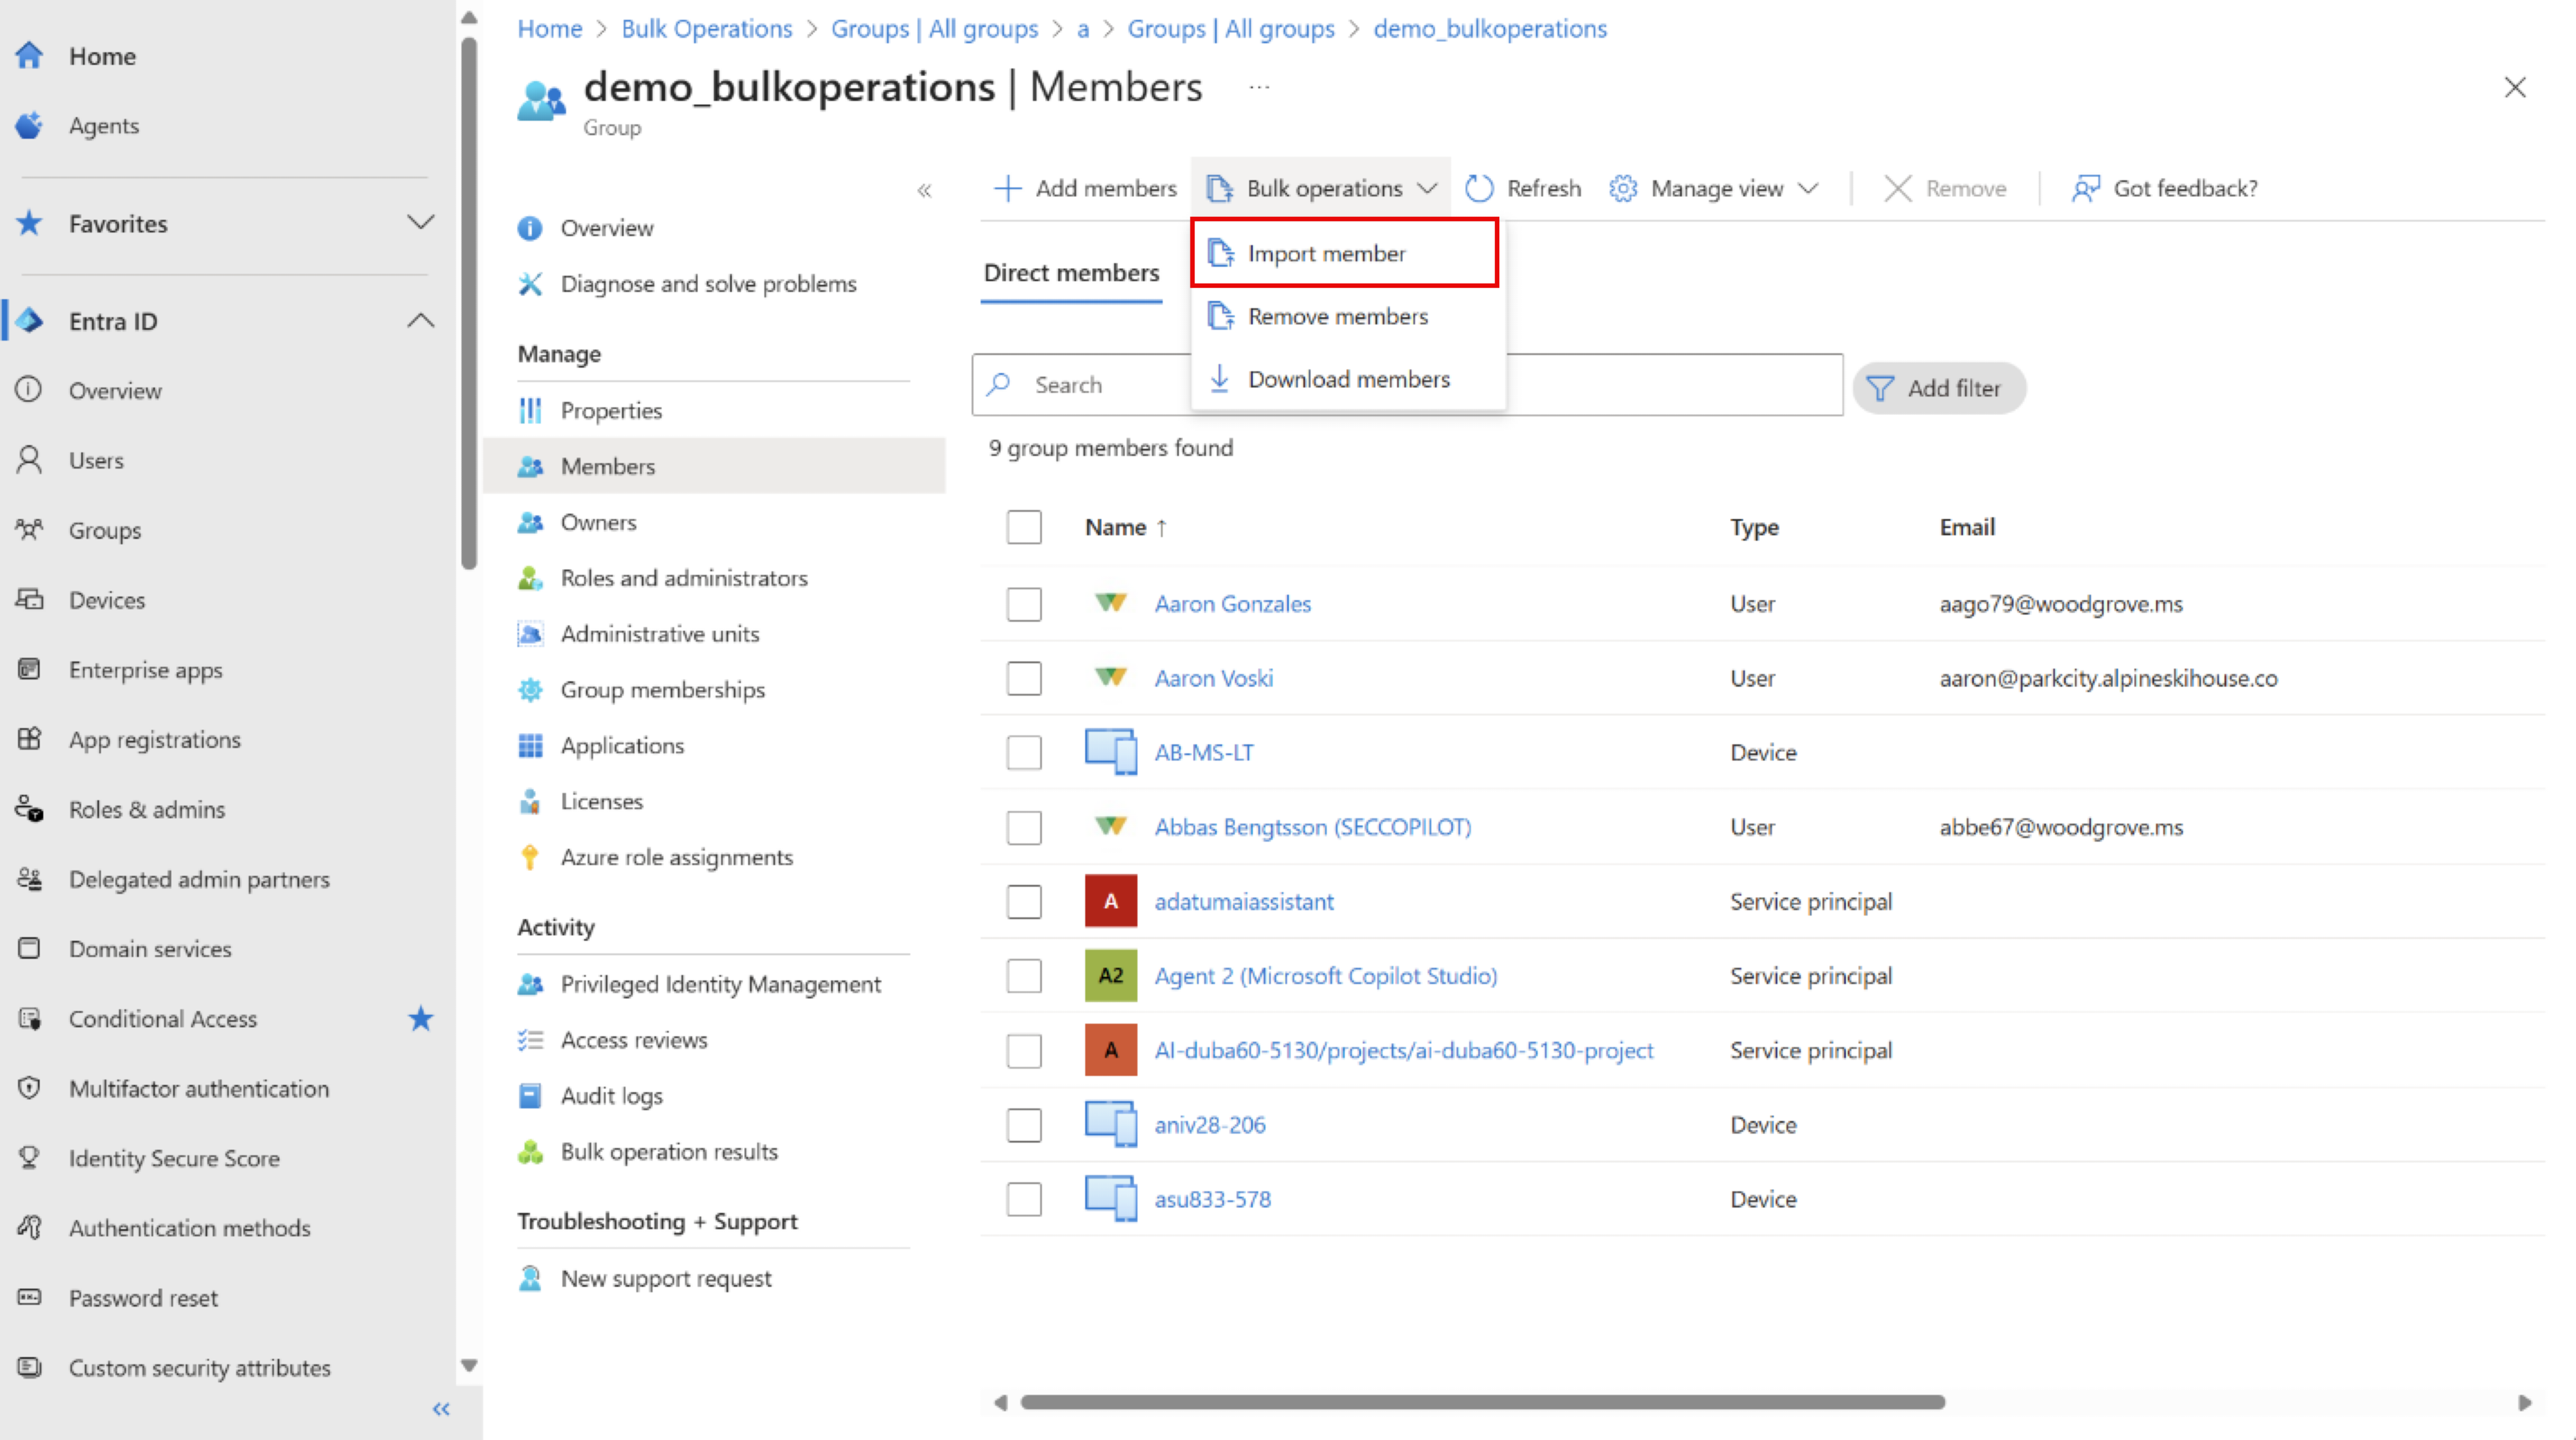
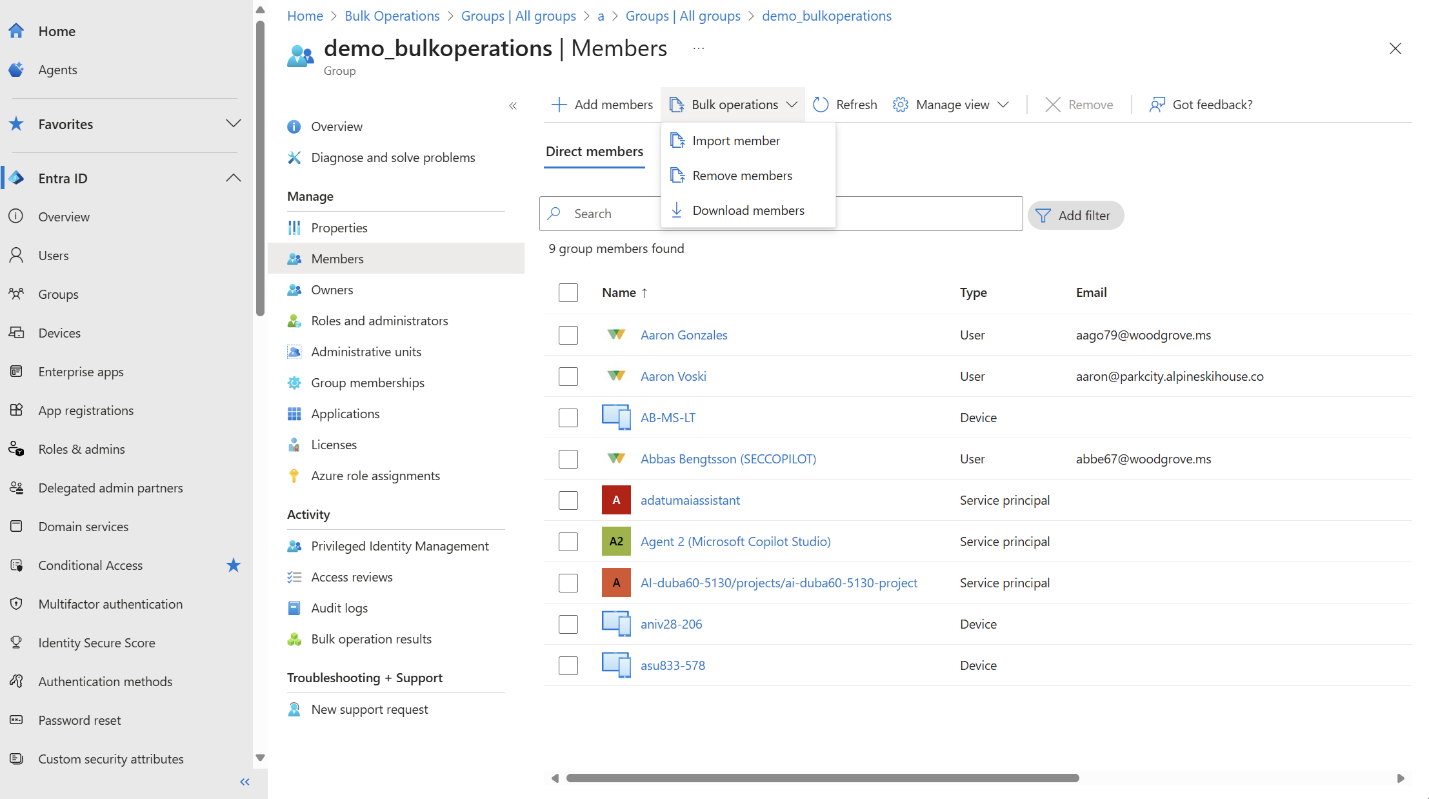
Bulk import group members in Microsoft Entra ID
To add multiple members to a group:
Sign in to the Microsoft Entra admin center and in the left-hand navigation pane, select the Groups tab.
Select a group from the list and navigate to the Members tab.
Select Bulk operations > Import members.
Select Download csv template to get a template file with the correct column header. The template contains one column:
Member object ID or user principal name [memberObjectIdOrUpn] Required. Delete the example row and add the Object IDs or UPNs for the members you want to import, one per row. You can use either:- Object ID: The GUID of the user (for example,
aaaaaaaa-0000-1111-2222-bbbbbbbbbbbb) - User principal name: The UPN of the user (for example,
user@contoso.com)

- Object ID: The GUID of the user (for example,
Upload the completed CSV file and select Submit.
Monitor the notification for job completion. Select the Success! link to view the operation status.
Important
If you add invalid Object IDs in the uploaded CSV file, the bulk operation status shows Failed with reason NotAllRowsSuccessfullyProcessed. You can select on the filename to download a detailed report showing the status of each object ID.
Bulk remove group members
To remove multiple members from a group:
Follow steps 1-2 from Bulk download group members.
Select Bulk operations > Remove members.
Select Download csv template to get a template file with the correct column header. The template contains one column:
Member object ID or user principal name [memberObjectIdOrUpn] Required. Delete the example row and add the Object IDs or UPNs for the members you want to remove, one per row. You can use either:- Object ID: The GUID of the user (for example,
aaaaaaaa-0000-1111-2222-bbbbbbbbbbbb) - User principal name: The UPN of the user (for example,
user@contoso.com)
- Object ID: The GUID of the user (for example,
Upload the completed CSV file and select Submit.

Monitor the notification for job completion. Select the Success! link to view the operation status.
If the operation shows Failed status with reason NotAllRowsSuccessfullyProcessed, select the filename to download a detailed report showing the status of each object ID.
Verify that the specified members were removed from the group.
Delete bulk jobs
To delete completed or failed bulk operations:
Navigate to the Bulk Operations (Preview) page.
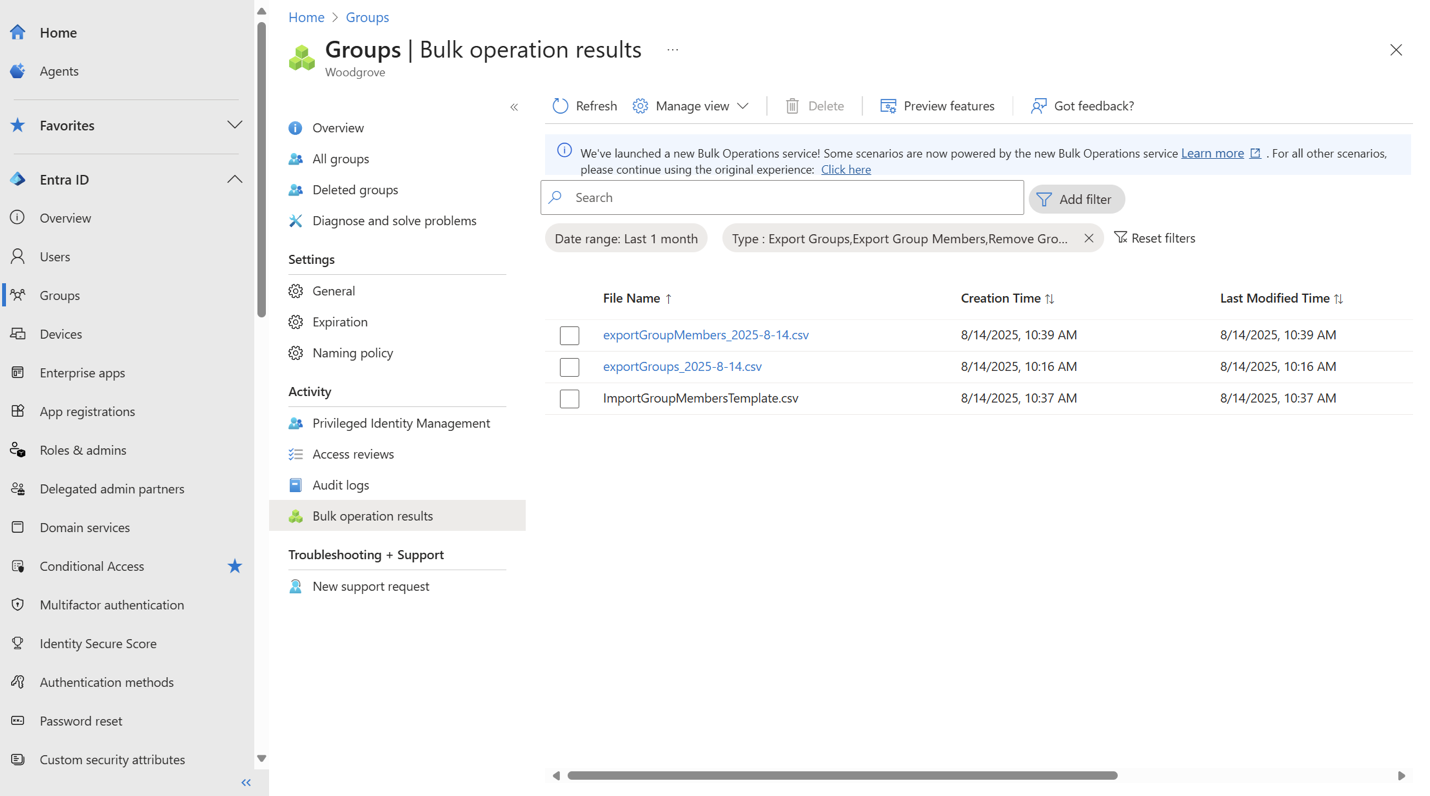
Select the bulk job you want to delete.
Select Delete.
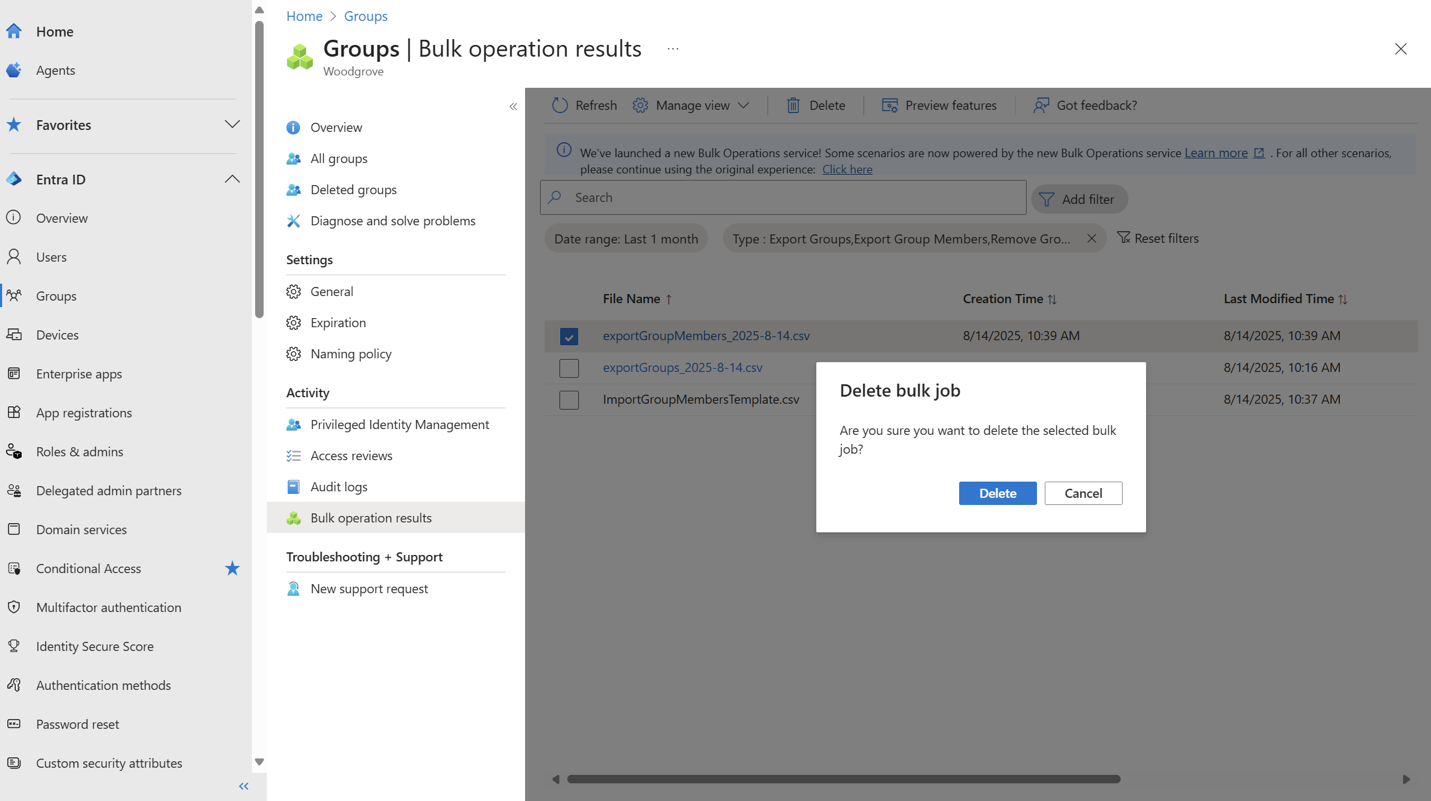
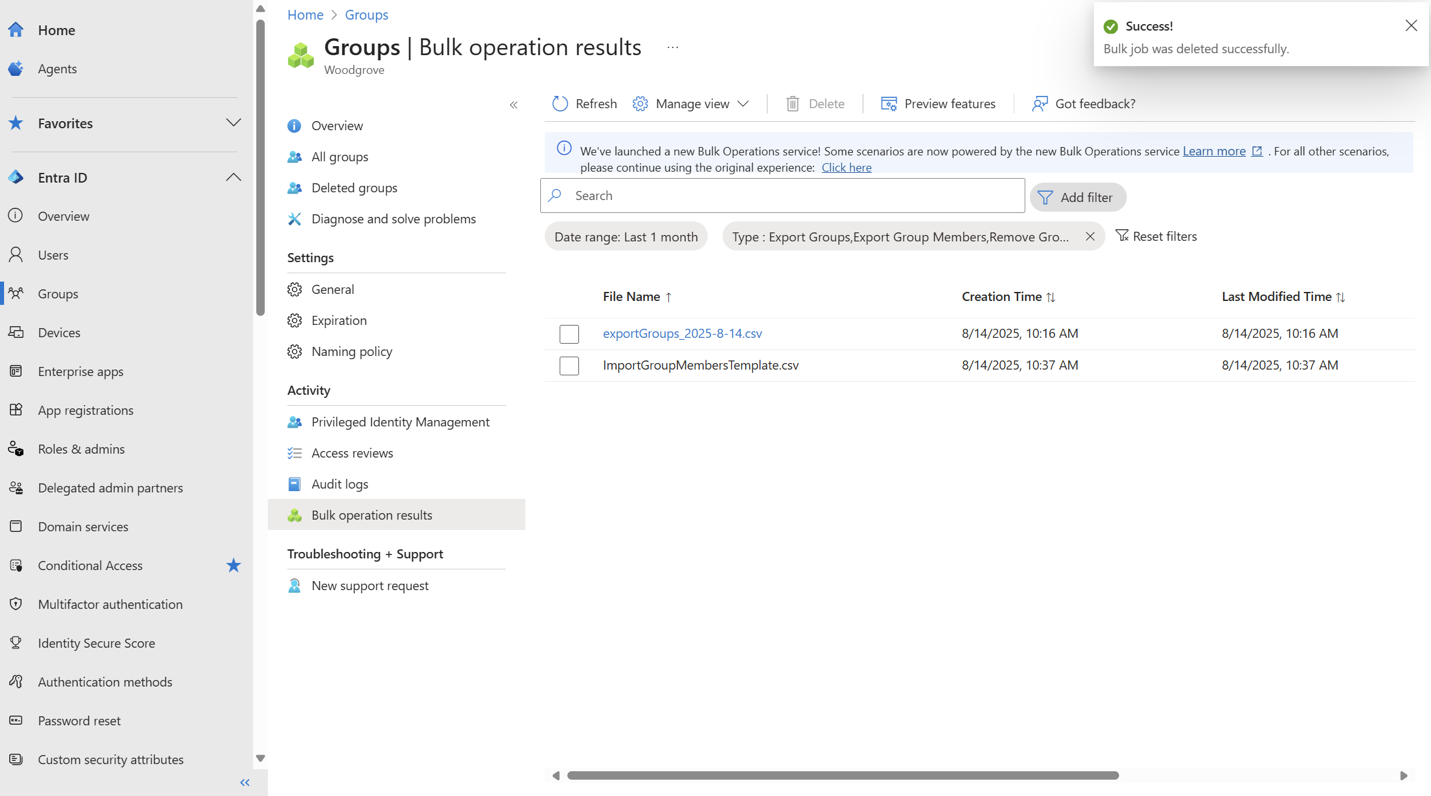
Confirm the deletion. The deleted job is removed from the list.
Devices scenario steps
Go to the All devices blade.
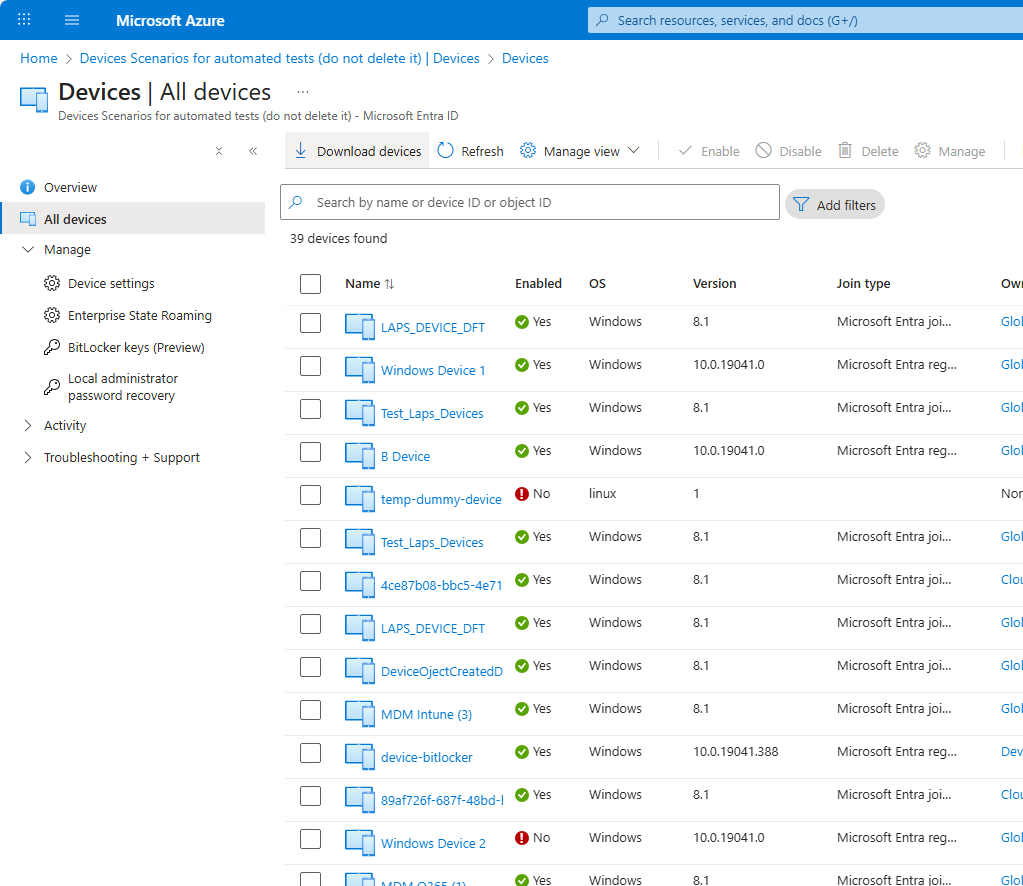
Select Download devices.
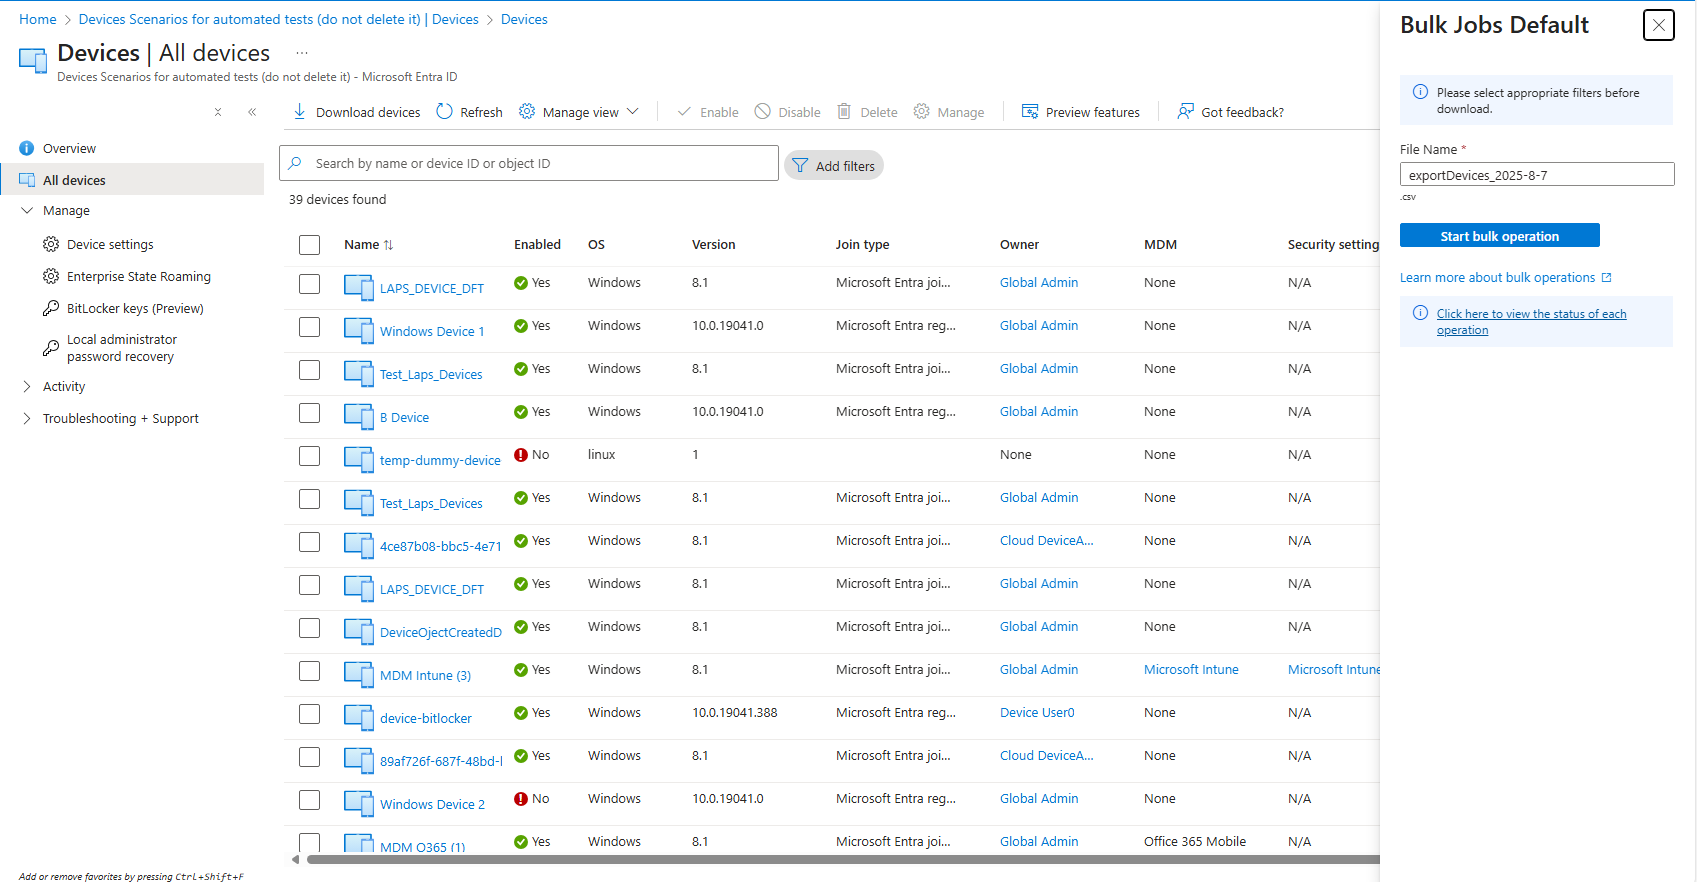
Enter a filename that matches your naming convention and select Start bulk operation.
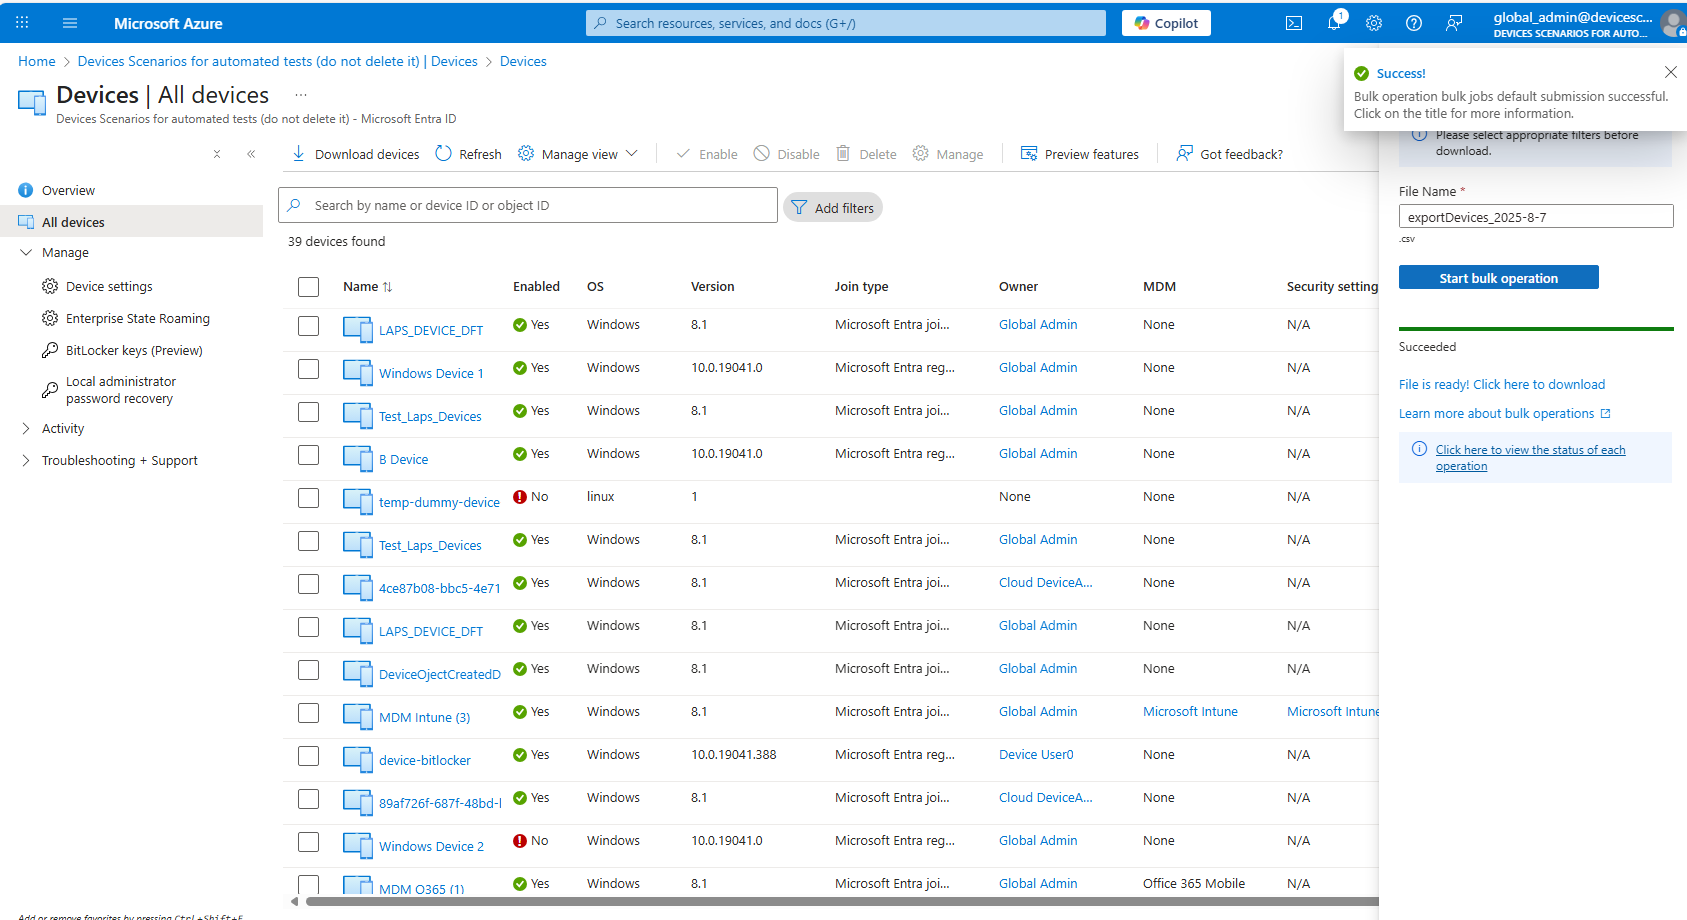
Verify the notification message and, if the job was submitted successfully, select the Success! or File is ready! Click here to download link.
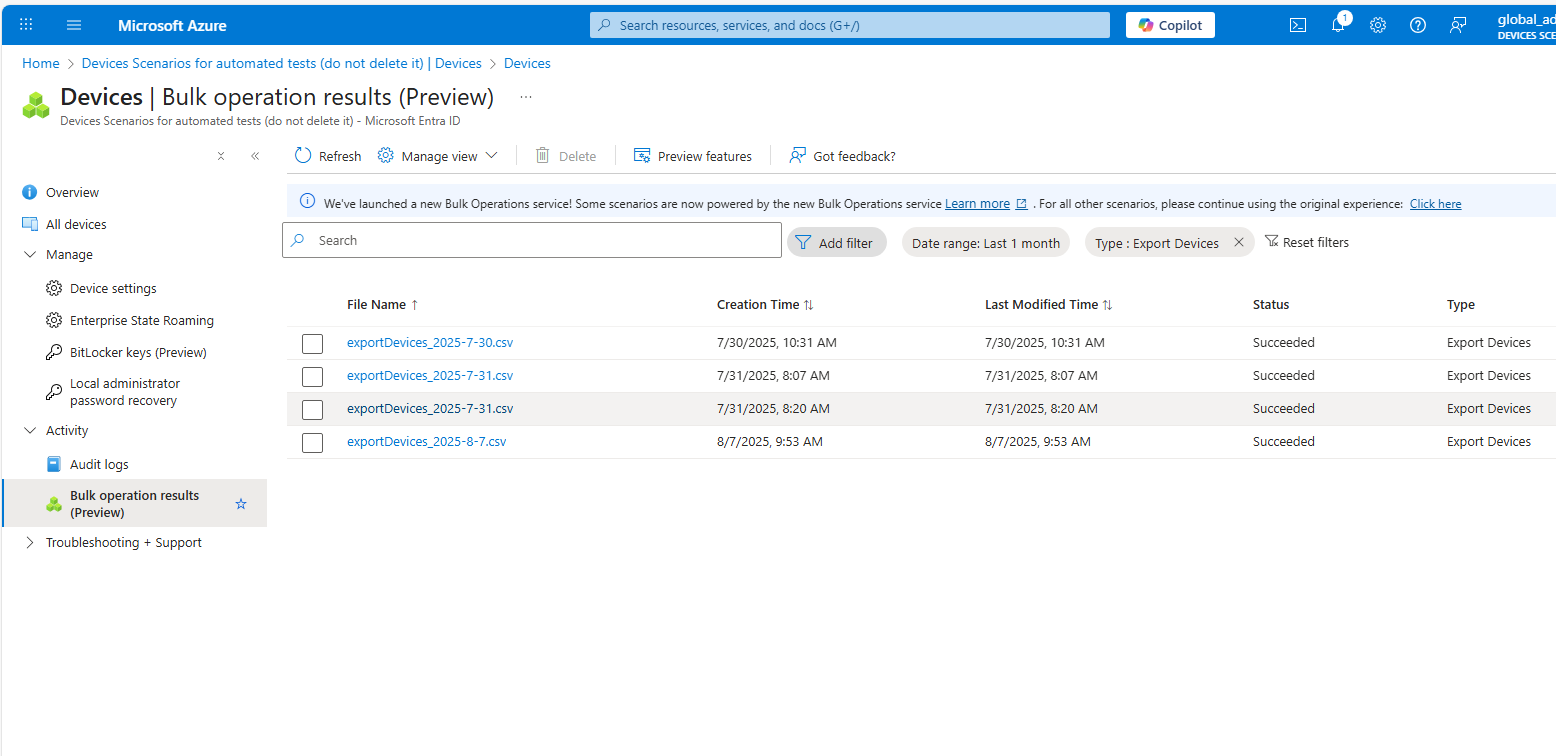
Select the filename for the bulk job you created to download the CSV file. Verify the CSV contains all devices with the columns you selected when the bulk job was created.
You can bulk export users following the steps in Download a list of users in Microsoft Entra admin center.
Add users to an administrative unit in a bulk operation
Sign in to the Microsoft Entra admin center as at least a Privileged Role Administrator.
Browse to Entra ID > Roles & admins > Admin units.
Select the administrative unit you want to add users to.
Select Users > Bulk operations > Bulk add members.
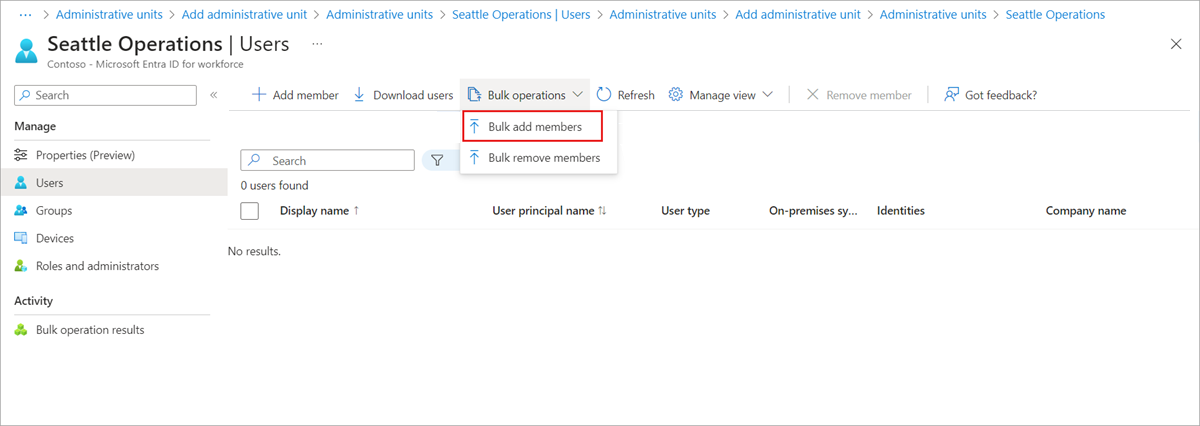
In the Bulk add members pane, download the comma-separated values (CSV) template. Update and format the CSV as follows:
Entries: Object Ids or UPN of members to add to the Admin Unit. Rename the file if desired, then select and upload the edited file.
Select Submit after successful upload.
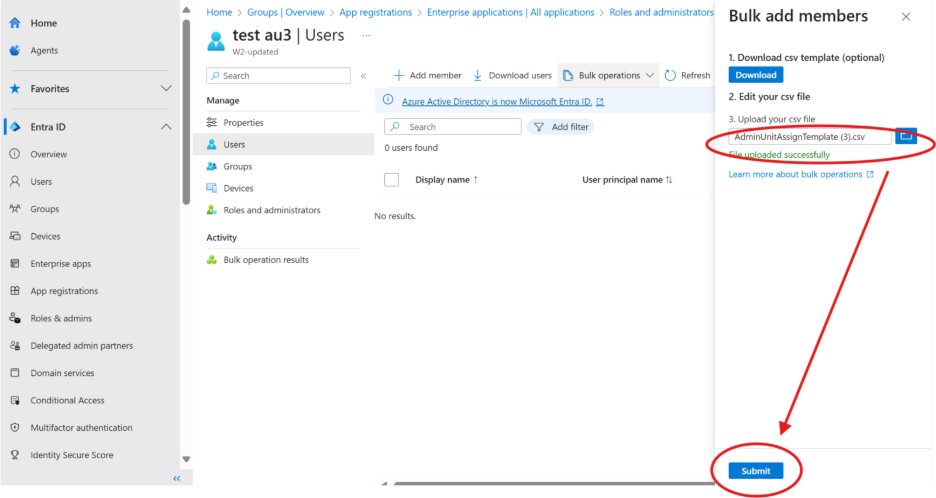
Verify the notification message and ensure the job was submitted successfully.
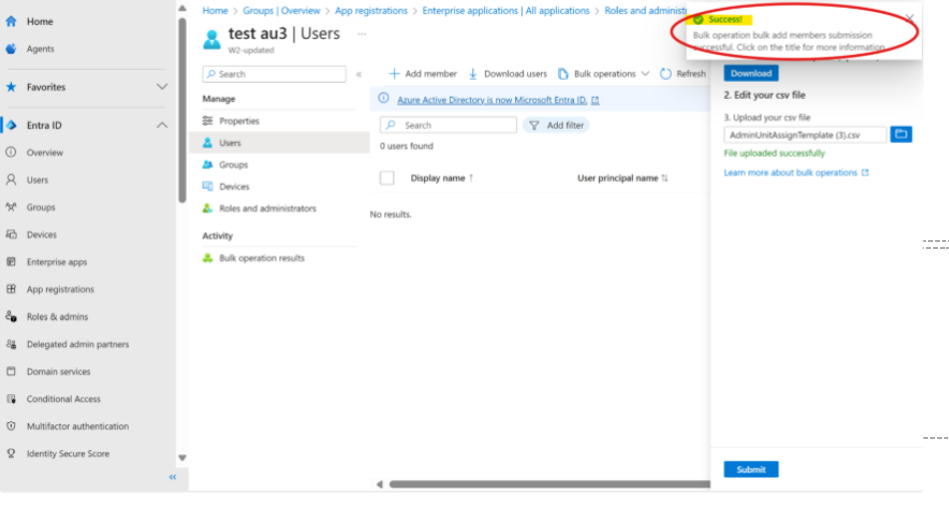
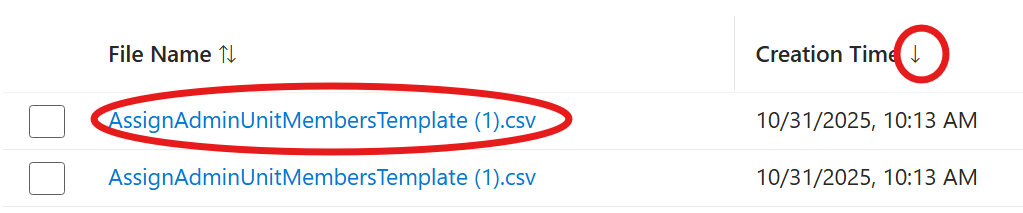
Select Success to navigate to the bulk jobs list. You can sort by creation time to find your job, then select it to download.

Note
Verify that the correct object IDs were added to the admin unit successfully. Refresh the UX if needed to see the updated state; it takes some time to reflect especially when adding groups to Admin Unit.
If the input includes an invalid Object ID or one already assigned to this admin unit, the bulk operation status shows "Failed" instead of "Success" due to not all rows successfully processed. In the results csv, you will see the failure reason as 'The request was malformed or contains invalid parameters'. This is most likely due to the object being already assigned to this admin unit pre-operation. Other valid rows should still be processed successfully, please verify accordingly.
Remove users from an administrative unit in a bulk operation
Sign in to the Microsoft Entra admin center as at least a Privileged Role Administrator.
Browse to Entra ID > Roles & admins > Admin units.
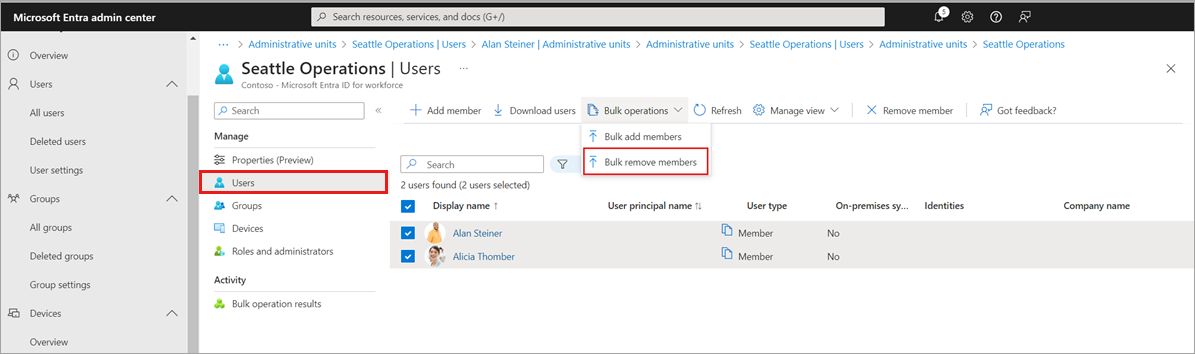
Select the administrative unit that you want to remove users from.
Select Users > Bulk operations > Bulk remove members.
In the Bulk remove members pane, download the comma-separated values (CSV) template.
Don't change the first row of the template, and for each row fill in objectID or UPN of the users/devices/groups that you want to remove.
Save your changes and upload the CSV file.
Select Submit.
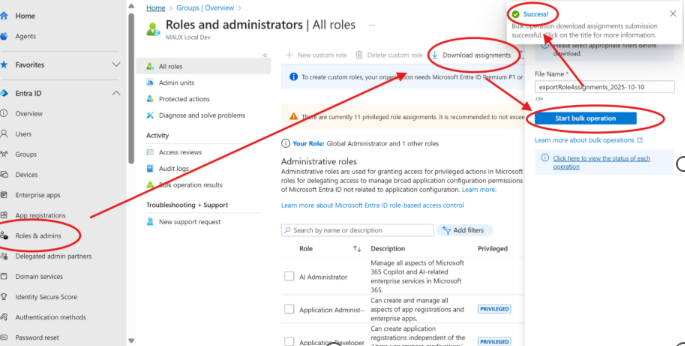
Download Role Assignment
To download all active role assignments across all roles, including built-in and custom roles, follow these steps.
On the Roles and administrators page, select All roles.
Select Download assignments.
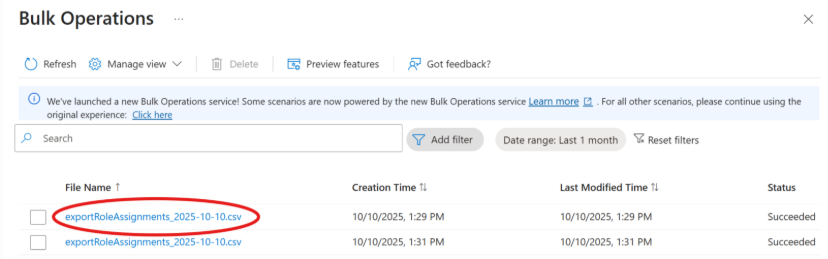
Select Success to navigate to the bulk jobs list. You can sort by creation time to find your job, then select it to download.
Sample output:

Note
Filters and sorting are not supported for this bulk job type; this downloads all role assignments.