Set up the Azure Percept DK device
Important
Retirement of Azure Percept DK:
Update 22 February 2023: A firmware update for the Percept DK Vision and Audio accessory components (also known as Vision and Audio SOM) is now available here, and will enable the accessory components to continue functioning beyond the retirement date.
The Azure Percept public preview will be evolving to support new edge device platforms and developer experiences. As part of this evolution the Azure Percept DK and Audio Accessory and associated supporting Azure services for the Percept DK will be retired March 30th, 2023.
Effective March 30th, 2023, the Azure Percept DK and Audio Accessory will no longer be supported by any Azure services including Azure Percept Studio, OS updates, containers updates, view web stream, and Custom Vision integration. Microsoft will no longer provide customer success support and any associated supporting services. For more information, please visit the Retirement Notice Blog Post.
Complete the Azure Percept DK setup experience to configure your dev kit. After verifying that your Azure account is compatible with Azure Percept, you will:
- Launch the Azure Percept DK setup experience
- Connect your dev kit to a Wi-Fi network
- Set up an SSH login for remote access to your dev kit
- Create a new device in Azure IoT Hub
If you experience any issues during this process, refer to the setup troubleshooting guide for possible solutions.
Note
The setup experience web service automatically shuts down after 30 minutes of non-use. If you are unable to connect to the dev kit or do not see its Wi-Fi access point, restart the device.
Prerequisites
An Azure Percept DK (dev kit).
A Windows, Linux, or OS X based host computer with Wi-Fi capability and a web browser.
An active Azure subscription. Create an account for free.
Users must have the owner or contributor role within the subscription. Follow the steps below to check your Azure account role. For more information on Azure role definitions, check out the Azure role-based access control documentation.
Caution
Close all browser windows and log into your subscription via the Azure portal before starting the setup experience. See the setup troubleshooting guide for additional information on how to ensure you are signed in with the correct account.
Check your Azure account role
To verify if your Azure account is an “owner” or “contributor” within the subscription, follow these steps:
Go to the Azure portal and log in with the same Azure account you intend to use with Azure Percept.
Select the Subscriptions icon (it looks like a yellow key).
Select your subscription from the list. If you do not see your subscription, make sure you are signed in with the correct Azure account. If you wish to create a new subscription, follow these steps.
From the Subscription menu, select Access control (IAM).
Select View my access.
Check the role:
- If your role is listed as Reader or if you get a message that says you do not have permission to see roles, you will need to follow the necessary process in your organization to elevate your account role.
- If your role is listed as owner or contributor, your account will work with Azure Percept, and you may proceed with the setup experience.
Launch the Azure Percept DK Setup Experience
Connect your host computer to the dev kit’s Wi-Fi access point. Select the following network, and enter the Wi-Fi password when prompted:
- Network name: scz-xxxx or apd-xxxx (where xxxx is the last four digits of the dev kit’s MAC address)
- Password: found on the welcome card that came with the dev kit
Warning
While connected to the Azure Percept DK's Wi-Fi access point, your host computer will temporarily lose its connection to the Internet. Active video conference calls, web streaming, or other network-based experiences will be interrupted.
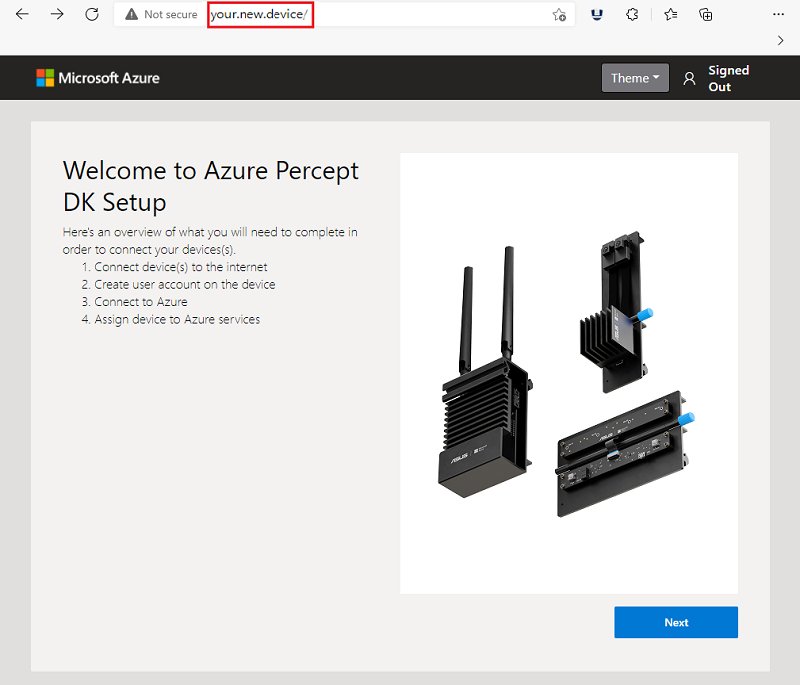
Once connected to the dev kit’s Wi-Fi access point, the host computer should automatically launch the setup experience in a new browser window with your.new.device/ in the address bar. If the tab does not open automatically, launch the setup experience by going to http://10.1.1.1 in a web browser. Make sure your browser is signed in with the same Azure account credentials you intend to use with Azure Percept.
Note
Mac users - When going through the setup experience on a Mac, it initially opens a captive portal window that is unable to complete the Setup Experience. Close this window and open a web browser to https://10.1.1.1, which will allow you to complete the setup experience.
Connect your dev kit to a Wi-Fi network
Select Next on the Welcome screen.
On the Network connection page, select Connect to a new WiFi network.
If you have already connected your dev kit to your Wi-Fi network, select Skip.
Select your Wi-Fi network from the list of available networks and select connect. Enter your network password when prompted.
Note
It is recommended that you set this network as a “Preferred Network” (Mac) or check the box to “connect automatically” (Windows). This will allow the host computer to reconnect to the dev kit’s Wi-Fi access point if the connection is interrupted during this process.
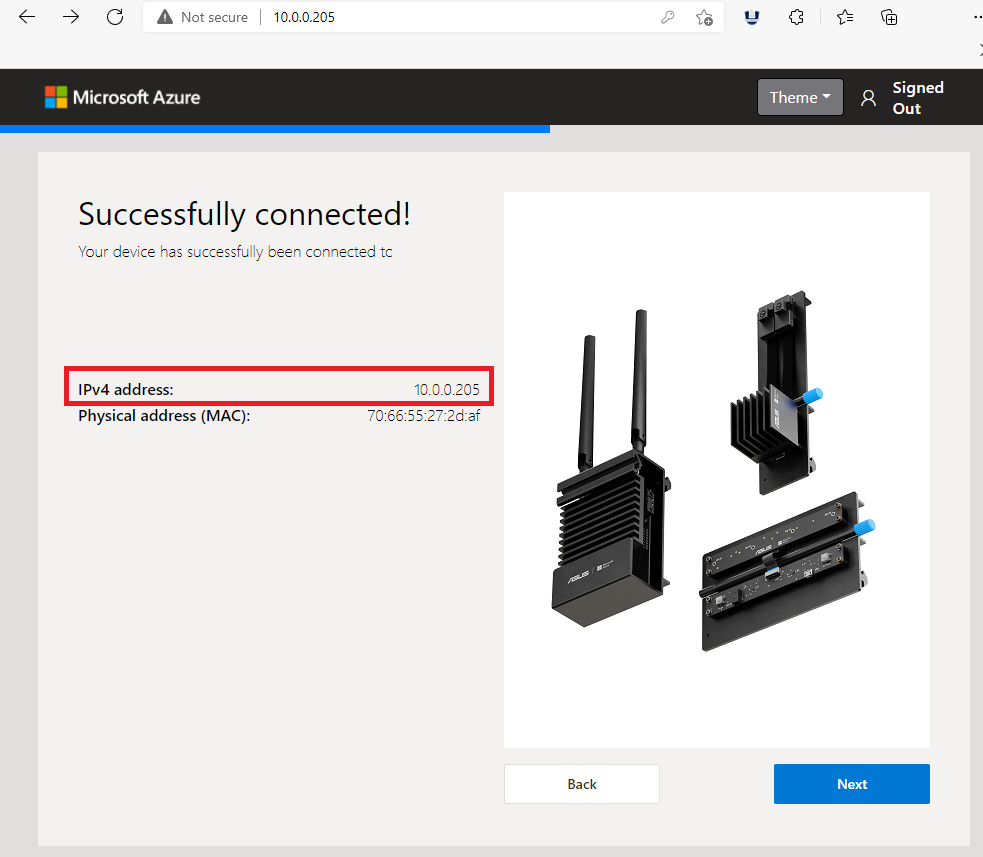
Once your dev kit has successfully connected, the page will show the IPv4 address assigned to your dev kit. Write down the IPv4 address displayed on the page. You will need the IP address when connecting to your dev kit over SSH for troubleshooting and device updates.
Note
The IP address may change with each device boot.
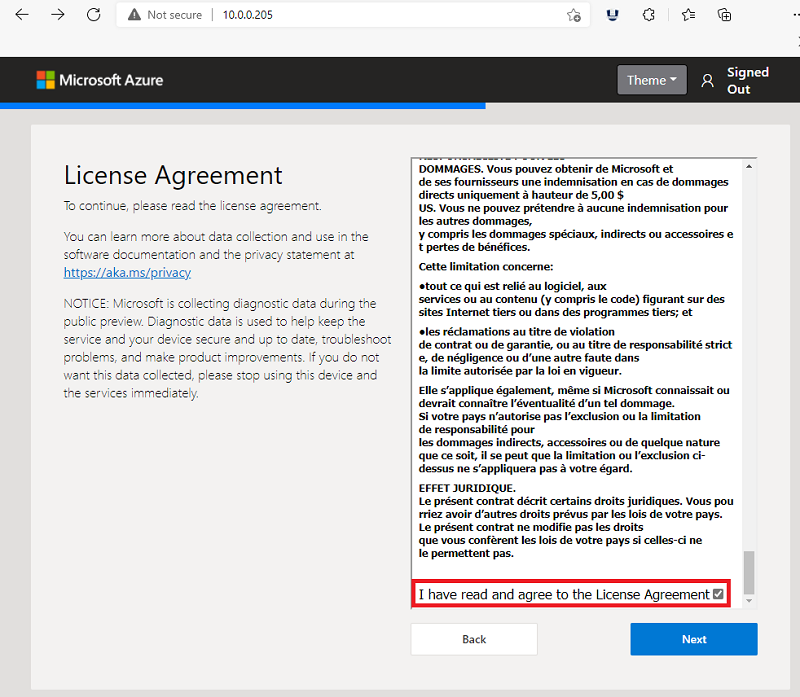
Read through the License Agreement (you must scroll to the bottom of the agreement), select I have read and agree to the License Agreement, and select Next.
Set up an SSH login for remote access to your dev kit
Create an SSH account name and public key/password, and select Next.
If you have already created an SSH account, you can skip this step.
Write down your login information for later use.
Note
SSH (Secure Shell) is a network protocol that enables you to connect to the dev kit remotely via a host computer.
Create a new device in Azure IoT Hub
Select Setup as a new device to create a new device within your Azure account.
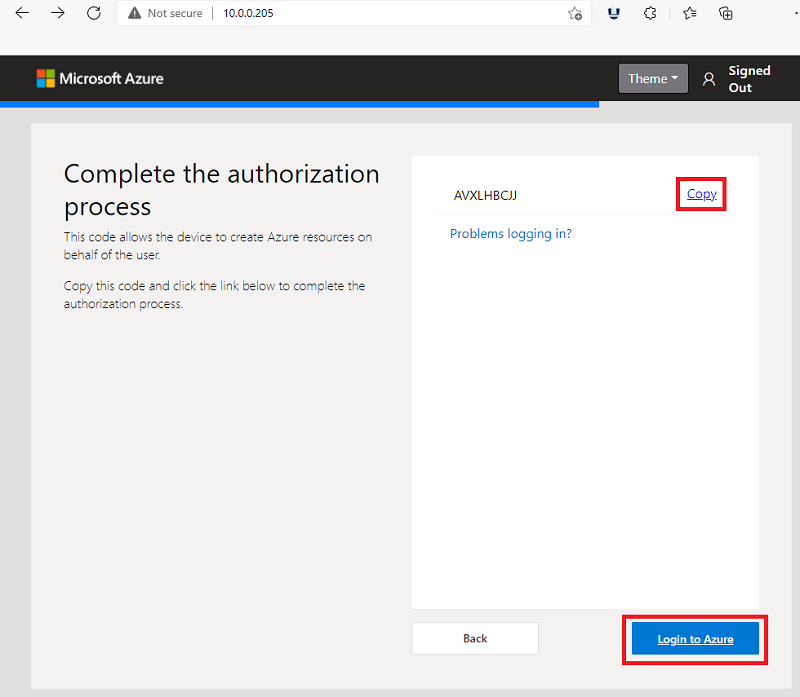
A Device Code will now be obtained from Azure.
Select Copy.
Note
If you receive an error when using your Device Code in the next steps or if the Device Code won’t display, please see our troubleshooting steps for more information.
Select Login to Azure.
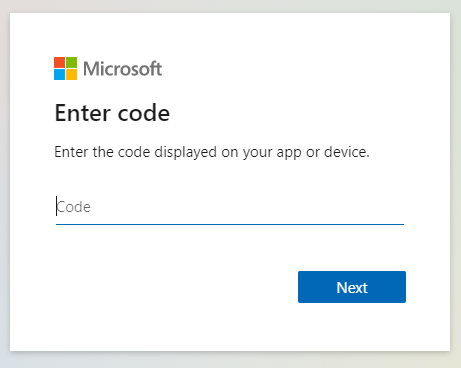
A new browser tab will open with a window that says Enter code. Paste the code into the window and select Next. Do NOT close the Welcome tab with the setup experience.
Sign into Azure Percept using the Azure account credentials you will use with your dev kit. Leave the browser tab open when complete.
Caution
Your browser may auto cache other credentials. Double check that you are signing in with the correct account.
After successfully signing into Azure Percent on the device, select Allow.
Return to the Welcome tab to continue the setup experience.
When the Assign your device to your Azure IoT Hub page appears on the Welcome tab, take one of the following actions:
- Jump ahead to Select your Azure IoT Hub, if your Iot Hub is listed on this page.
- If you do not have an IoT Hub or would like to create a new one, select Create a new Azure IoT Hub.
Important
If you have an IoT Hub, but it is not appearing in the list, you may have signed into Azure Percept with the wrong credentials. See the setup troubleshooting guide for help.

To create a new IoT Hub,
- Select the Azure subscription you will use with Azure Percept.
- Select an existing Resource Group. If one does not exist, select Create new and follow the prompts.
- Select the Azure region closest to your physical location.
- Give your new IoT Hub a name.
- Select the S1 (standard) pricing tier.
Note
It may take a few minutes for your IoT Hub deployment to complete. If you need a higher message throughput for your edge AI applications, you may upgrade your IoT Hub to a higher standard tier in the Azure Portal at any time. B and F tiers do NOT support Azure Percept.
When the deployment is complete, select Register.
Select your Azure IoT Hub
Enter a device name for your dev kit and select Next.
Note
You cannot reuse an existing IoT Edge device name when going through the Create New Device flow. If you wish to reuse the same name and deploy the default Percept modules, you must first delete the existing cloud-side device instance from the Azure IoT Hub before proceeding.
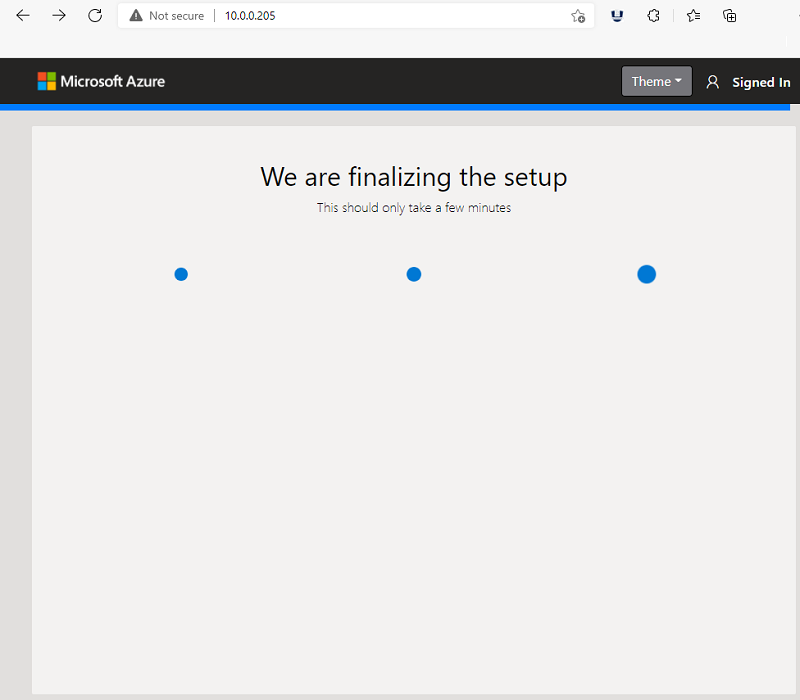
The device modules will now be deployed to your device. – this can take a few minutes.
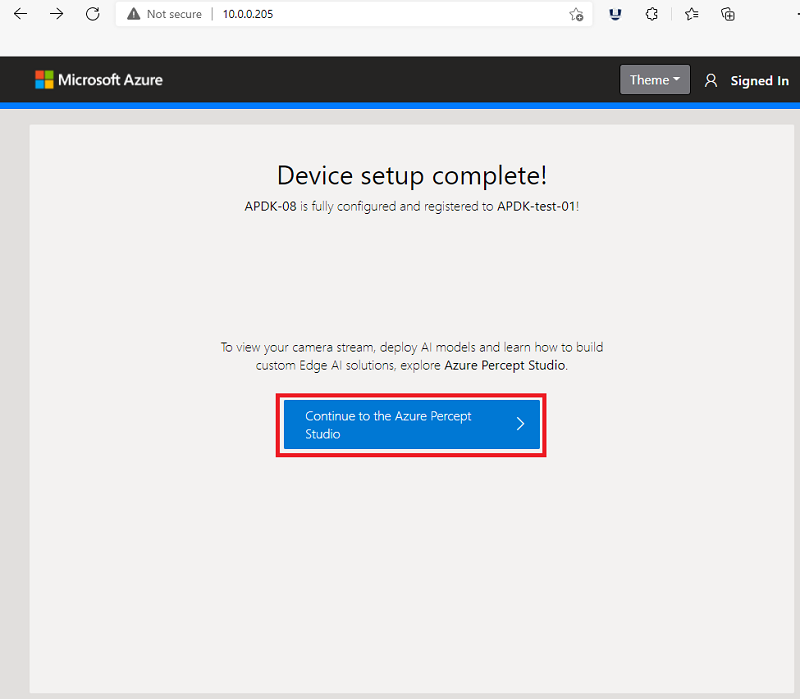
Device setup complete! Your dev kit has successfully linked to your IoT Hub and deployed all modules.
Note
After completion, the dev kit’s Wi-Fi access point will automatically disconnect and the setup experience web service will be terminated resulting in two notifications.
Note
The IoT Edge containers that get configured as part of this set up process use certificates that will expire after 90 days. The certificates can be automatically regenerated by restarting IoT Edge. Refer to Manage certificates on an IoT Edge device for more details.
Connect your host computer to the Wi-Fi network your dev kit is connected to.
Select Continue to the Azure portal.
Video walk-through
See the below video for a visual walk-through of the steps described above.
Next steps
Now that your dev kit is set up, it's time to see vision AI in action.