Azure Peering Service customer walkthrough
This section explains the steps to optimize your prefixes with an Internet Service Provider (ISP) or Internet Exchange Provider (IXP) who is a Peering Service partner.
See Peering Service partners for a complete list of Peering Service providers.
Activate the prefix
If you have received a Peering Service prefix key from your Peering Service provider, then you can activate your prefixes for optimized routing with Peering Service. Prefix activation, alignment to the right OC partner, and appropriate interconnect location are requirements for optimized routing (to ensure cold potato routing).
To activate the prefix, follow these steps:
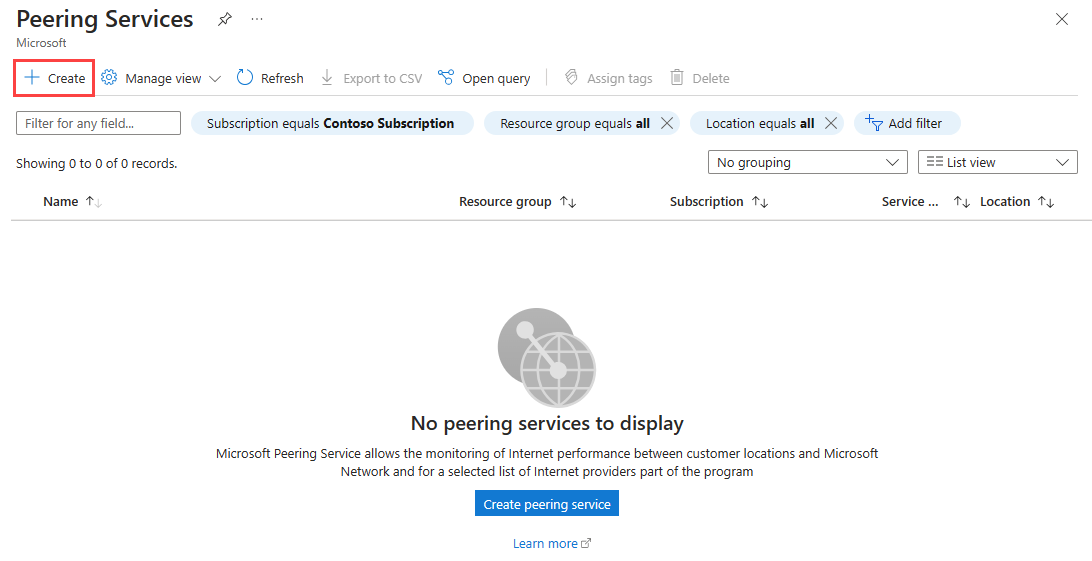
In the search box at the top of the portal, enter peering service. Select Peering Services in the search results.

Select + Create to create a new Peering Service connection.
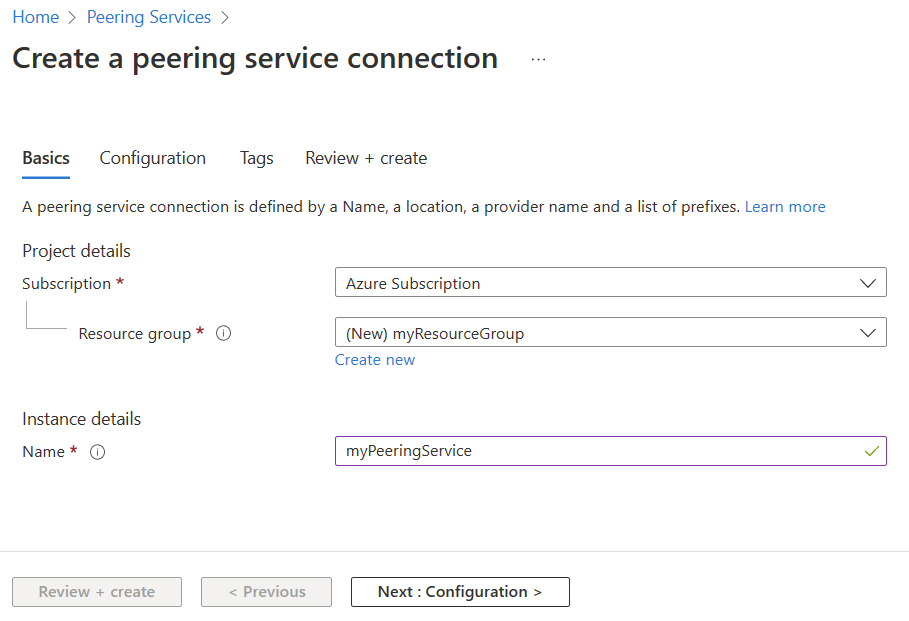
In the Basics tab, enter or select your subscription, resource group, and Peering Service connection name.
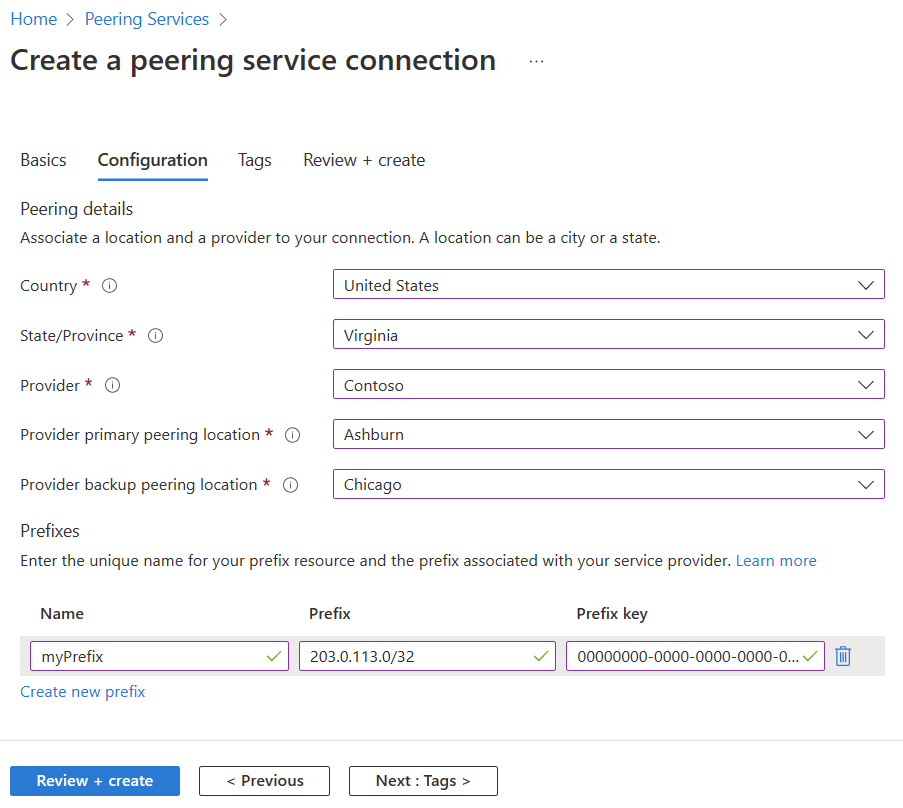
In the Configuration tab, provide details on the location, provider and primary and backup interconnect locations. If the backup location is set to None, the traffic fails over to the internet.
Note
- The prefix key should be the same as the one obtained from your Peering Service provider.
Select Review + create.
Review the settings, and then select Create.
Frequently asked questions (FAQ)
Q. Will Microsoft re-advertise my prefixes to the Internet?
A. No.
Q. My Peering Service prefix has failed validation. How should I proceed?
A. Review the Peering Service Prefix Requirements and follow the troubleshooting steps described.
Feedback
Coming soon: Throughout 2024 we will be phasing out GitHub Issues as the feedback mechanism for content and replacing it with a new feedback system. For more information see: https://aka.ms/ContentUserFeedback.
Submit and view feedback for