Configure UE to UE internal forwarding for Azure Private 5G Core - Azure portal
Azure Private 5G Core enables traffic flowing between user equipment (UEs) attached to the same data network to stay within that network. This is called internal forwarding between UEs. Internal forwarding between UEs minimizes latency and maximizes security and privacy for UE-UE traffic. You can enable or disable this behavior using SIM policies.
If you are using the Default service and allow-all SIM policy, internal forwarding will be enabled. If you are using a more restrictive policy, you may need to enable internal forwarding.
If you are using the Default service and allow-all SIM policy and would like to disable internal forwarding, either because you use an external gateway or because you do not want UEs to communicate with each other, you can create a service to do so and then apply it to your allow-all SIM policy.
Prerequisites
- Ensure you can sign in to the Azure portal using an account with access to the active subscription you identified in Complete the prerequisite tasks for deploying a private mobile network. This account must have the built-in Contributor or Owner role at the subscription scope.
- Identify the name of the Mobile Network resource corresponding to your private mobile network.
- Collect all the configuration values in Collect the required information for a service for your chosen service.
Create a service to allow internal forwarding
In this step, we'll create a service that allows traffic labeled with the remote address in the range configured for UEs (10.20.0.0/16, in this example) to flow in both directions.
To create the service:
Sign in to the Azure portal.
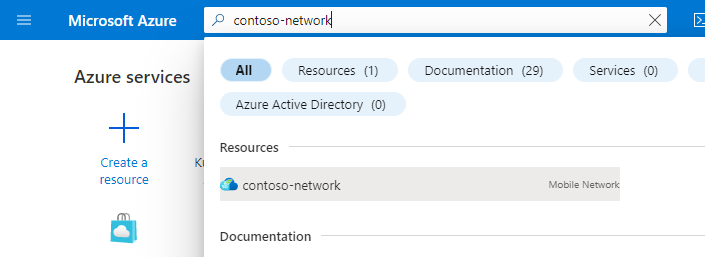
Search for and select the Mobile Network resource representing your private mobile network.
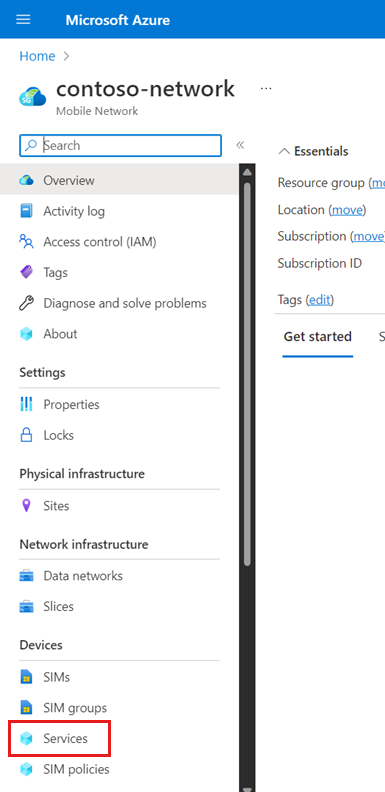
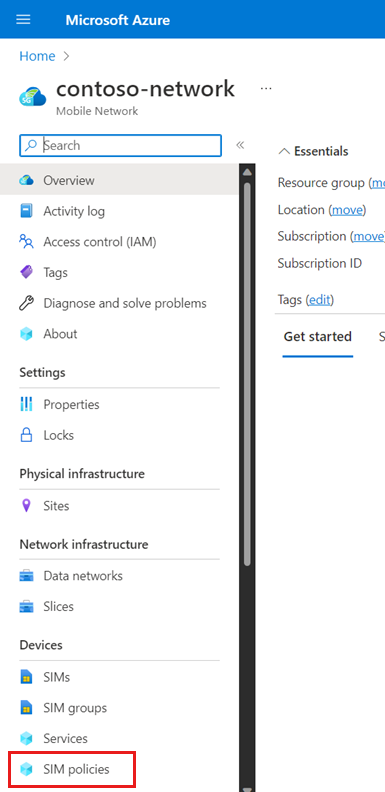
In the Resource menu, select Services.
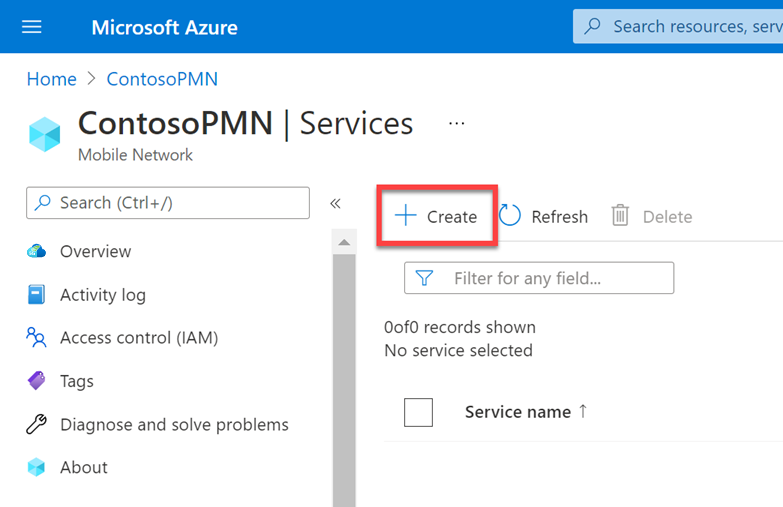
In the Command bar, select Create.
We'll now enter values to define the QoS characteristics that will be applied to service data flows (SDFs) that match this service. On the Basics tab, fill out the fields as follows.
Field Value Service name service_allow_internal_forwardingService precedence 200Maximum bit rate (MBR) - Uplink 2 GbpsMaximum bit rate (MBR) - Downlink 2 GbpsAllocation and Retention Priority level 25QI/QCI 9Preemption capability Select May not preempt. Preemption vulnerability Select Not preemptible. Under Data flow policy rules, select Add a policy rule.
We'll now create a data flow policy rule that allows any packets that match the data flow template we'll configure in the next step. Under Add a policy rule on the right, fill out the fields as follows.
Field Value Rule name rule_allow_internal_forwardingPolicy rule precedence Select 200. Allow traffic Select Enabled. We'll now create a data flow template that matches on packets flowing towards or away from UEs in 10.20.0.0/16, so that they can be allowed by
rule_allow_internal_forwarding. Under Data flow templates, select Add a data flow template. In the Add a data flow template pop-up, fill out the fields as follows.Field Value Template name internal_forwardingProtocols Select All. Direction Select Bidirectional. Remote IPs 10.20.0.0/16Ports Leave blank. Select Add.
On the Basics configuration tab, select Review + create.
Select Create to create the service.
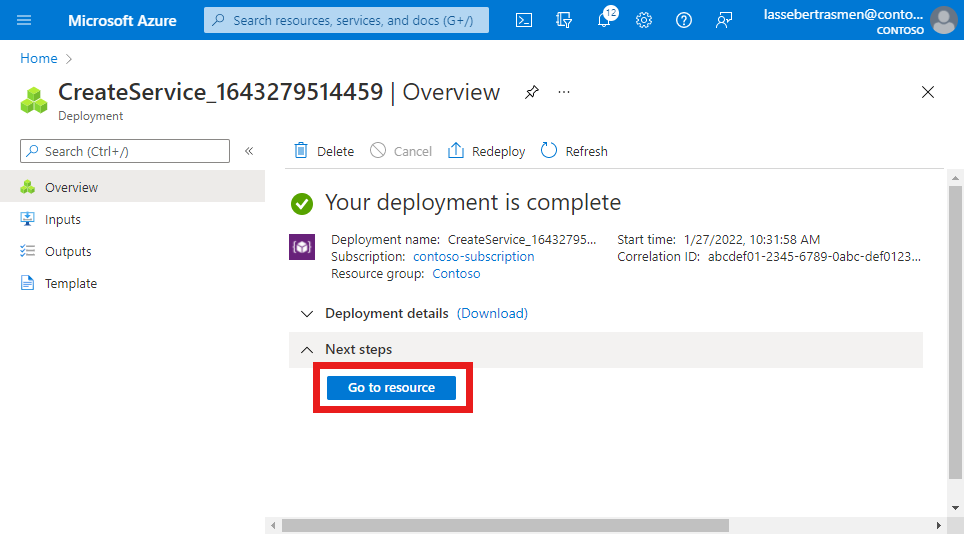
The Azure portal will display the following confirmation screen when the service has been created. Select Go to resource to see the new service resource.
Confirm that the QoS characteristics, data flow policy rules, and service data flow templates listed at the bottom of the screen are configured as expected.
Create a service to block internal forwarding
In this step, we'll create a service that blocks traffic labeled with the remote address in the range configured for UEs (10.20.0.0/16, in this example) in both directions.
To create the service:
Sign in to the Azure portal.
Search for and select the Mobile Network resource representing your private mobile network.
In the Resource menu, select Services.
In the Command bar, select Create.
Enter values to define the QoS characteristics that will be applied to service data flows (SDFs) that match this service. On the Basics tab, fill out the fields as follows.
Field Value Service name service_block_internal_forwardingService precedence 200Maximum bit rate (MBR) - Uplink 2 GbpsMaximum bit rate (MBR) - Downlink 2 GbpsAllocation and Retention Priority level 25QI/QCI 9Preemption capability Select May not preempt. Preemption vulnerability Select Not preemptible. Important
The Service precedence must be a lower value than any conflicting service (such as an "allow all" service). Services are matched to traffic in order of precedence.
Under Data flow policy rules, select Add a policy rule.
We'll now create a data flow policy rule that blocks any packets that match the data flow template we'll configure in the next step. Under Add a policy rule on the right, fill out the fields as follows.
Field Value Rule name rule_block_internal_forwardingPolicy rule precedence Select 200. Allow traffic Select Blocked. We'll now create a data flow template that matches on packets flowing towards or away from UEs in 10.20.0.0/16, so that they can be blocked by
rule_block_internal_forwarding. Under Data flow templates, select Add a data flow template. In the Add a data flow template pop-up, fill out the fields as follows.Field Value Template name internal_forwardingProtocols Select All. Direction Select Bidirectional. Remote IPs 10.20.0.0/16Ports Leave blank. Select Add.
On the Basics configuration tab, select Review + create.
Select Create to create the service.
The Azure portal will display the following confirmation screen when the service has been created. Select Go to resource to see the new service resource.
Confirm that the QoS characteristics, data flow policy rules, and service data flow templates listed at the bottom of the screen are configured as expected.
Modify an existing SIM policy to assign the new service
In this step, we'll assign the new service (service_allow_internal_forwarding or service_block_internal_forwarding) to an existing SIM policy.
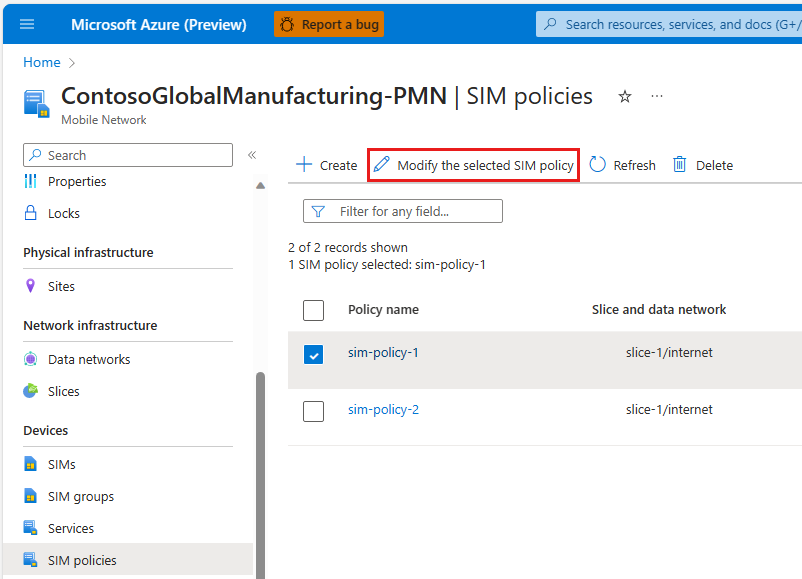
Find the SIM policy configured for your UEs.
Select the SIM policy you want to modify and select Modify the selected SIM policy.
Select Modify Network Scope for the existing slice and data network configured for your UEs.
Under Service configuration, add the new service.
Select Modify.
Select Assign to SIMs.
Select Review + modify.
Review your updated SIM policy and check that the configuration is as expected.
- The top level settings for the SIM policy are shown under the Essentials heading.
- The network scope configuration is shown under the Network scope heading including configured services under Service configuration and quality of service configuration under Quality of Service (QoS).
Next steps
Feedback
Coming soon: Throughout 2024 we will be phasing out GitHub Issues as the feedback mechanism for content and replacing it with a new feedback system. For more information see: https://aka.ms/ContentUserFeedback.
Submit and view feedback for