Versioning and Deploying Salesforce Metadata using TFS/VSTS
In this blog, I will show how you can use Visual Studio Team Services (VSTS) version control system to version control Salesforce.com Metadata. I will also show how the Build feature in VSTS can enable you to deploy Salesforce Metadata from one Salesforce development instance to a Salesforce QA instance. Finally, we will configure Continuous Integration (CI) so that each time you commit and push a change to a VSTS git repository, a build is triggered, which deploys to the Salesforce QA instance giving you immediate feedback on whether your changes broke anything in the Salesforce QA instance.
This walkthrough assumes some familiarity with Salesforce.com programming as well as git based version control system. Also, we will use VSTS but most steps apply to TFS as well. Note that you can get a VSTS account for free at https://www.visualstudio.com/products/visual-studio-team-services-vs
Before we start make sure your system has the following:
- Eclipse IDE (https://www.eclipse.org/downloads/)
- Force.com IDE Plugin (https://developer.salesforce.com/page/Force.com_IDE_Installation)
- Java SE Development Kit (JDK), Runtime Environment 7, or later (https://www.oracle.com/technetwork/java/javase/downloads/index.html)
- VSTS (or TFS) Account (https://www.visualstudio.com/products/visual-studio-team-services-vs)
- Salesforce account (https://www.salesforce.com/form/signup/freetrial-sales.jsp)
- Team Explorer Everywhere plugin (https://marketplace.eclipse.org/content/team-explorer-everywhere)
In this document we will go over the following:
- Create a Team Project in VSTS called MySalesforceApp
- Connect to MySalesforceApp from Eclipse IDE and clone the repository
- Create a Force.com project, connect it to the Salesforce development instance and retrieve its metadata
- Store the retrieved metadata in VSTS git version control system
- Set up a Continuous Integration build and deploy to the Salesforce QA instance
- Verify the CI behaves as expected
Create a Team Project in VSTS called MySalesforceApp
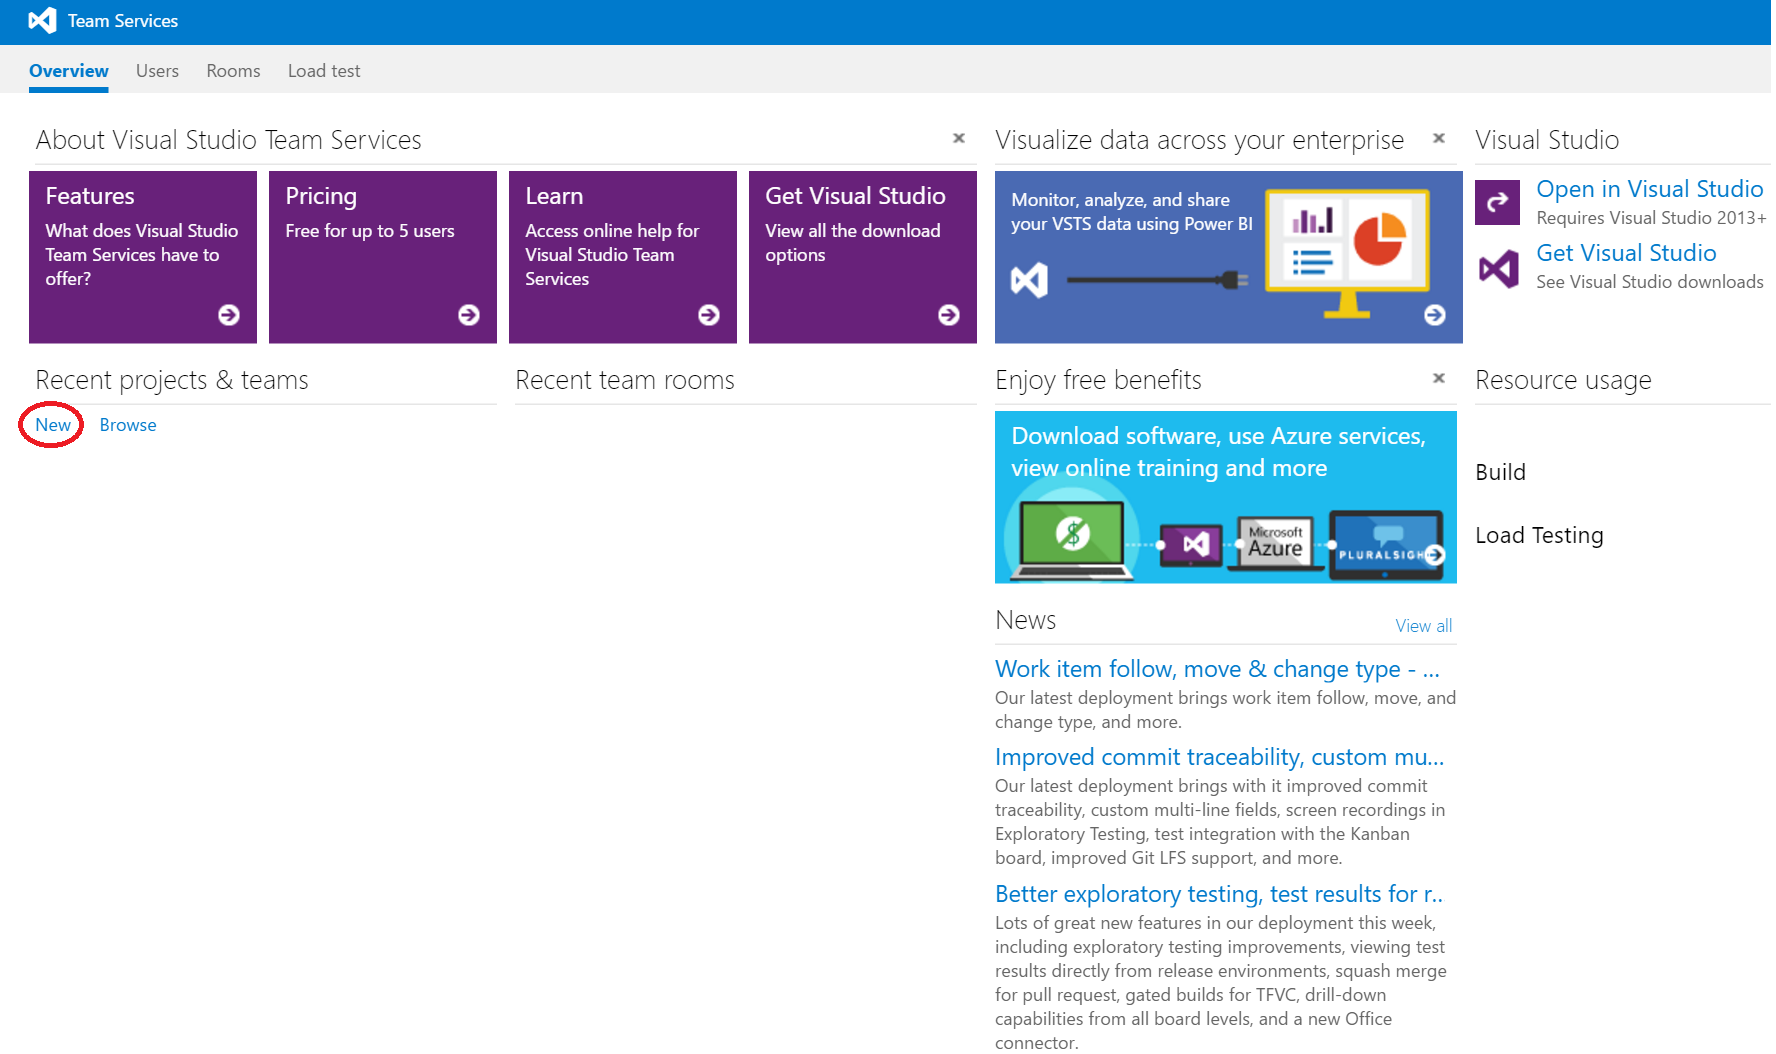
Login to your VSTS account if you already have one. If not, create one here. Once signed up, you can create a new Team Project by clicking “New”
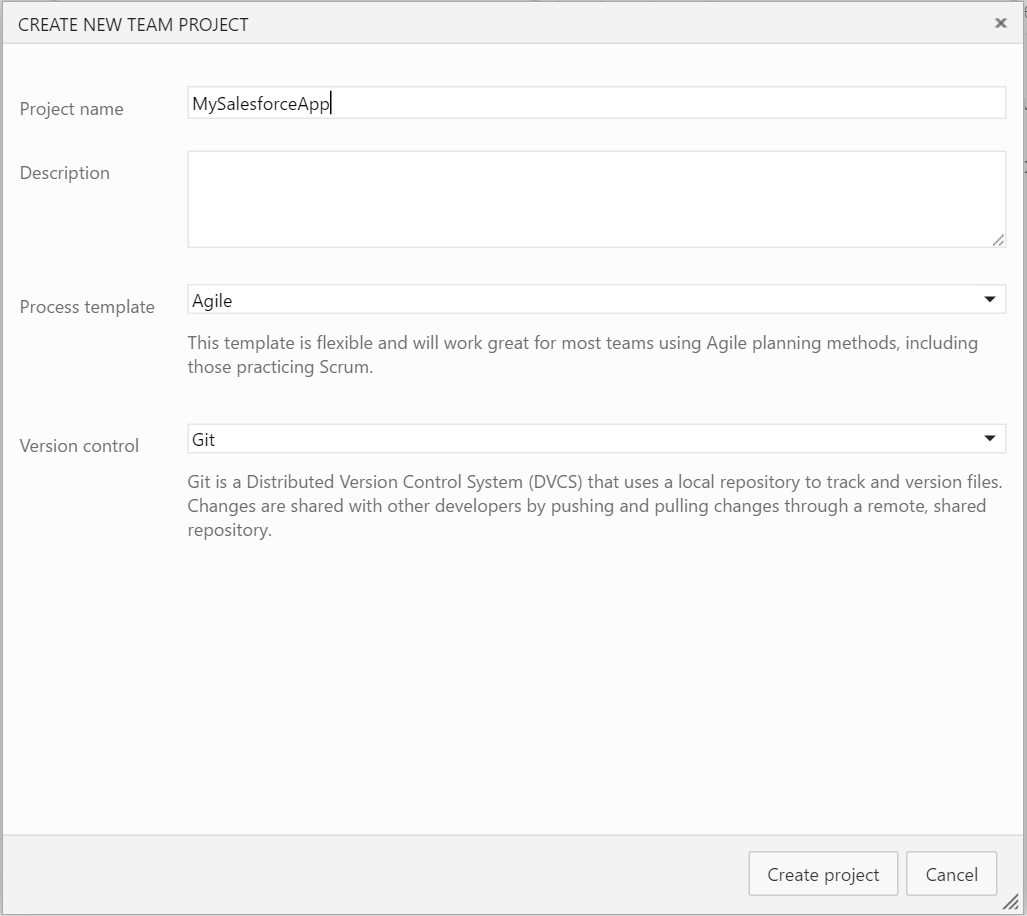
Enter the Team Project name, select a Process Template and version control as shown below and then click “Create Project”
Connect to MySalesforceApp from Eclipse IDE and clone the repository
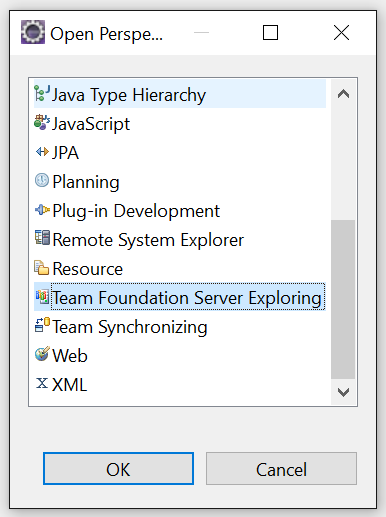
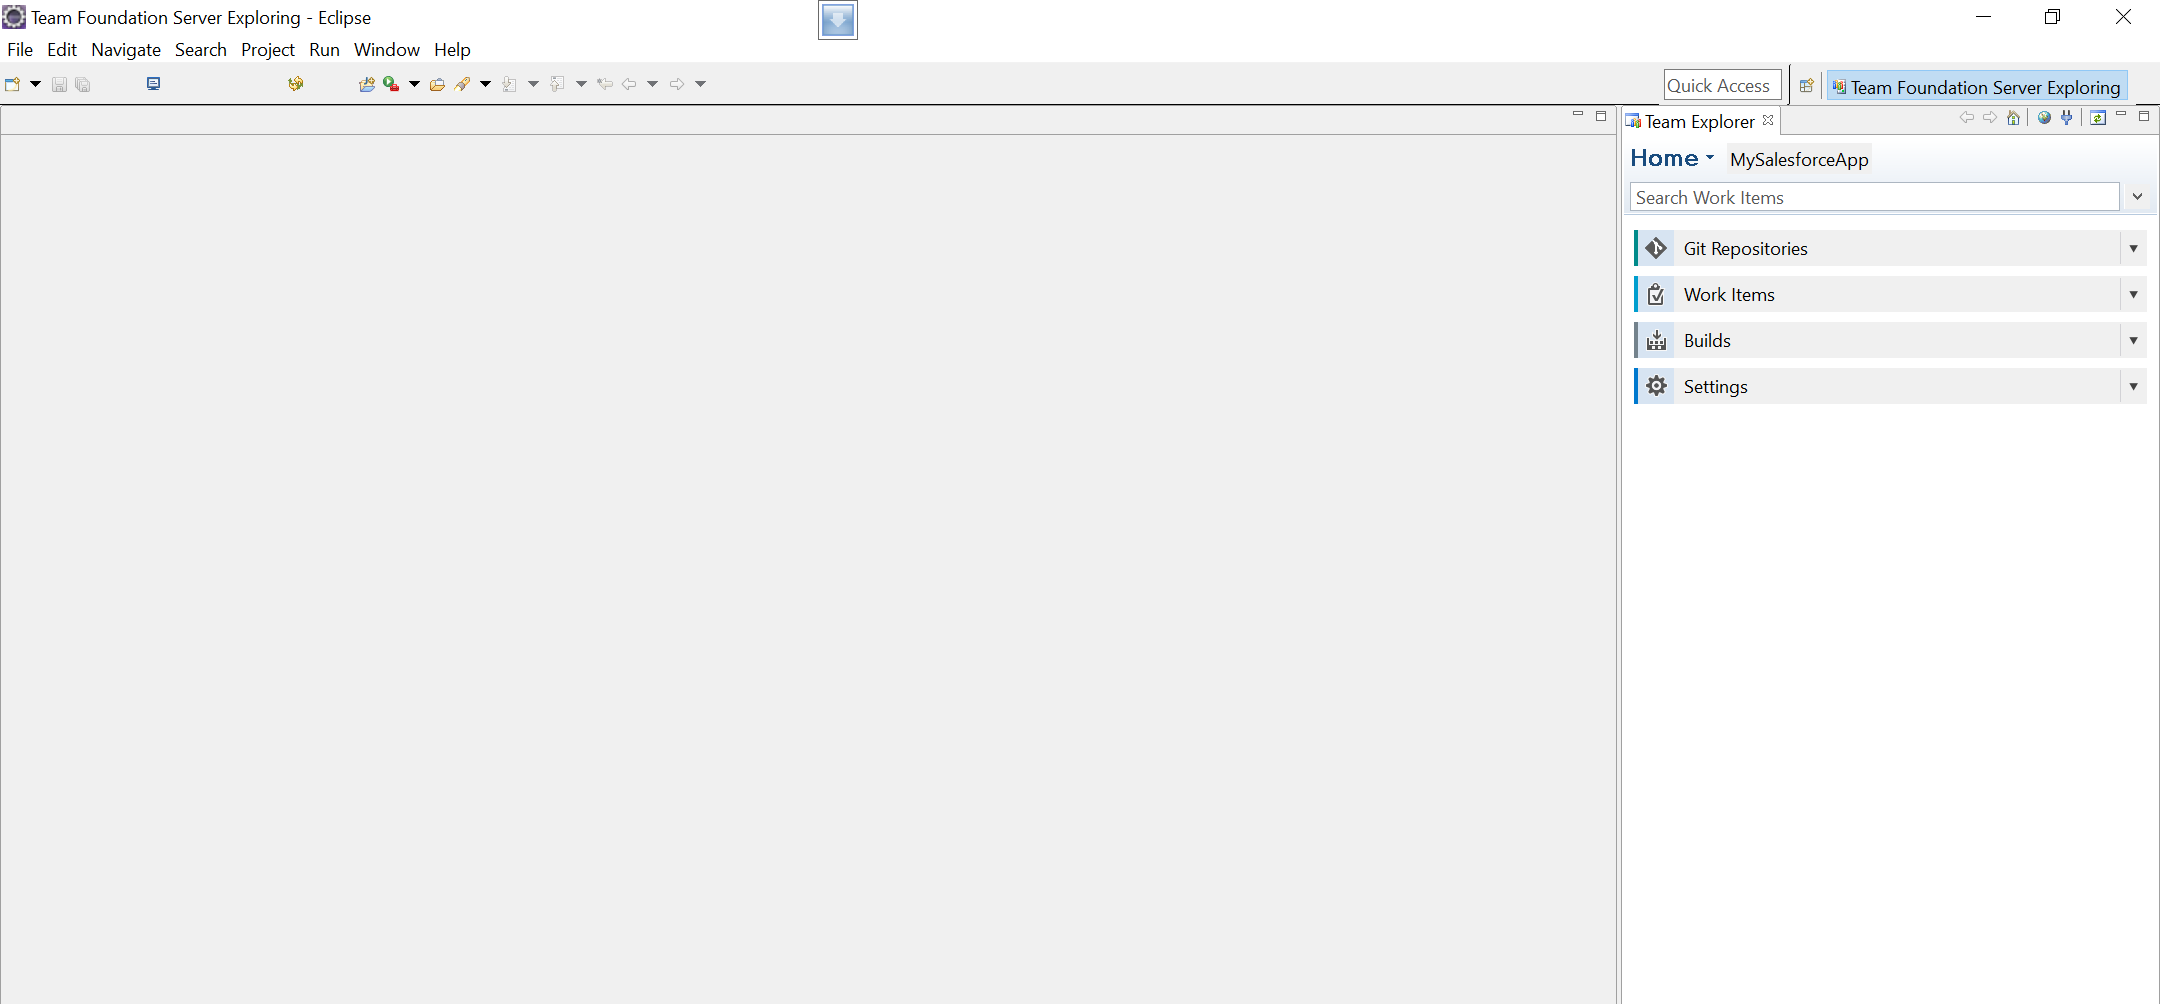
In Eclipse, change Perspective to ‘’Team Foundation Server Exploring”. If you don’t see that perspective, get this plugin
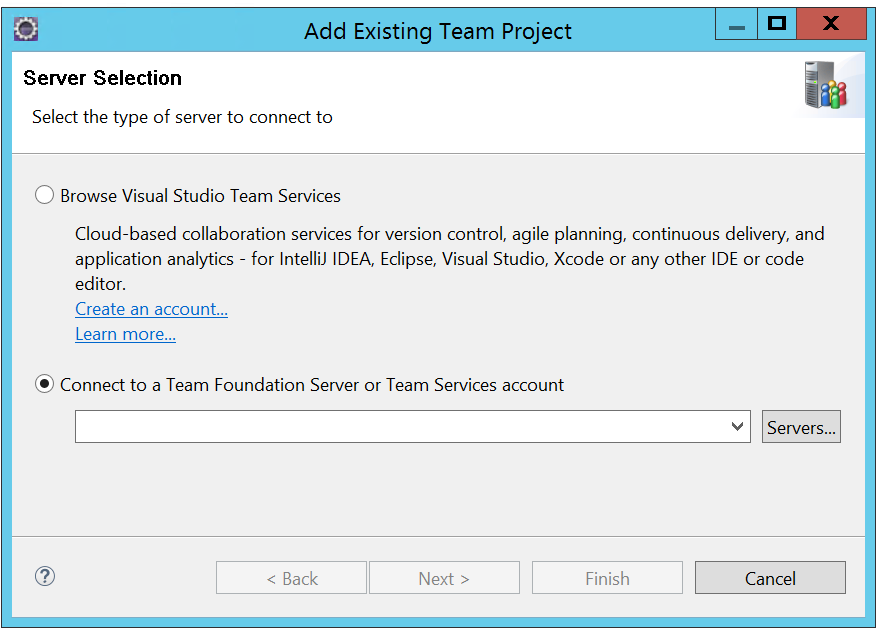
Within Eclipse’s Team Explorer, go to “Home” -> “Projects” -> “Connect to Team Projects…”
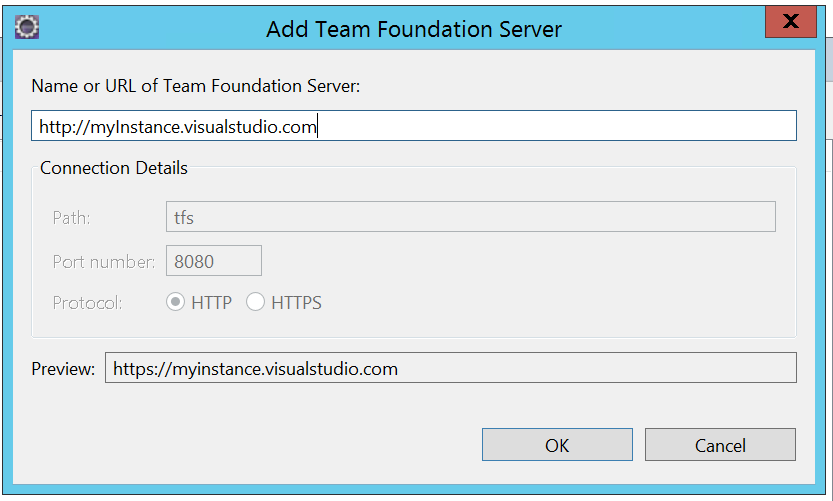
Click “Servers” and add your VSTS url and then click “OK”
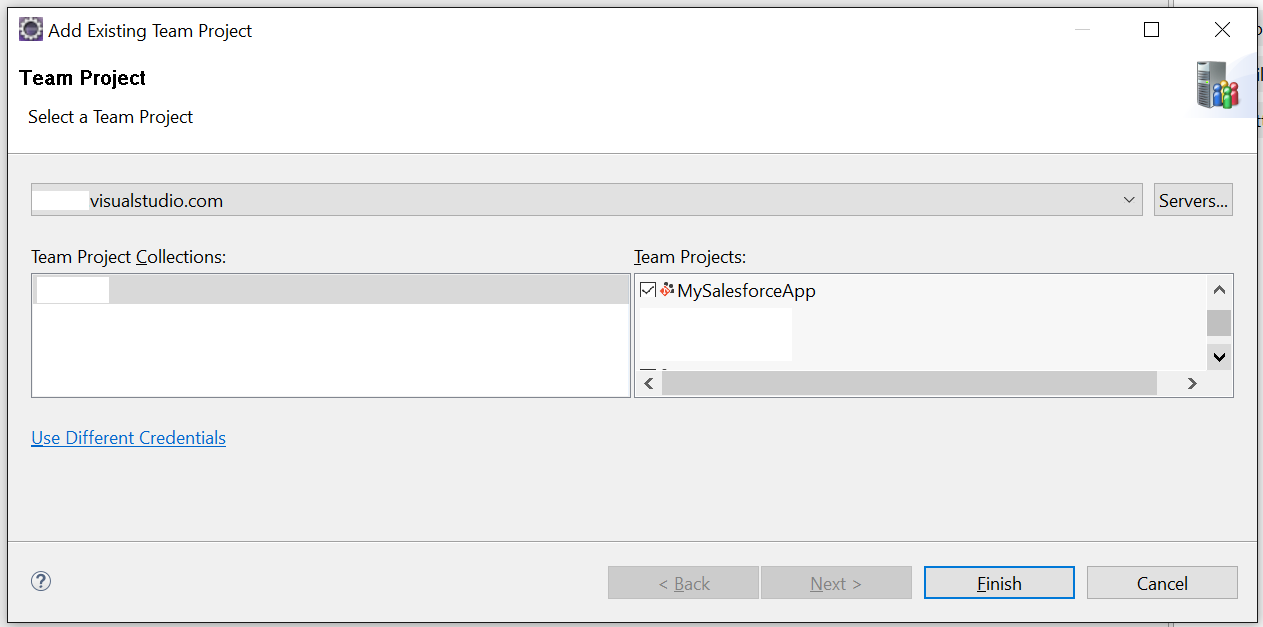
Once server is added, you can click next. You will be presented with a login page. Enter your username and password. Once authenticated, you will be presented with list of team projects.
Select the “MySalesforceApp” Team Project and then click “Finish”
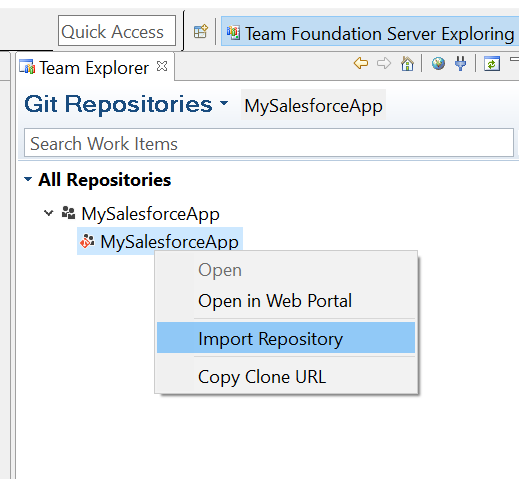
In “Team Explorer “, click on “Git Repositories”, then right click on “MySalesforceApp” and click “Import Repository”
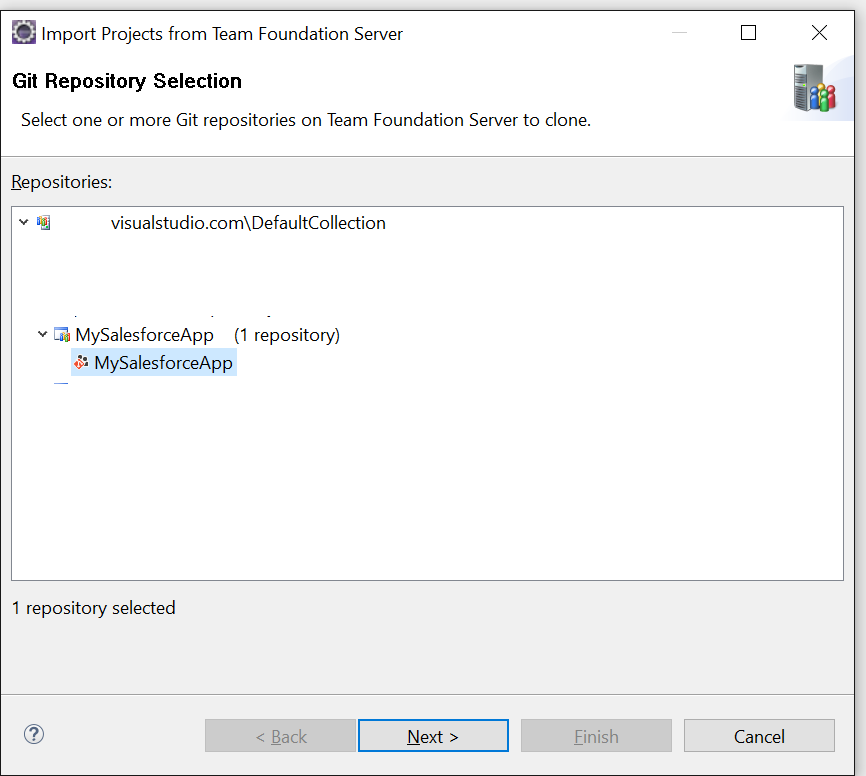
Select “MySalesforceApp” repository and click “Next”
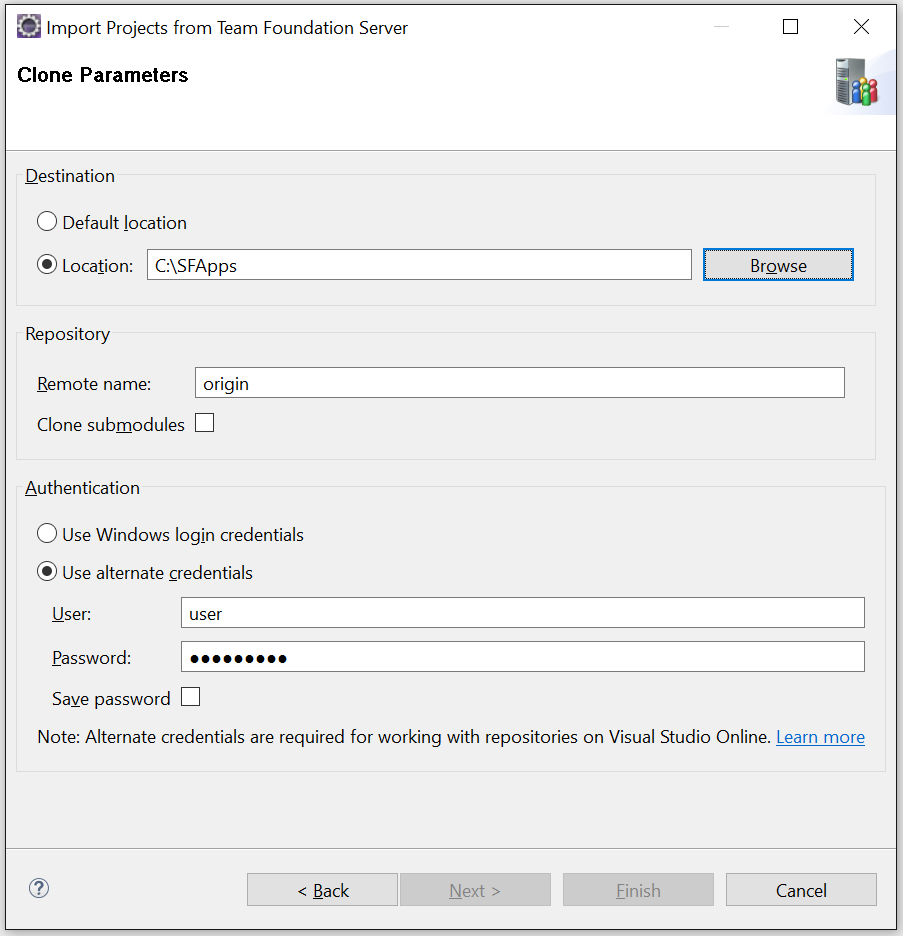
Enter the clone parameters. Take note of the location in which you are cloning the repository. Make sure that this location is the same as the Eclipse Workspace location. You will need to create the Salesforce project in same location
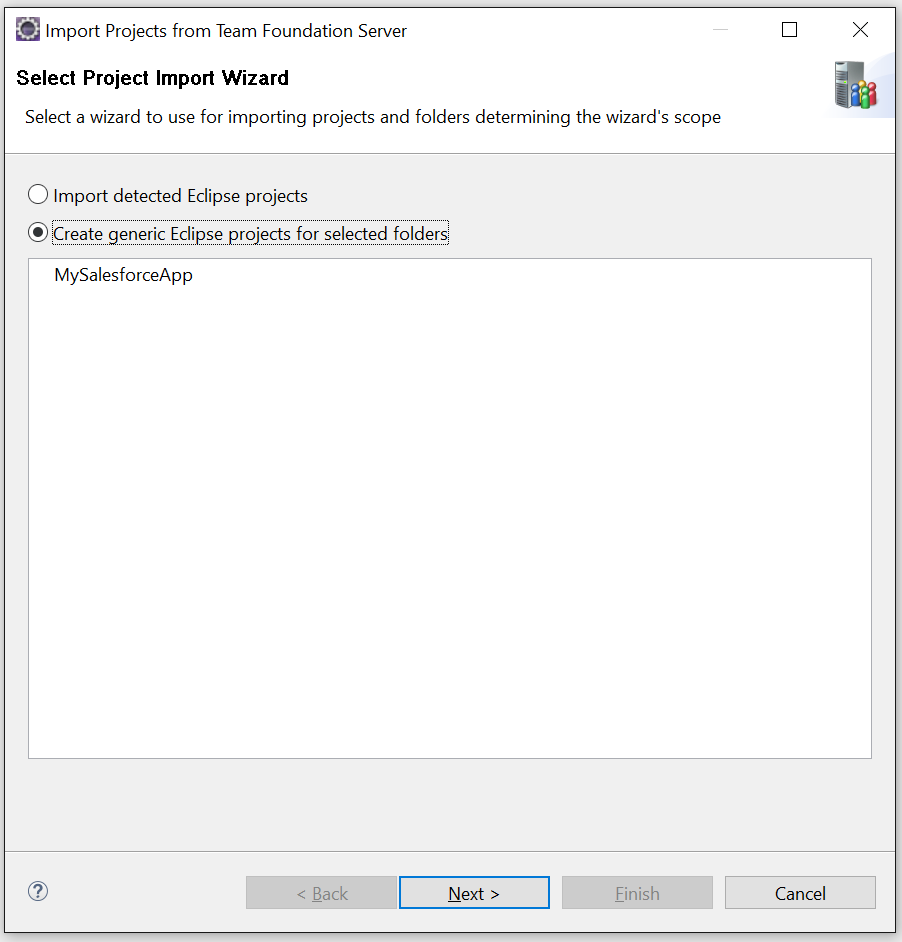
Clicking “Next” would show the summary page. You can click “Next” and then choose “Create generic Eclipse projects for selected folders”
Click “Next” and then “Finish”
Create a Force.com project, connect it to the Salesforce development instance and retrieve its metadata
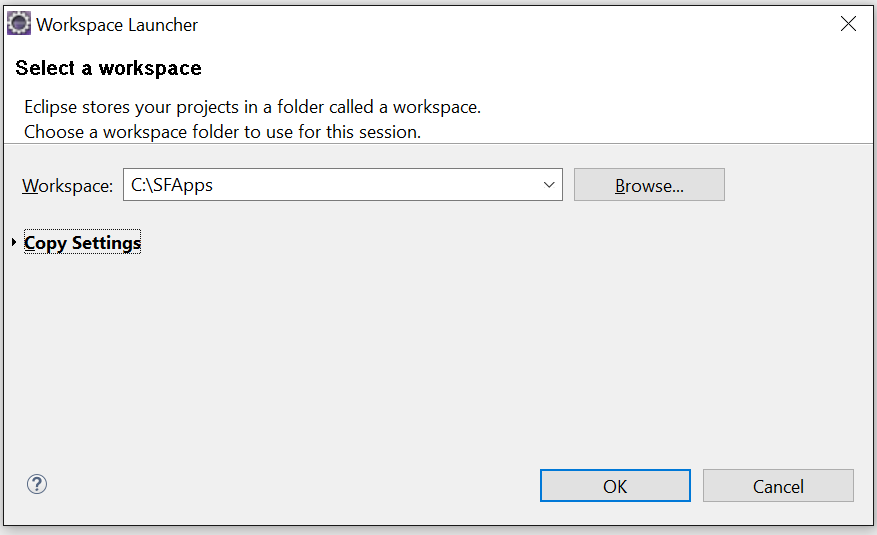
Before you create the “Force.com” project, make sure that Eclipse’s Workspace is at the same location as the location where the repository was copied in the previous step
To find the current Workspace location, go to “File” -> “Switch Workspace” -> “Other”. The workspace should show
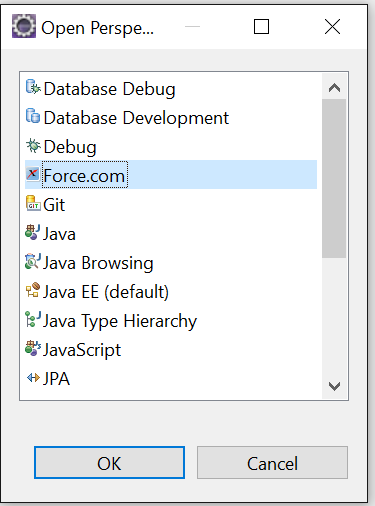
Let’s create the Force.com project. In Eclipse, go to “Force.com” perspective
Go to “File” -> “New” -> “Force.com Project”.
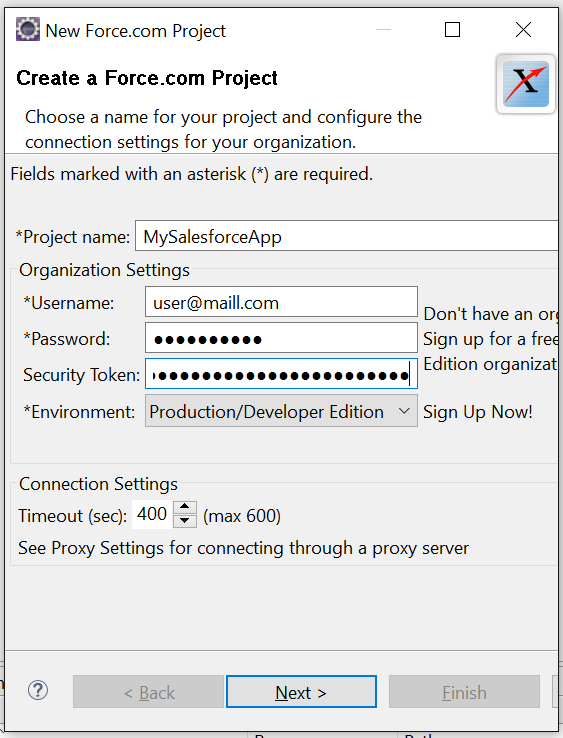
Enter the project info. For “Project name” enter the same name as VSTS Team Project name (MySalesforceApp). Also, you will need to enter your Salesforce.com org credentials. Click “Next” and then click “Finish”.
Note: in some instances, a Security Token is required. If you don’t enter one, you would get an error window along with the instructions on how to get a valid Security Token.
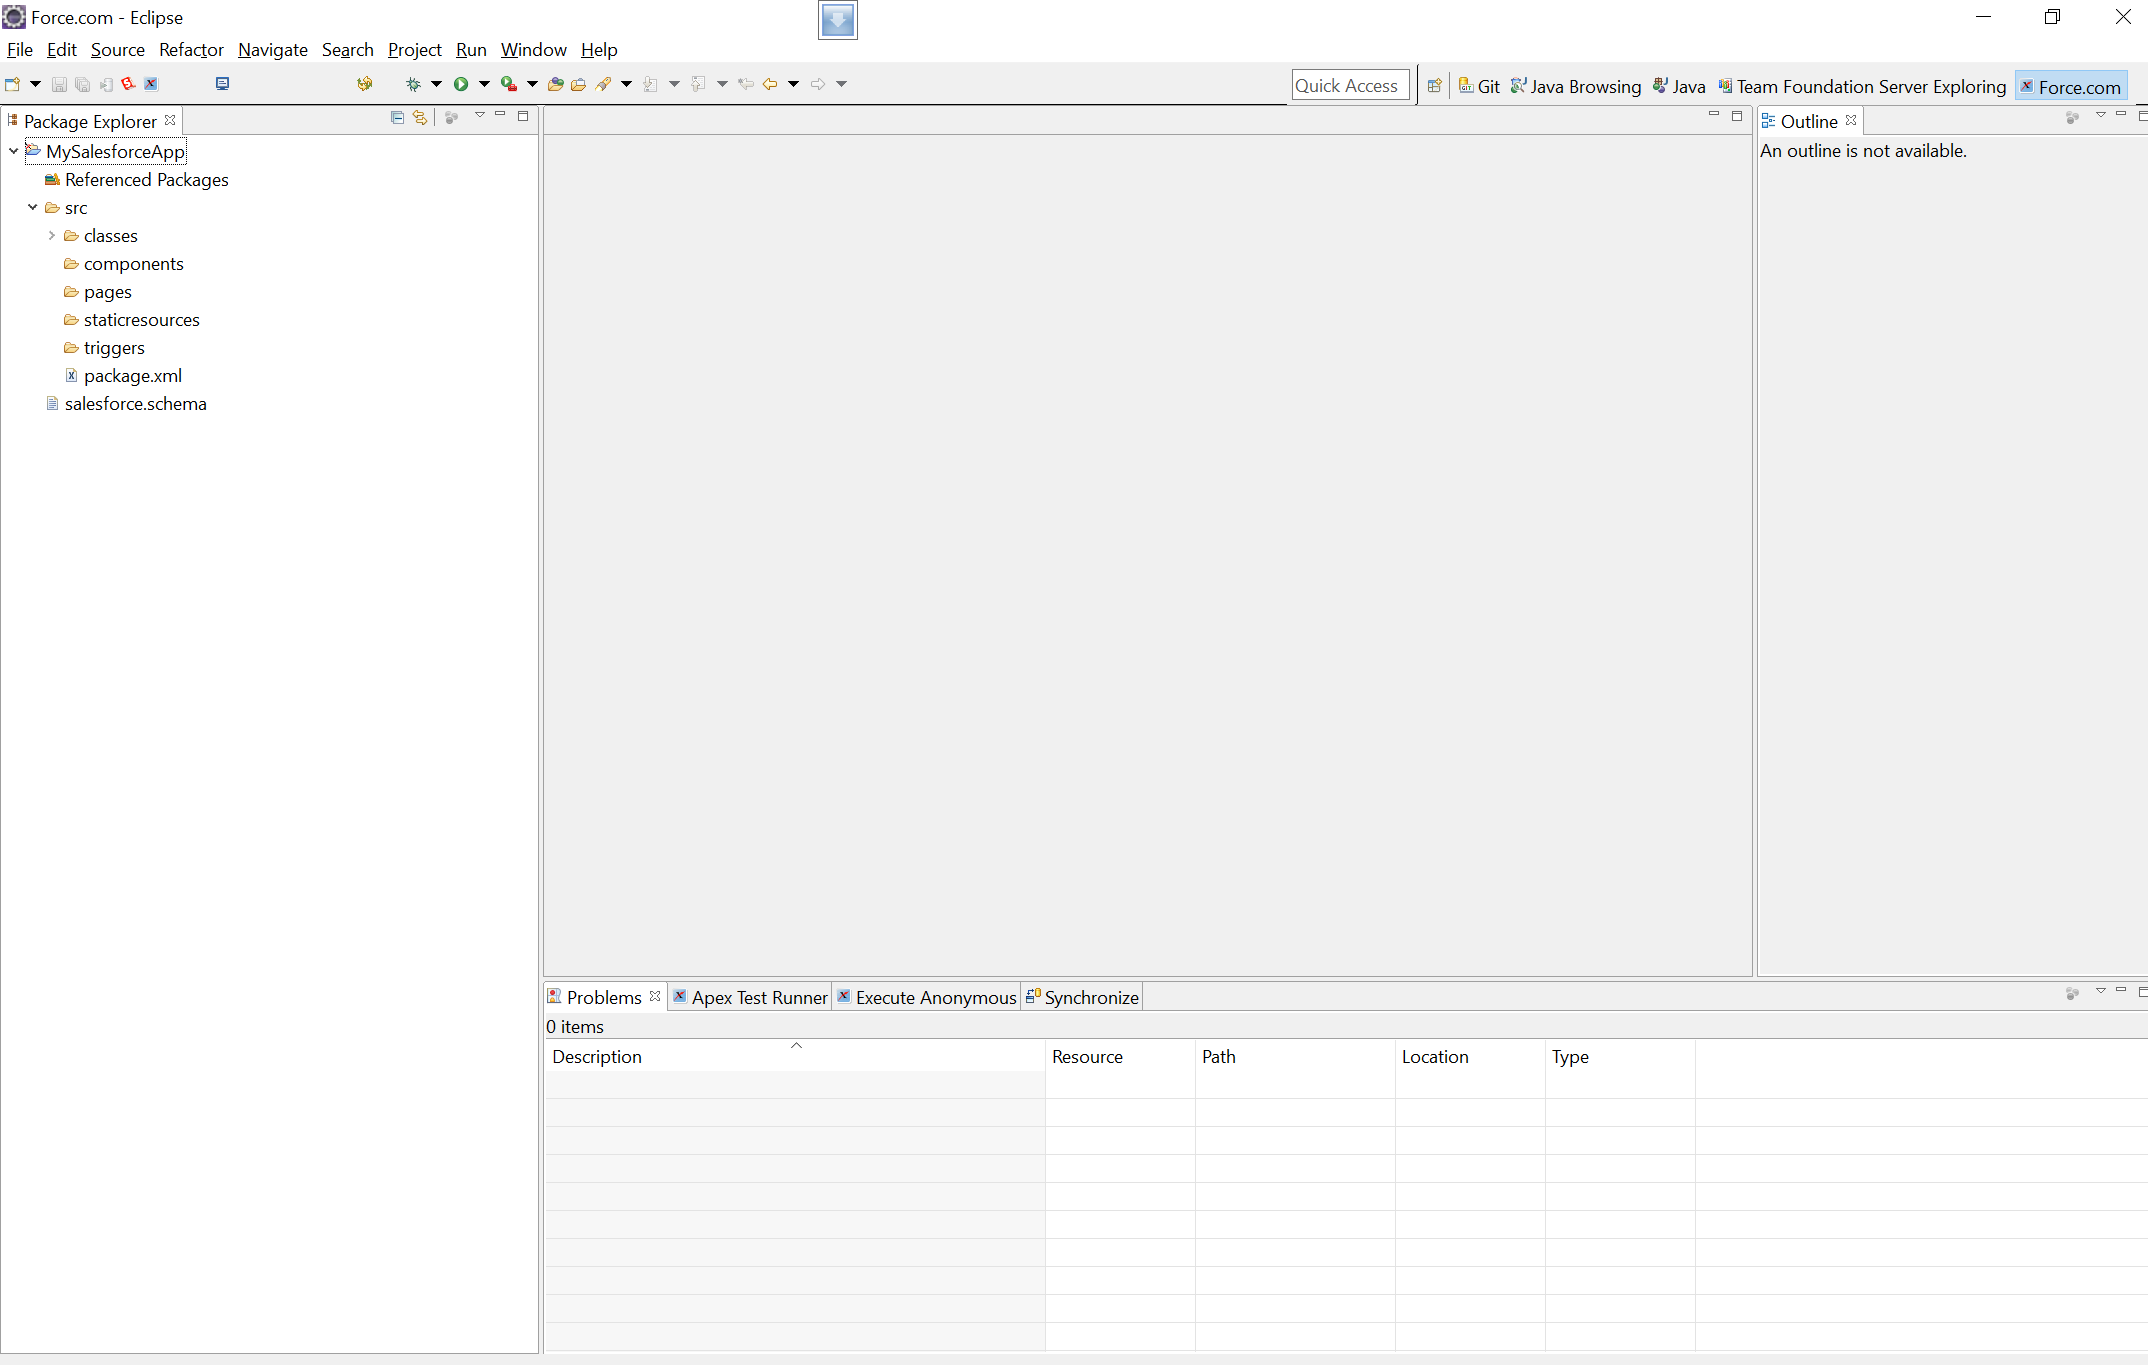
At this point, the project structure should look like this:
Store the retrieved metadata in VSTS git version control system
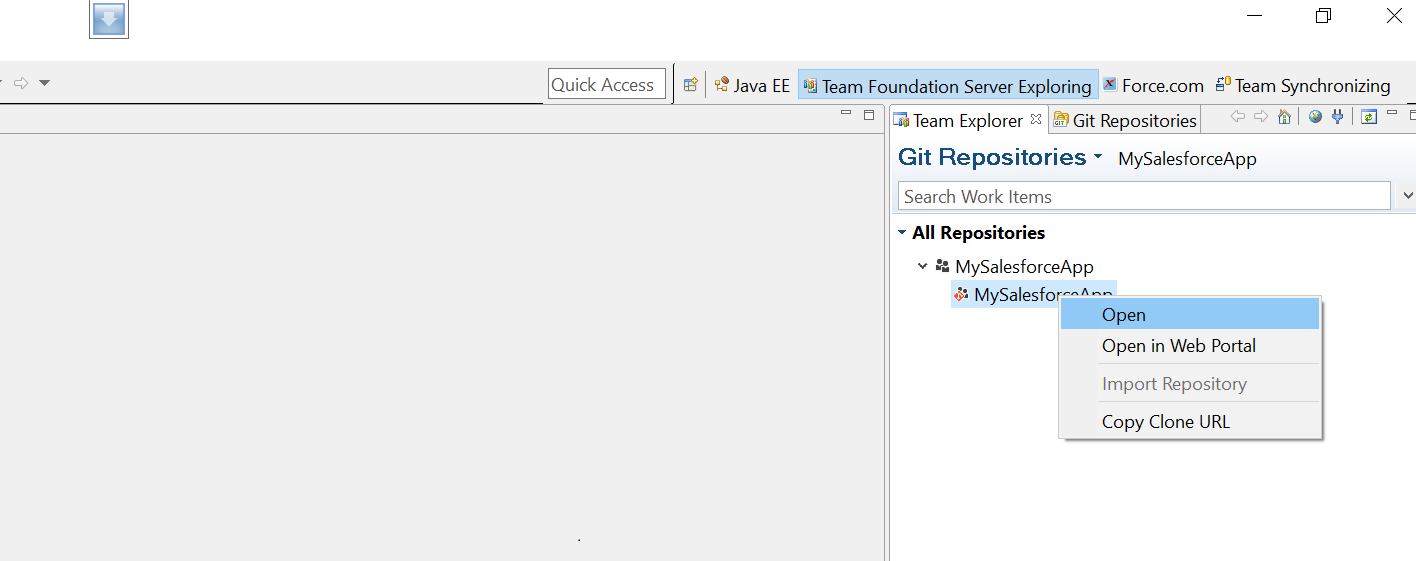
To store the code in VSTS git repo, you will need to commit the changes and push the branch to the remote repository in VSTS. To commit the changes, you can either do so from the command line or from Eclipse by going to “Team Foundation Server Exploring” perspective and clicking “Git Repositories” and right clicking “MySalesforceApp” and selecting “Open”
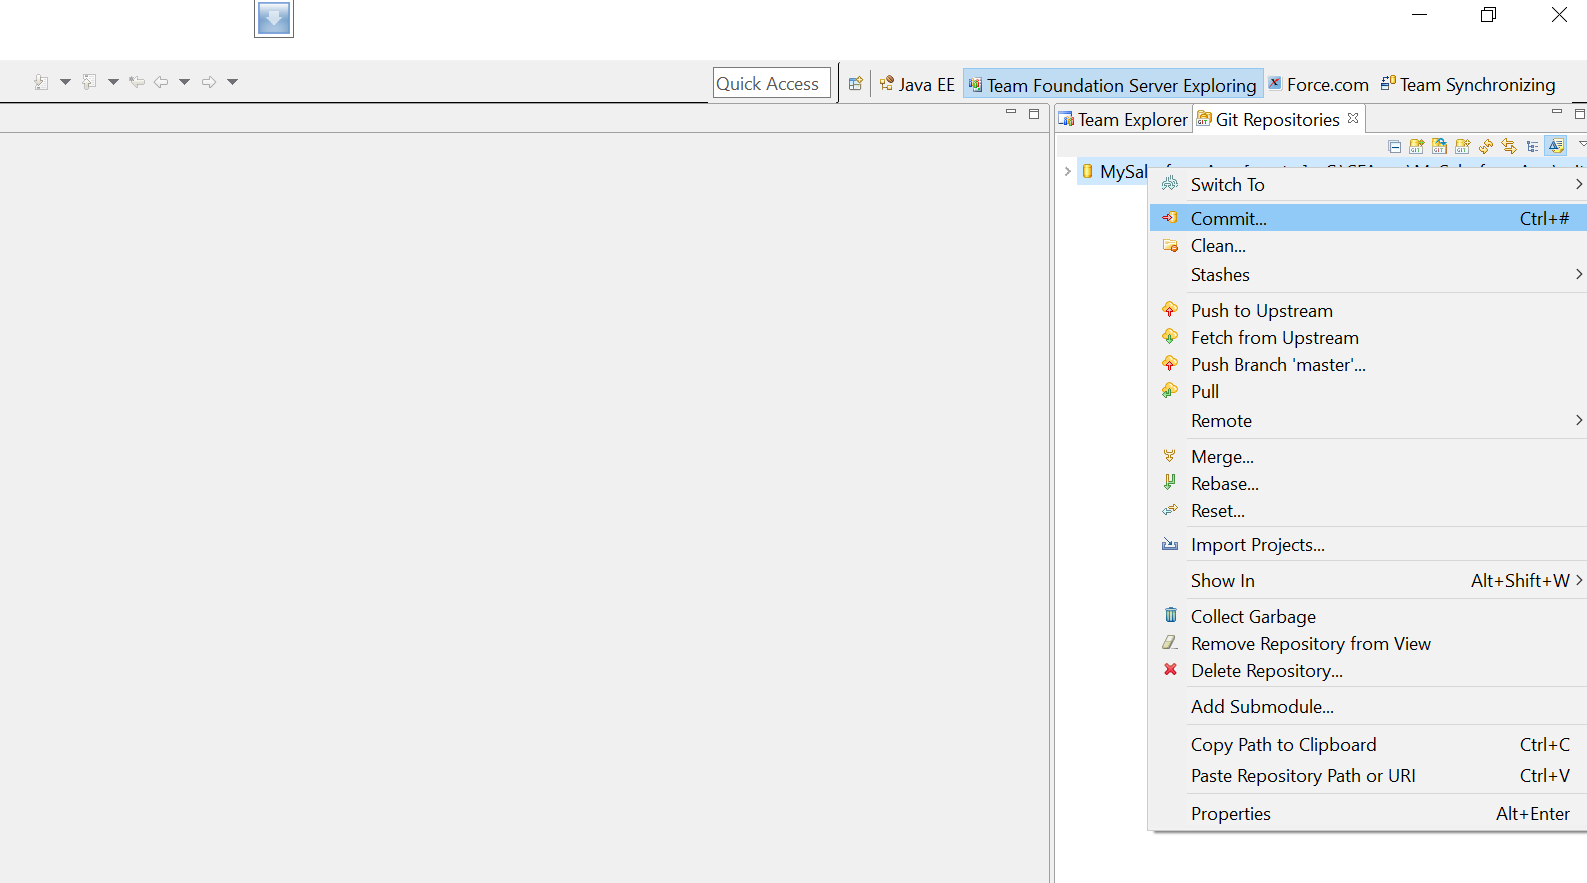
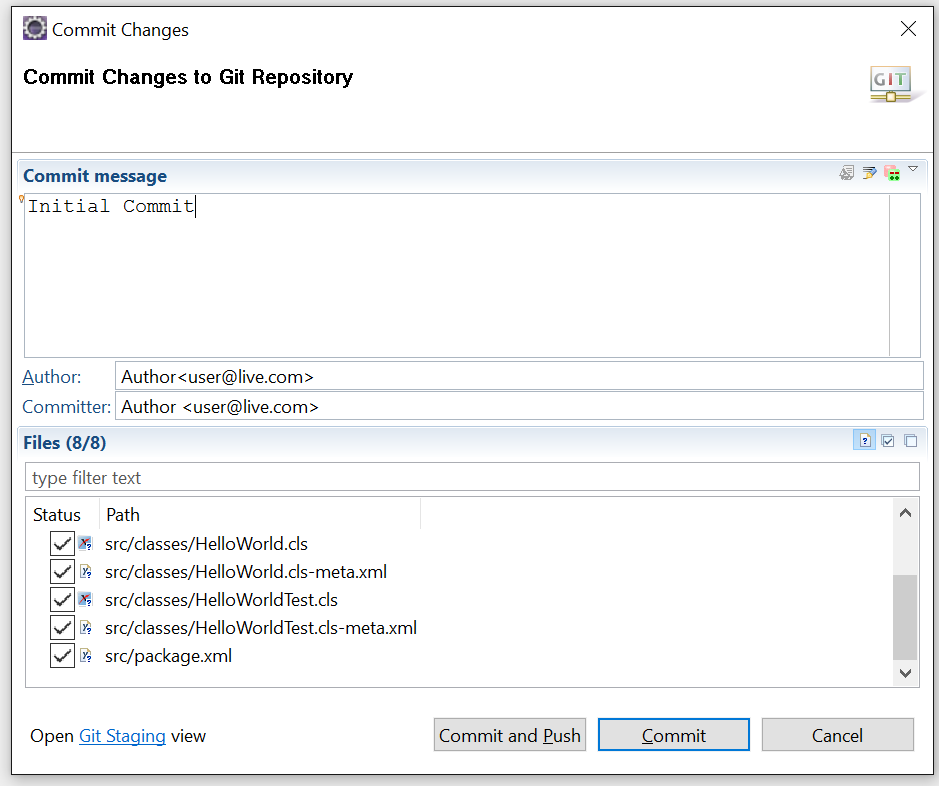
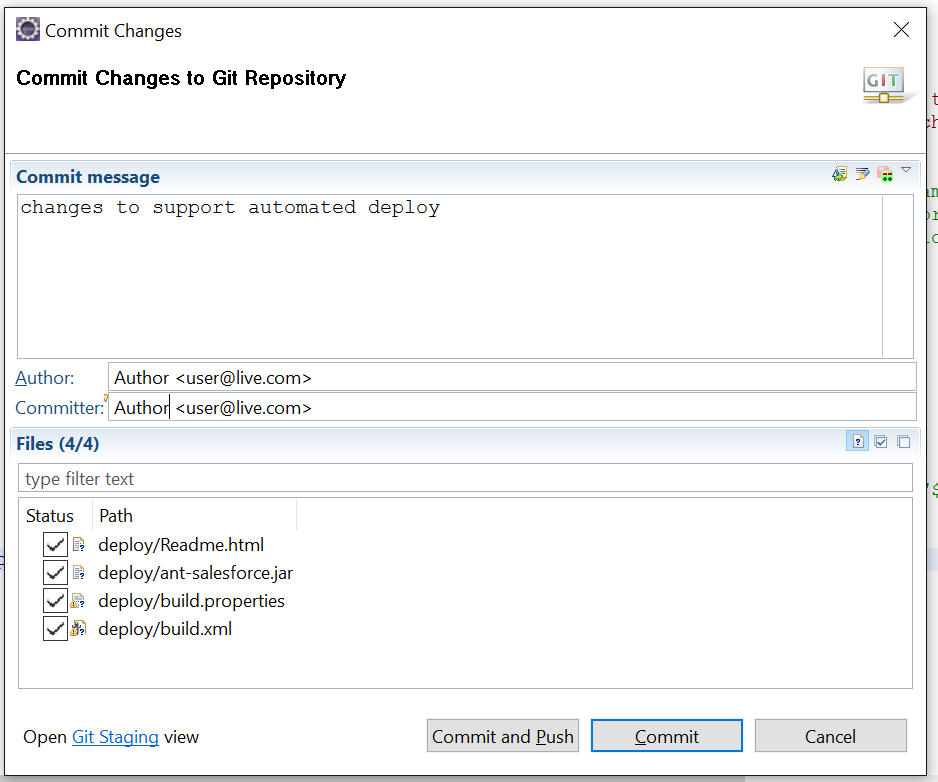
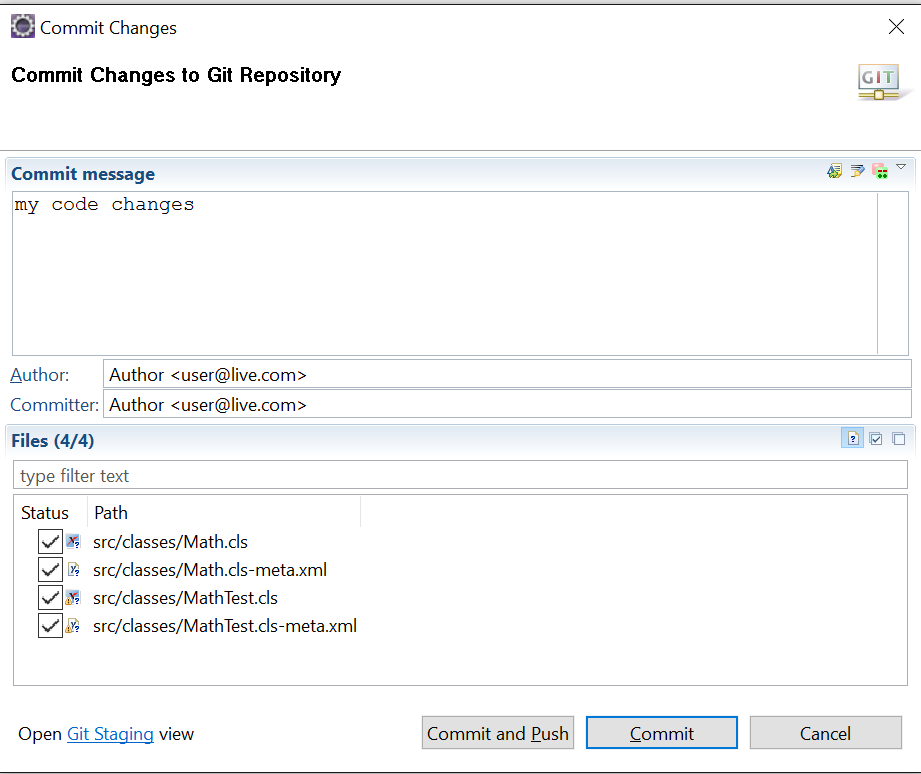
Right click on the repo and select “Commit”
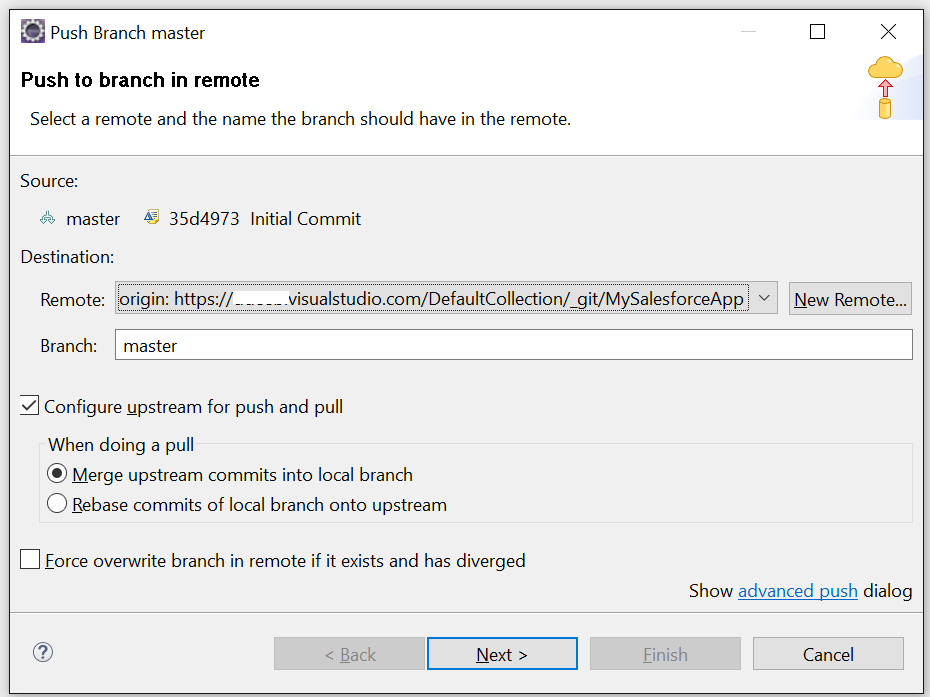
Check all the files and then click “Commit and Push”. This would add the project to the remote repository.
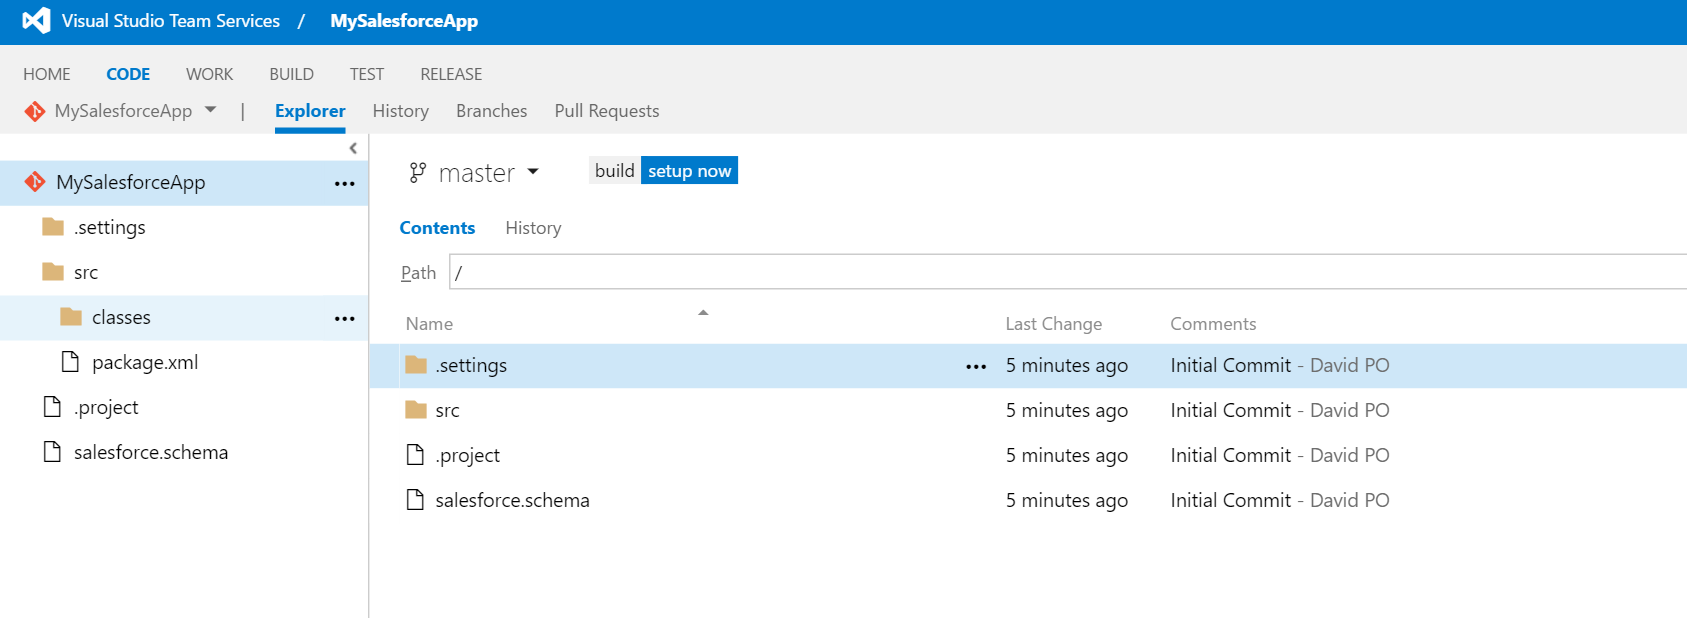
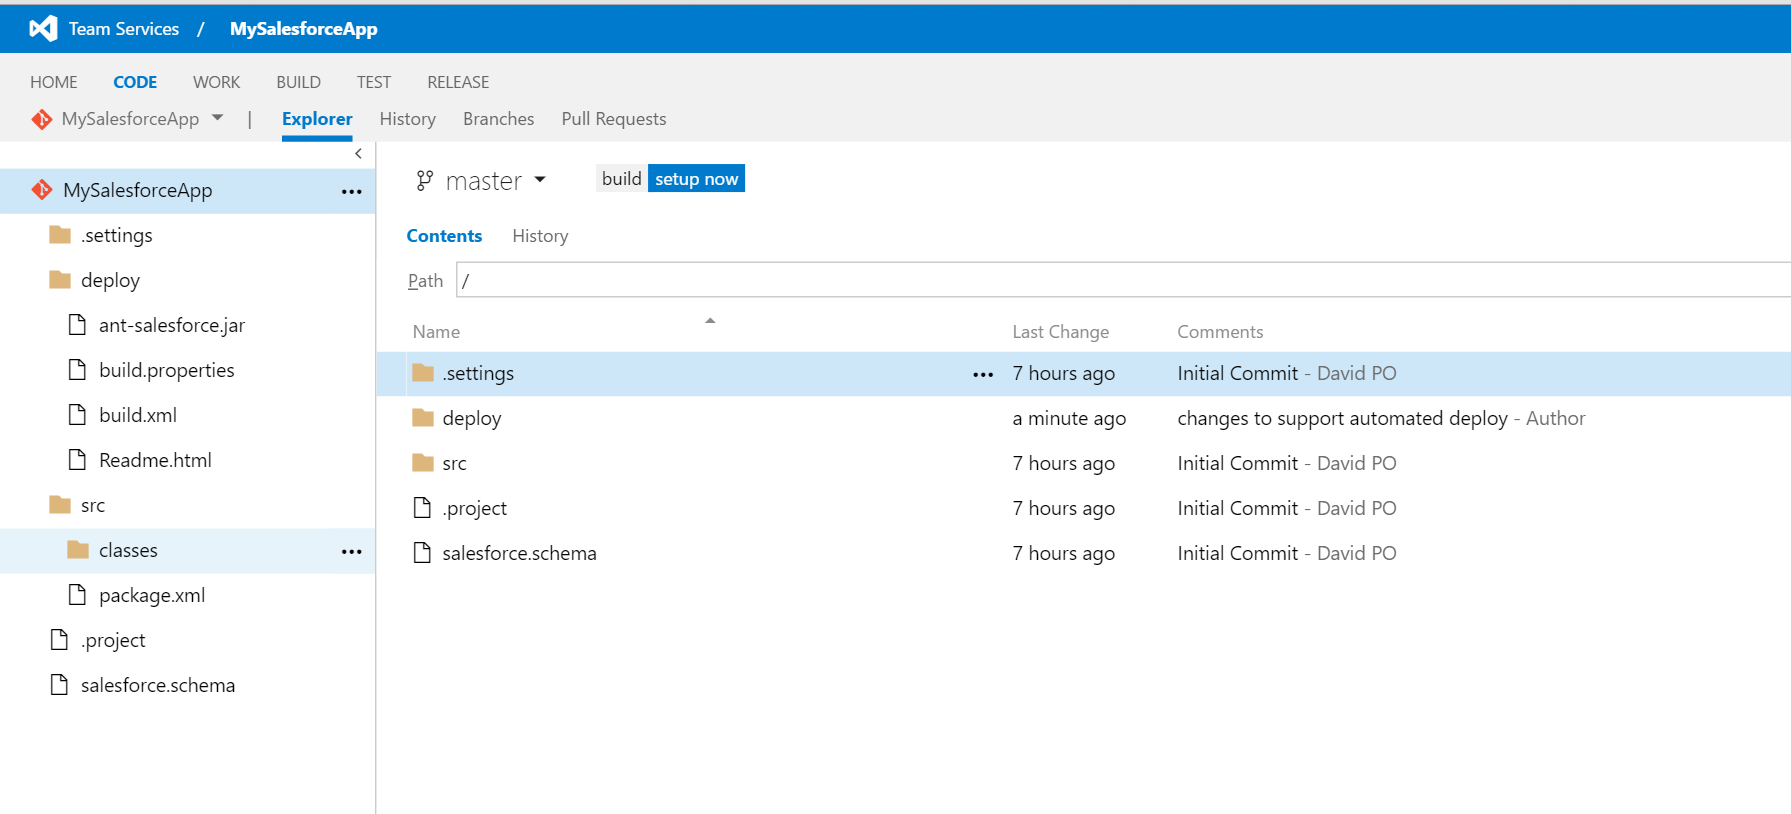
Click “Next” and then “Finish”. At this point you should have the code pushed to the repository in VSTS. To check that, login to VSTS and then go to the “Code” hub; there you can see the project we just pushed.
Setup Continuous Integration build
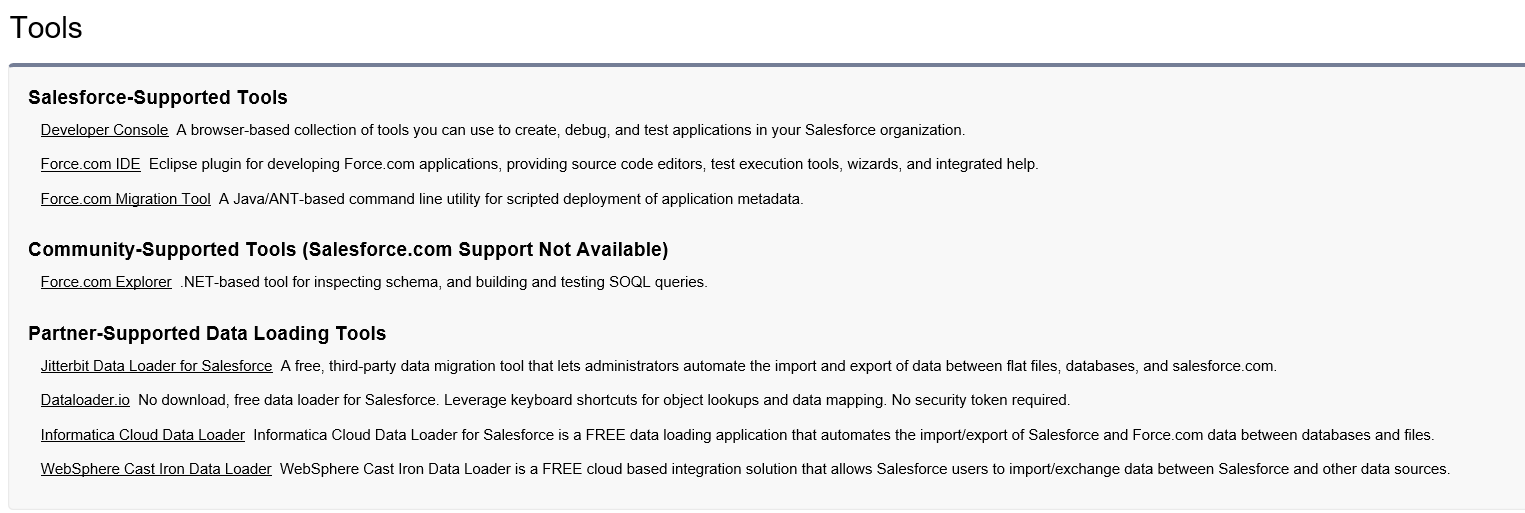
Get the Force.com Migration Tool from Salesforce. Login to Salesforce.com -> Setup -> Build -> Develop -> Tools. This page contains a number of tools made available by Salesforce.com.
The tool we are interested in is “Force.com Migration Tool”. Click on the link and the tool would download. Once downloaded, unzip the file and copy “ant-salesforce.jar” file.
Create a folder called “deploy” inside the force.com project and paste the “ant-salesforce.jar” file into the “deploy” folder
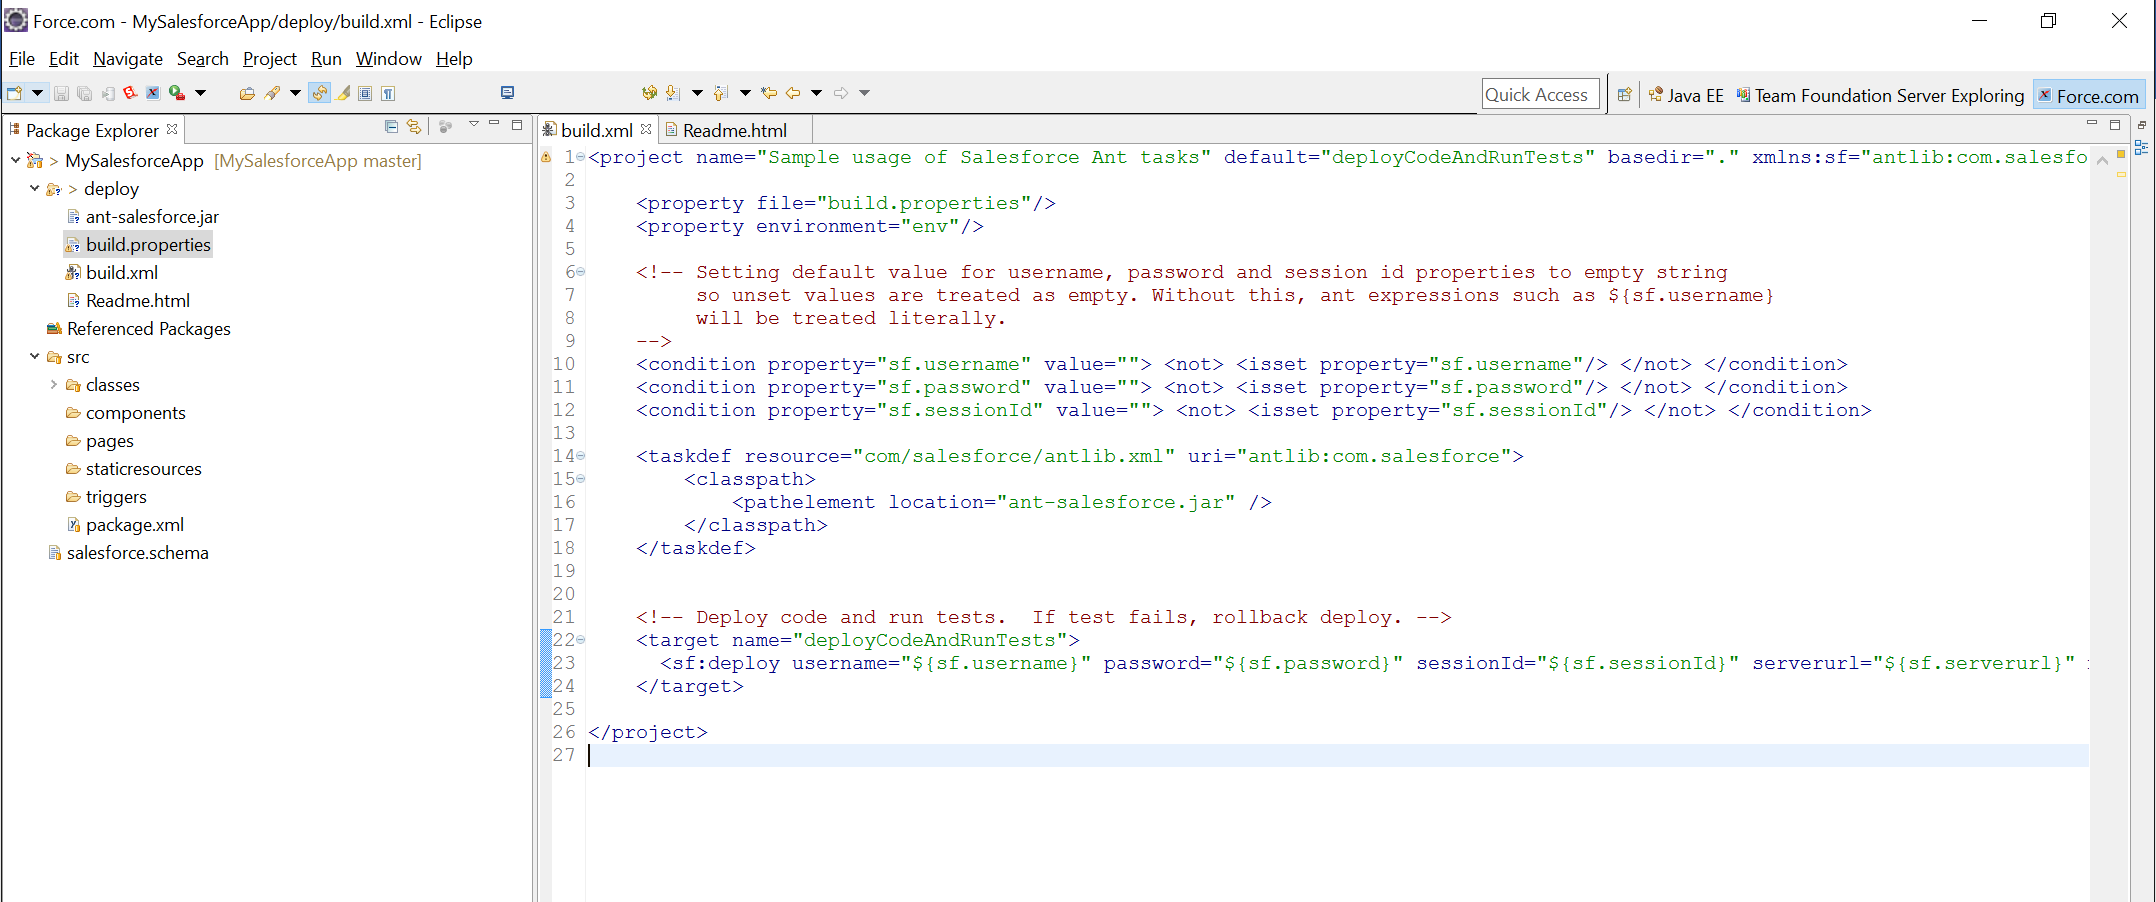
Create “build.xml” file inside the “deploy“ folder and paste the following:
 <project name="Sample usage of Salesforce Ant tasks" default="deployCodeAndRunTests" basedir="." xmlns:sf="antlib:com.salesforce">

    <property file="build.properties"/>
    <property environment="env"/>

    <!-- Setting default value for username, password and session id properties to empty string
         so unset values are treated as empty. Without this, ant expressions such as ${sf.username}
         will be treated literally.
    -->
    <condition property="sf.username" value=""> <not> <isset property="sf.username"/> </not> </condition>
    <condition property="sf.password" value=""> <not> <isset property="sf.password"/> </not> </condition>
    <condition property="sf.sessionId" value=""> <not> <isset property="sf.sessionId"/> </not> </condition>

    <taskdef resource="com/salesforce/antlib.xml" uri="antlib:com.salesforce">
        <classpath>
            <pathelement location="ant-salesforce.jar" />
        </classpath>
    </taskdef>


    <!-- Deploy code and run tests.  If test fails, rollback deploy. -->
    <target name="deployCodeAndRunTests">
      <sf:deploy username="${sf.username}" password="${sf.password}" sessionId="${sf.sessionId}" serverurl="${sf.serverurl}" maxPoll="${sf.maxPoll}" deployRoot="..\src" testLevel="RunAllTestsInOrg" rollbackOnError="true" logType="Debugonly"/>
    </target>

</project>
Create “build.properties” inside the deploy folder and paste the following
 # build.properties
#

# Specify the login credentials for the desired Salesforce organization
sf.username = yourUser
sf.password = YouPasswordAndSecurityTokenWithNotingInBetween
#sf.sessionId =
#sf.pkgName =
#sf.zipFile =
#sf.metadataType =

# Use 'https://login.salesforce.com' for production or developer edition (the default if not specified).
# Use 'https://test.salesforce.com for sandbox.
sf.serverurl = https://login.salesforce.com

sf.maxPoll = 20
# If your network requires an HTTP proxy, see https://ant.apache.org/manual/proxy.html for configuration.
#
Make sure you enter the correct credential information for the Salesforce QA instance in the code above.
At this point your project structure should look like this
Update the remote repository with our changes by committing and pushing to VSTS as shown earlier
Now your code in VSTS should look like this
Now we can create a build in VSTS.
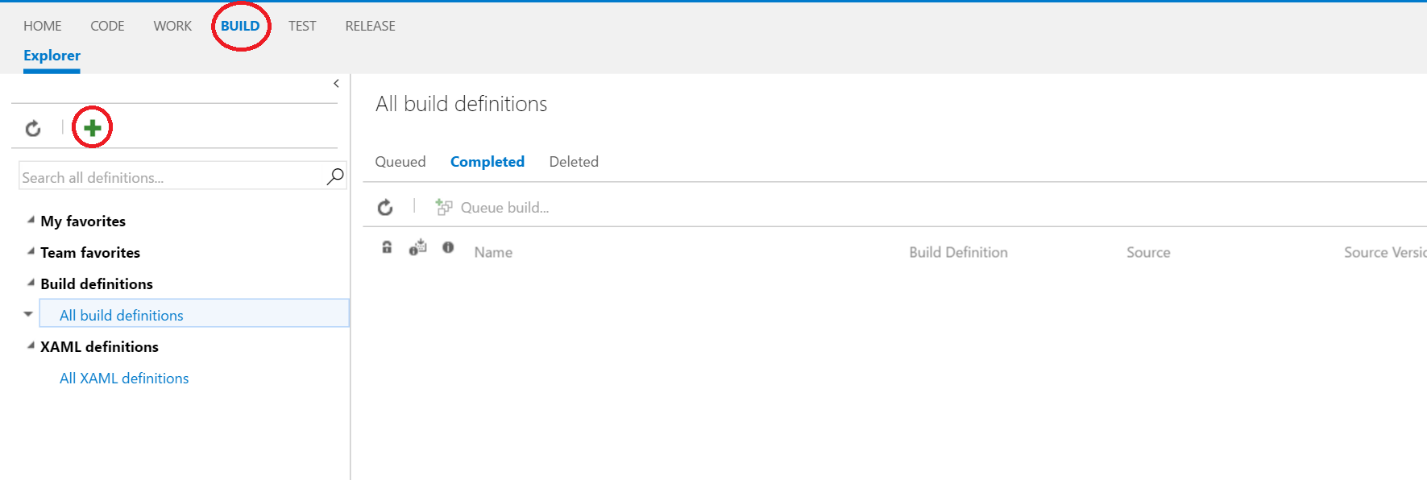
Go to “Build” hub in VSTS, and click the (+) icon to create a build
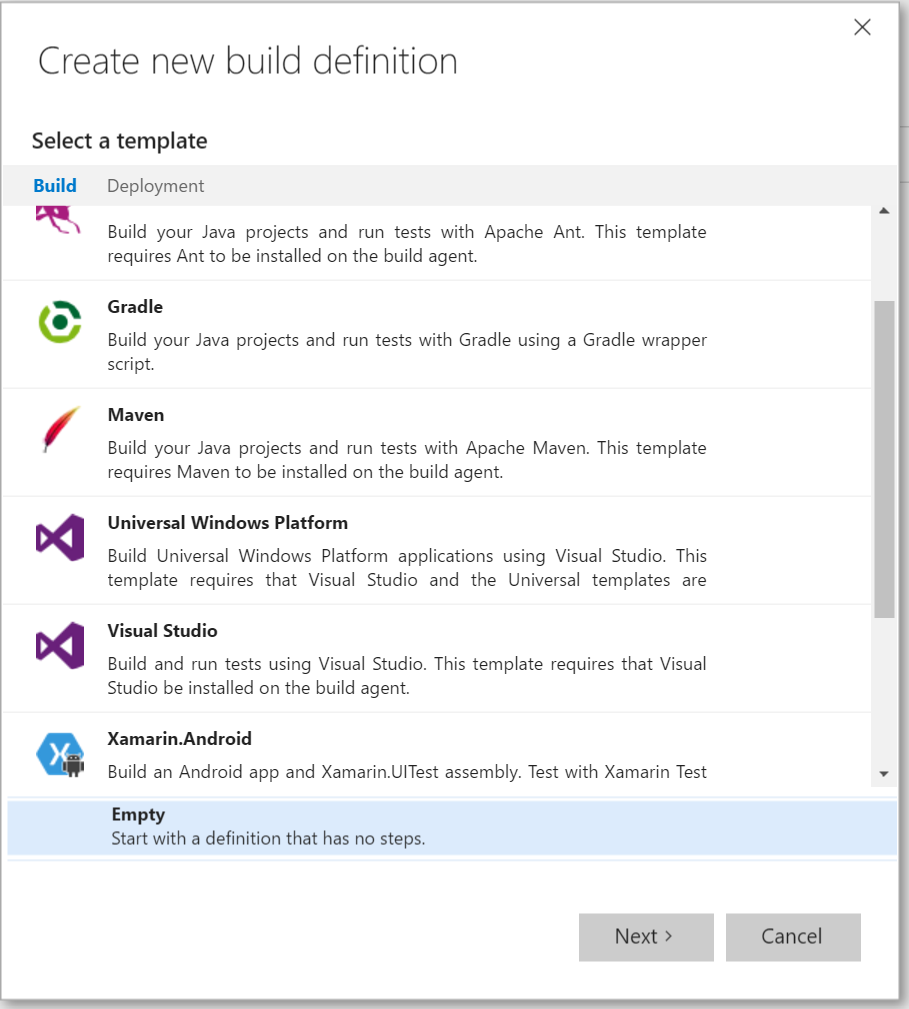
Click the option to start with empty template
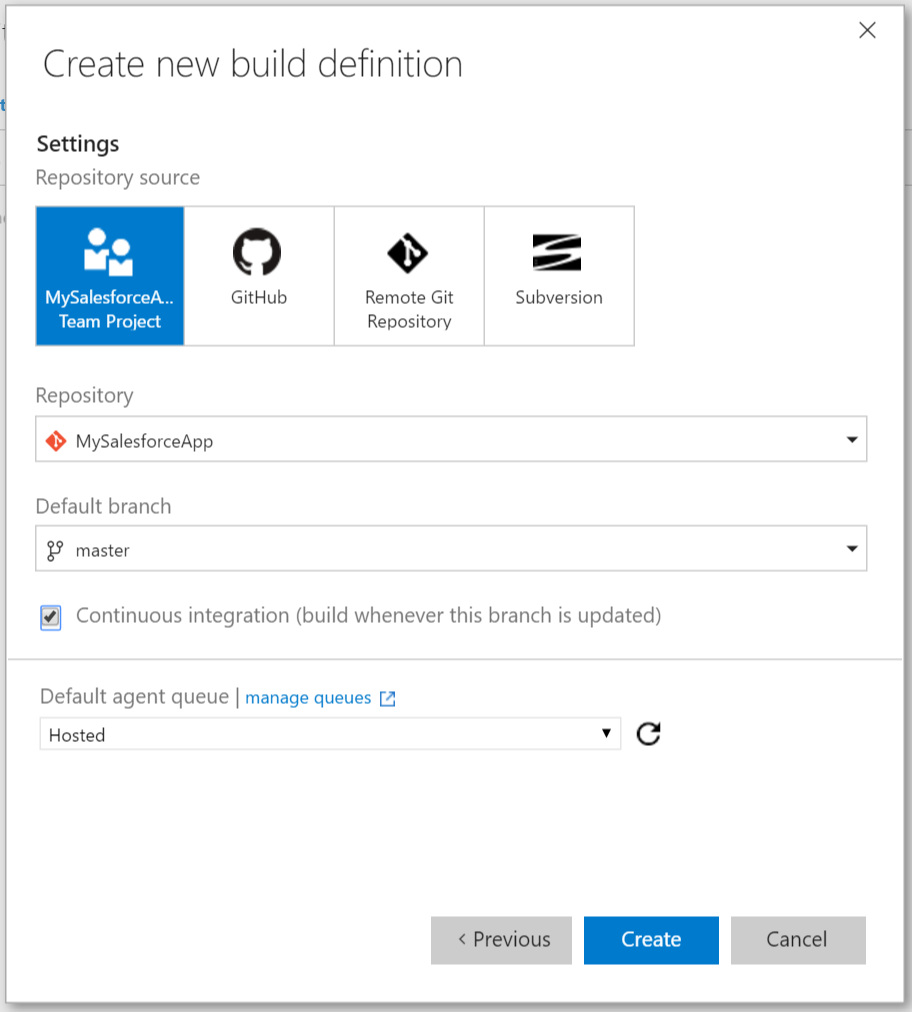
Choose the defaults and then click create:
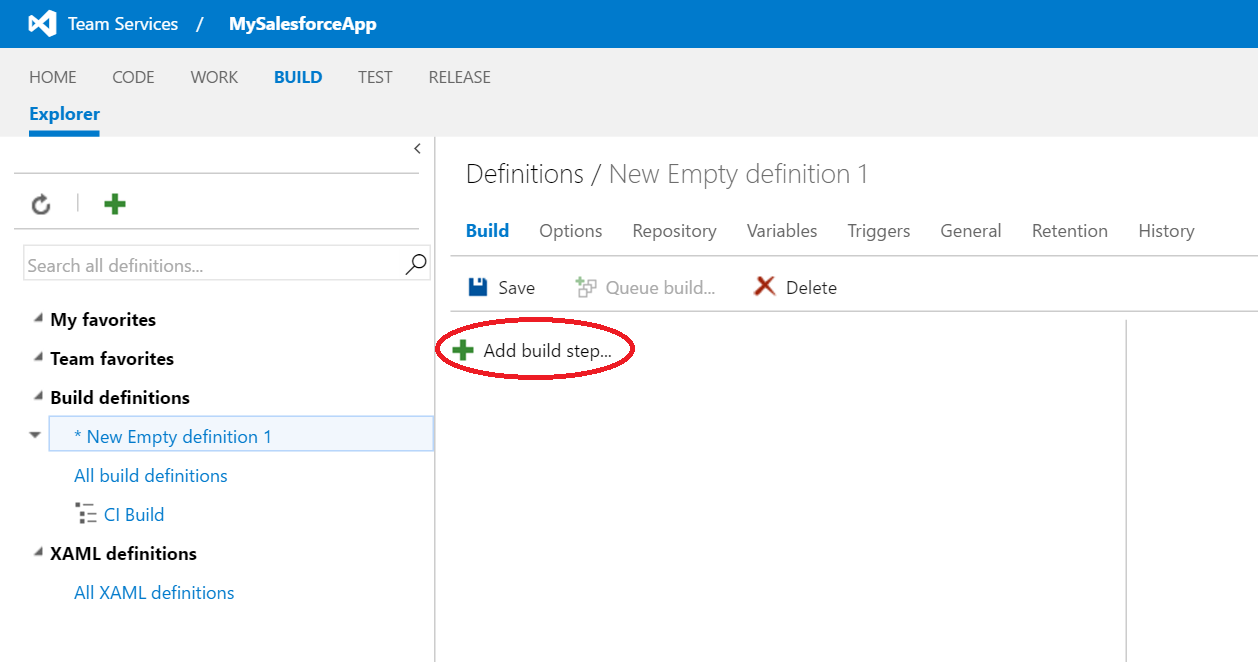
Click "Add build step..." link
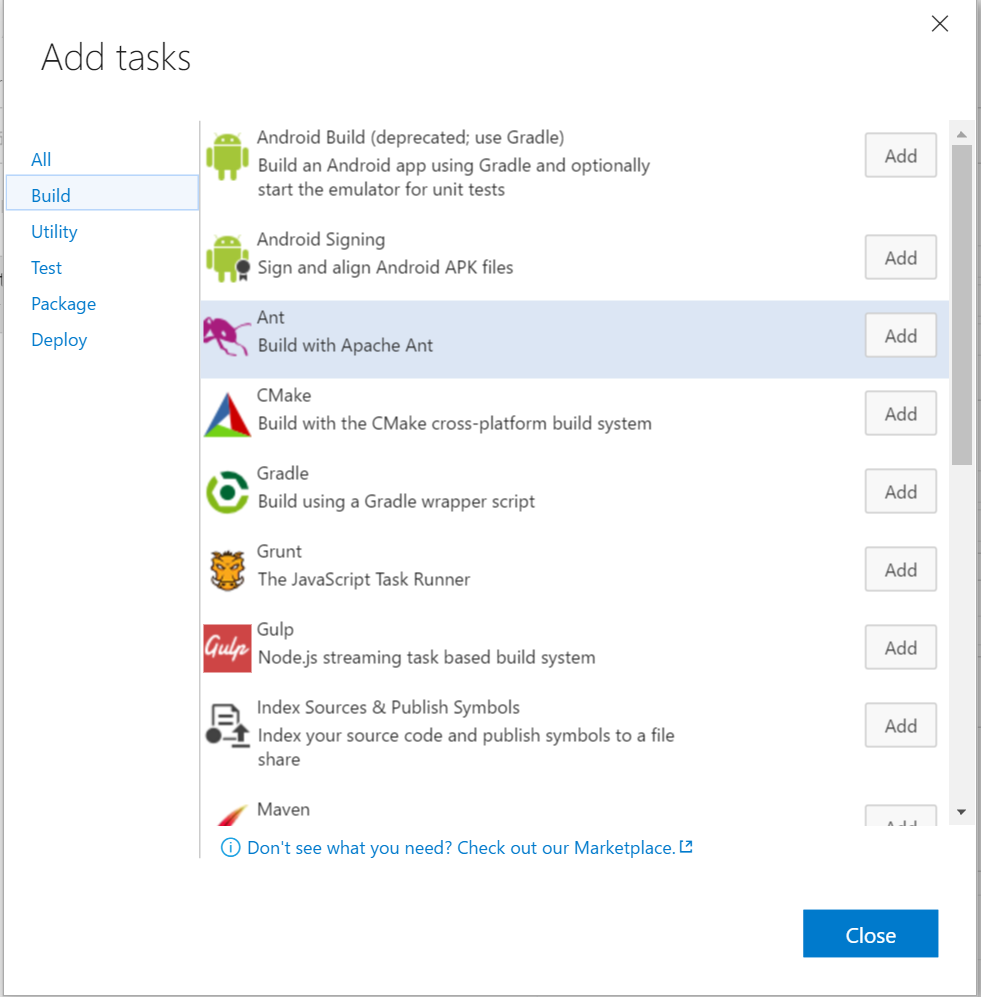
Add “Ant” task
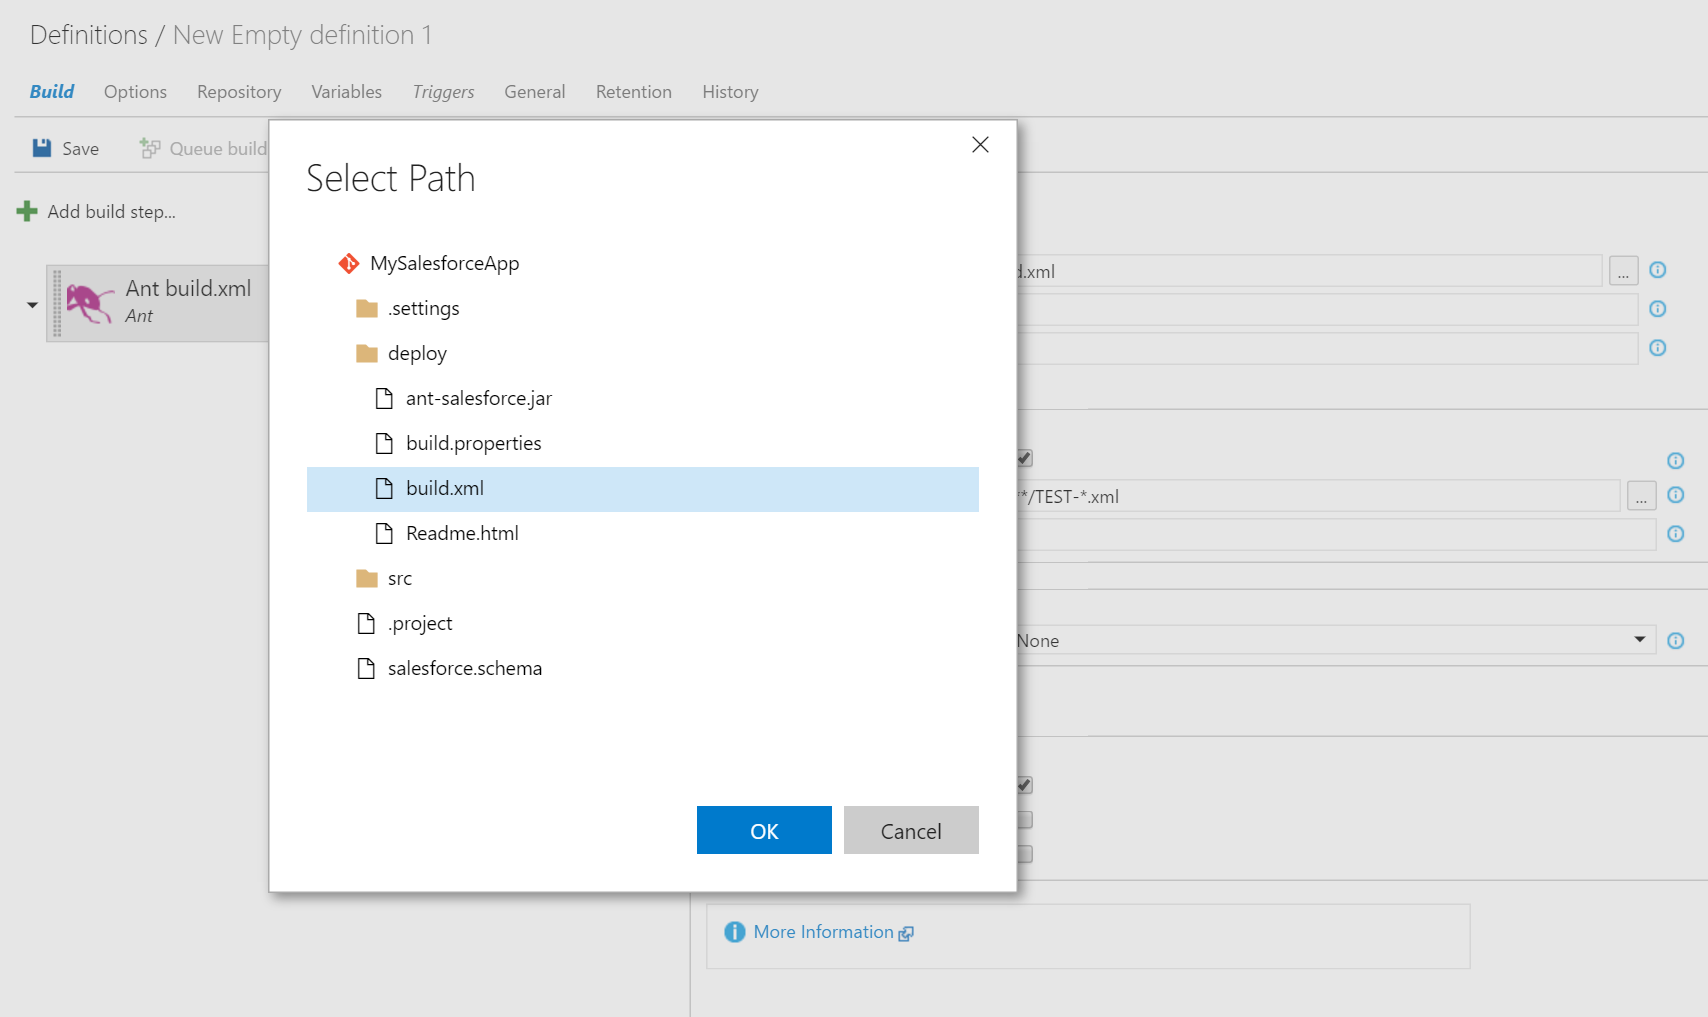
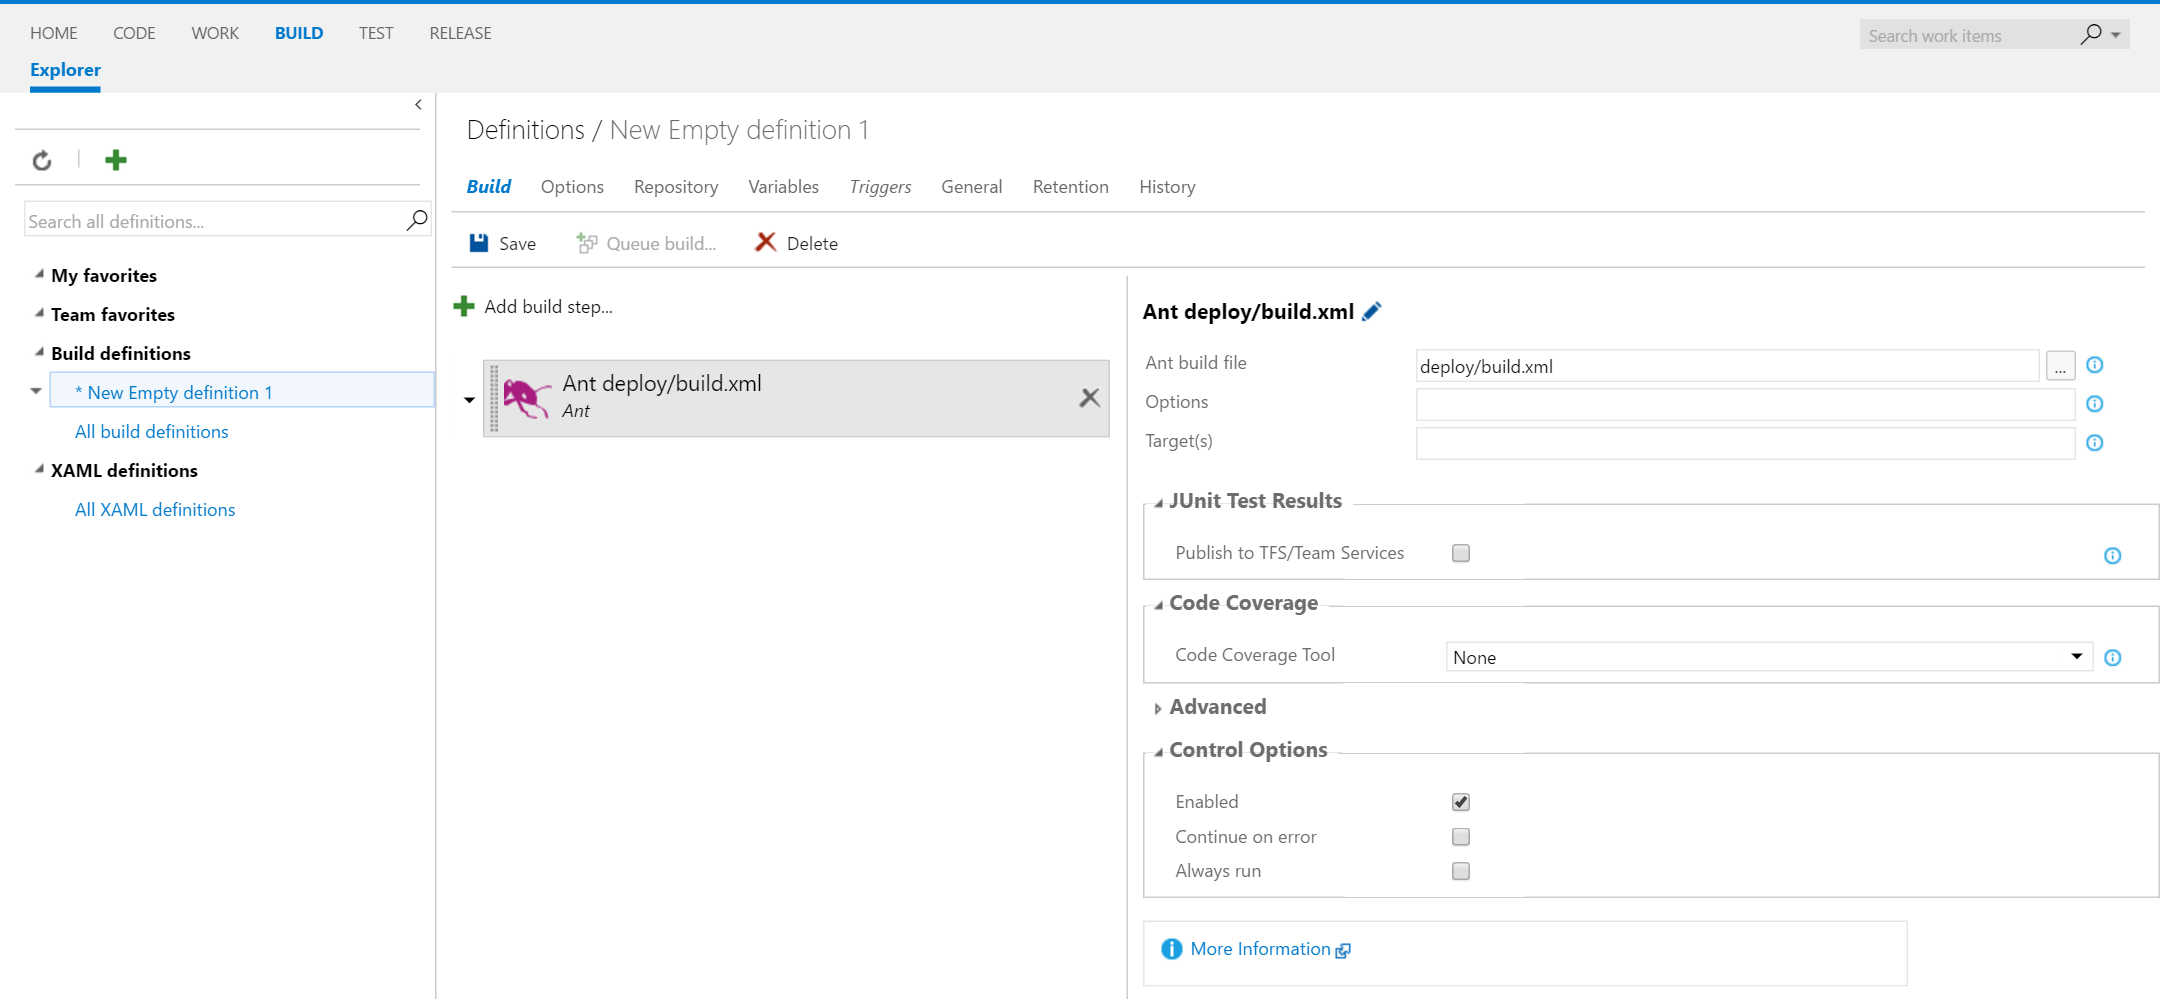
Configure the task. Go to “Ant Build File”
Uncheck “Publish to TFS/Team Services”
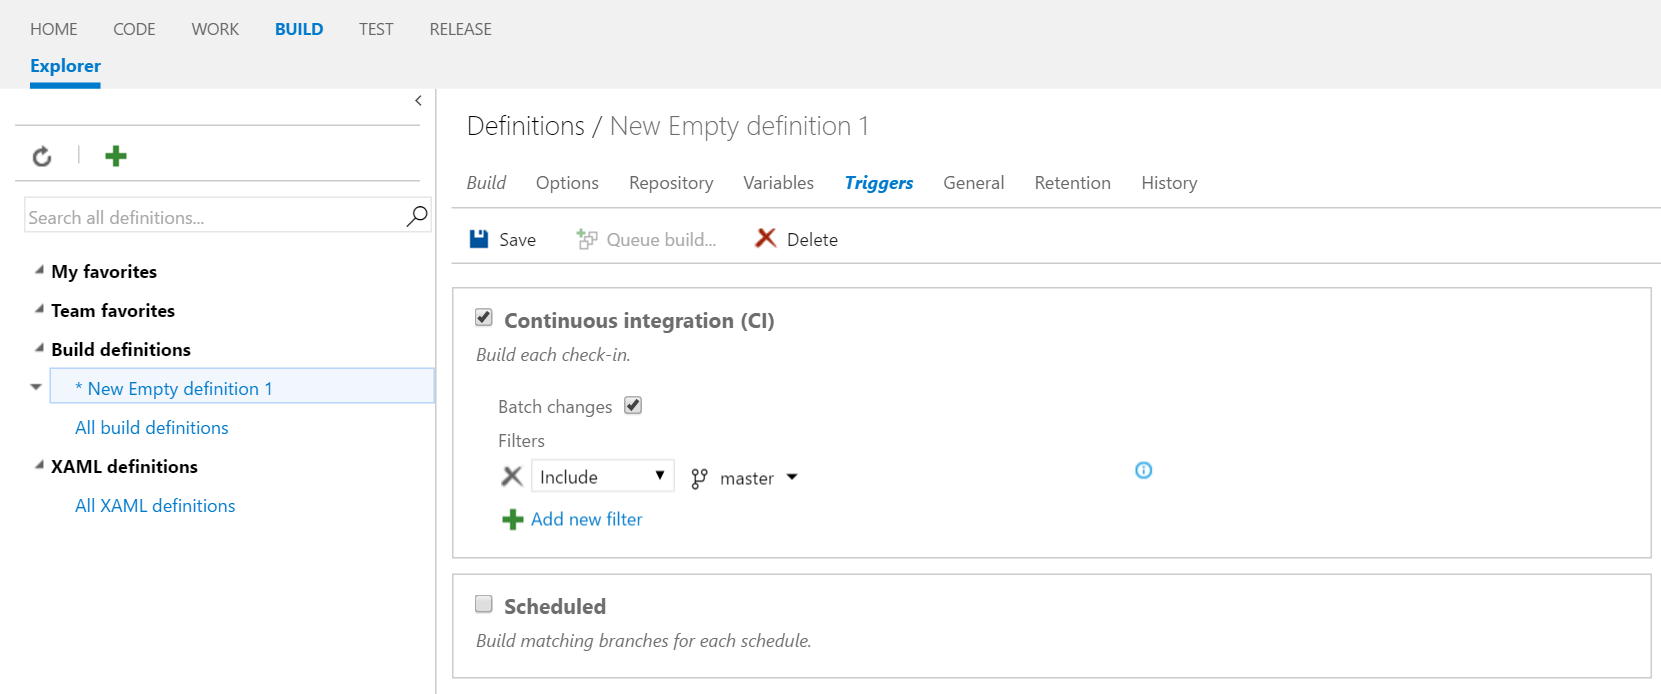
In Triggers tab, make sure “Continuous Integration” is checked
Click “Save” and name the build “CI Build”
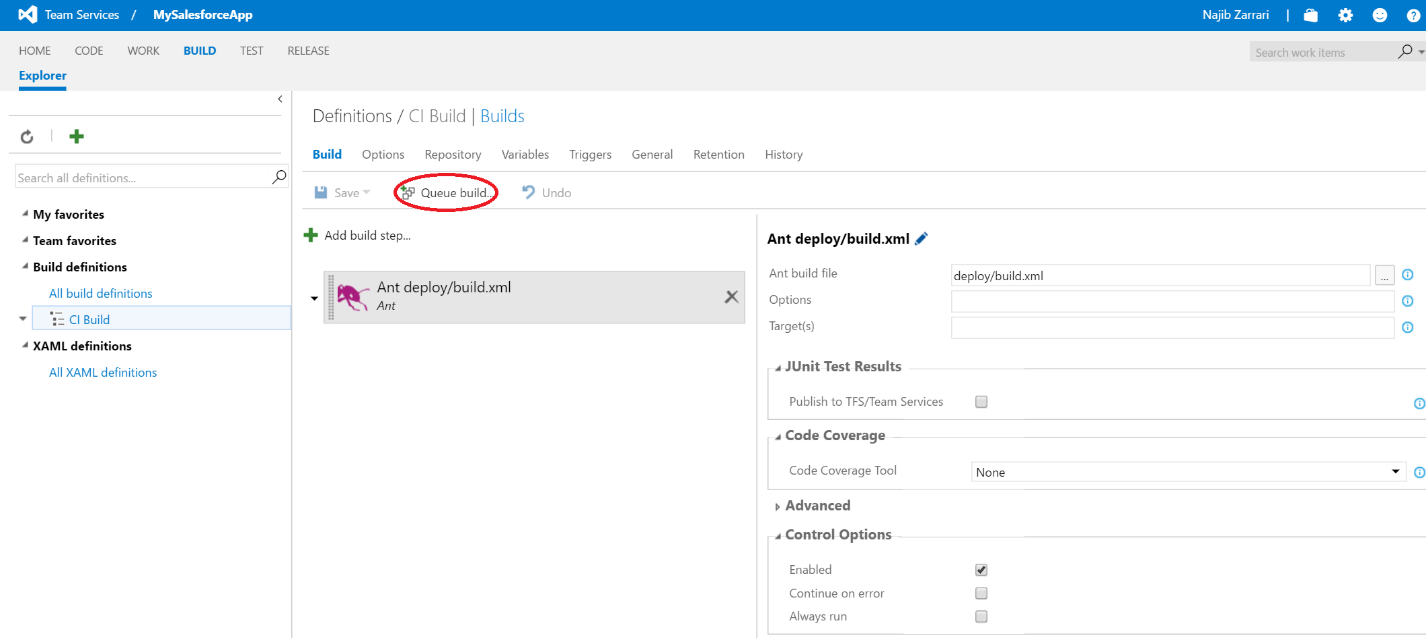
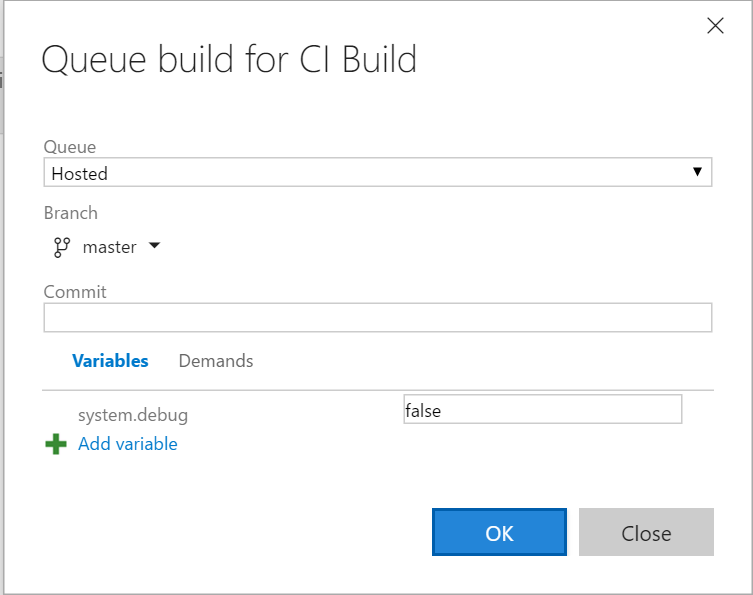
To test the build, click on “Queue Build”
Click OK
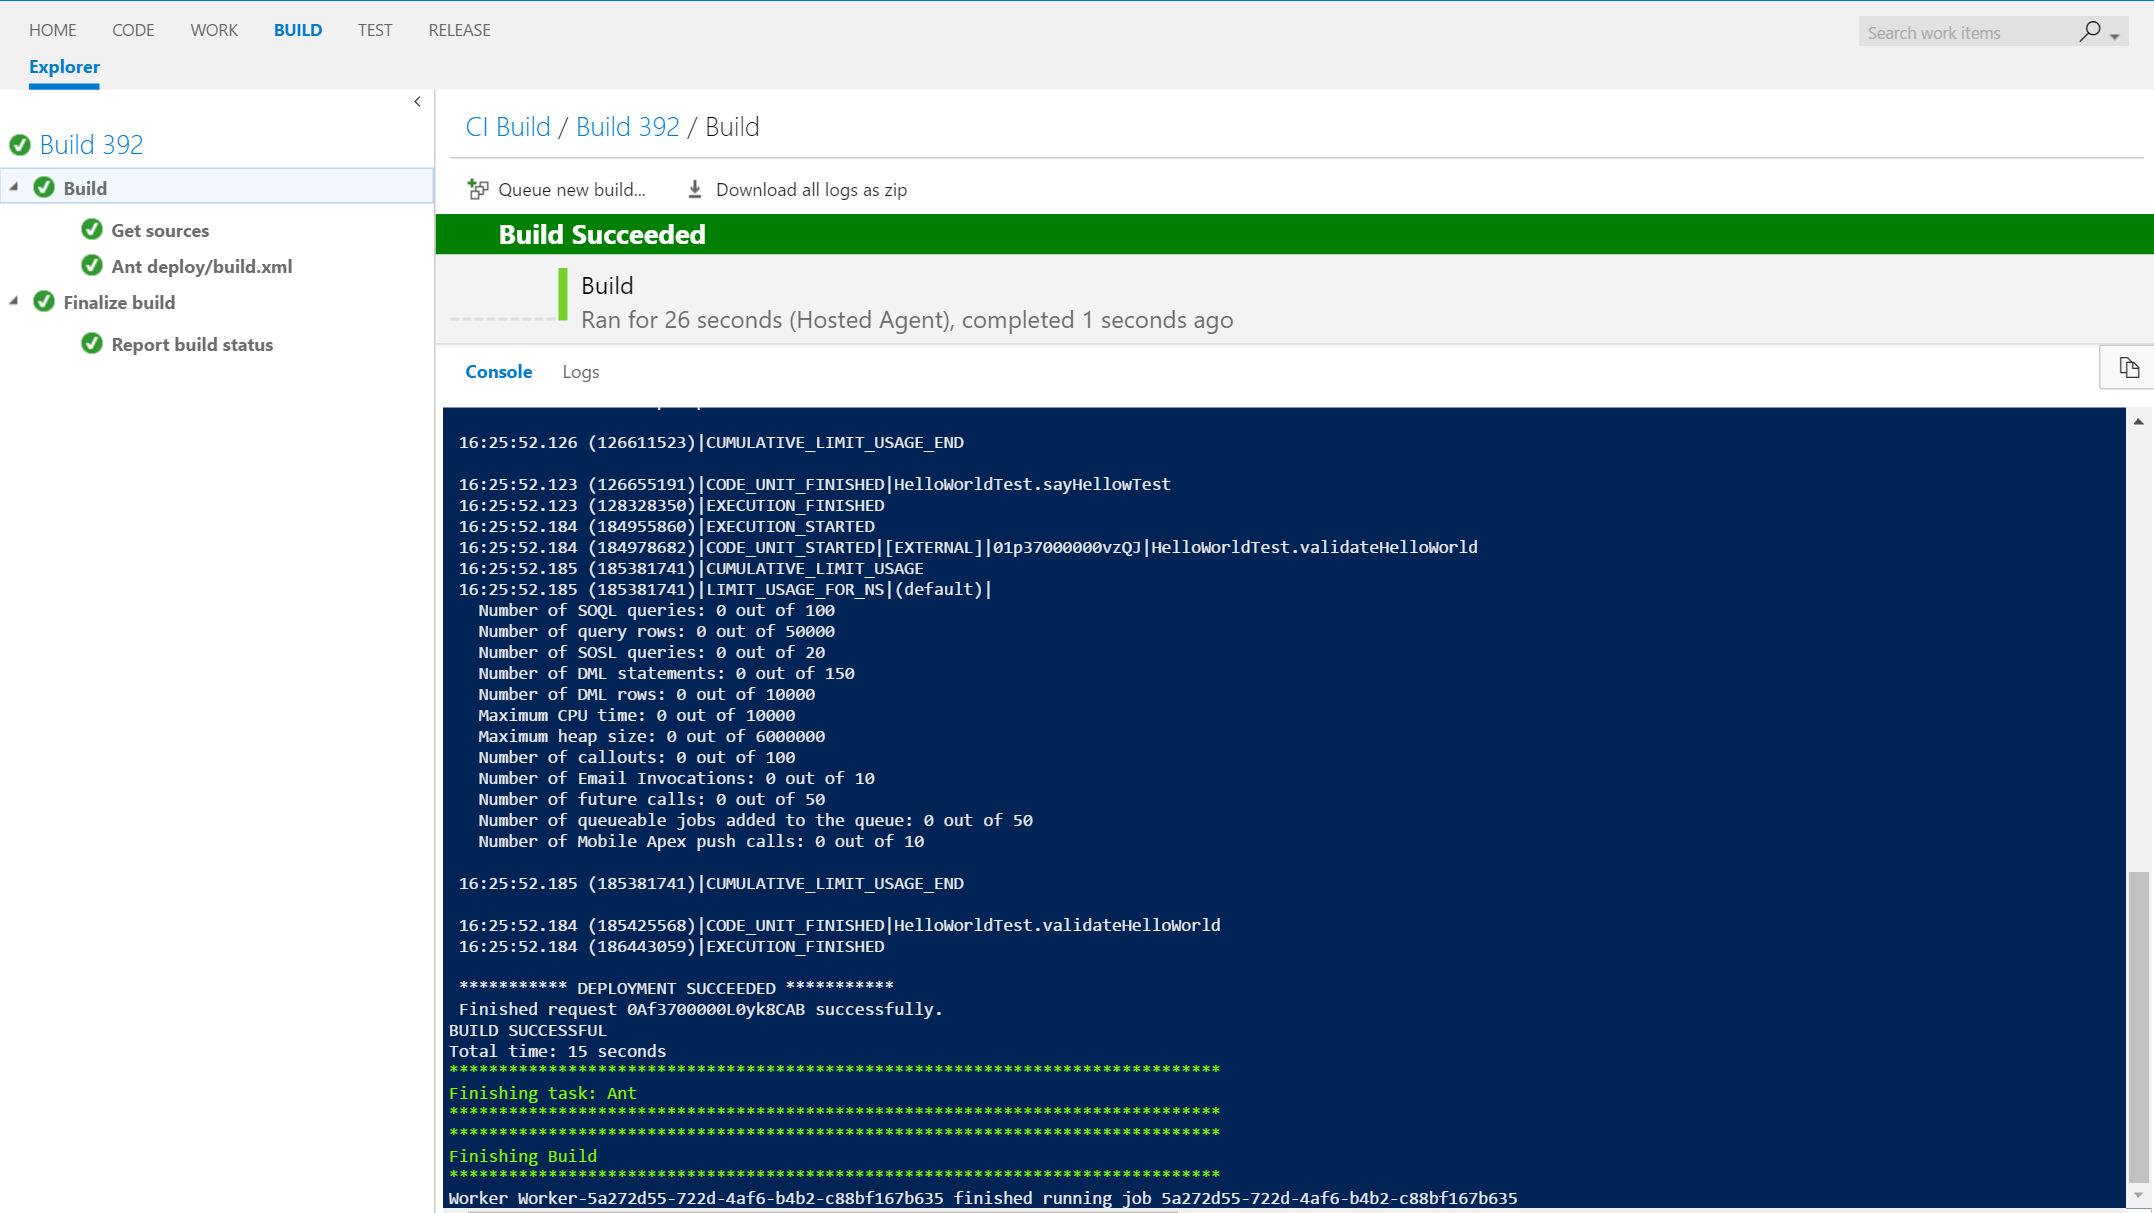
Check the build log and ensure that it passed
Verify that CI behaves as expected
Create an Apex class along with its unit test in your Salesforce development instance. Add a class called “Math” and add the following code:
 public with sharing class Math {
    public Math(){

    }

    public Integer add(Integer a, Integer b){
        return a+b;
    }
}
Add a test class called “MathTest” and add the following code:
 @isTest
private class MathTest {

    static testMethod void addTest() {
       Math m = new Math();
       Integer result = m.add(4, 5);
       System.assertEquals(result, 9);
    }

}
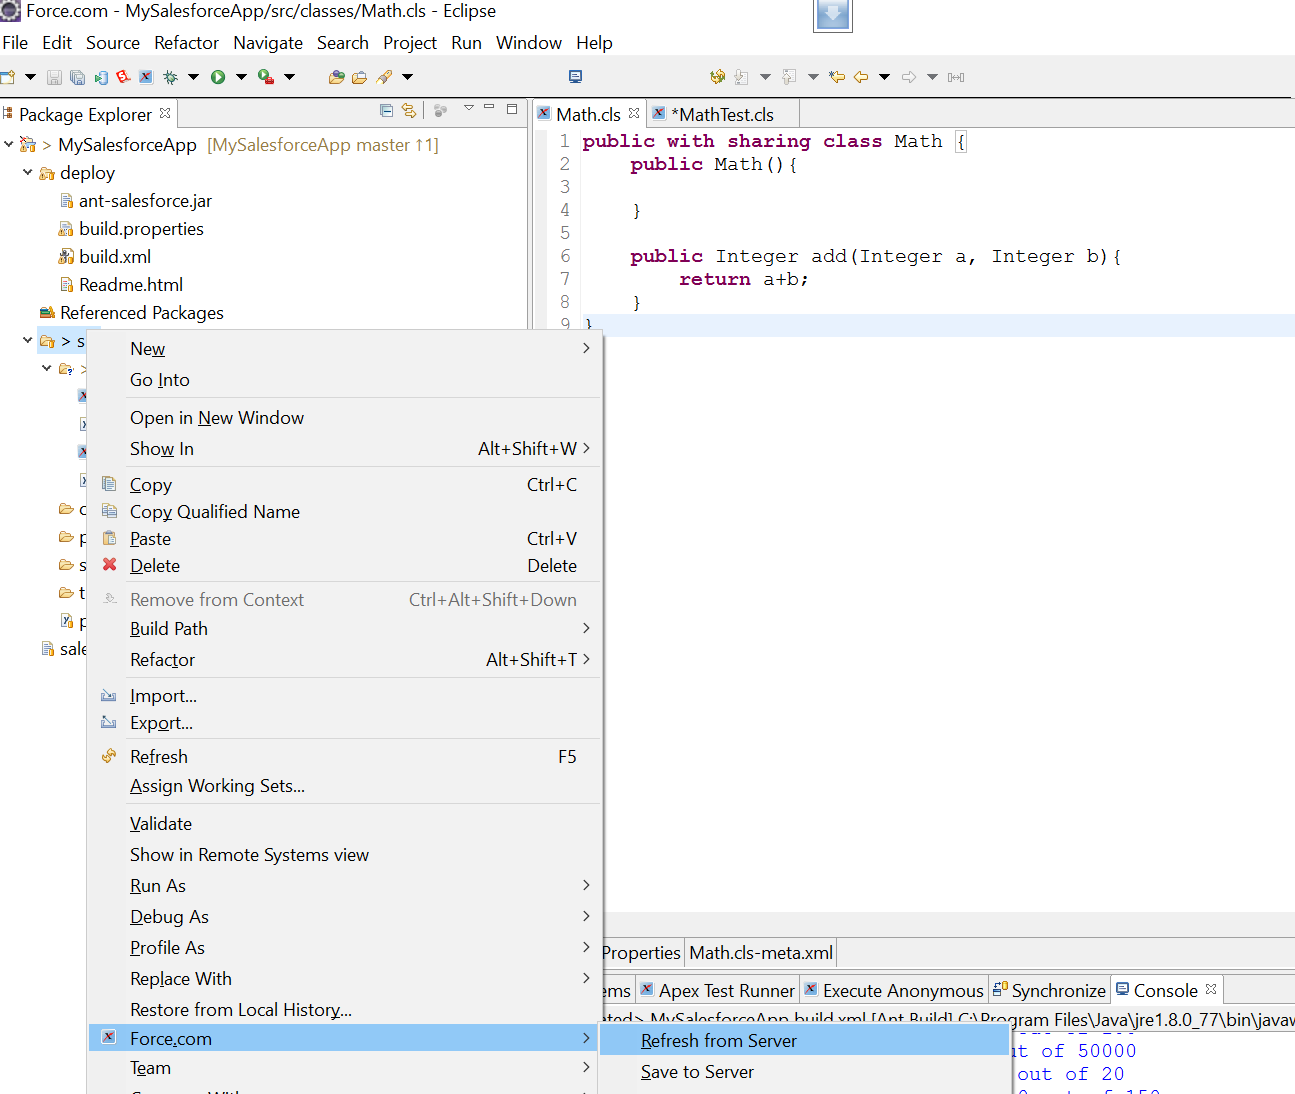
Once you add the code to Salesforce, import the changes to Eclipse by right click on “src” then “Force.com” then choose “Refresh from Server”
Once done, commit and push. This should trigger the build.
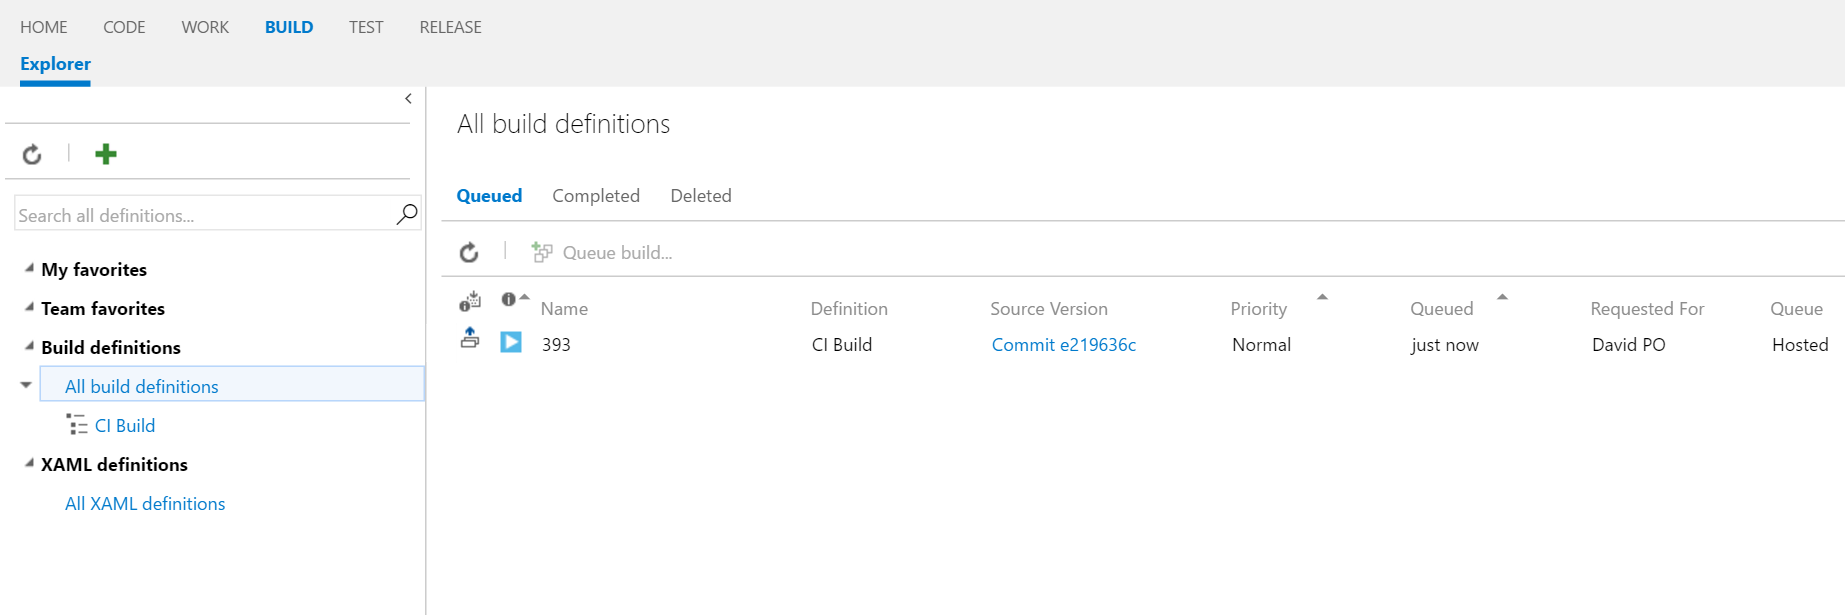
To verify the build has been triggered, login to VSTS and go to the “Build” hub, click on “CI Build” then click on Queued tab. If you don’t see anything in the list, there is a good chance that the build has already completed. You can check completed builds by clicking on “Completed” tab
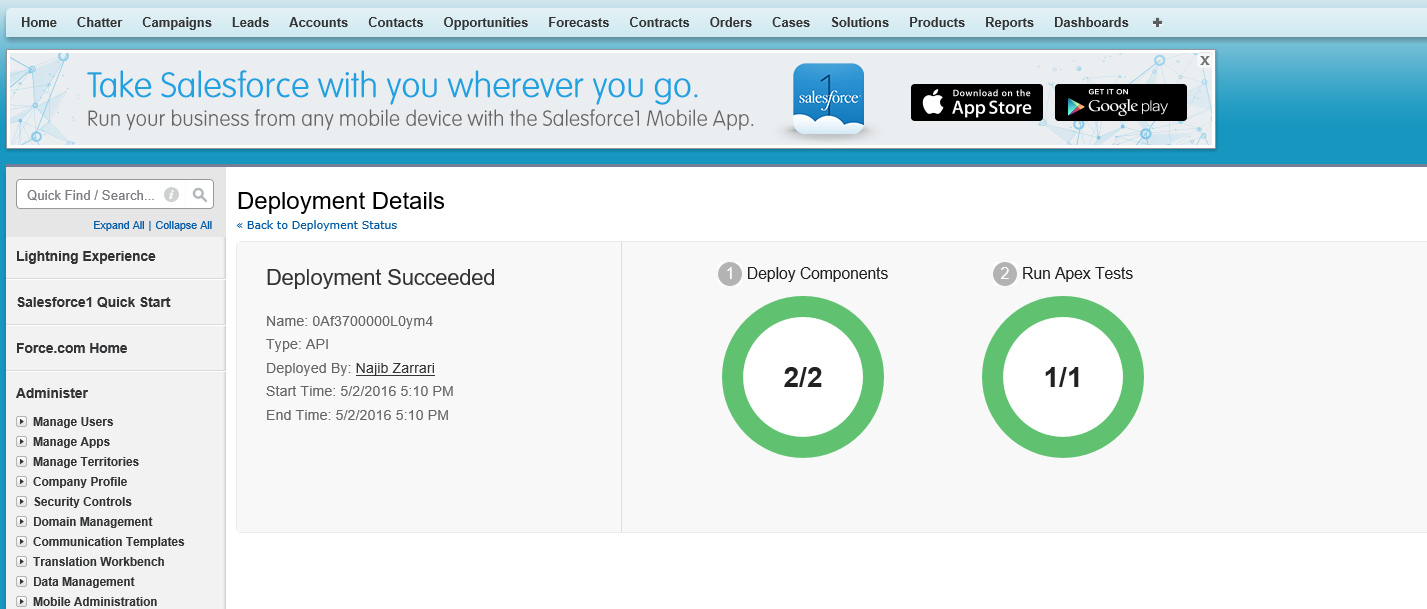
This would deploy code to the Salesforce QA instance. To check the status in Salesforce, login to Salesforce, then go to “Setup” and then “Monitor” then “Deployment Status”
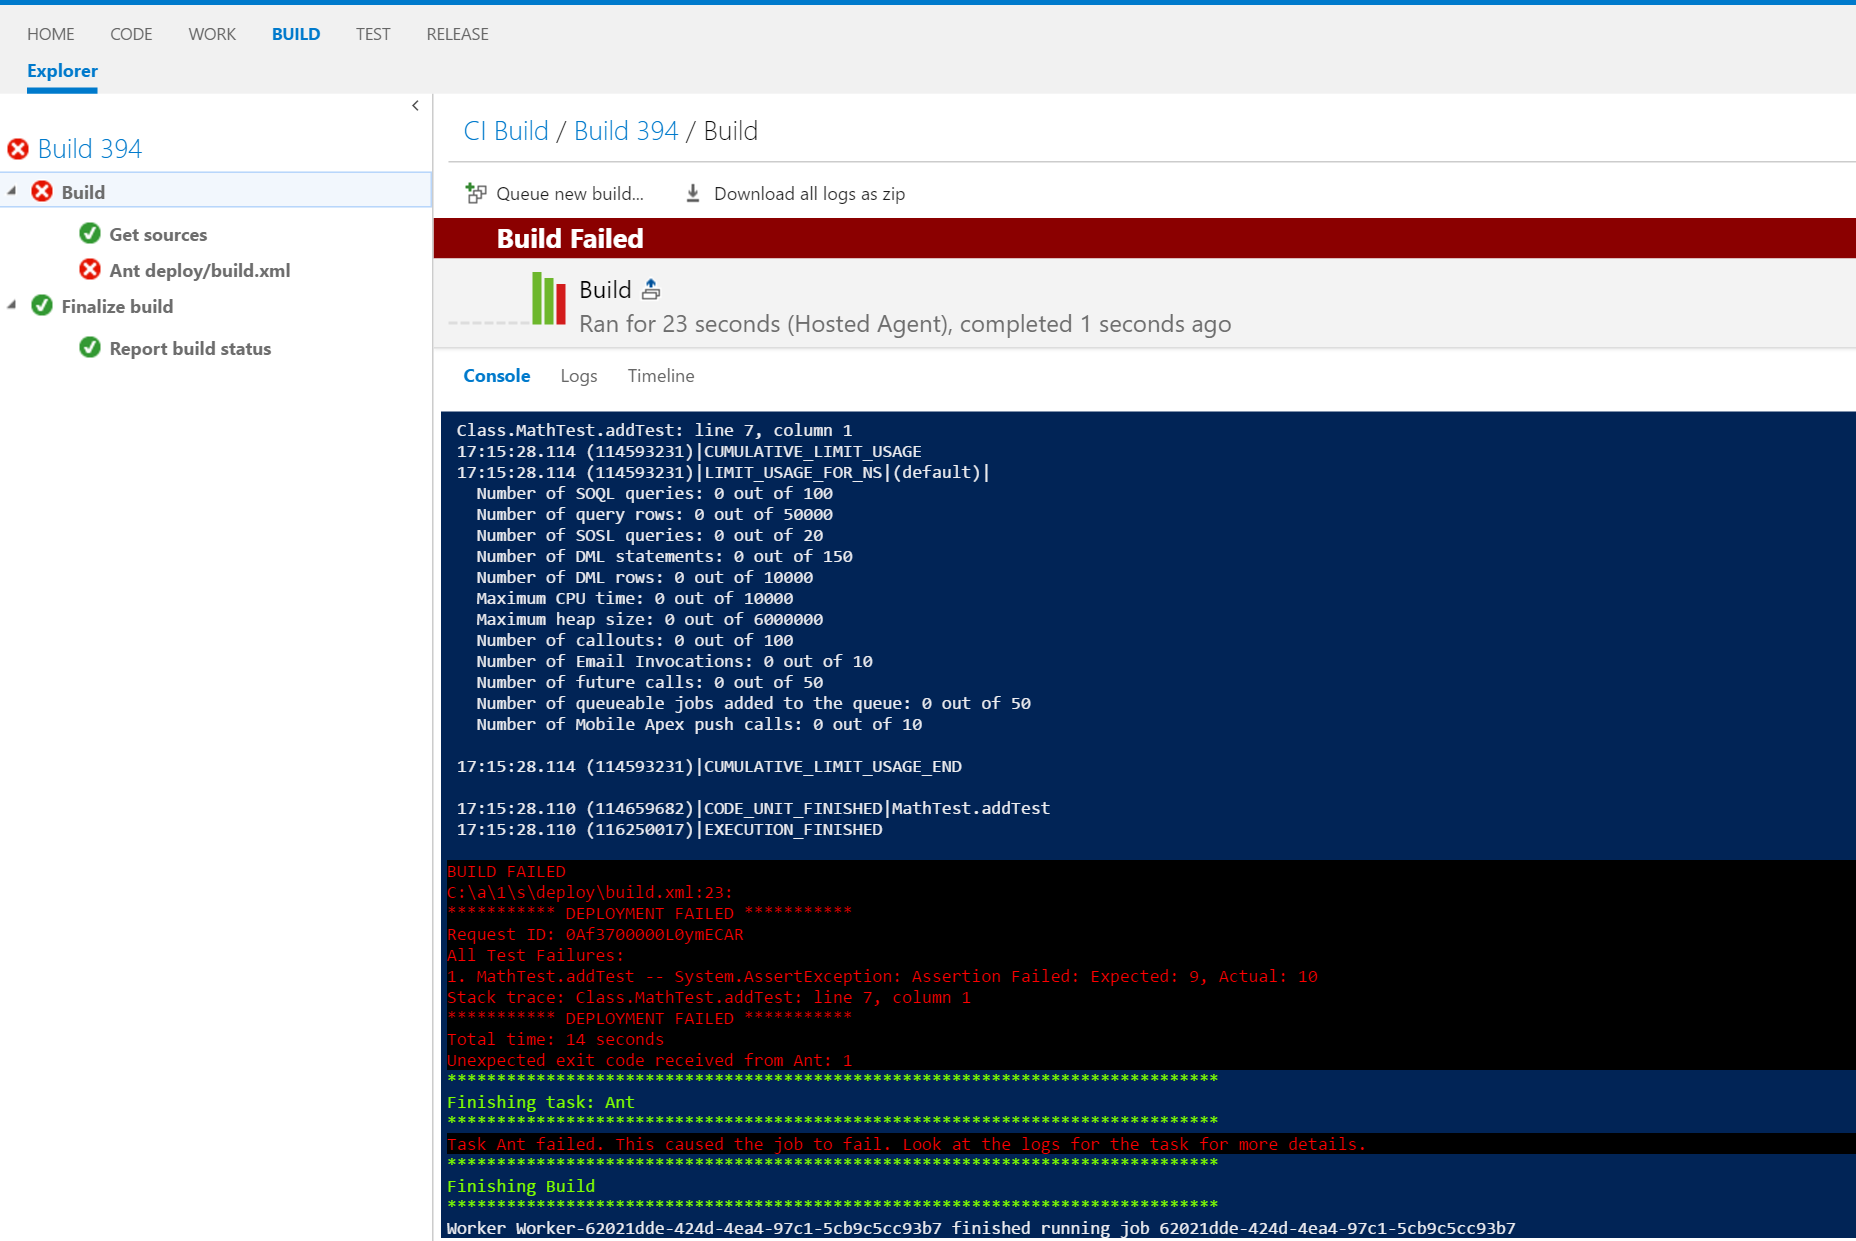
Let’s simulate a deploy failure by intentionally making the test case fail. In your Salesforce development instance, replace the code inside MathTest with this
 @isTest
private class MathTest {

    static testMethod void addTest() {
       Math m = new Math();
       Integer result = m.add(4, 5);
       System.assertEquals(result, 10);
    }

}
Commit and push.
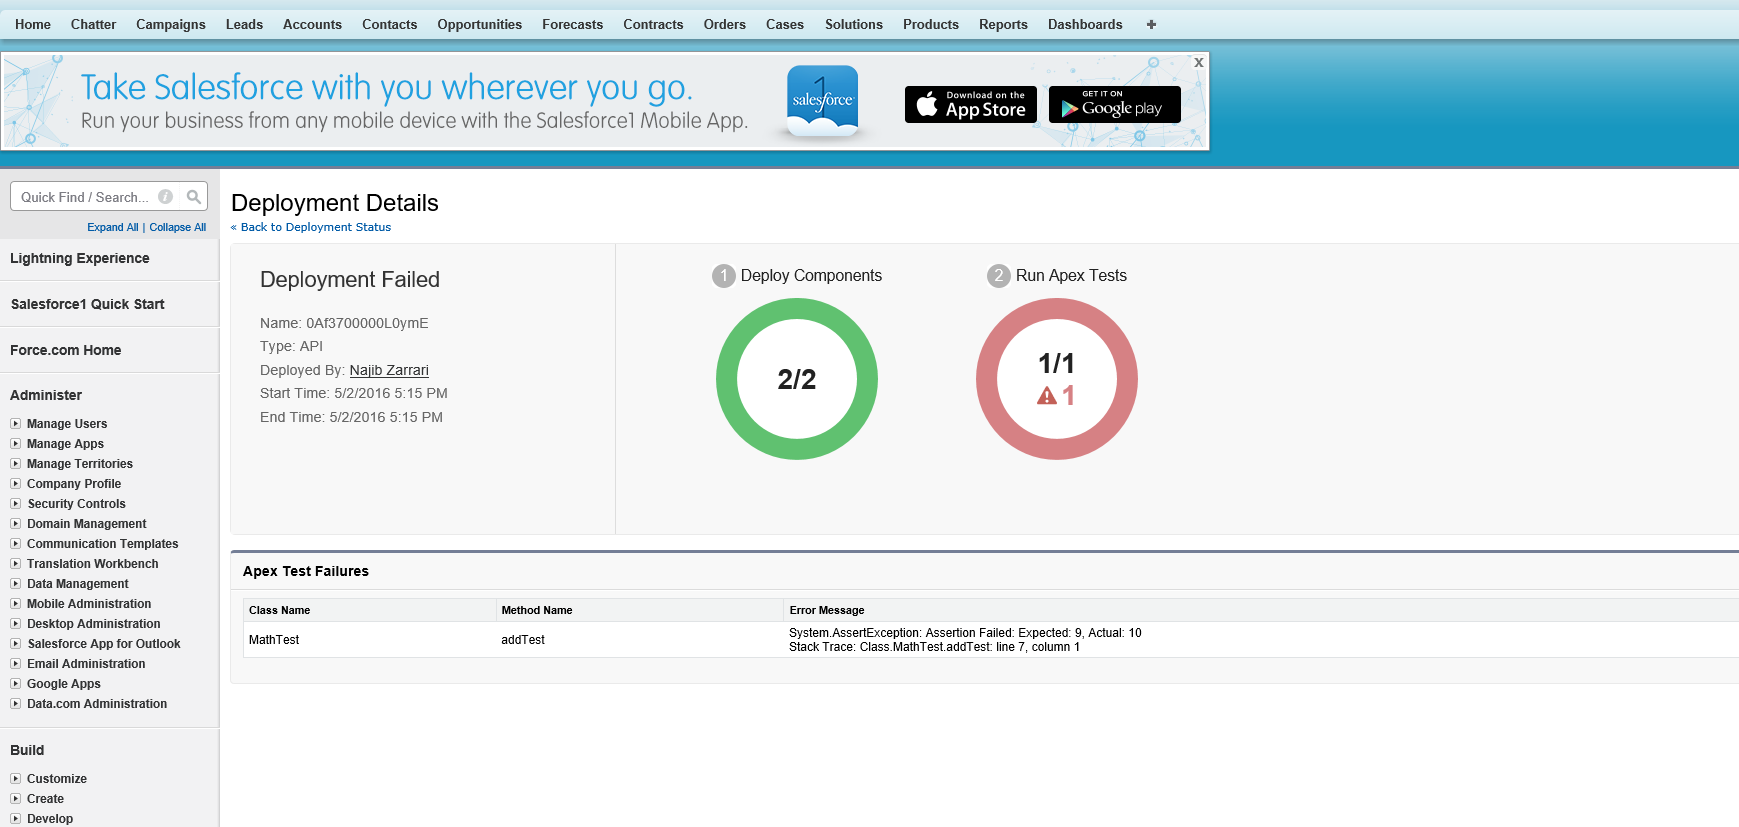
Checking the deploy status in Salesforce QA instance
Also, if you go to the code, you will notice that the change made in development instance was not deployed to the QA instance. We have just implemented CI for Salesforce metadata using VSTS.
We just showed how you can store Salesforce Metadata in VSTS git repository. We also showed how to setup Continuous Integration and deploy Salesforce Metadata to a QA environment. Please leave us your feedback.
Comments
- Anonymous
September 16, 2016
Very usefull thanks for the effort. Quick question: Works well for a complete metadata deployment. Is it possibleto do a partial deployment somehow?Much appreciatedMusa- Anonymous
November 29, 2016
Keep in mind that this is using the Migration Tool from Salesforce.com. If the Migration Tool allows it then you should be able to plug it in in your CD/CI pipeline.
- Anonymous
- Anonymous
November 08, 2016
Hi,When I am creating project in force.com it is saying project name should be unique.Can you please help me out.RegardsSampath- Anonymous
November 29, 2016
Most likely this is coming from Eclipse. This might help http://stackoverflow.com/questions/17027759/eclipse-project-already-exists
- Anonymous
- Anonymous
November 29, 2016
HelloThank you very much for your post. It's really great. Well detailed and really helpfulI have a weird issue that maybe has happened to you before. The deployment is triggered but when it's finished it's not refreshed in the console (even if it's successful) and then it reaches the timeout of TFS and mark it as failed. Do you happen to know why would this happen?Thanks in advance for your kind answer- Anonymous
November 29, 2016
No I have never seen this. Are you using your own agent or the hosted agent? If you are using the hosted agent I would try to deploy your own agent and use it and see if that helps. Follow this resource for details:https://www.visualstudio.com/en-us/docs/build/admin/agents/v2-windows
- Anonymous
- Anonymous
November 29, 2016
HelloThank you very much for your post. It's really great. Well detailed and really helpfulI have a weird issue that maybe has happened to you before. The deployment is triggered but when it's finished it's not refreshed in the console (even if it's successful) and then it reaches the timeout of TFS and mark it as failed. Do you happen to know why would this happen?Thanks in advance for your kind answer- Anonymous
November 29, 2016
Same as above
- Anonymous
- Anonymous
December 06, 2016
Really, this is a great post !! Today, I have learned something new. I would like to say a big thank for the detailed and explanatory information. - Anonymous
April 10, 2017
Can you please help me understand how can we achieve CODE QUALITY with this CI approach?Thanks in advance.- Anonymous
April 10, 2017
The comment has been removed
- Anonymous
- Anonymous
May 15, 2017
Many Thanks for the useful information!!.Facing issue on configuring the VSO. I cannot create VSO and Salesforce project with the same name. Is there any work around or i am missing something. Much Appreciated!Thanks
