Add Flexibility to a Unified Service Desk Deployment with Azure RemoteApp
USD client-side dependencies and deployment management complexities represent some of the largest barriers to adoption. Extra latency between CRM Online and the USD client can also degrade performance.
This post describes how the combination of USD and Azure RemoteApp can address these issues without large upfront costs by:
- Reducing administrators workload. USD installation is limited to a single VM image (not every desktop).
- Providing users on-demand capability to run controlled instances of USD.
- Enabling users to run USD on any Windows, Android or iOS device via the RemoteApp client (granted, a phone is not a particularly effective form factor for USD) .
- Providing application virtualisation/hosting as-a-service. Dedicated servers or administrators of RDS environments aren't required. The instances can scale with the workforce.
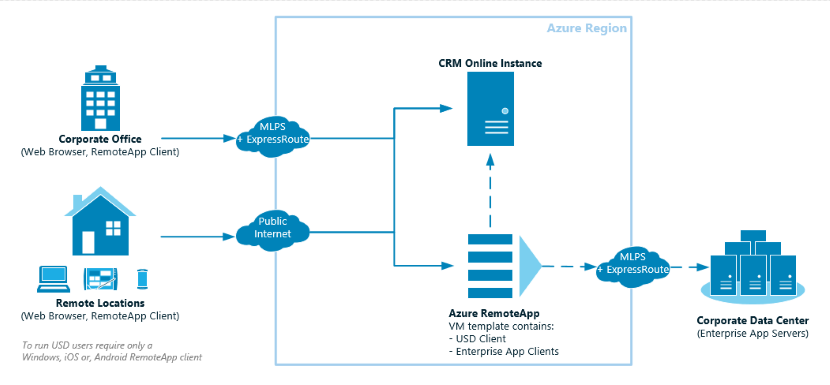
- Pairing this model with Azure ExpressRoute gives the USD instance fast, secure access to the Enterprise App back end servers.
The diagram below illustrates a conceptual design for how this would fit together:
Publishing a USD instance on RemoteApp
There are four high level steps in the process:
- Preparing a VM Image
- Creating a RemoteApp Collection
- Publishing the USD to the collection
- Running USD from a client (I tested with Windows and iOS)
Prerequisites
The rest of the instructions assume that you have already sorted out the following dependencies:
- An instance of Dynamics CRM Online, with the Unified Service Desk installed
- You can request a trial of Dynamics CRM Online here
- When installing the Unified Service Desk in your instance of CRM Online and on your client desktop, ensure you install a sample application. I installed with the CRM Web Client package. Ensure you install the back end with Package Deployer
- An Azure subscription or free trial
Step 1: Preparing a RemoteApp Compatible VM Image
The basic requirement for an image is that it run Windows Server 2012 R2 and have the Remote Desktop Session Host (RDSH) role installed (more detail here). This goal can be achieved by creating an image from scratch or configuring an image from the Azure gallery.
Provision a VM Instance to use as Template
We are going to take the latter approach and perform the following steps
1. Log in to the new Azure portal (https://ms.portal.azure.com).
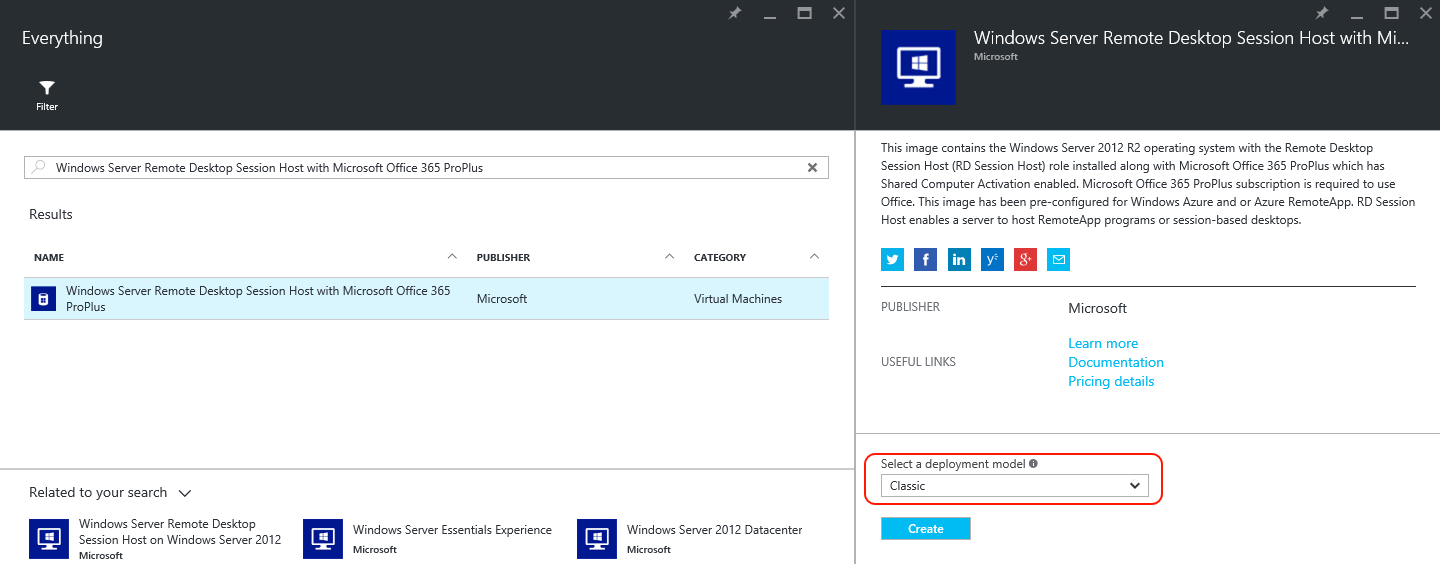
2. Browse the VM gallery and create a new VM Instance based on the "Windows Server Remote Desktop Session Host with Microsoft Office 365 ProPlus" template. Make sure you set the Select a deployment model dropdown to Classic. This is because at time of writing RemoteApp cannot import a template created on the Resource Manager model
Setup Software on Template VM Instance
1. Once the VM Instance is provisioned, Connect to the VM via Remote Desktop by using the Connect button in the portal
2. Now it's time to install software, first install the USD client. You can download the client from here: https://www.microsoft.com/en-us/download/details.aspx?id=50355
I installed the 64 bit client "CRM2016-USD-2.1.0-amd64.exe" . If you would like to run any other client applications on USD, this is the time to install it.
3. Test the USD client, enter in connection details (as per below for a CRM Online trial) .
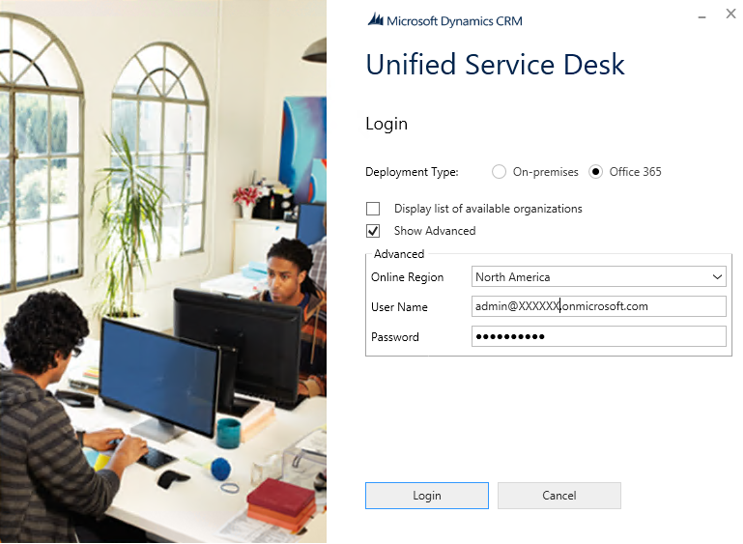
If you get issues with IE launching "event" pop ups refer to this blog post for a workaround
Prepare and Capture the VM Instance to your Local Gallery
Once all the software is setup, it's time to capture it in your gallery so RemoteApp can use it.
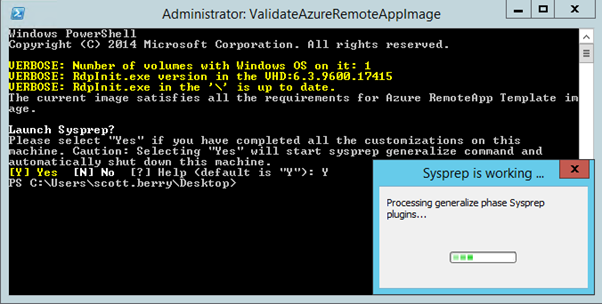
1. The first step is to validate the instance will be compatible. There is a ValidateAzureRemoteAppImage powershell script on the desktop which performs the required checks. Click the shortcut to run the script.
2. If all is well, you should receive the message "The current image satisfies all the requirements for Azure RemoteApp Template image."
3. You are then prompted to run Sysprep to capture the image. Click "Y". The result should look like this:
Note: once the VM has been sysprep'd, you wont be able to log back in to it. You will have to create new instances based on the template and repeat the process on that instance.
4. Once Sysprep is finished, the VM will be shutdown in a state ready to be captured. From the Azure portal, click the Capture option.
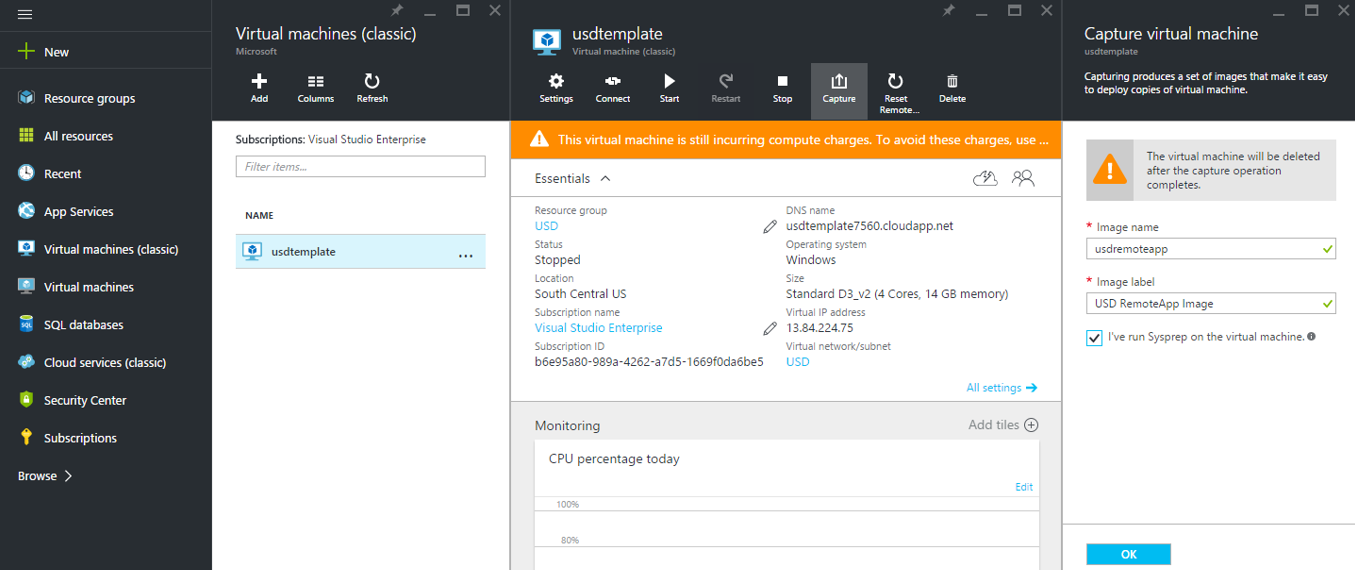
Be prepared to wait a while for this to complete.
Step 2: Creating an Azure RemoteApp Collection
Now that we have a RemoteApp compatible image containing USD in our gallery, we can create a RemoteApp Collection. This is a collection of applications installed on a template which are ready to be published. The following instructions are suitable for trialing. Setting up Hybrid RemoteApp connecting to on-prem infrastrcture has extra considerations, the RemoteApp documentation is a good place to start.
1. Log in to the legacy Azure Portal (https://manage.windowsazure.com). At time of writing RemoteApp is only available in the legacy Azure Portal (Note: If you are in the new portal and attempt to create a RemoteApp instance, it will redirect you to the new portal anyway).''
2. In the Azure Portal footer menu Click NEW --> APP SERVICES --> REMOTEAPP --> CREATE WITH VNET
3. Enter in a NAME.
4. Select a Basic PLAN.
5. Set JOIN LOCAL DOMAIN to NO 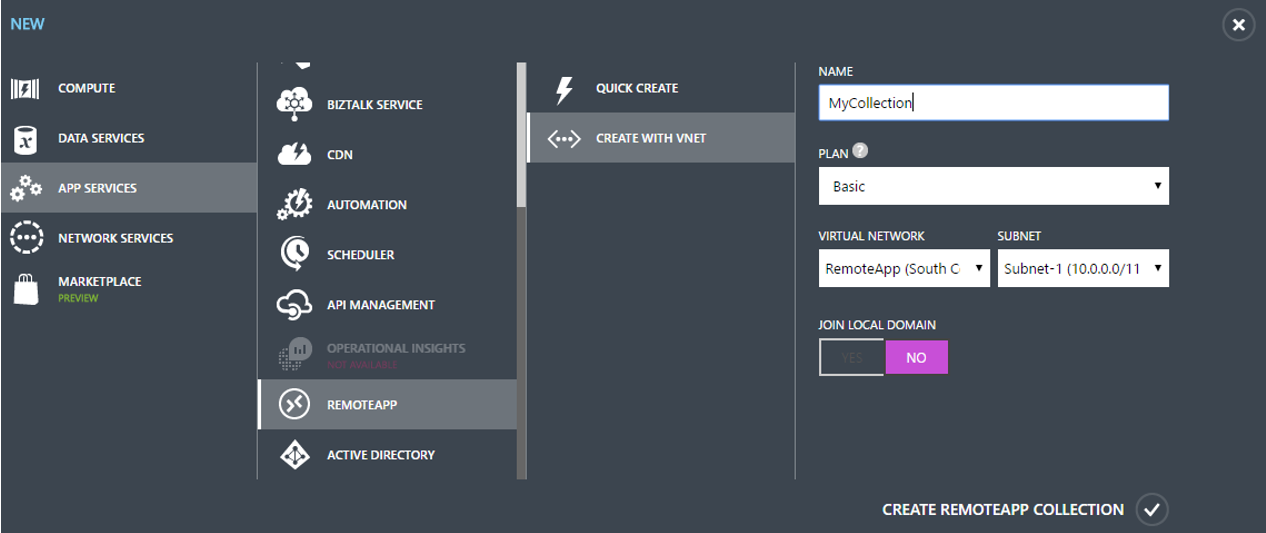
The new collection will appear in the list

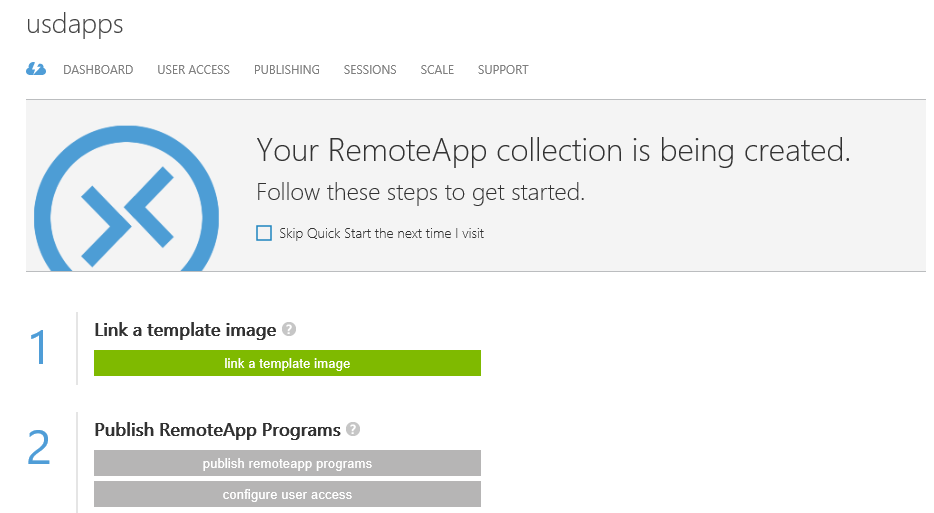
6. Double click the collection to open it's configuration screen.
7. The link a template image button will be highlighted in green, click it
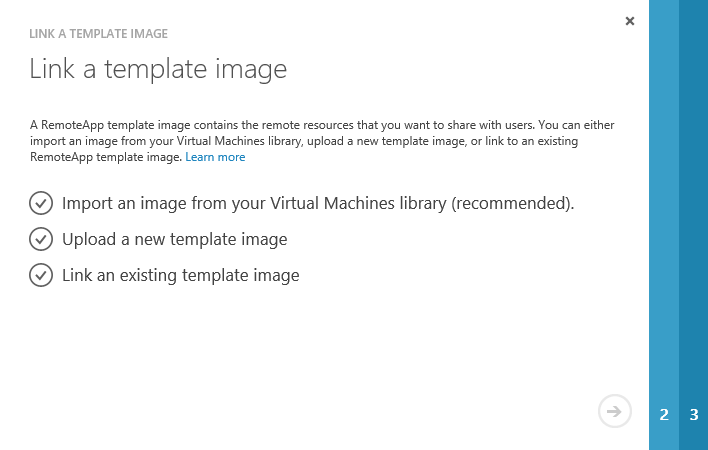
8. This will start the link template dialog. On Step 1 click the Import and image from you Virtual Machines library (recommended) option.
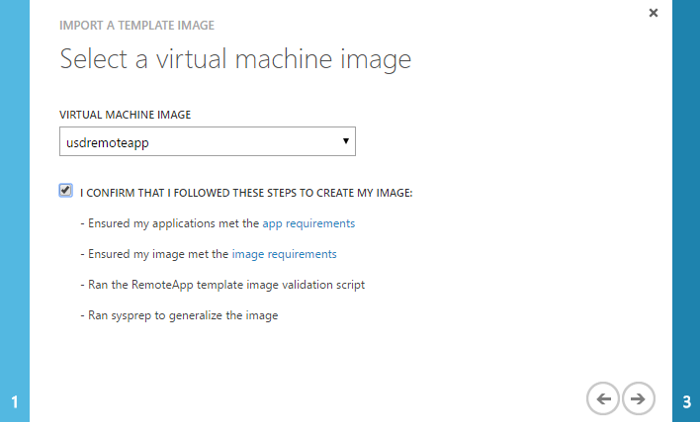
9. On step 2, in the VIRTUAL MACHINE IMAGE dropdown, select the remoteapp vm image you created earlier. If it doesn't appear in the list, you may have to reload (F5). Check the I CONFIRM ... checkbox and click next.
You will now need to wait for the template to be prepared and the RemoteApp Collecton to be provisioned. This can take up to an hour. You can click on the REMOTEAPPS COLLECTIONS and TEMPLATE IMAGES tabs of the Azure RemoteApp admin screen to check progress.
Step 3: Publishing Universal Service Desk
Now we have a collection ready, time to publish the USD client ready for users.
1. Open the RemoteApp Collection
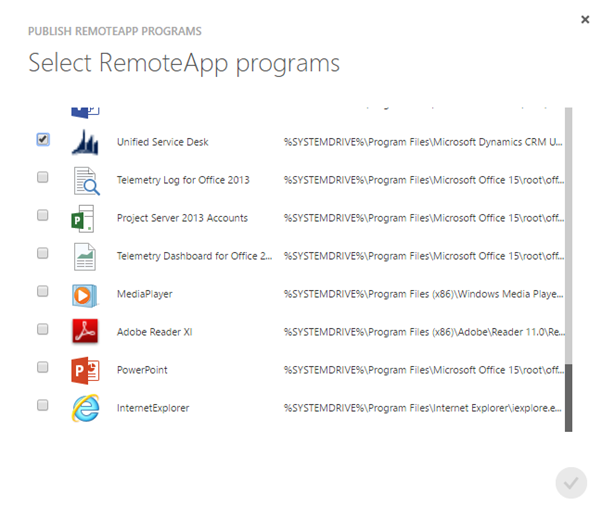
2. Navigate to the PUBLISHING tab
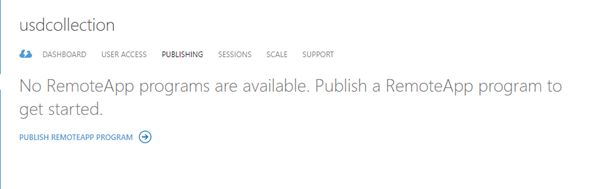
3. The PUBLISH PROGRAMS dialog will appear. Check Universal Service Desk ( and any other app you wish to publish). and Click Next.
Step 4: Running USD from a Remote Client
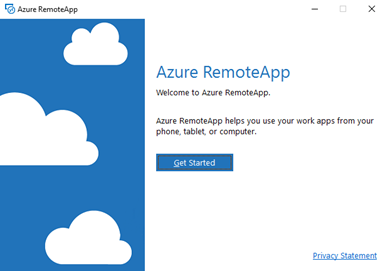
In this example, I'm going to use the windows client. All clients are available from https://www.remoteapp.windowsazure.com.
1. Once it is installed on your PC, run the Azure RemoteApp client. Click Get Started.
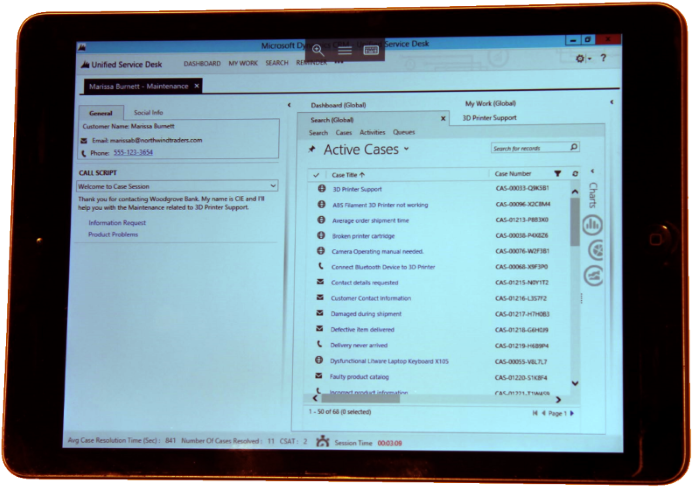
2. Click Unified Service Desk...
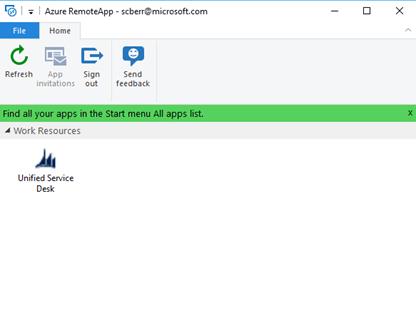
.. and it will start. Note that it is executing remotely in Azure not on your local machine.
Closing Thoughts
As mentioned in the introduction, this model provides a range of additional deployment and management scenarios. Maintaining a single hardware/OS footprint (i.e. the RemoteApp Collection) means simpler administration and deployment compared to supporting a fleet of differing OS/Hardware combinations, even when they share a SOE. It enables cloud scalability not possible on-premise, it eliminates the maintenance of a Remote Desktop Services application layer (which is still required in an IAAS cloud scenario).
While a desktop form factor is the most practical, remote applications can be consumed from a variety of form factors and OS types. Here are some examples of USD running on a windows phone...
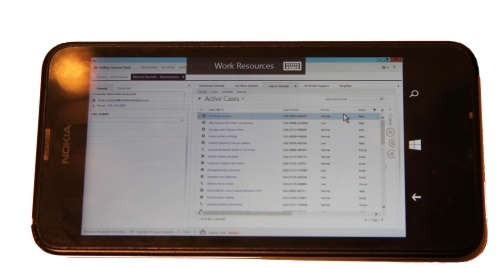
and an iPad...