Using debugdiag for memory pressure analysis
In my last post, I discussed a generic approach to collecting memory dumps using Debug Diagnostics tool. In this post, I discuss how to use DebugDiag’s memory pressure scripts. Please note that the current version of DebugDiag does not have the ability to look up .NET heaps and draw conclusions. For .NET debugging, the best resources are the following blogs:
Step 1: Capture a high memory dump as discussed in this post.
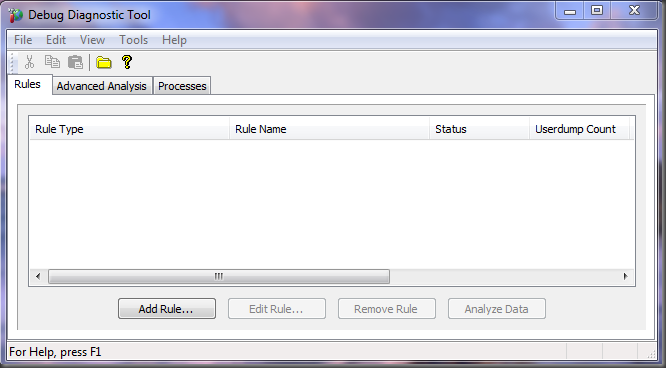
Step 2: Start Debug Diagnostics Tool. If prompted to select a rule, click Cancel.
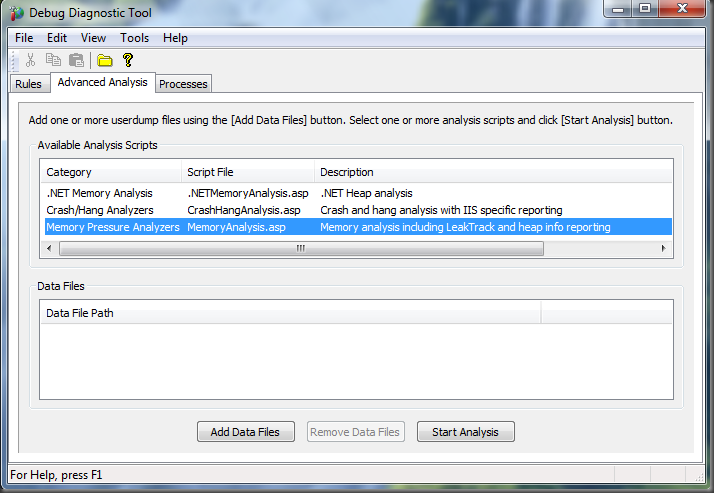
Step 3: Select the Analysis Tab and select the memory pressure analysis scripts
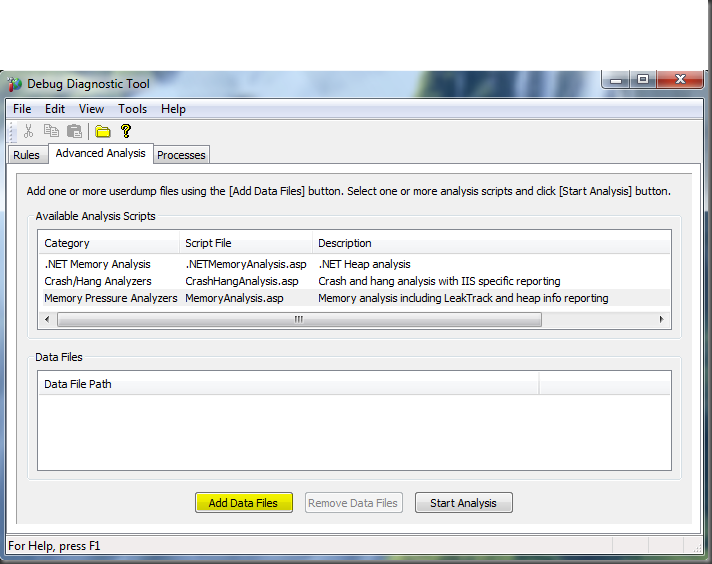
Step 4: Add the dump files for analysis
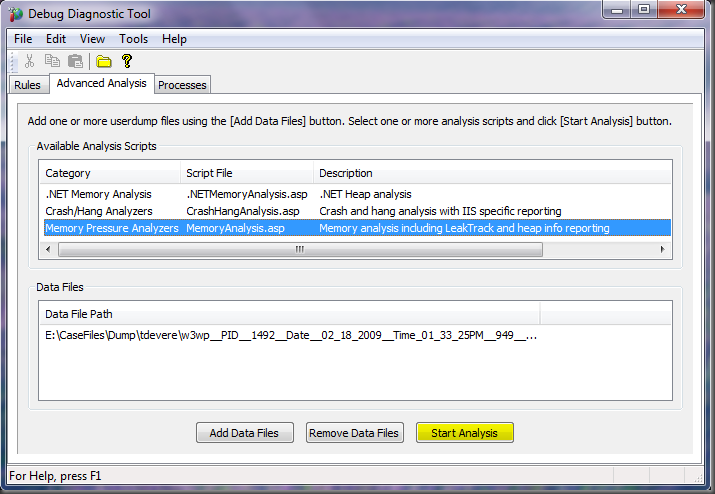
Step 5: Start analysis
Wait for DebugDiag to finish. DebugDiag will automatically connect to the Microsoft Public symbol server, download and cache symbols on your local drive for analysis. You can also add your custom symbol stores and the location where you want to cache the symbols using the Tools, Options & Settings dialog box.
Have fun!


