Wiki Life: Migrate Azure Classic Resources To Azure Resource Manager
Hello all,
This is my 3rd post in Wiki Blogs but the 1st I post by myself, and I feel great!
I hope that the content of this post will help everyone in Azure Classic to ARM migration.
Introduction
Since Microsoft announced ARM a countdown has been started to migrate the Classic resources to ARM resource groups.
Supported Scenarios
There are four supported scenarios on migration:
Migration Scenario
In this blog post we will see the migration steps for a Virtual Machine in a VNet.
Step 1. IaaS resource for migration
At the first step we must check the resources for migration, in this demo I will test the migration process for one VM into a VNet and the storage account with the OS VHD.
Step 2. Begin the procedure ‘Migrate to ARM’
From the VM left main blade, select Settings – Migrate to ARM 
Step 3. Validate if the resource is capable of migration
Click the button Validate, to begin validation procedure.
Step 4. Resources preparation
At the next step click Prepare to simulate the transformation of classic into Resource Manager resource. 
Step 5. Commit the migration
If the prepare operation completed successfully then type ‘yes’ to confirm and click Commit.
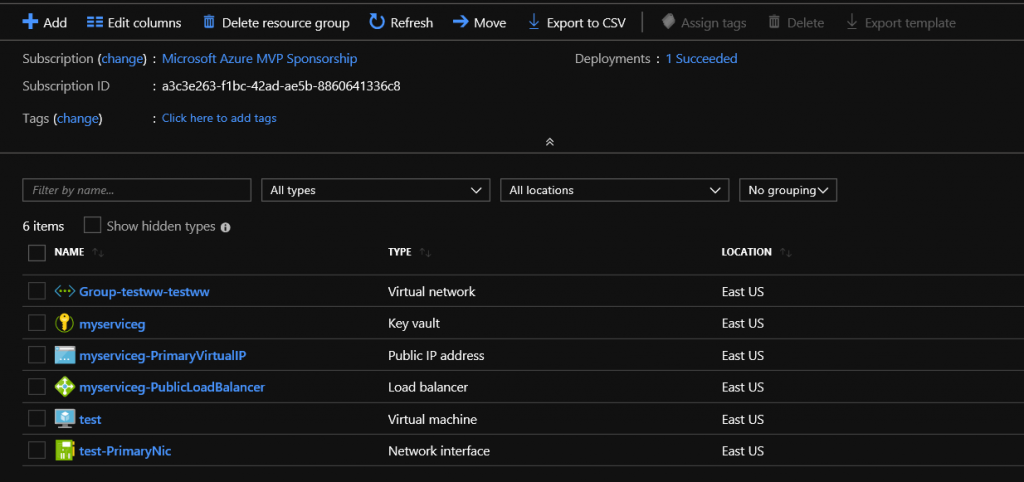
Step 6. The final result
Few minutes later (5’ – 10’), the resources are migrated into a new Resource Group.
Note: The Virtual Network had to move from another Resource Group to the one with all the other resources. And the disk migrated from unmanaged to managed disk.
I hope it will be helpful to anyone who reads it.
Comments
- Anonymous
May 15, 2019
Nice post, George! Welcome on the blog!- Anonymous
May 15, 2019
Thank you, Peter! I feel great that I have the opportunity to write on the wiki ninja blog!
- Anonymous
- Anonymous
May 16, 2019
Great job- Anonymous
May 16, 2019
Thanks Cos!
- Anonymous


